This gluten-free, dairy-free pie crust is my favorite. It's made with shortening, easy to work with, and perfectly make-ahead and freezer-friendly! Use it in your favorite Thanksgiving recipes, or make it now and freeze it for when you need it.
I first discovered this recipe for pie crust with Crisco when making pumpkin pecan pie with my friend Sandy.
This pie crust recipe is based on a recipe from Jill Moats. Two generations of Sandy's family have been baking it for over 40 years. The recipe was originally adapted from an old version printed on the Crisco shortening package.
Over the last 10 years, I have baked many pies, galettes, tarts and other pastries. I have developed my favorite paleo pie crust, an all-butter gluten free pie crust, and a foolproof olive oil and yogurt gluten free pie crust.
But time and time again, I've returned to this shortening pie crust for an easy pastry crust. And in the last five years, since switching to a gluten-free diet, I have also found ways to adapt this crust to be the perfect, easy gluten free pie crust recipe.
This shortening-based gluten-free pie crust is easy to make, requires no blink baking, and can even be made ahead and frozen! I use this pie crust for many of my Thanksgiving gluten free pies and pastries, and I'm confident that once you try it, you will also become a fan of this gluten free vegan pie crust!
Flaky Gluten Free Pie Crust Ingredient Highlights
The ingredient list for this gf pie crust is short, and mostly revolves around shortening.
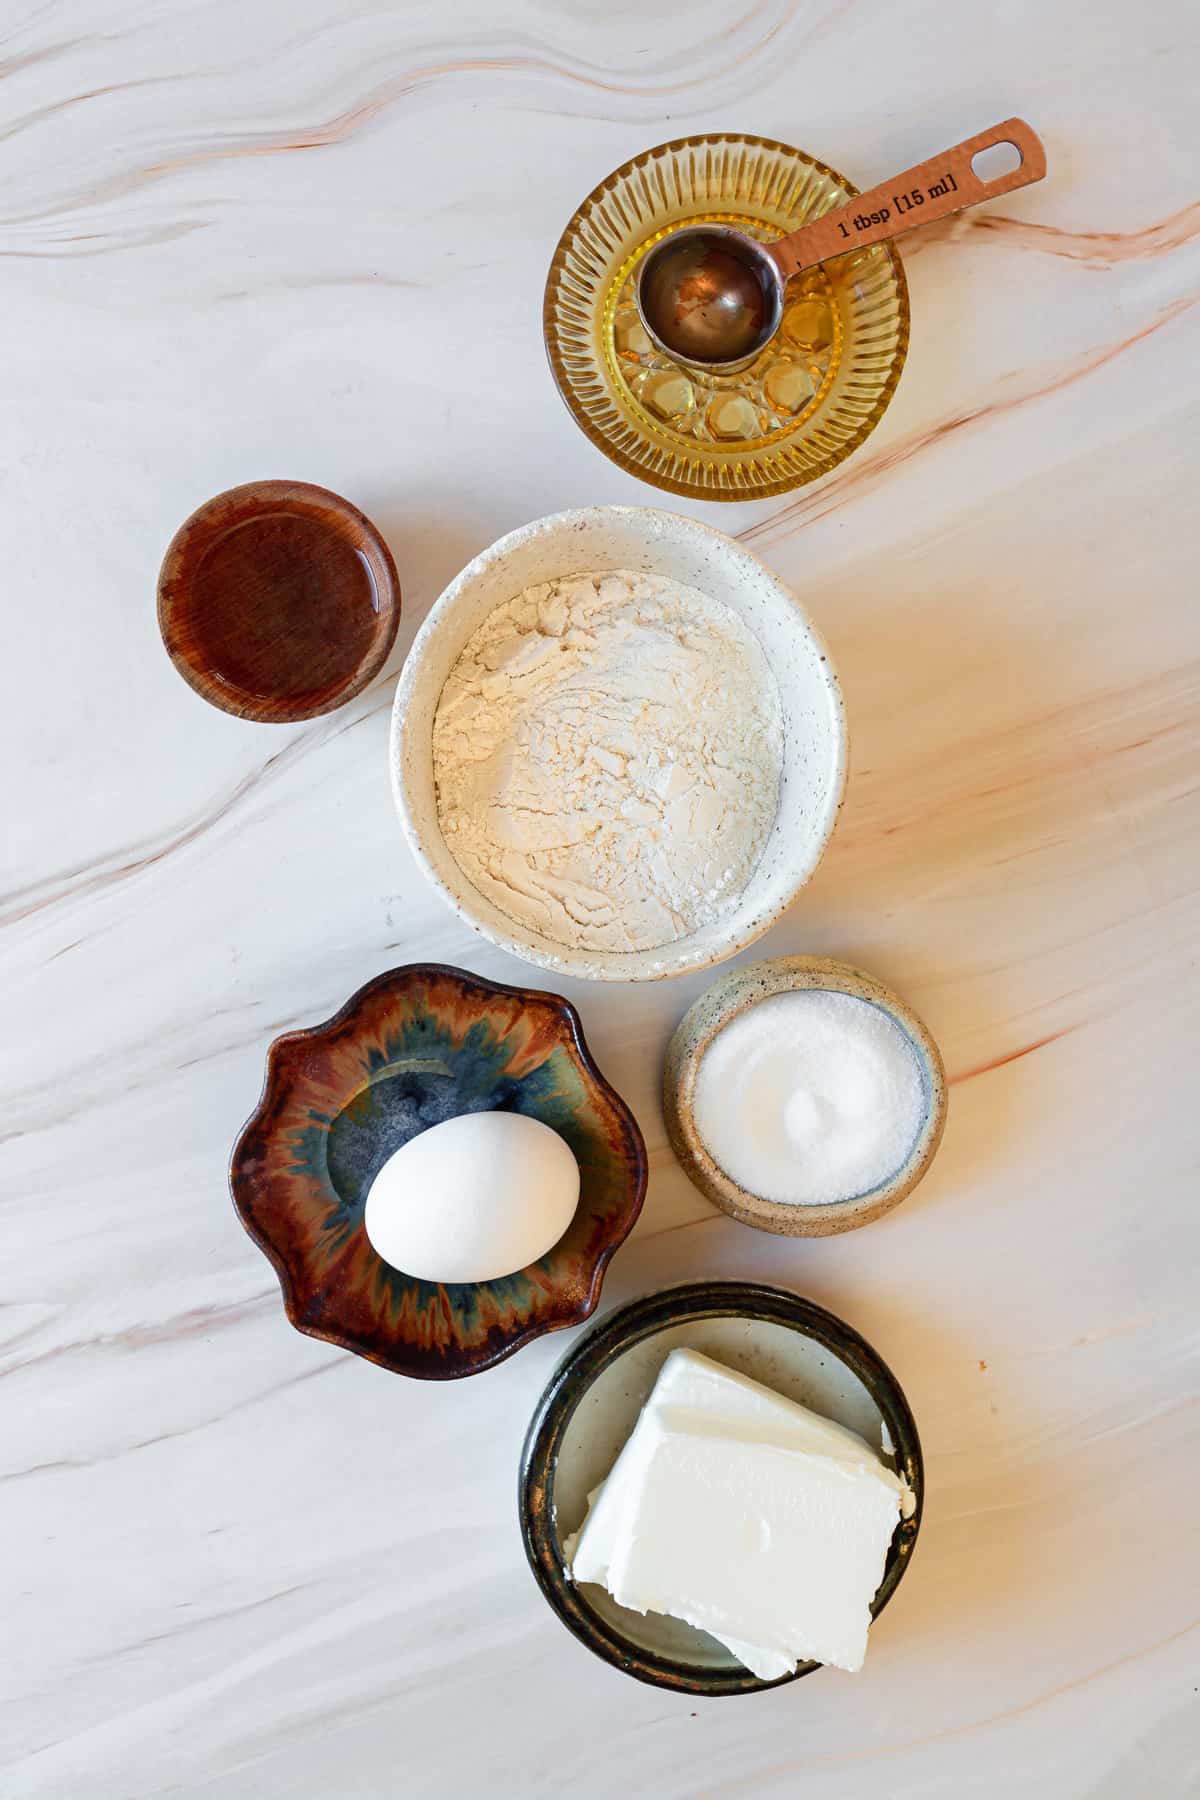
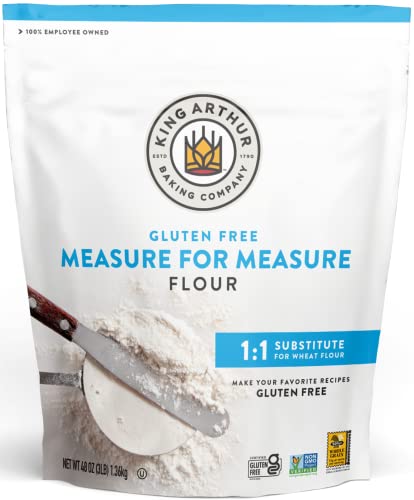
- Gluten free flour blend - my recommended gluten free flour mixes are King Arthur gluten free 1:1 blend or the Thomas Keller Cup4Cup blend. I also use the Irresistibles gluten free flour blend in Canada, and the PC gluten free flour blend. The important thing is ensuring your mix has xanthan gum in the ingredients.
- Sugar - for a sweet pie crust dough, don't forget the sugar (you can also use any granulated sugar replacement that's safe for baking, like Swerve).
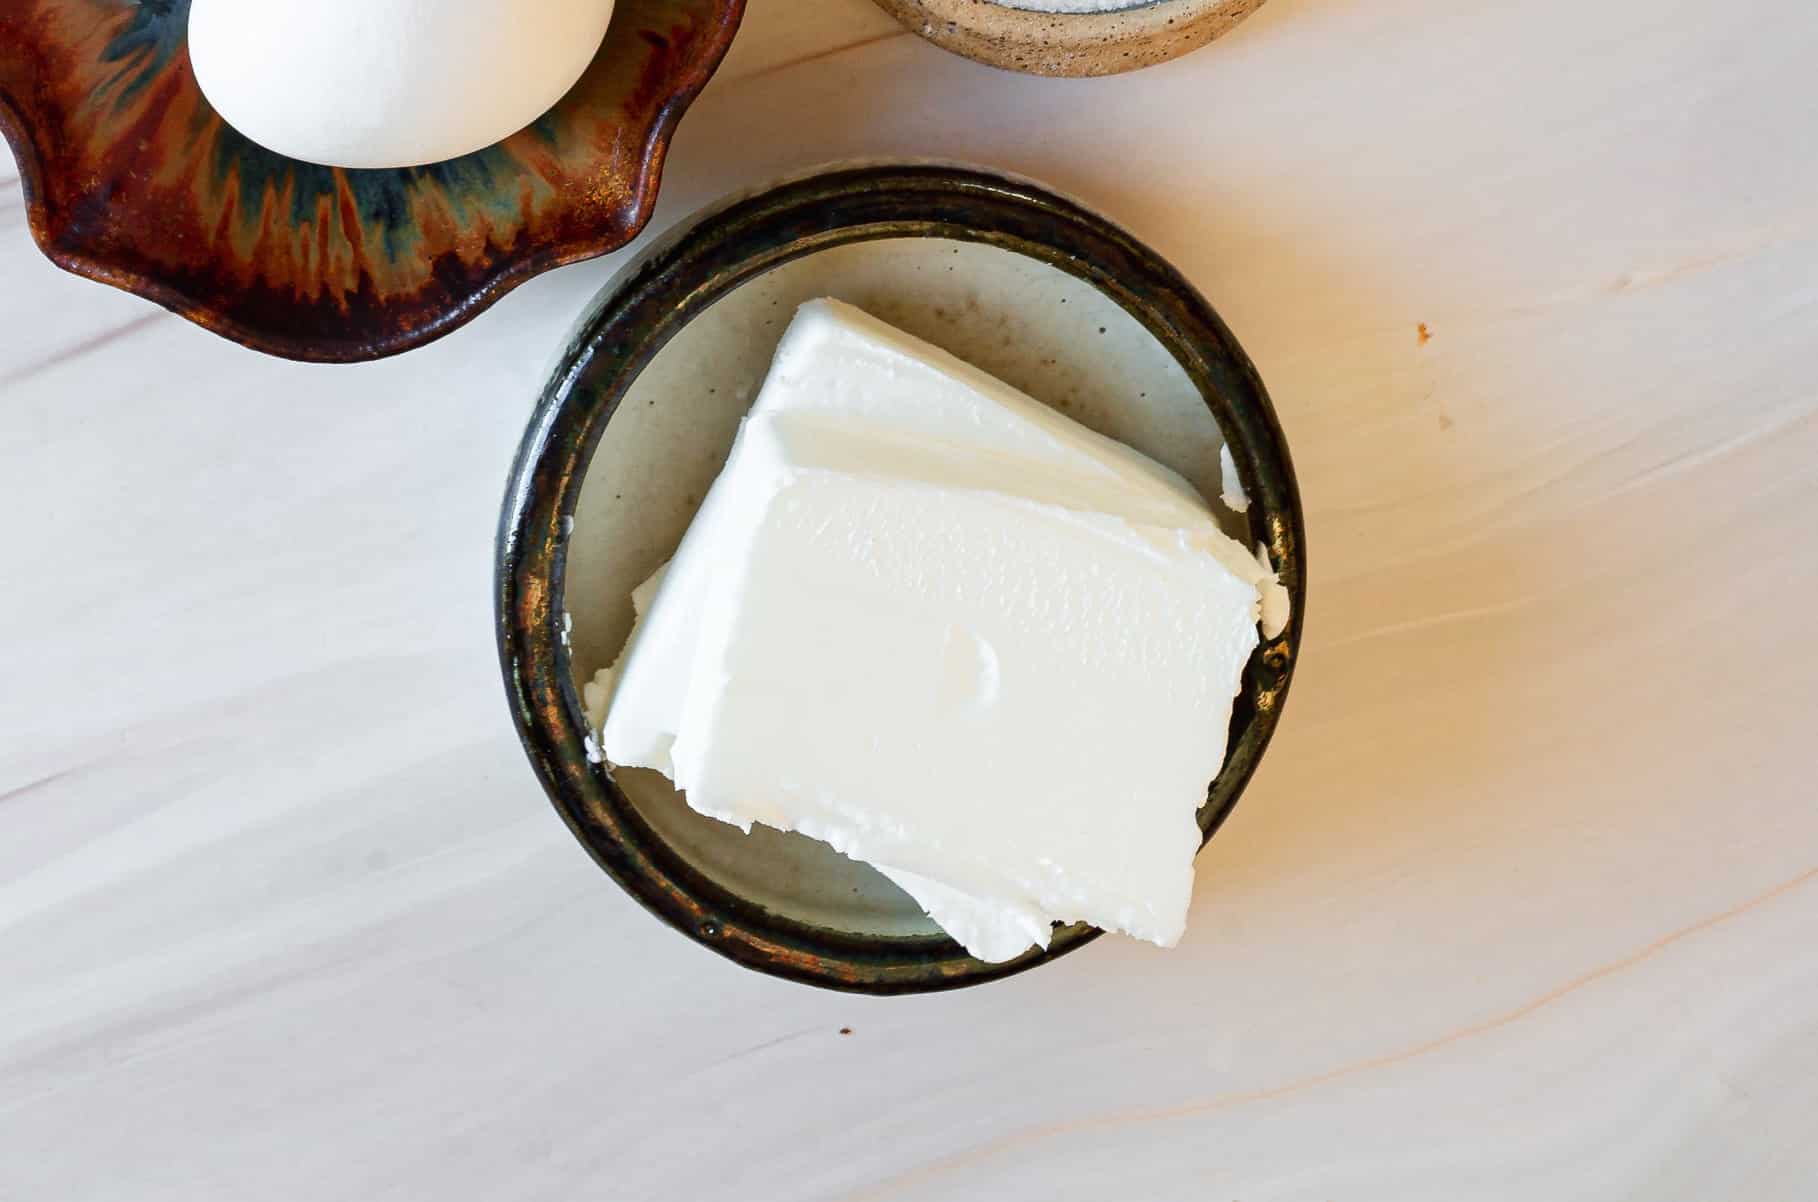
- Shortening - shortening makes for a gluten free pastry dough that is flexible, dairy free (and vegan), and not as fragile or demanding as cold butter pastry. Many of us use Crisco shortening, but it's far from being the only game in town. Choose your favorite shortening brand, and use it - just make sure it's COLD! Also, butter prices are increasing across the board (and borders). shortening makes for an inexpensive alternative to butter!
- Eggs or Vegan Egg replacement - this crust gluten free can be made with 1 egg, vegan egg replacer or more water. Omit the egg for a gluten free vegan pie crust.
See recipe card for quantities.
What is shortening?
Shortening is the name of all fats that remain solid in room temperature. This list includes vegetable shortening (like Crisco), lard, and margarine. The idea of shortening is creating a short pastry - i.e., pastry in which little gluten develops and is flaky and crumbly as a result.
This is exactly what you want in regular and gluten free pie, galette and tart, as well as in gluten free shortbread cookies.
Recommended gluten free flour blends:
King Arthur's Gluten Free Blend

Instruction to Make Gluten Free Pie Crust Recipe
Making a homemade gluten-free pie crust with shortening is easy, fun, and great for scaling and making ahead. Here are my stages of baking a gluten free dairy free pie crust:
Combine the Dry Ingredients:

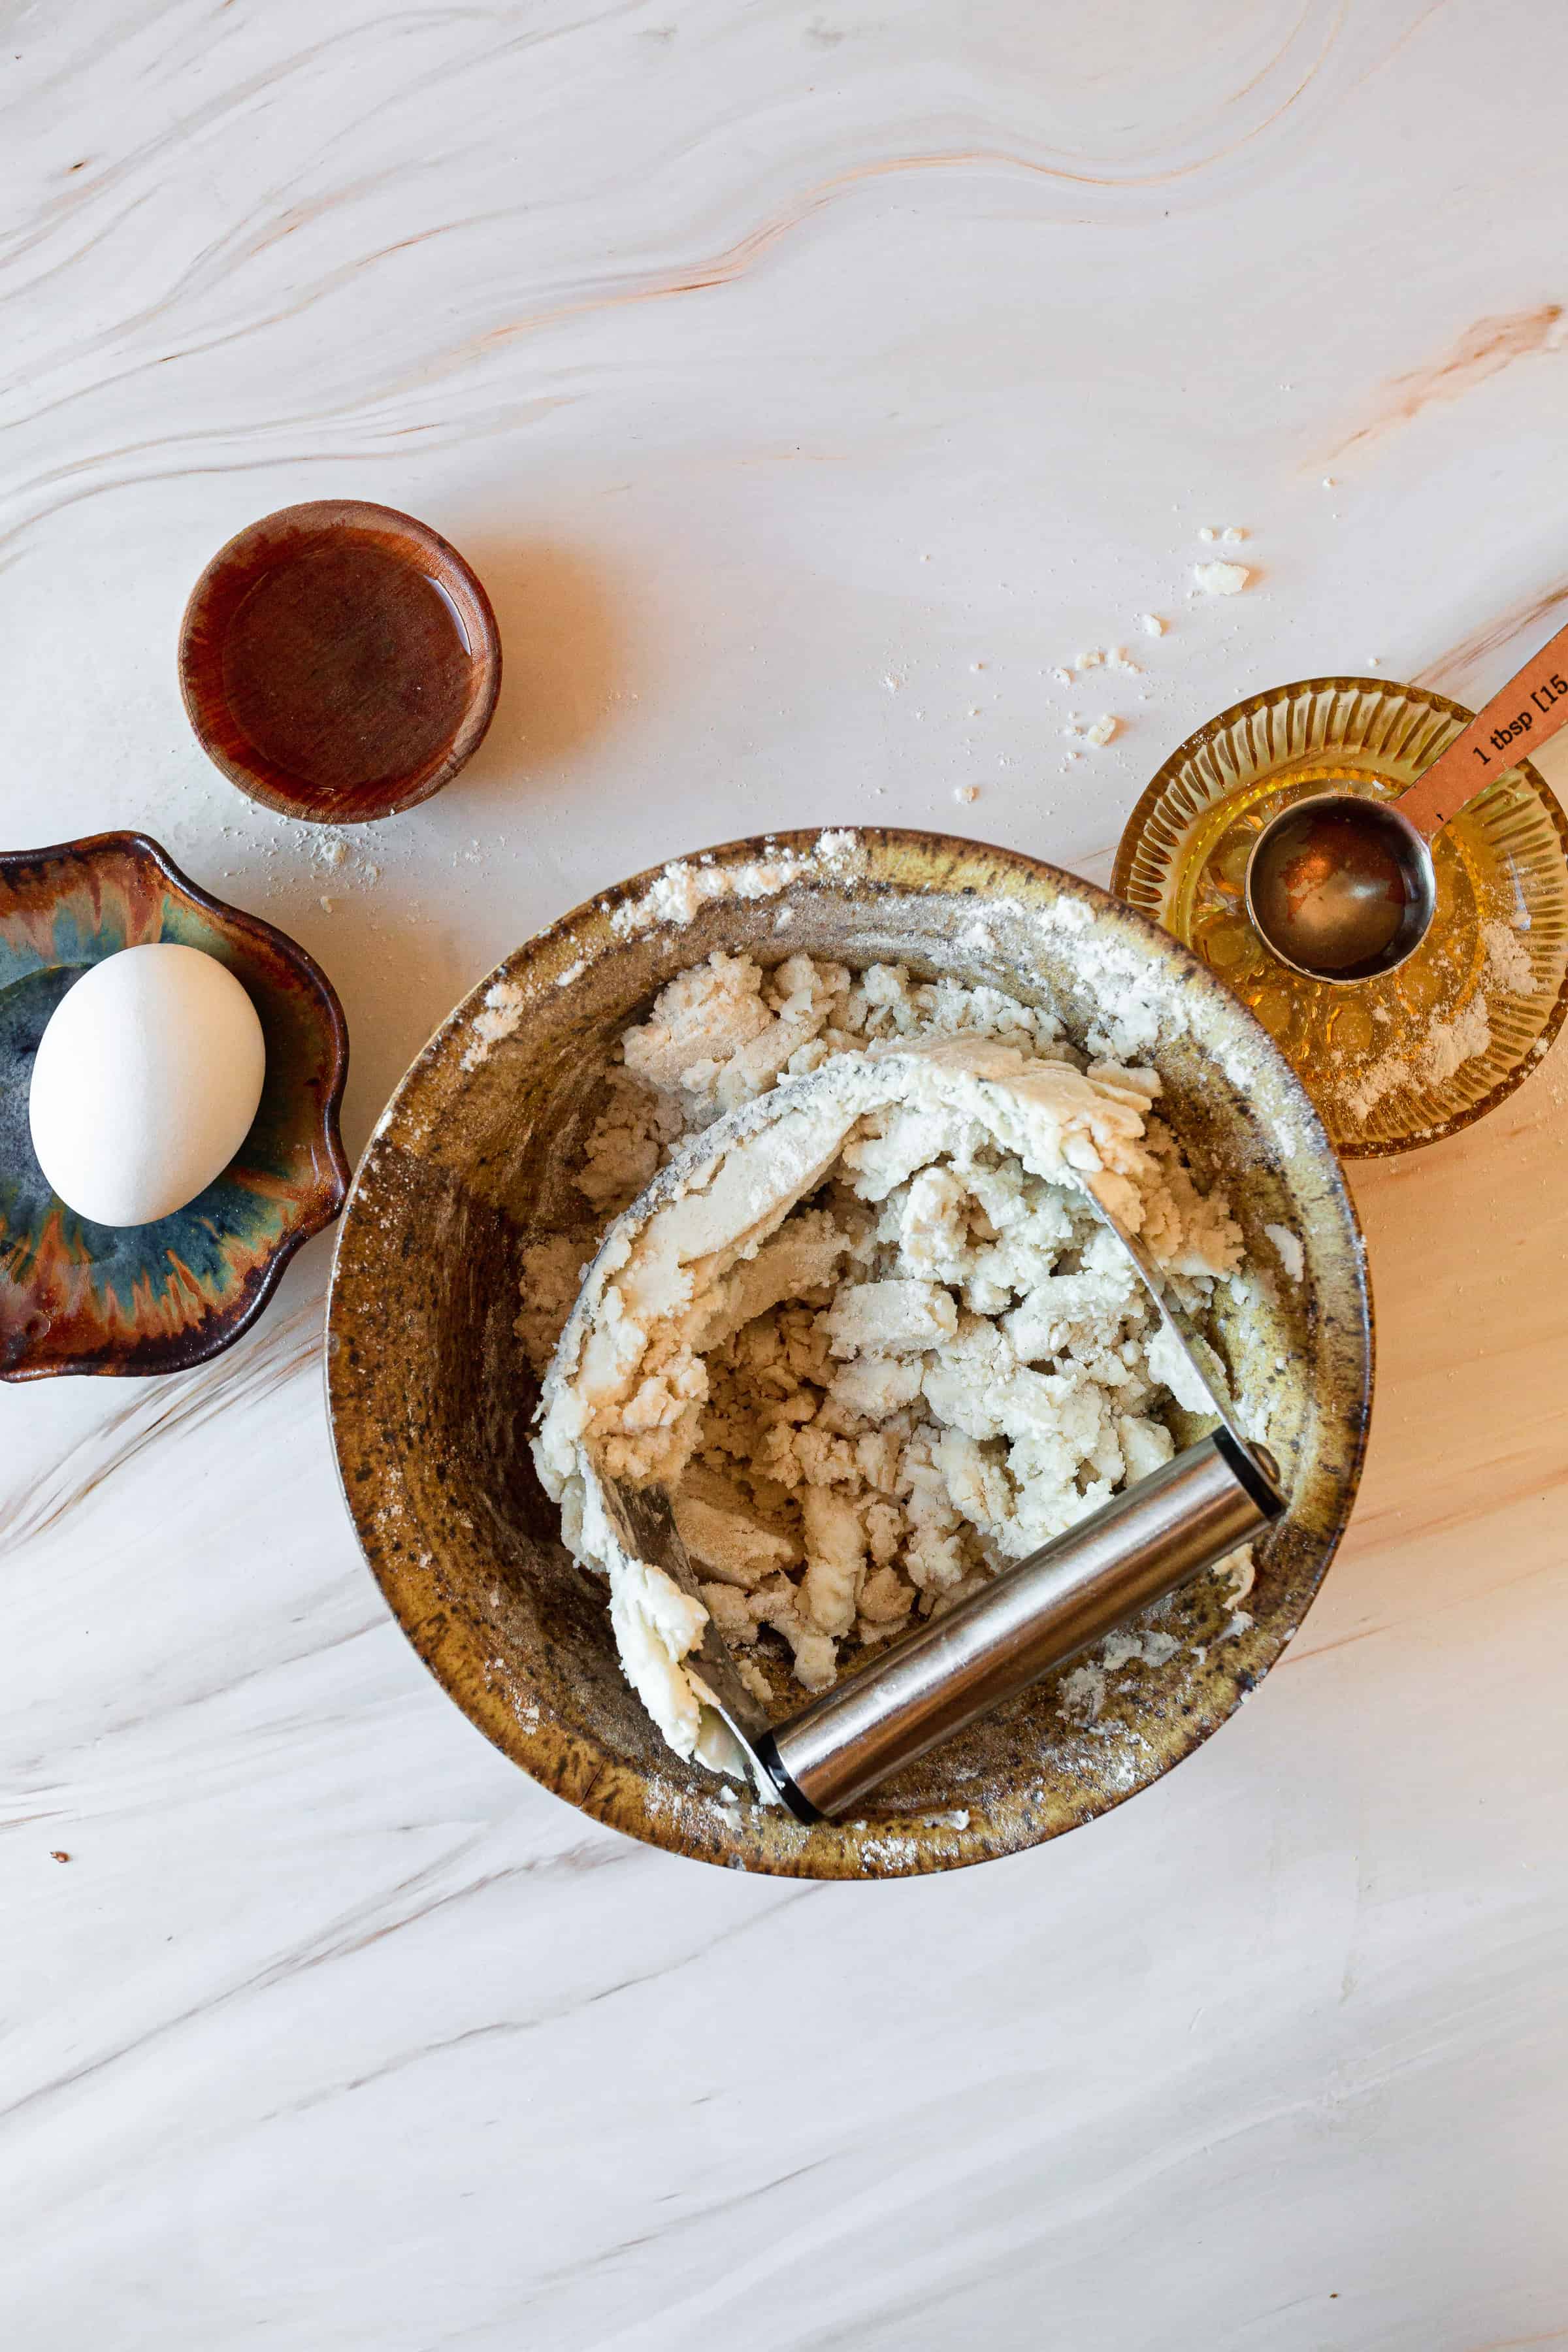
To make the crust, combine flour, sugar and salt in a mixing bowl. Alternatively, you can also process this in the food processor for 10 seconds.
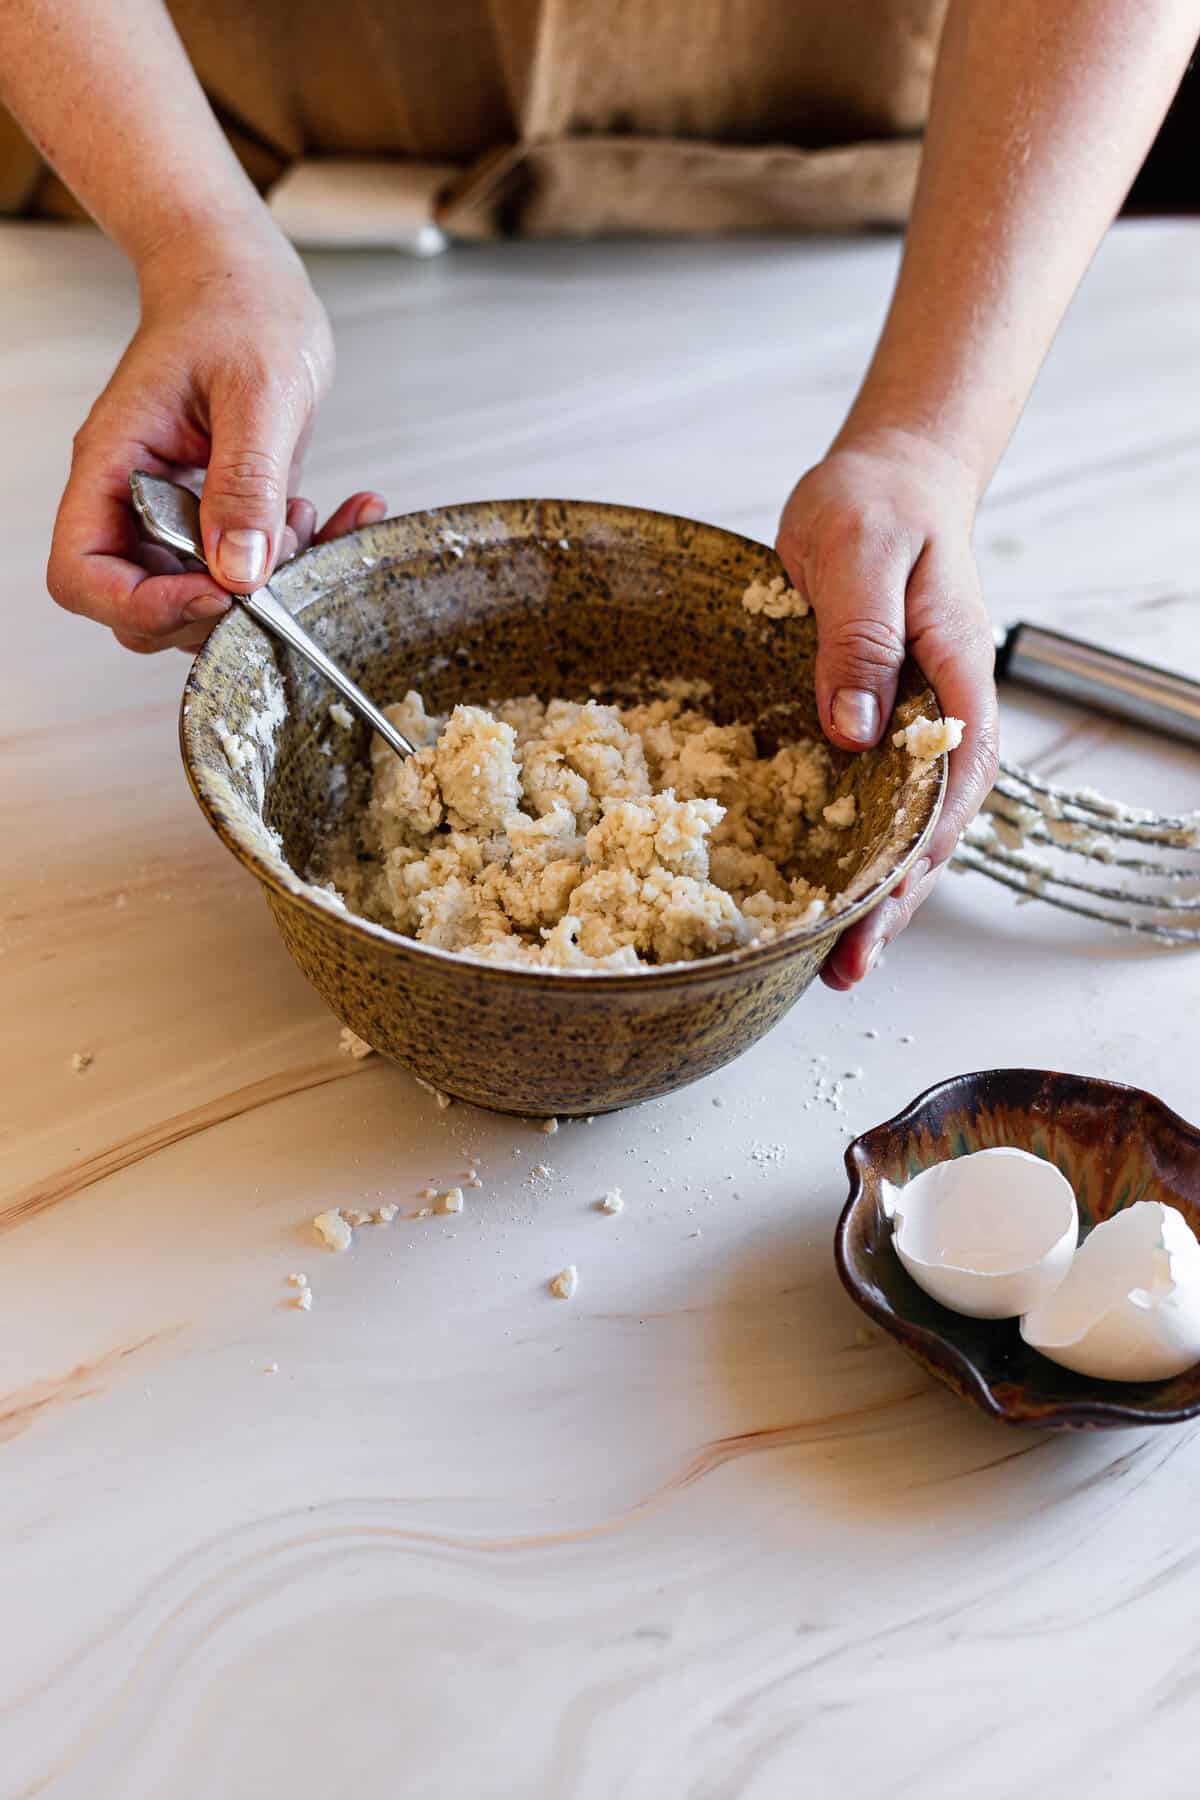
Cut chilled shortening into flour with two knives until the mixture is uniform and the shortening resembles large peas. Do not overwork. You can also add this to the food processor in pulses.
Add the Wet Ingredients:
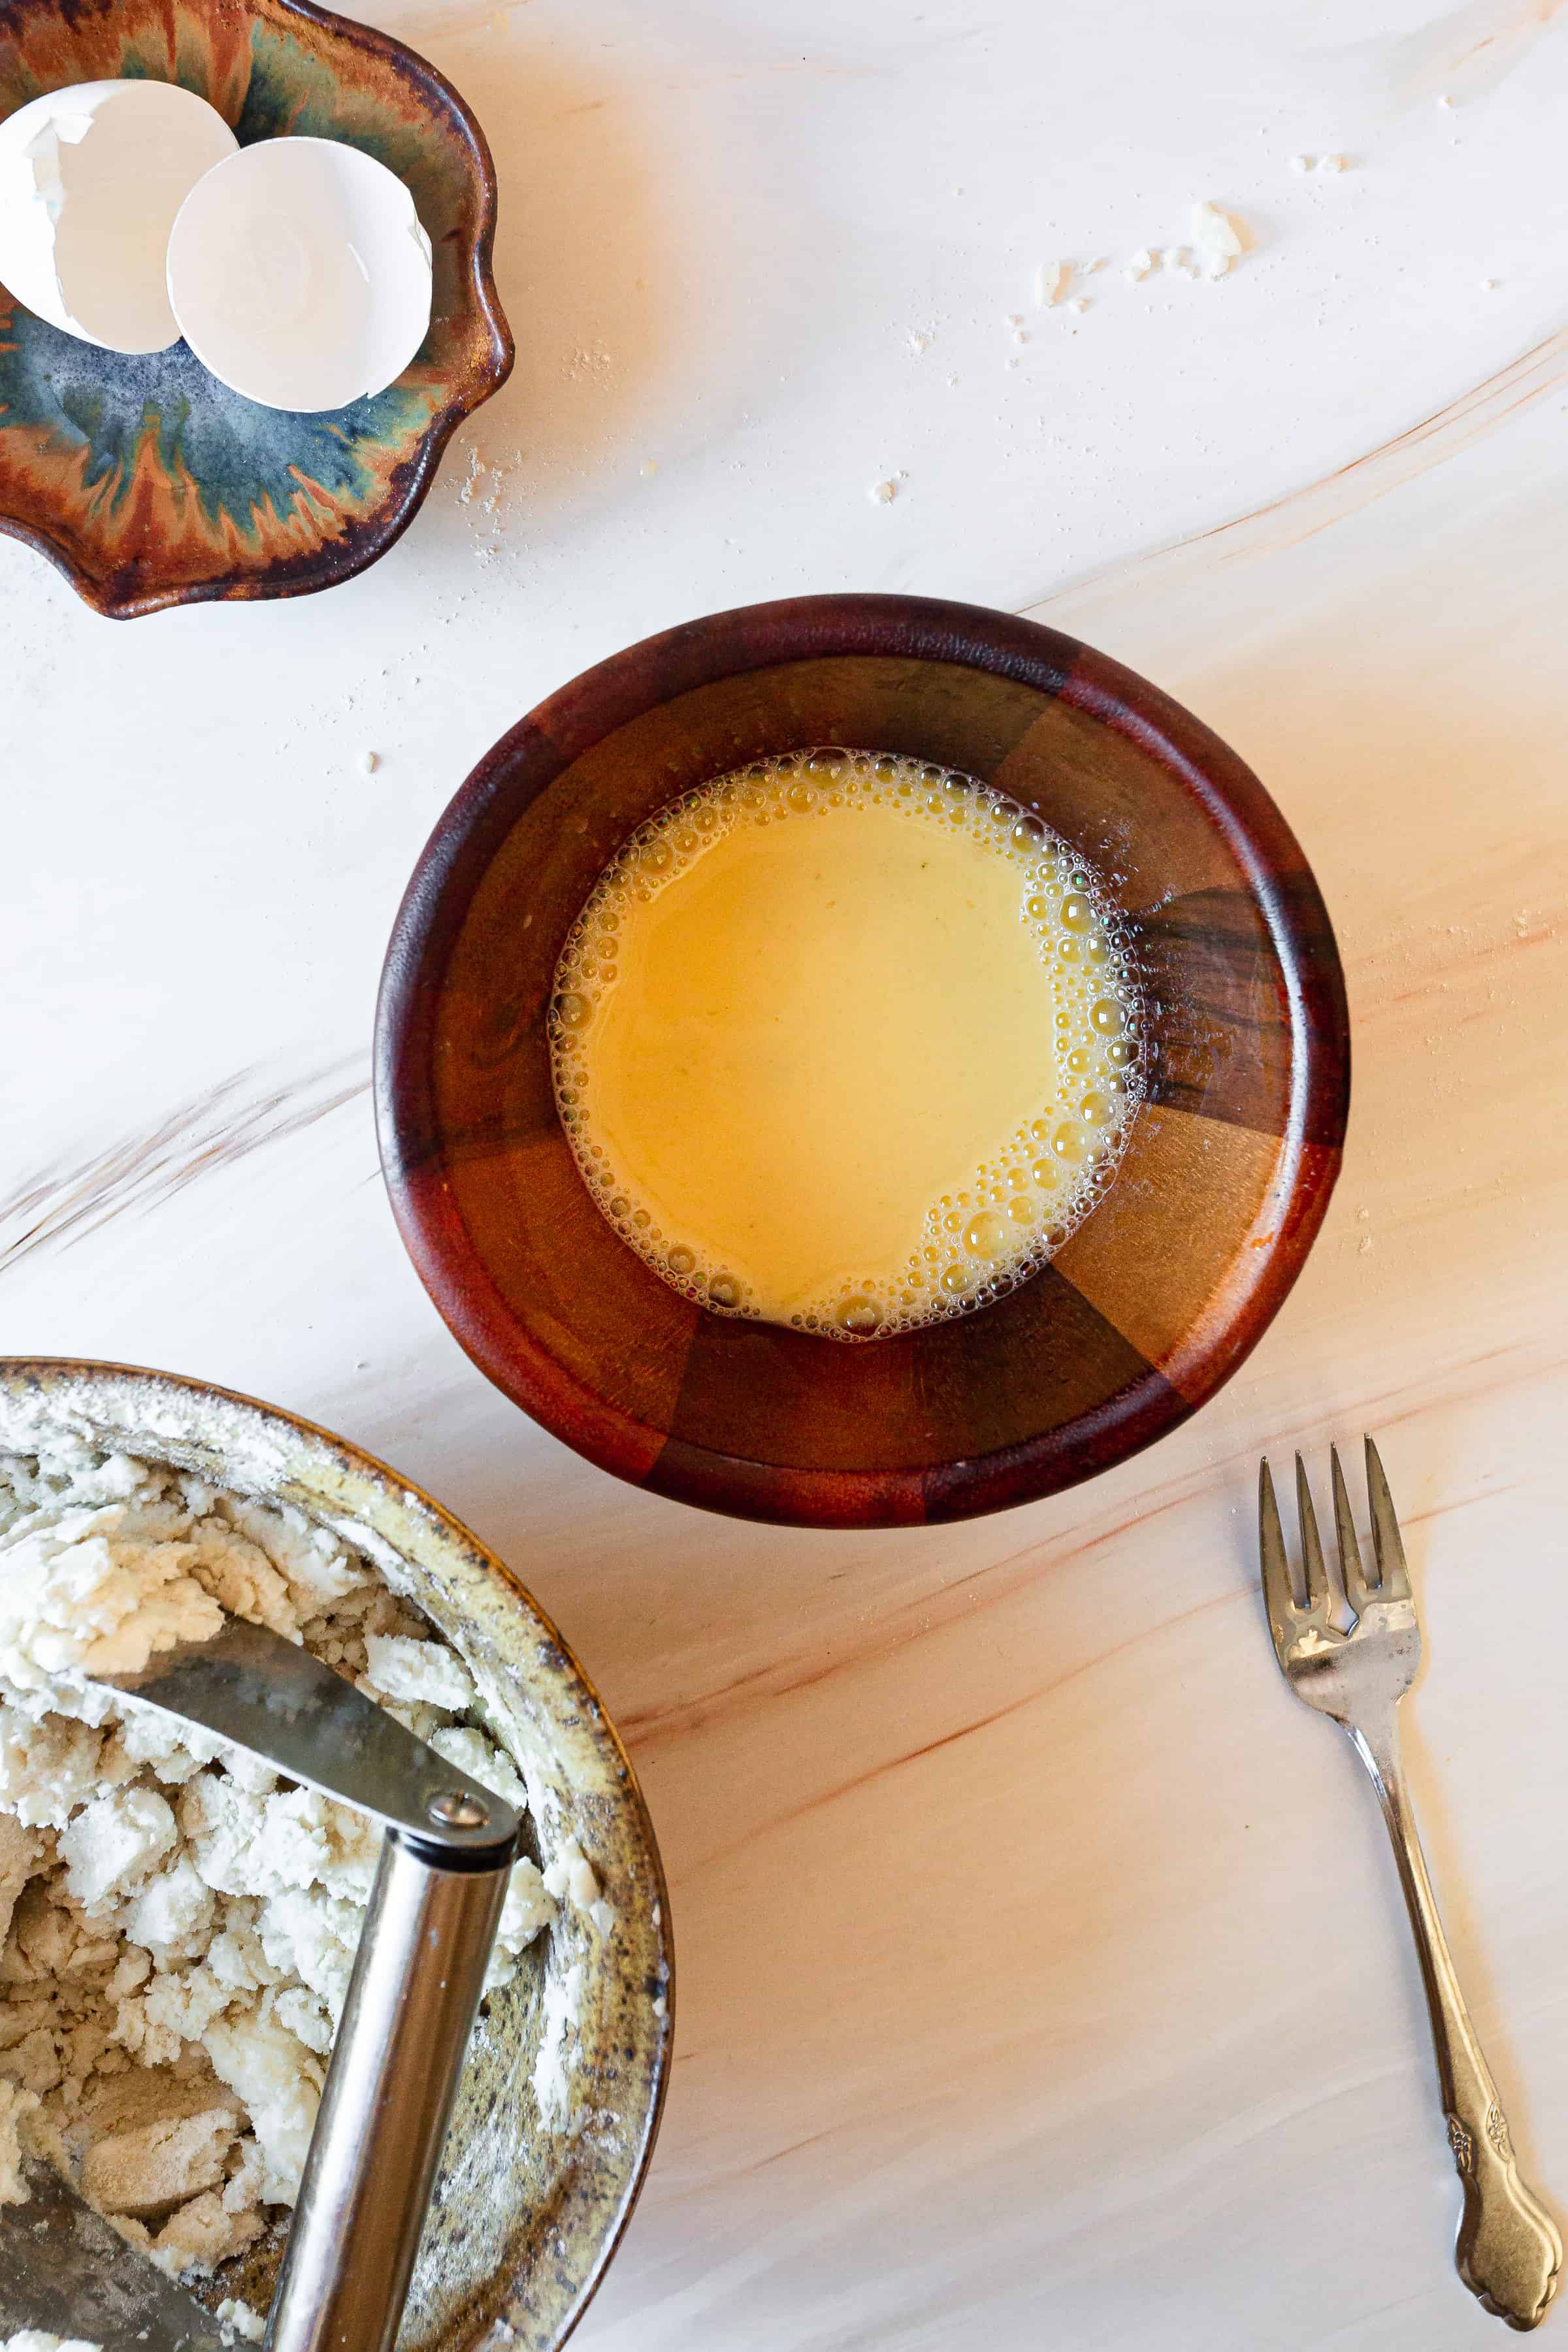
Beat egg (if using), water, and vinegar together. Pour evenly over the flour mixture. Stir with a wooden spoon until well combined and all of the mixture is moistened. If making dough in a food processor, slowly add in the liquid mixture gradually, with the motor running.
Work the Dough and Chill:

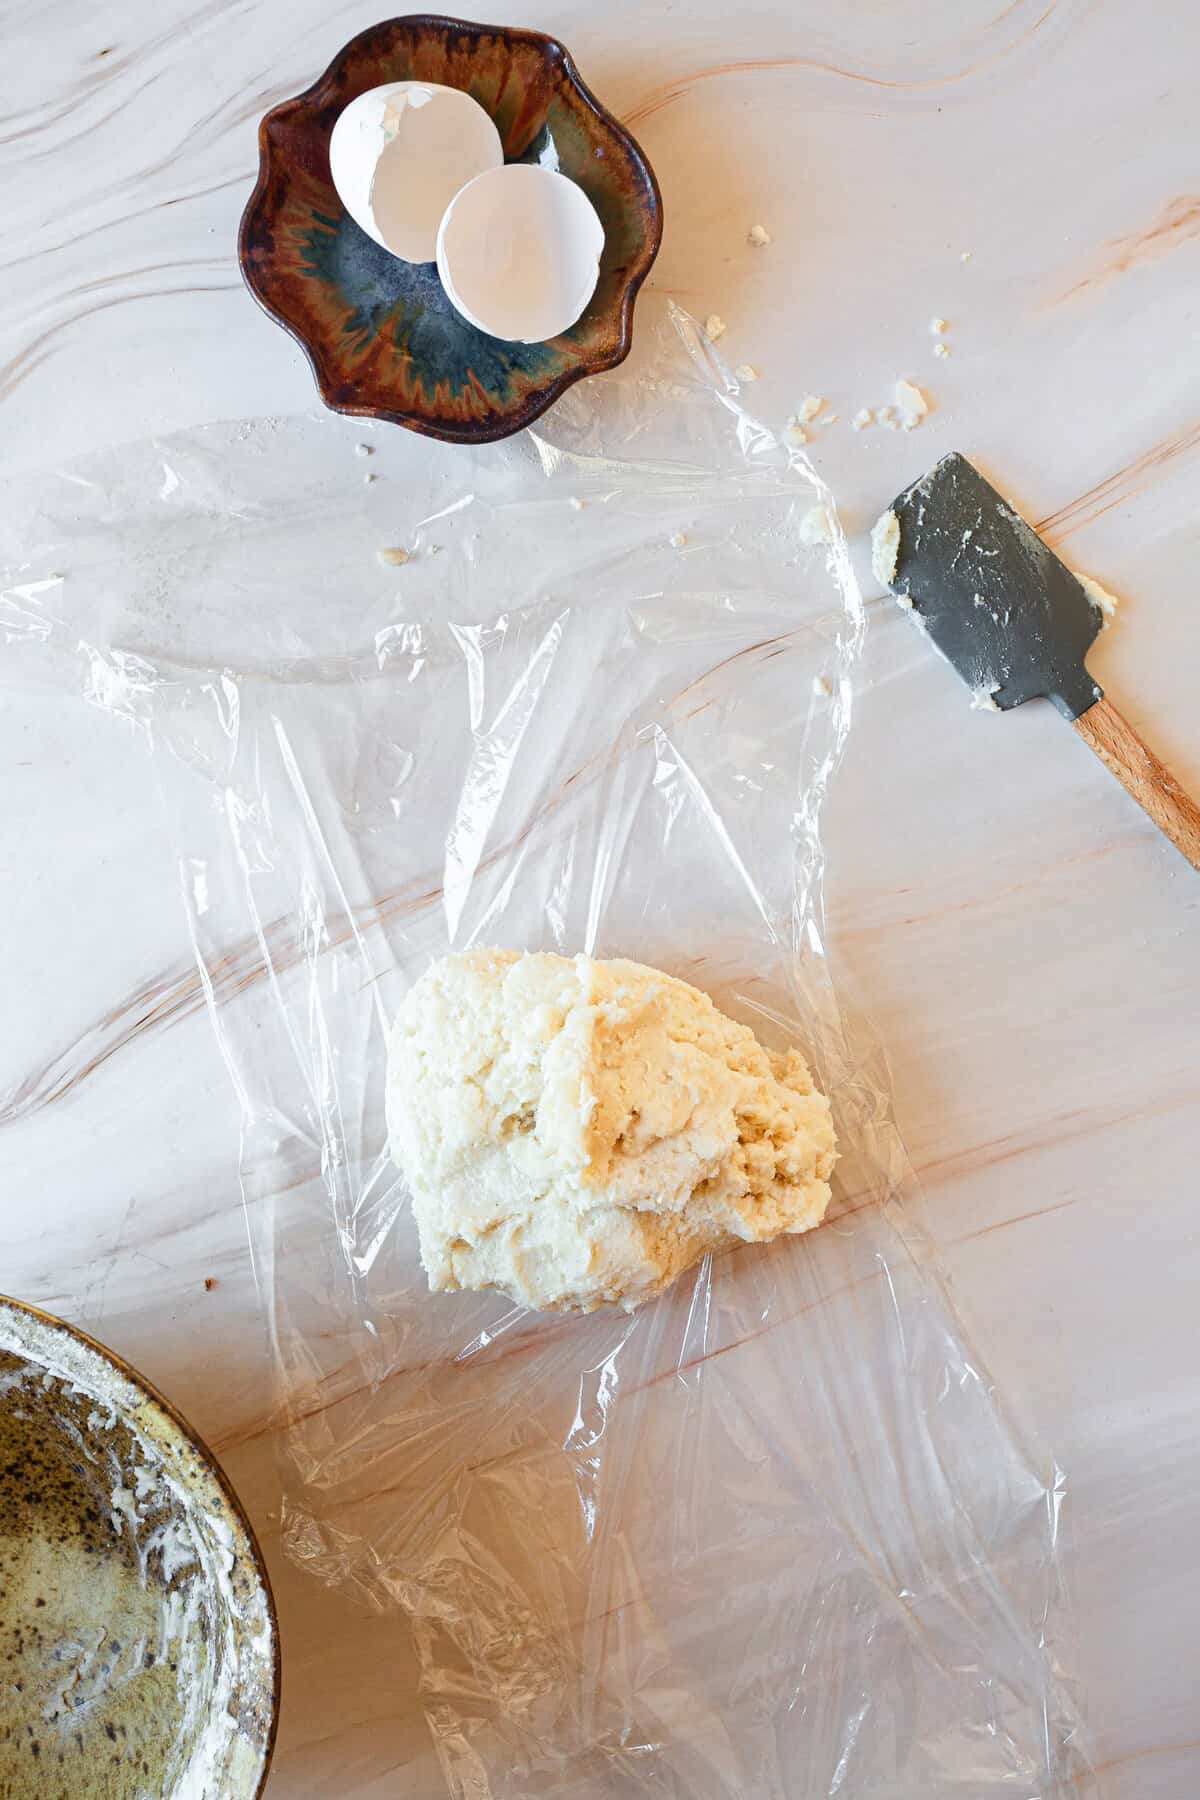
Without overworking it too much, shape dough into a ball and lightly flatten into a circle of about 10 cm. Wrap and chill for 30 minutes (or longer, if making ahead). If freezing, double wrap in plastic and freeze for up to 3 months.
Prepare the Dough to Bake:
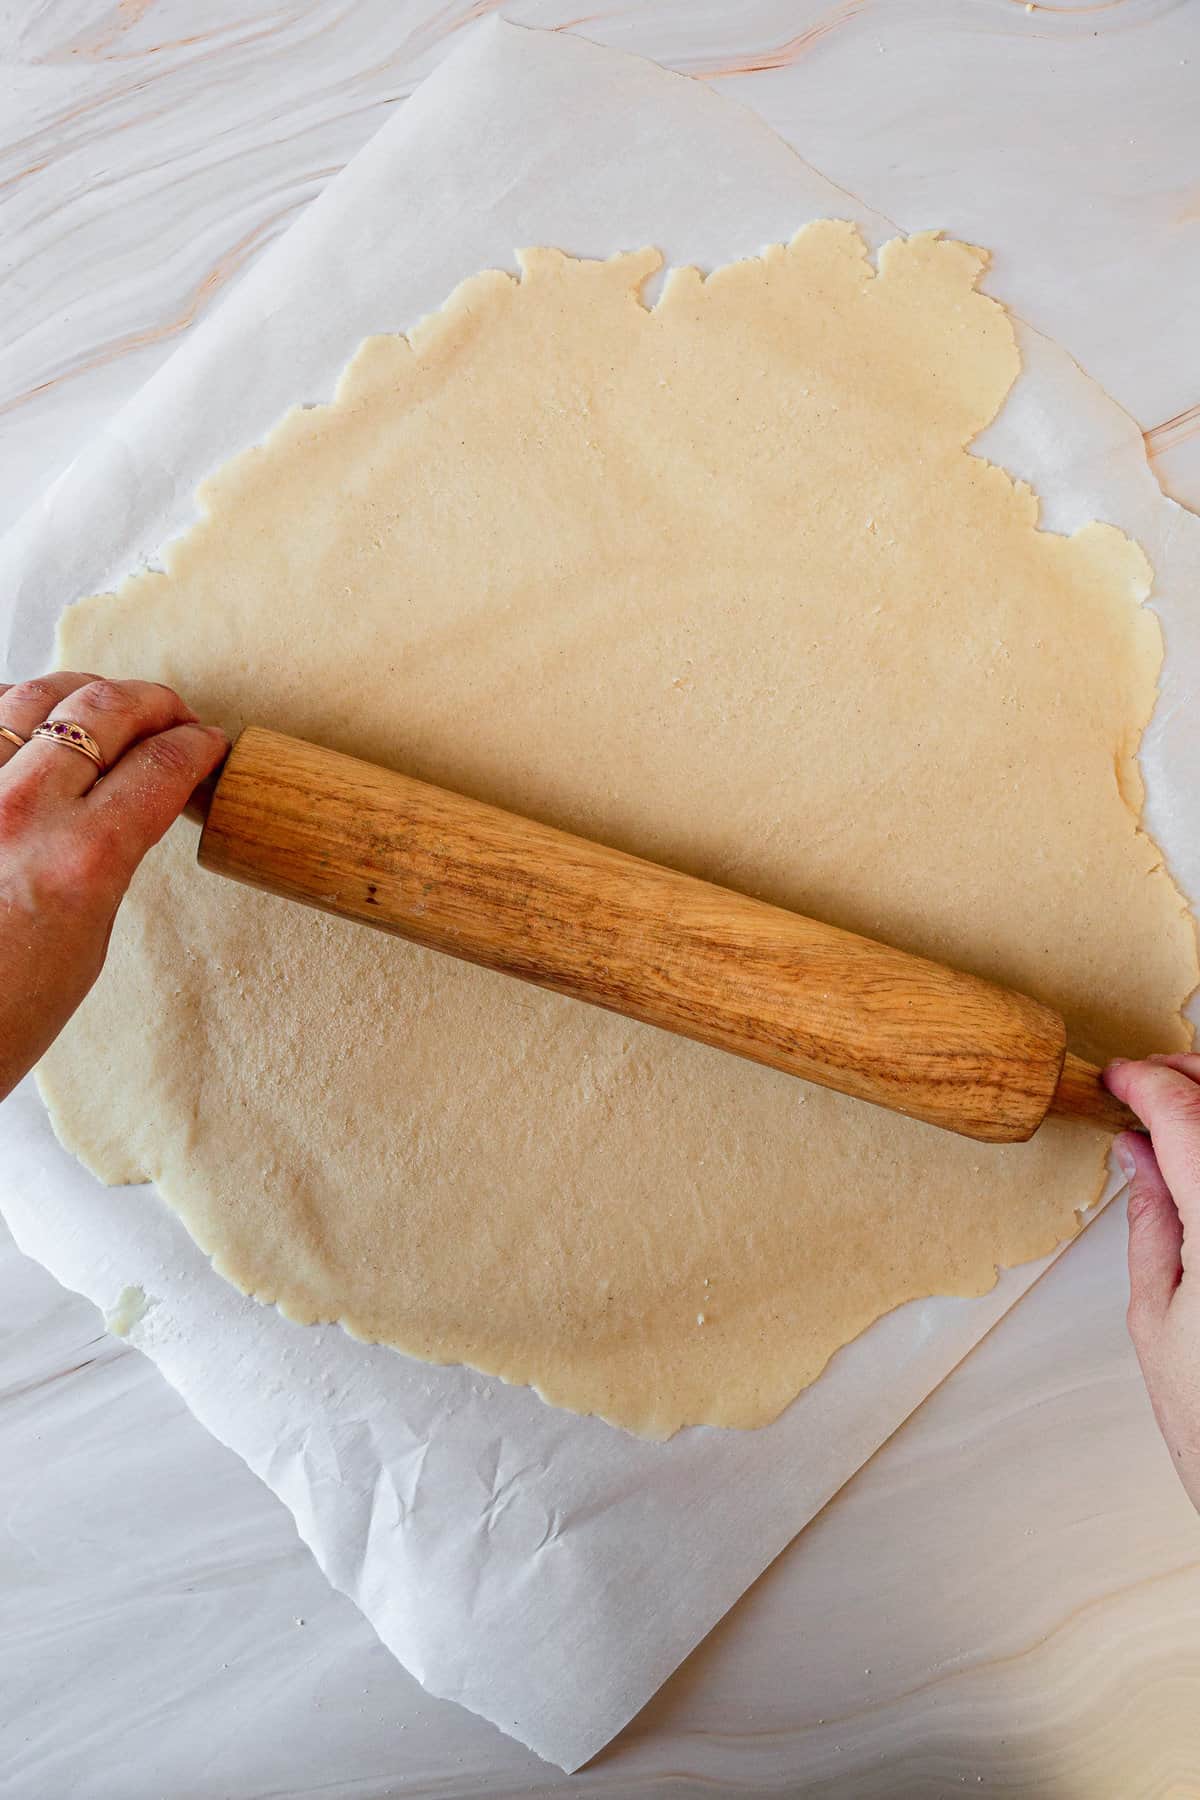
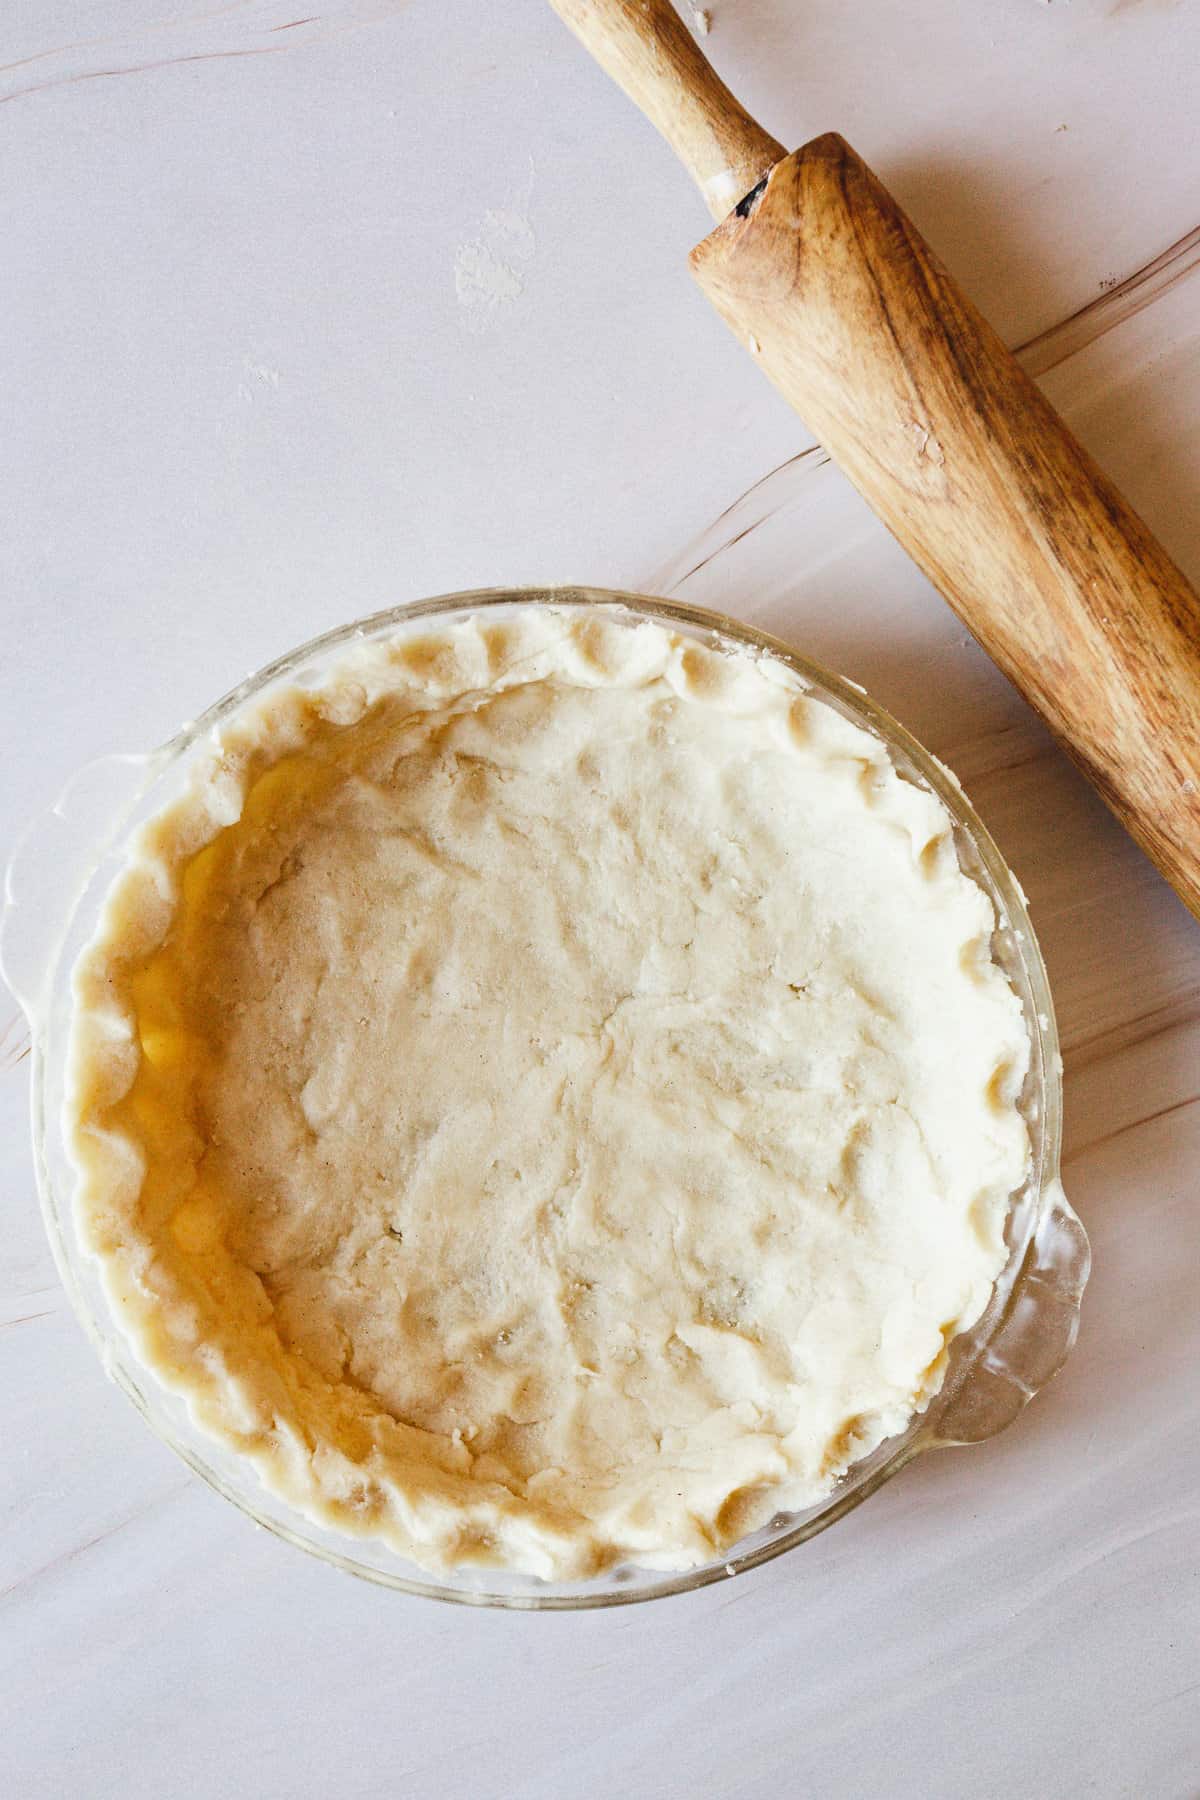
Cover your working surface with parchment paper when the crust has cooled and you're ready to bake the pie. Remove the pie crust from the refrigerator and transfer the dough onto the parchment paper and cover it with another piece of parchment paper.
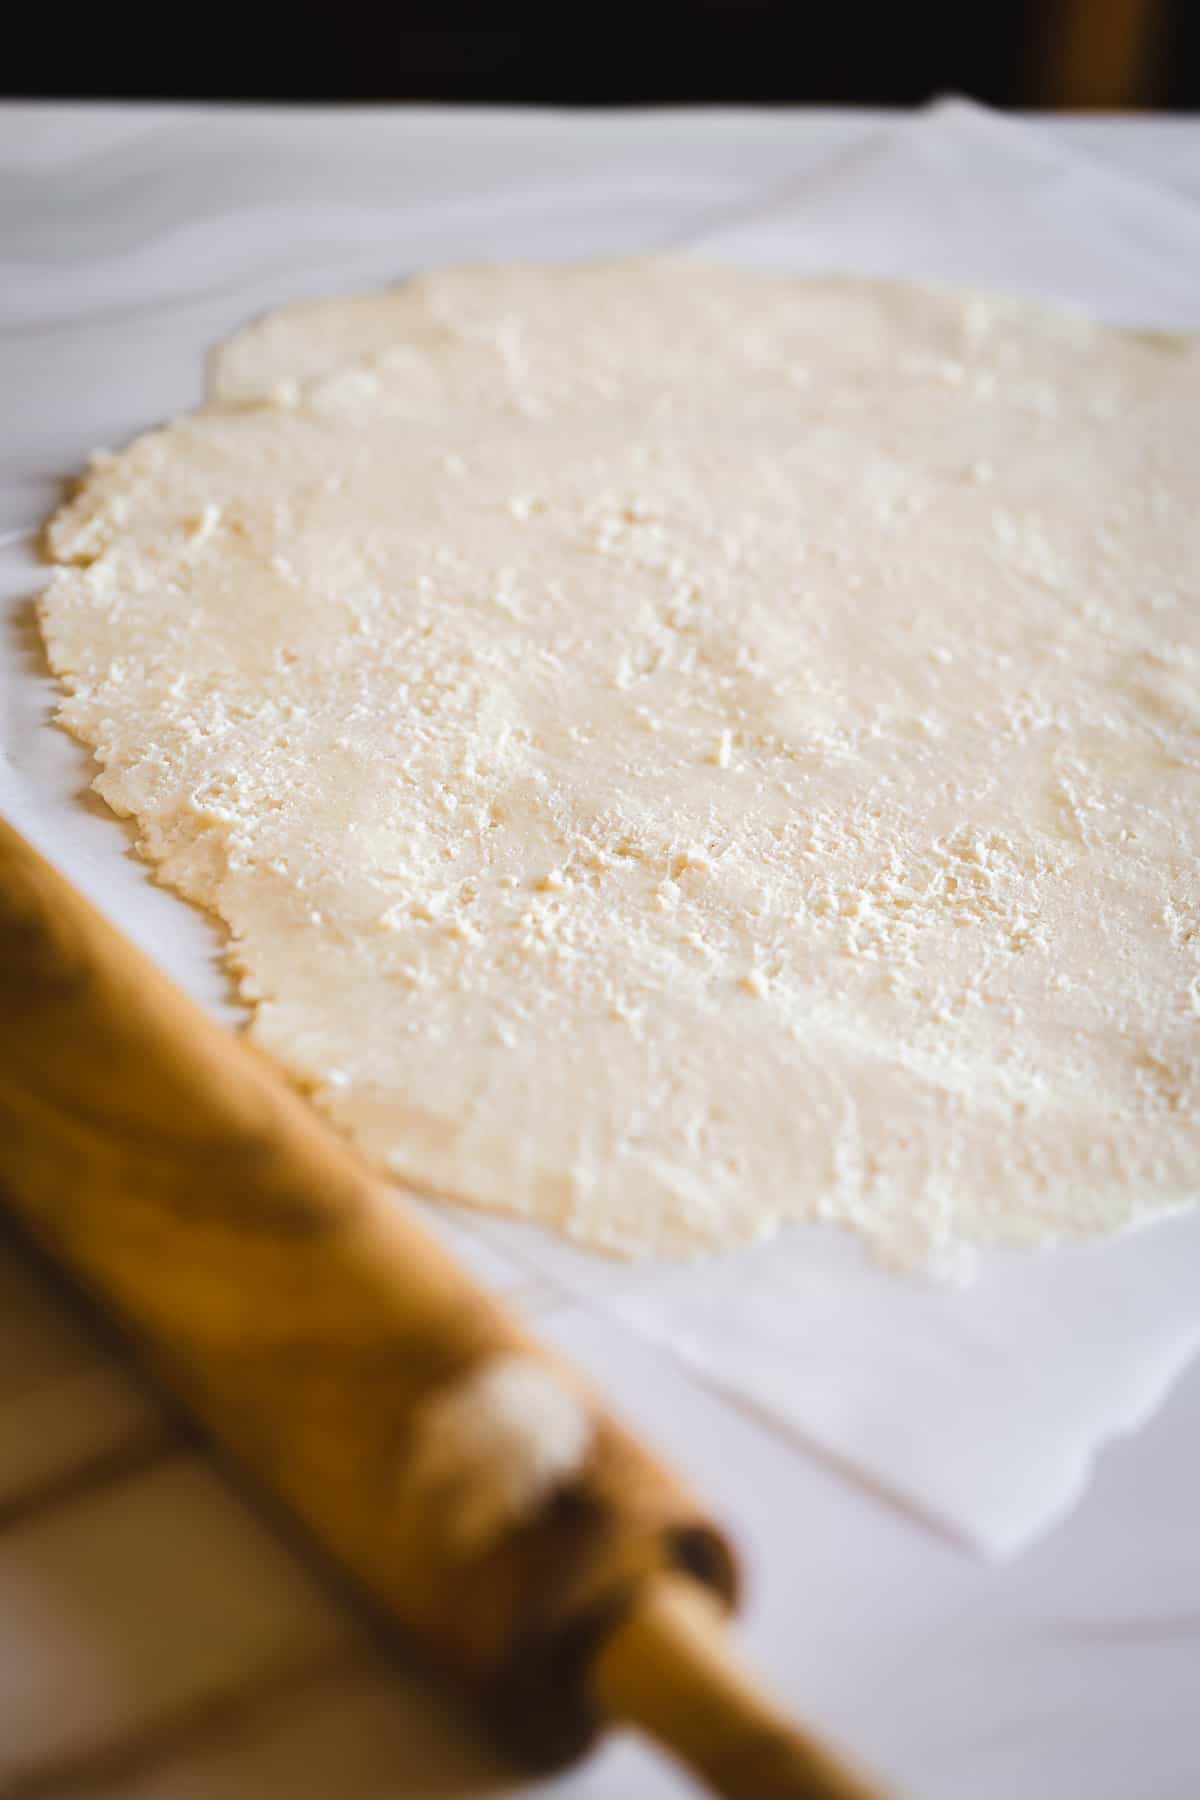
Roll the bottom of the crust between the two pieces of parchment to a uniform thickness with light, even strokes. Roll out a circle about 1 inch larger than an upside-down pie plate to about ¼-inch thickness.
If you're blind baking the crust, line the chilled crust with parchment paper and fill with dried beans or pie weights to prevent it from puffing up during baking. Adjust them gently so they cover the entire bottom and sides evenly.
After Baking the Pie Crust:
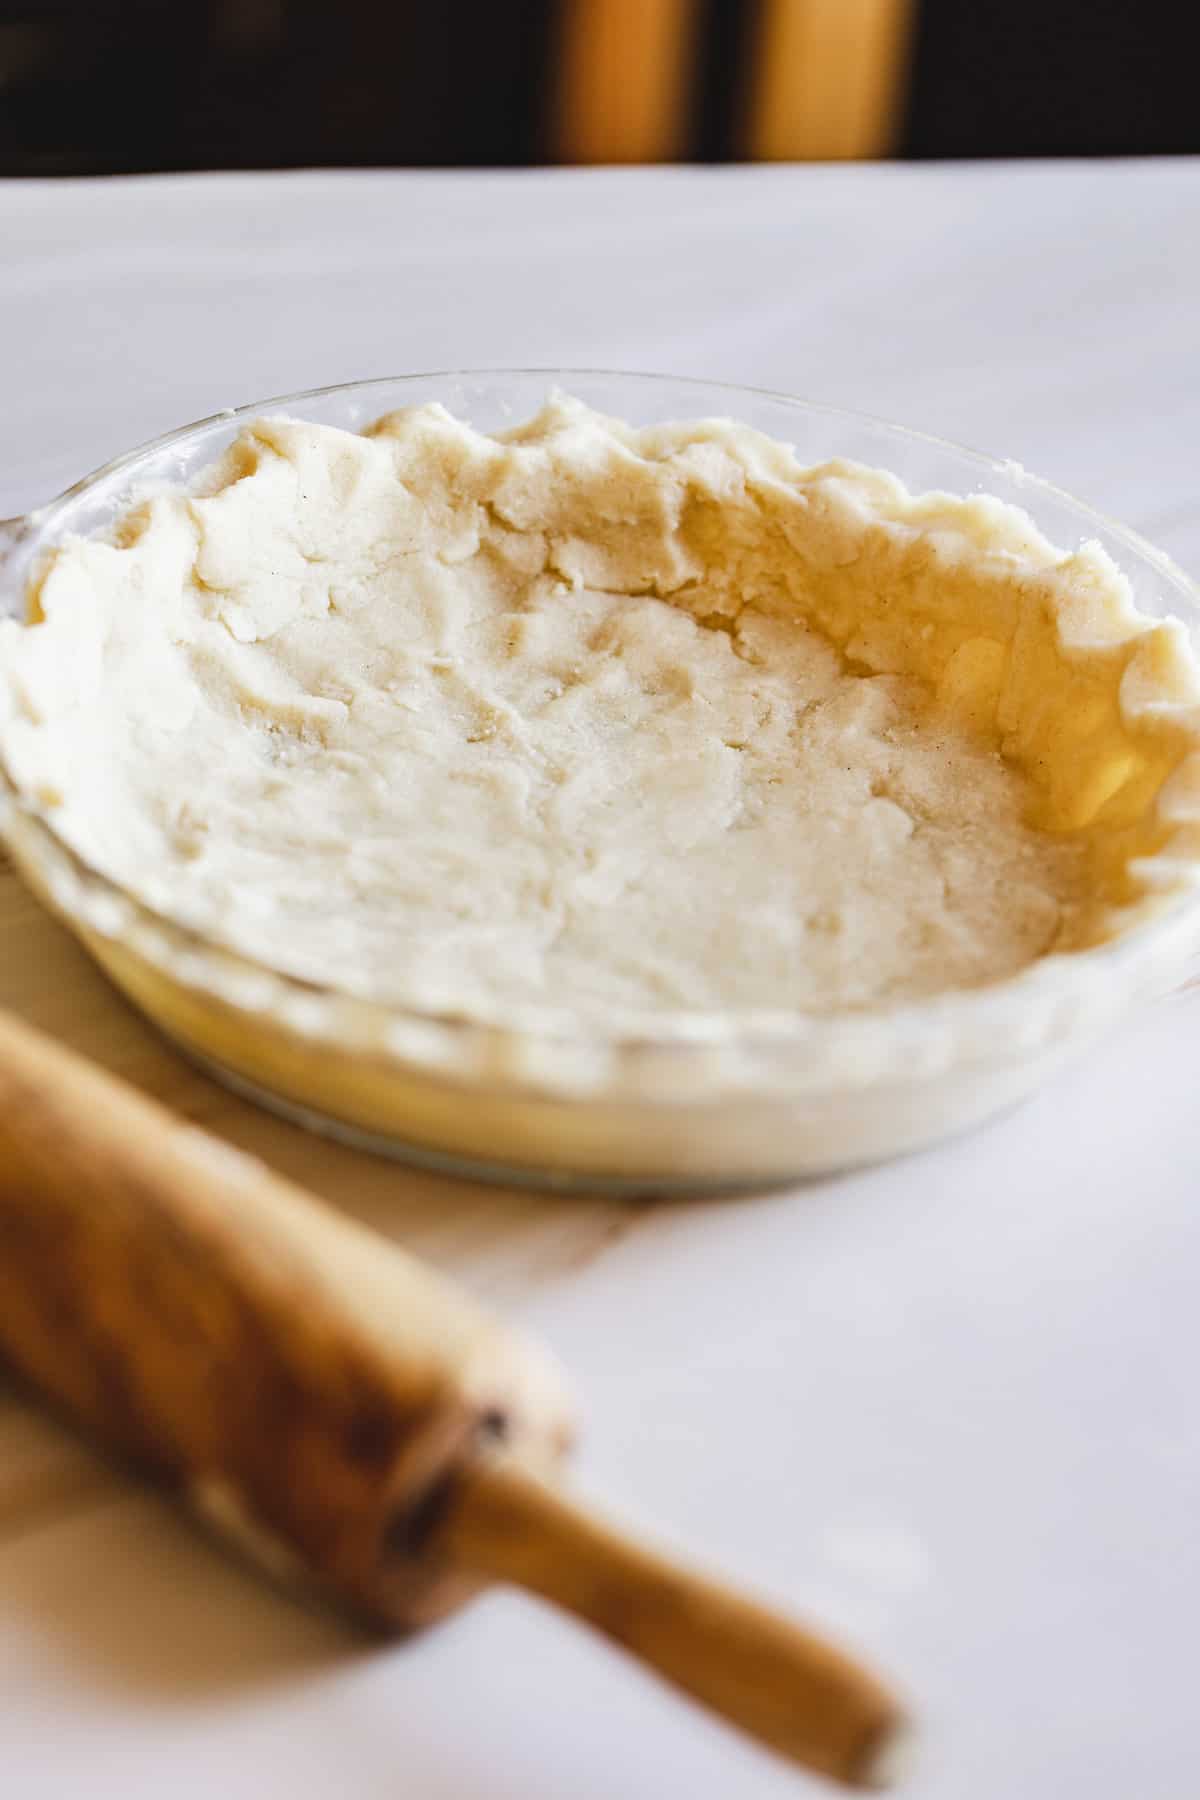
Remove the top layer of parchment paper (if parts tear off, simply stick them back together). Transfer the gluten-free pie crust onto the pie plate using the bottom piece of parchment paper. Invert it and press onto the pie plate using the parchment paper. Gently remove the paper and patch any holes or tears. Flute the edges as desired. Use in your favorite pie recipe or freeze for future use for up to 3 months.
Double Easy Gluten Free Pie Dough!
This recipe makes a 9-inch pie. Make a double batch (or even triple!) of this homemade pie crust, and use the extra for decorations - or for freezing for later.
This recipe can be used for double crust pies. Simply double the ingredients and use for your favorite fruit pies like apple or berry.
Substitutions
This recipe makes a 9-inch gluten free, dairy free pastry. Here are some substitutions you can use:
- Shortening - shortening makes for an inexpensive, flaky and vegan gluten free pastry. You can also use margarine for the same results.
- Whole 30 & paleo & keto - use lard in place of shortening.
Filling for Your Flaky Pie Crust
This is a recipe for pie crust - but everyone knows the other important part of a pie is the pie filling. Here are some of my favorite pie fillings to use with the best gluten free pie crust:
Single Crust Pies to Try
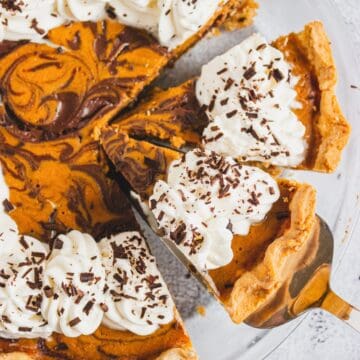
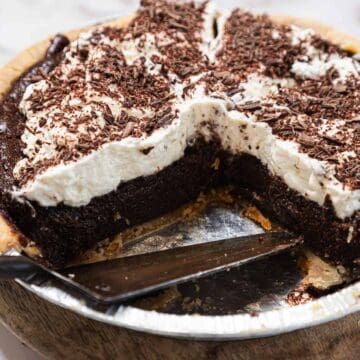
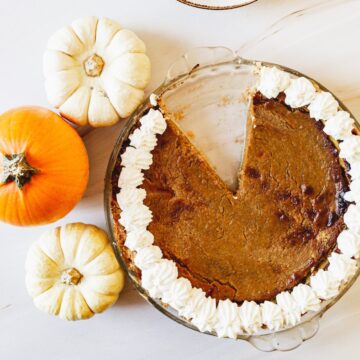
If you're craving a flaky crust, zesty orange, maple syrup, and Thanksgiving flavors, try this easy-to-make Hubbard Squash Pie. It's vegan and paleo, and it's sure to satisfy everyone. For more fall flavors, try this gluten-free and vegan Pumpkin Pecan Pie, or stick to the classics with our traditional gluten-free Pumpkin Pie. If you want a more nuttie pie for your next family gathering, try our Best Gluten-Free Pecan Pie With Maple Syrup And Maple Dulce De Leche Cream.
Double-Crust Pies to Try
If you want to put a double crust to use, look no futher than this incredible Gluten Free Apple Pie with a lattice pie top. Try something new with this flaky and delicious Middle Eastern delight. Try our Ma'amoul Date Pie - the perfect blend of cardamom, cinnamon, and dates.
Filling for Your Flaky gluten free pie crust
After you make the pie, this gluten-free crust can be stored in the refrigerator, wrapped in plastic wrap, for up to 3 days. I recommend making the crust a day or two before making your pie.
This gluten-free pie crust also freezes beautifully. Wrap it in plastic wrap as a ball or shape it into a pie and freeze inside a pie pan or aluminum pie foil, wrapped in plastic wrap. It will keep in the freezer for three months.

Top Tips for Best Gluten Free Pie Crust Ever
Roll the pie crust between two pieces of parchment - this prevents the crust from sticking to your rolling pin and the table. It also makes the crust easier to transport onto your pie plate.
Cold ingredients make for a better crust - gluten-free pies, as well as regular pies, like to be cold. Keep your ingredients as cold as possible right until baking. Then, when your flaky crust is shaped, transfer it to the fridge to cool again before baking. If you're making any pie decorations, cool the rest of the pie while doing so. Basically, try to keep everything as cold as possible - like you would with ice cream.

Recipe
Tried and loved this recipe? Please leave a 5-star review below! Your reviews mean a lot to me, so if you've got any questions, please let me know in a comment.

Easy Flaky Gluten-Free Pie Crust Recipe with Gluten Free Flour
Ingredients
For 1 9- inch pie:
For crust:
- 1 ¼ cup all-purpose gluten free flour
- ¼ teaspoon salt
- 2 tablespoon sugar
- ½ cup shortening chilled
- 1 One small egg OPTIONAL
- 1-4 tablespoons cold water if using egg, use 1 tablespoon of water; if not using egg, use 4.
- 1 tablespoon white vinegar
Instructions
- To make the crust, combine flour, sugar and salt in a mixing bowl. Alternatively, you can also process this in the food processor for 10 seconds.
- Cut chilled shortening into flour with two knives until mixture is uniform and shortening resembles large peas. Do not overwork. You can also add this to the food processor in pulses.
- Beat egg (if using), water and vinegar together. Pour evenly over the flour mixture. Stir with wooden spoon until well combined and all of the mixture is moistened. If making dough in a food processor, slowly add in the liquid mixture gradually, with the motor running.
- Without overworking it too much, shape dough into a ball and lightly flatten into a circle of about 10 cm. Wrap and chill for 30 minutes (or longer, if making ahead). If freezing, double wrap in plastic and freeze for up to 3 months.
- When the crust has cooled and you're ready to bake the pie, cover your working surface with parchment paper. Lightly dust it with flour. Transfer dough onto the lightly floured piece of parchment paper, and cover with another piece of parchment paper. Roll dough between the two pieces of parchment to a uniform thickness with light, even strokes. Roll out a circle about 1 inch larger than an upside-down pie plate, to about ¼-inch thickness.
- Remove the top layer of parchment paper (if parts tear off, simply stick them back together). Using the bottom piece of parchment paper, transfer the gluten free pie crust onto the pie plate. Invert it, and press onto the pie plate using the parchment paper. Gently remove the paper, and patch any holes or tears. Flute the edges as desired. Use in your favorite pie recipe, or freeze for future use for up to 3 months.


Jill says
Outstanding! Used for empanadas today. Melt in your mouth!
kseniaprints says
Oh that makes me so happy!!! What filling did you use?
Joel says
I made cherry pie using this crust for Thanksgiving. It was so close to another non-GF recipe I use regularly that I decided to add the difference in ingredients and make a double crust pie. It turned out amazingly well, getting rave reviews from both my GF and non-GF guests. It was tricky flipping the top crust in place (because you really don’t get a second chance), but slight imperfections can be corrected without too much difficulty. It tasted just like my non-GF crusts. Definitely a keeper!
kseniaprints says
I love that!!! Happy Thanksgiving 🙂
Caitlin R Low says
Hi! Can you help me understand 2mL1/4 tsp salt? I think this may be a typo?
Michelle Datch says
Hi! Yes, this was a typo, thank you for pointing that out. Its 2¼ tsp.
Marcy Walczak says
I don't know if I missed it but what temperature do you bake it and for how long?
kseniaprints says
It will depend on what pie recipe you use it in. Some require blind baking, others don't. Usually, pies are baked at 325-350F, and blind baking is usually 15 mins when required.
Hope this helps!