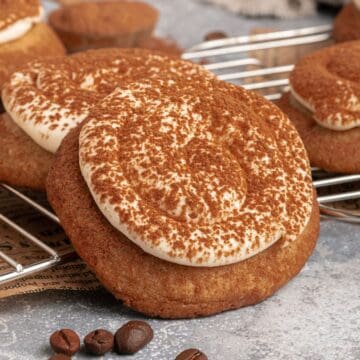
These strawberry almond thumbprint cookies belong beside coffee, cocoa, and holiday candles, keeping their soft crumb long after baking day.

I have learned to judge cookies the same way my grandmother judged winter coats in Jerusalem. Not by how they look on the first day, but by how they hold up after living with you for a while.
A good coat still fits after rain, wind, and being passed from one child to another. A good cookie still feels right after sitting quietly on the counter, tucked into a tin, waiting to be offered with tea.
These strawberry almond thumbprint cookies earned their place that way. I baked a batch on a weekday between errands and preschool pickup. Leo parked toy cars under the table. Lin drew strawberries that looked like red suns. My husband hovered, asking if the cookies were for guests or for us, which usually means both.
I cooled them on the tray, tucked them into a tin, and left them on the counter. Every day, for five days, I took one out. The center stayed soft. The edges kept their shape. The jam settled into the cookie instead of sinking or turning sticky.

That did not happen by chance. Years of plant based baking taught me how cookies age. Almond butter and oil keep moisture without the heaviness of butter. A modest amount of oat milk is enough to bring the dough together without making it soggy by day two. Cornstarch keeps the crumb tender instead of sandy.
Filling the wells so the jam sits slightly below the rim lets it bake into the cookie instead of spilling out and hardening. These are the small choices that let a tray of cookies survive real family life.

Strawberries already thread through our seasons. In our house, strawberries show up everywhere once winter loosens its grip. They appear in paleo strawberry scones on slow mornings, in a pan of no-bake strawberry tiramisu when I need a make-ahead dessert in the fridge, and frozen into berry yogurt bark that the kids check every few minutes.
These thumbprints are another way to set that same flavor on the table, at home in a Hanukkah tin, beside Russian tea glasses, or on any mixed, noisy holiday plate.
Ingredients

- Almond butter - The base of these thumbprints. It gives structure, gentle richness, and a soft chew that keeps well for days. Use smooth, unsweetened almond butter that needs a stir and is not packed with stabilizers. If you prefer a peanut flavor, natural peanut butter (unsweetened, non-emulsified) works in the same amount and still holds a neat thumbprint.
- Oat milk - Oat milk loosens the dough so it mixes smoothly without adding too much liquid. It helps the sugar dissolve into the almond butter and keeps the centers from drying out after baking. Any mild non-dairy milk, like soy or almond, can stand in. I skip full fat coconut milk, which changes the fat balance and can make the cookies feel a bit drier.
- Strawberry jam - Choose a thicker jam with small pieces of fruit so it stays put in the well and bakes into a soft pool instead of running over the sides. For variety, raspberry, apricot, or blackberry jam work the same way. The dough was tested with all of them, so you can mix flavors on one tray without adjusting the recipe.
See the recipe card for full list and exact quantities.
How to Make Strawberry Almond Thumbprint Cookies Recipe

When you are ready to bake, this classic recipe comes together in one bowl, turning light and fluffy before you shape the almond dough and add the strawberry centers. Here is how to walk through each step so the cookies hold their shape and the jam stays put:
Preheat the Oven and Prepare the Trays
Set your oven to 325°F (160°C). Line baking sheets with parchment paper. The parchment keeps the bottoms from browning too quickly and makes it easier to lift the cookies once they are cool.
Mix the Almond Butter Base


There should be no visible streaks of oil or thicker patches of almond butter. If the mixture looks separated or oily on top, keep mixing until it comes together. A unified base helps the sugar and flour fold in evenly and keeps the cookies from baking up patchy or greasy.
Add the Sugar, Oat Milk, and Vanilla


At this stage, you are looking for a texture similar to a loose nut butter frosting. If it looks gritty or very stiff, give it another short mix so the sugar can dissolve into the almond butter. If it turns very thin or runny, your almond butter may be too oily; add a spoonful of flour later, only if the dough feels very sticky once all the dry ingredients are in.
Fold in the Dry Ingredients


The dough should look thick and soft, and it should pull away from the sides of the bowl in one mass. It should not crumble or crack when pressed, but it also should not flow like cake batter. If it crumbles, add a teaspoon of oat milk at a time and mix gently. If it feels very sticky, dust in a bit more flour, a spoonful at a time, until it rolls easily in your hands.
Shape the Cookie Dough

The dough balls should feel soft but not sticky. If they cling heavily to your hands, chill the bowl in the fridge for 10 to 15 minutes before shaping the rest. Good spacing here helps the cookies bake with neat edges and prevents them from merging into each other.
Make the Thumbprints

You want the well to be deep enough to hold jam, with walls that stay intact. If you see large cracks along the edges, gently pinch and press them back together. Small surface lines are fine and often soften during baking, but wide cracks can allow jam to leak out and harden on the tray.
Fill with Strawberry Jam

If you add too much jam, it will bubble over during baking and form sticky streaks along the sides. If you add very little, the center can look sunken once the cookies cool. Aim for a full but contained pool of jam that feels secure when you tilt the tray gently.
Bake the Cookies

You are not looking for much color change. The edges should feel set when you tap them lightly with a fingertip, while the centers may still look slightly soft and glossy around the jam. If the bottoms are turning deep brown, your oven may run hot; reduce the time for the next batch. If the cookies feel very soft across the whole surface after 17 minutes, give them a couple more minutes, watching closely.
Cool on the Tray and Serve

If you move them too soon, the cookies can bend or crack around the jam. Once cool, the edges should feel firm, the centers soft but stable, and the jam slightly set on top. At that point, they are ready to serve or to tuck into a tin for the days ahead.
Storage

For short-term storage, cool the strawberry almond thumbprint cookies completely so the jam sets. Store in an airtight container at room temperature for up to 5 days, in a single layer or with parchment between layers so the jam centers do not stick. In very hot or humid weather, keep them in a cool spot or the fridge and bring to room temperature before serving.

For longer storage, these cookies freeze well. Arrange them in a single layer on a baking sheet and freeze until solid, then move them to a freezer-safe container or bag with parchment between layers. Freeze for up to 1 month and thaw uncovered at room temperature.
Top Tips
Keep the almond butter at room temperature - cold almond butter makes the dough streaky and harder to mix, which can lead to cracks. Let the jar sit at room temperature until it stirs easily. Soft almond butter blends smoothly with oil and sugar, so the dough comes together evenly and bakes with a consistent texture.
Choose a thicker jam for better wells - thin, syrupy jam tends to boil over and harden on the tray. Use a thicker jam that holds its shape on the spoon and sits in a small mound in the well. If your jam is very loose, reduce it on low heat for a few minutes or stir in a little chia seed and let it thicken before filling the cookies.
Recipe
Tried and loved this recipe? Please leave a 5-star review below! Your reviews mean a lot to me, so if you've got any questions, please let me know in a comment.

Strawberry Almond Thumbprint Cookies
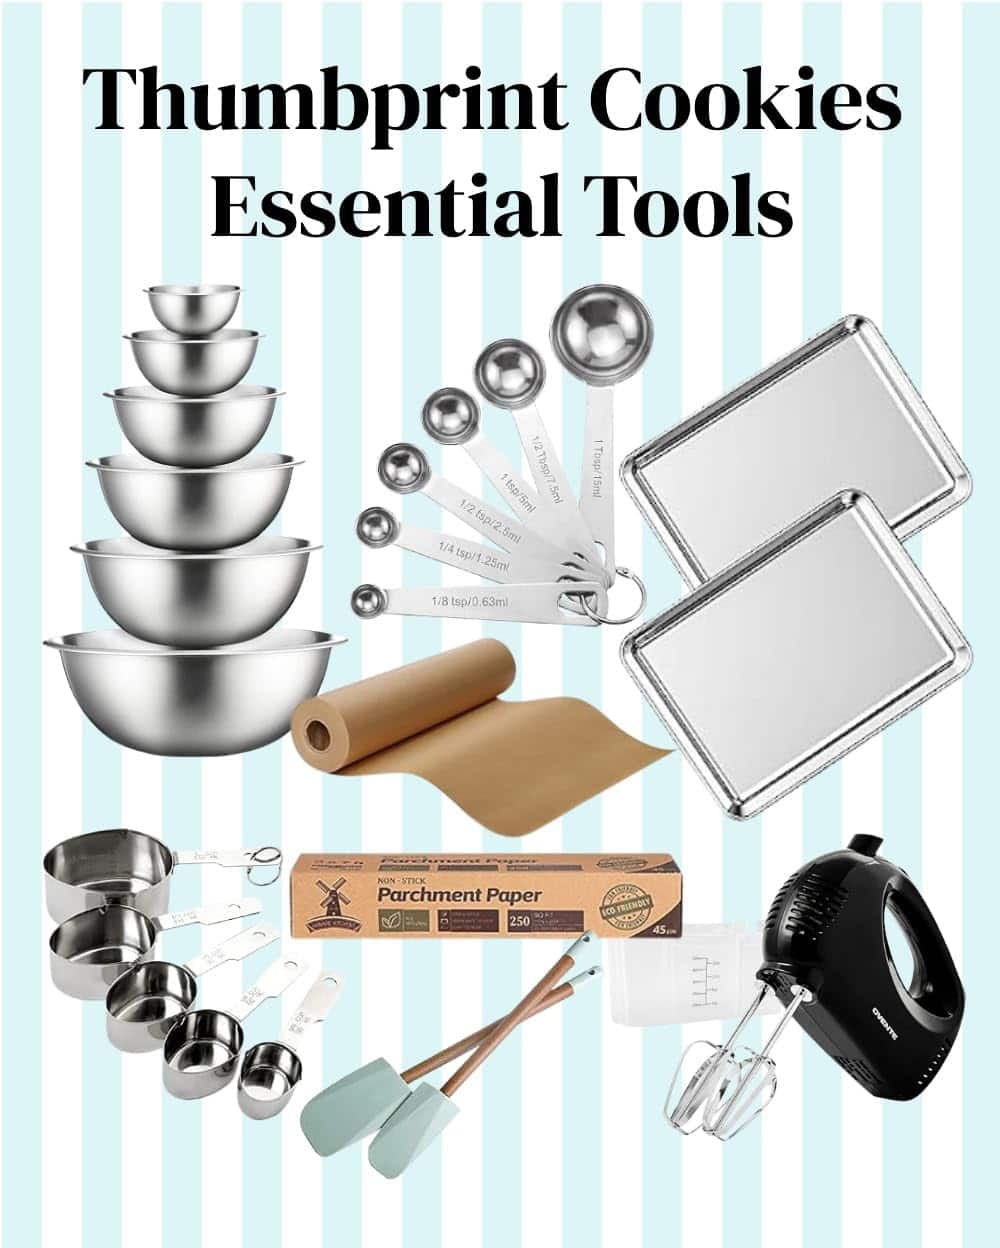
Equipment
- Hand mixer or whisk
- Rubber spatula or wooden spoon
- Measuring Cups and Spoons
Ingredients
- 1 cup (240g) creamy almond butter unsalted
- 1⁄4 cup (60ml) neutral oil
- 1 cup (200g) granulated sugar
- 3 tbsp (45ml) oat milk
- 1 tsp (5ml) vanilla extract
- 1 cup plus 6 tablespoons (165g) all purpose flour
- 2 tbsp (16g) cornstarch
- 1⁄2 tsp (2g) baking powder
- 1⁄2 tsp (3g) salt
- 1⁄4 cup (60ml) strawberry jam
Instructions
- Preheat the oven to 325°F (160°C). Line 1 or 2 baking sheets with parchment paper so the cookies release easily and the bottoms do not brown too fast.
- In a large bowl, whisk together the almond butter and neutral oil until the mixture looks smooth and glossy. You should not see streaks of oil or thick clumps of almond butter.
- Add the sugar, oat milk, and vanilla. Beat or whisk until the mixture is thick and creamy. It should look like a smooth nut butter paste.
- Sprinkle the flour, cornstarch, baking powder, and salt over the bowl. Fold everything together with a spatula until no dry patches remain. The dough should be soft, thick, and easy to roll without crumbling.
- Scoop slightly heaping tablespoon portions of dough. Roll each scoop between your palms into a smooth ball. Arrange the balls on the lined baking sheets with about 2 to 3 inches (5 to 8 cm) between them so they have room to spread.
- Cup one dough ball in your hand and press your thumb, knuckle, or the back of a teaspoon into the center to form a well. Press slowly so the dough moves outward instead of cracking. Pinch any big cracks back together so the jam will not leak.
- Spoon strawberry jam into each indentation. Fill almost to the top, but keep the jam slightly below the rim so it does not flow over the sides in the oven.
- Bake the cookies for 15 to 17 minutes, until the edges feel set and the bottoms are lightly golden. The centers around the jam will still look a bit soft.
- Leave the cookies on the baking sheet to cool completely. This helps the centers finish setting and the jam thicken in the wells. Once cool, move them to a plate or tin and serve.