Want to try pickling at home but don't know where to start? You've come to the right place. Pickling is a great way to preserve your favorite veggies, adding a punch of flavor and crunch to your meals. Whether you're a total newbie or just looking to sharpen your skills, these tips on fermenting for beginners will set you on the path to pickling success.
No fancy jargon or complicated steps here-just straightforward advice to help you pickle like a pro. Pickling isn't just for seasoned chefs; it's something anyone can master with a bit of practice. Plus, homemade pickles are a perfect addition to sandwiches, salads, and snacks, making your meals even better.
With the right guidance, you'll be turning out jars of crisp, flavorful pickles in no time. Think of it as a fun kitchen project that rewards you with amazing results. We'll cover everything from selecting the best produce to nailing the brine ratio. Ready to get started? Let's jump in and make some great pickles!

Start Simple
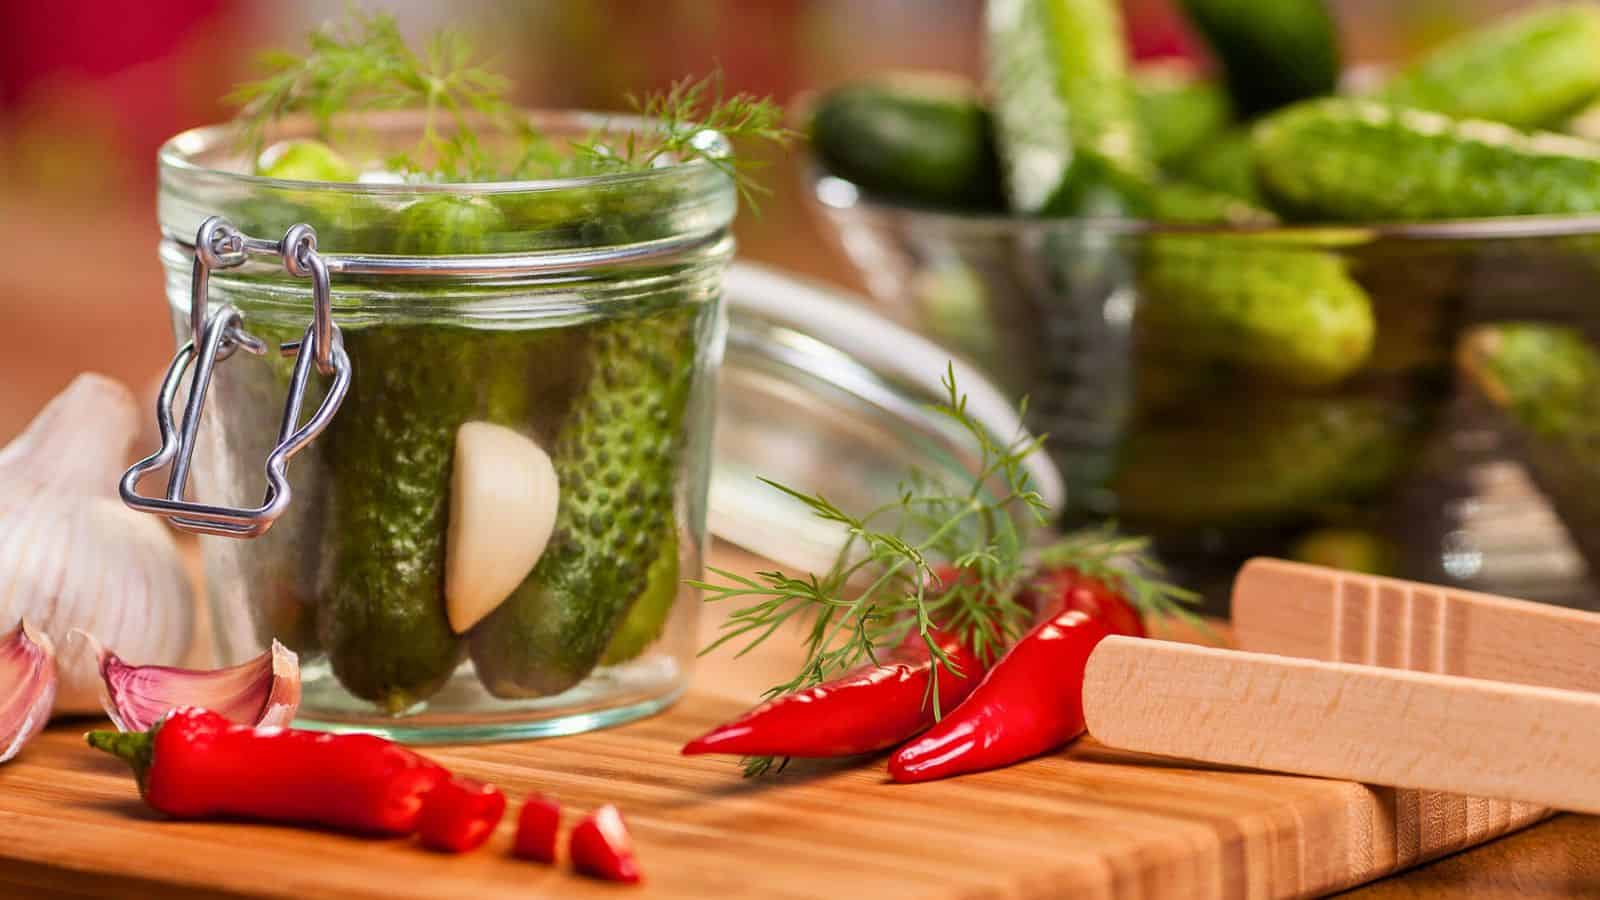
When you're new to pickling, it's a good idea to start with straightforward recipes. Pick vegetables like cucumbers or carrots, which are forgiving and easy to work with. This way, you can get a feel for the process without worrying about more complex techniques. Once you're comfortable, you can branch out into other vegetables and fruits. Keeping it simple initially helps build confidence and a solid foundation for future pickling projects. Don't overwhelm yourself with too many ingredients or complicated steps at the beginning.
Use Fresh Produce

Freshness is crucial for great pickles. Using the freshest vegetables and fruits results in crisper, more flavorful pickles. Vegetables that are past their prime may become mushy and lack the desired crunch. Always select produce that is firm, free from blemishes, and ripe. Local farmers' markets are great places to find fresh, high-quality vegetables. If you grow your own, pick them at their peak ripeness for the best results. Remember, the fresher the produce, the better the final product will be.
Clean Thoroughly

Cleanliness is vital in pickling to avoid contamination and spoilage. Thoroughly wash all produce to remove dirt and pesticides. Sterilize your jars and lids by boiling them for at least 10 minutes before use. This step kills any harmful bacteria that could ruin your pickles. Clean all utensils and surfaces to maintain a hygienic environment. Good hygiene practices help prevent the growth of unwanted microbes and make sure your pickles are safe to eat. Never skip this step, as it's key to successful pickling.
Choose the Right Vinegar

The type of vinegar you use affects the flavor of your pickles. White vinegar is a versatile option that works well with most recipes. It has a neutral flavor that doesn't overpower the vegetables. Apple cider vinegar, on the other hand, adds a slightly fruity note, which can complement certain pickles. Make sure your vinegar has at least 5% acidity to properly preserve your pickles. Try out different types of vinegar to discover what you like best, but always make sure it's food-grade and safe for pickling.
Salt Matters
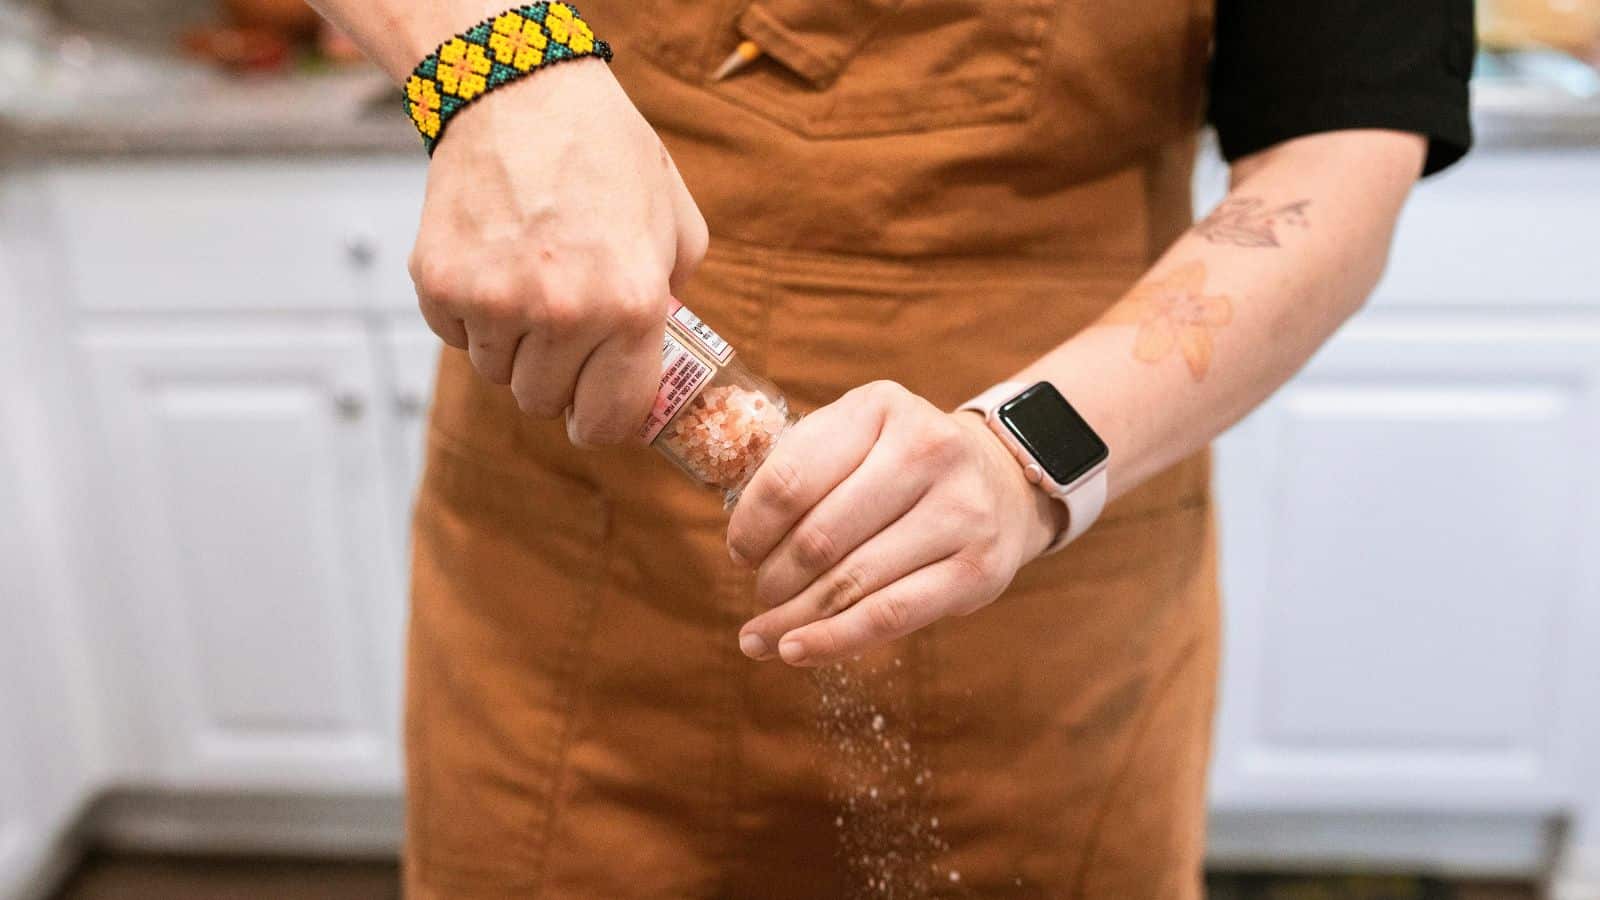
The kind of salt you use can make a big difference in your pickles. Pickling salt or kosher salt is ideal because they don't contain additives that can cause cloudiness in your brine. Iodized salt can give your pickles an off taste and make the brine murky. Salt not only enhances flavor but also helps in the preservation process. It's important to measure salt accurately according to your recipe to maintain the correct salinity, which helps keep your pickles fresh and crunchy.
Water Quality

Water quality is another critical factor in pickling. If your tap water is hard or has a strong chlorine taste, it can affect the flavor of your pickles. Using distilled or filtered water helps avoid these issues. Chlorine can interfere with the fermentation process, so it's best to use water that's free of chlorine and other impurities. If you're unsure about your tap water quality, it's safer to use distilled or filtered water to guarantee the best possible outcome for your pickles.
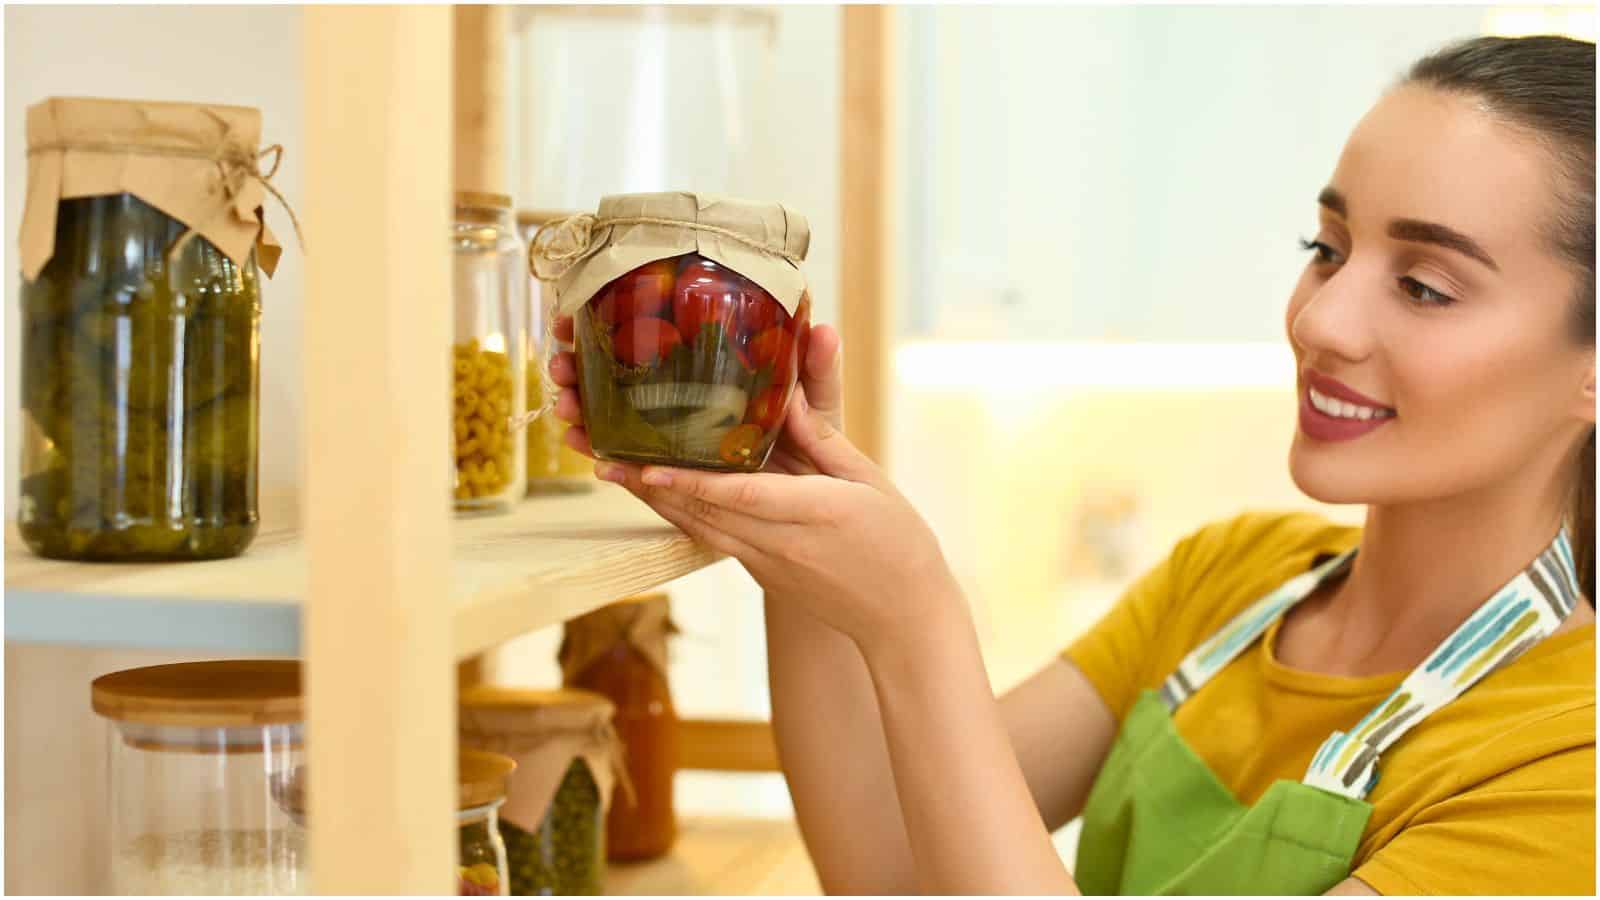
Sterilize Jars

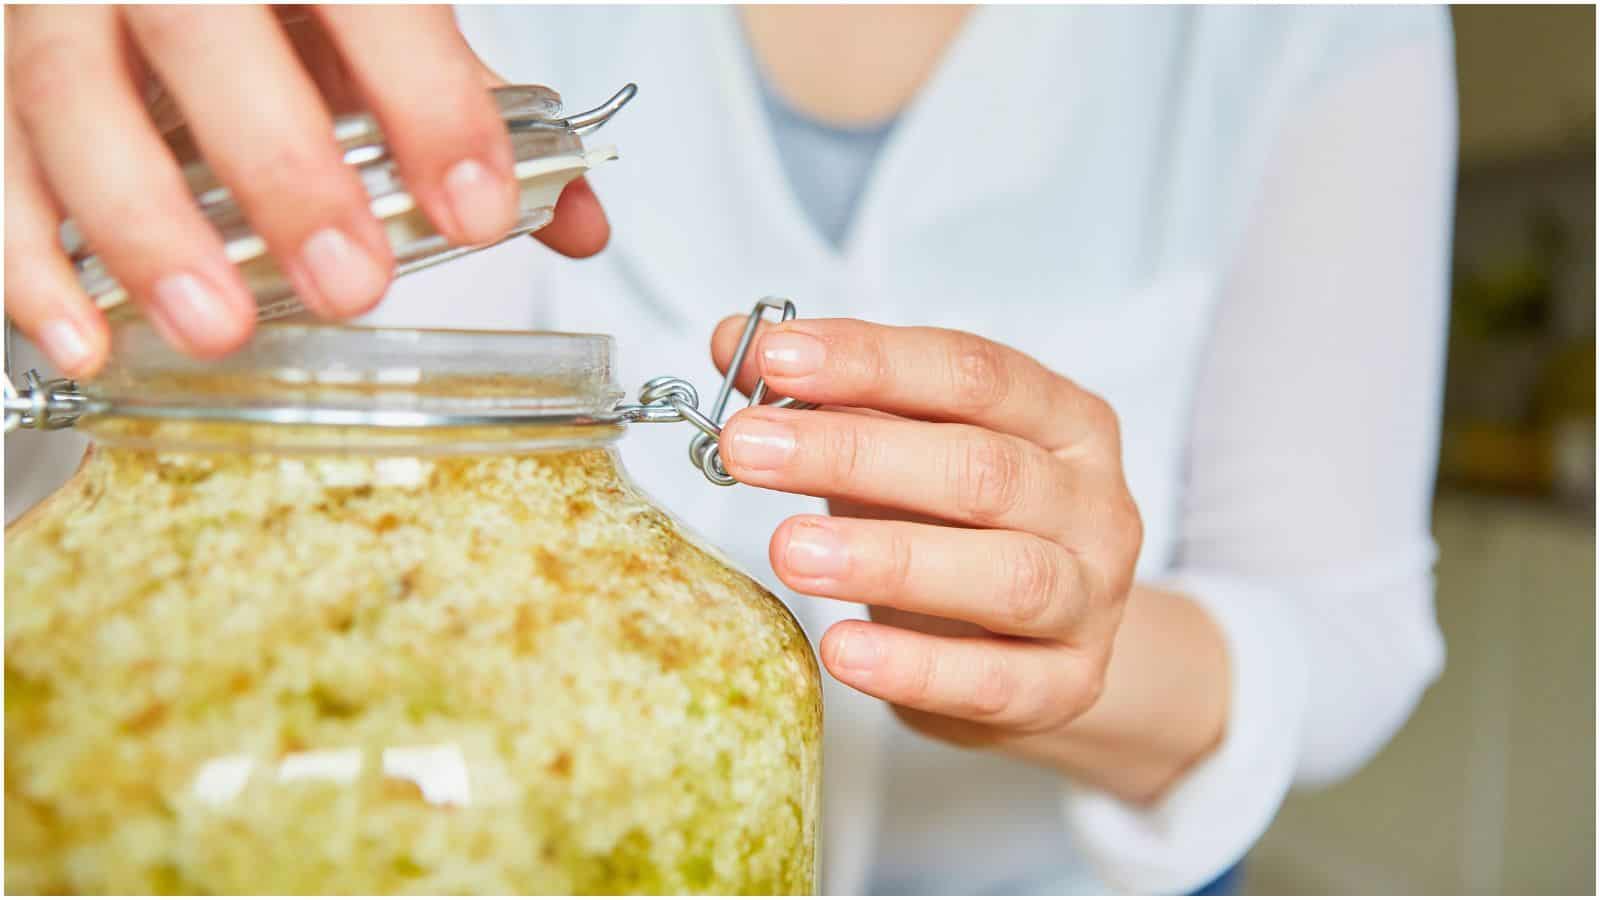
Sterilizing jars is an essential step in pickling. This process eliminates any bacteria or contaminants that could spoil your pickles. Boil your jars and lids for at least 10 minutes to make sure they are completely sterile. After boiling, let them air dry on a clean towel. Handle them with clean hands or sterilized tongs to avoid introducing any bacteria. Sterilizing jars is crucial for food safety and helps extend the shelf life of your pickles.
Brine Ratio

Maintaining the right brine ratio is key to successful pickling. A balanced brine usually consists of a 1:1 ratio of vinegar to water. This makes sure that the acidity is high enough to preserve the vegetables and prevent the growth of harmful bacteria. Too much water can dilute the acidity, while too much vinegar can make the pickles overly sharp. Follow your recipe carefully to get the correct balance, which will give your pickles a great taste and proper preservation.
Add Spices

Adding spices to your pickles enhances their flavor and makes them more interesting. Common spices used in pickling include dill, garlic, peppercorns, mustard seeds, and bay leaves. These spices infuse the pickles with their distinct aromas and flavors. Feel free to adjust the amount and combination of spices according to your preference. Remember, spices can significantly change the flavor profile of your pickles, so start with small amounts and adjust as needed.
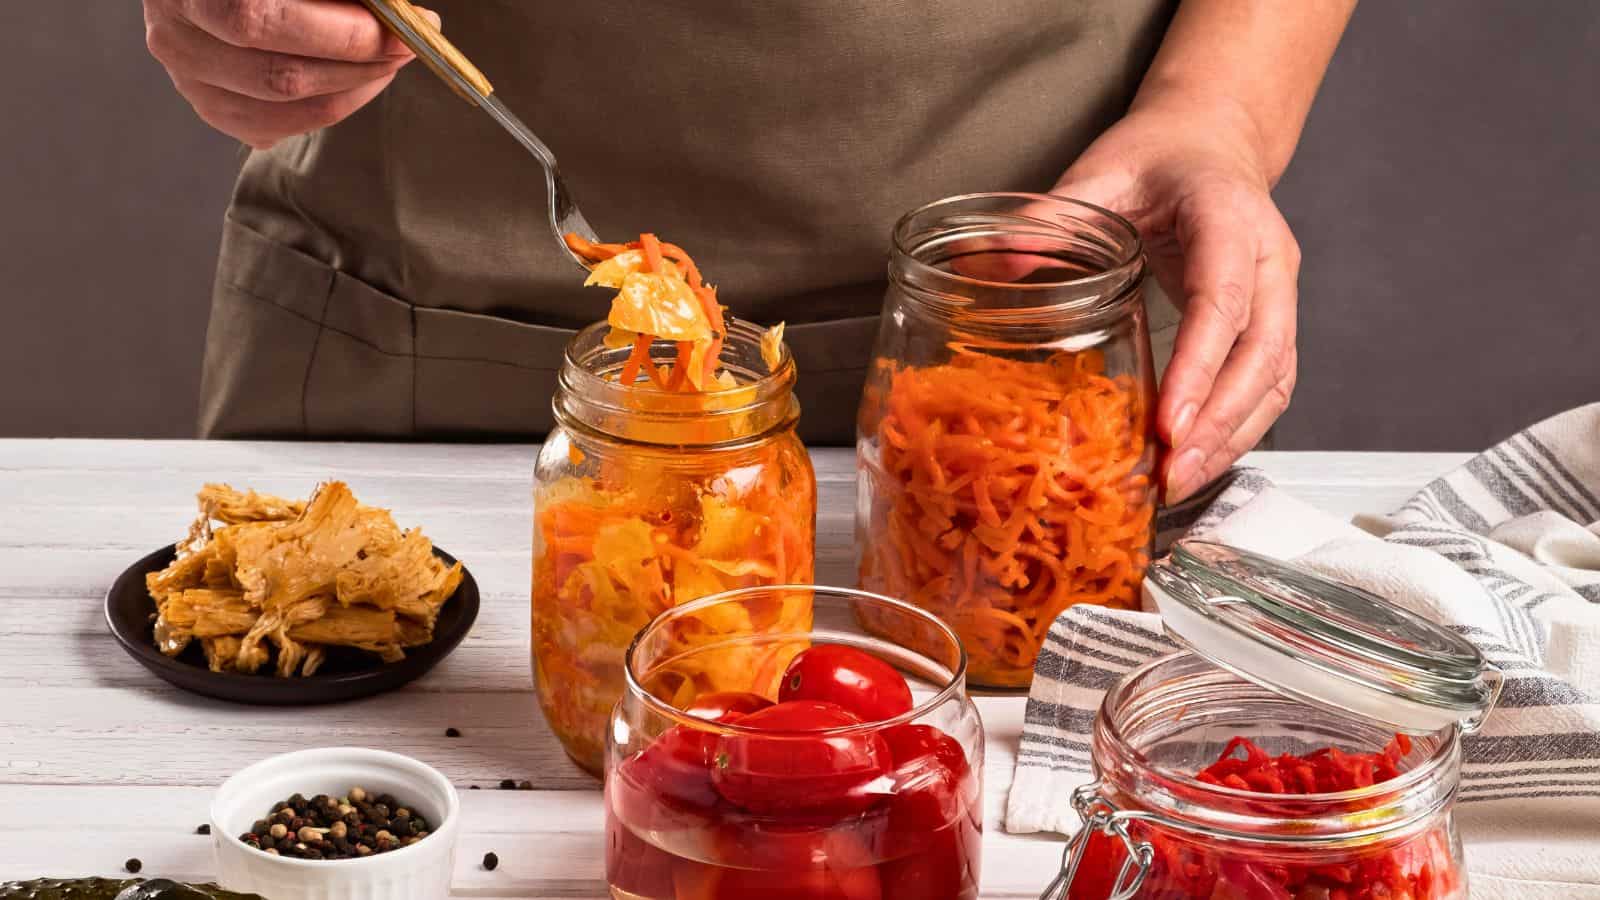
Cut Uniformly
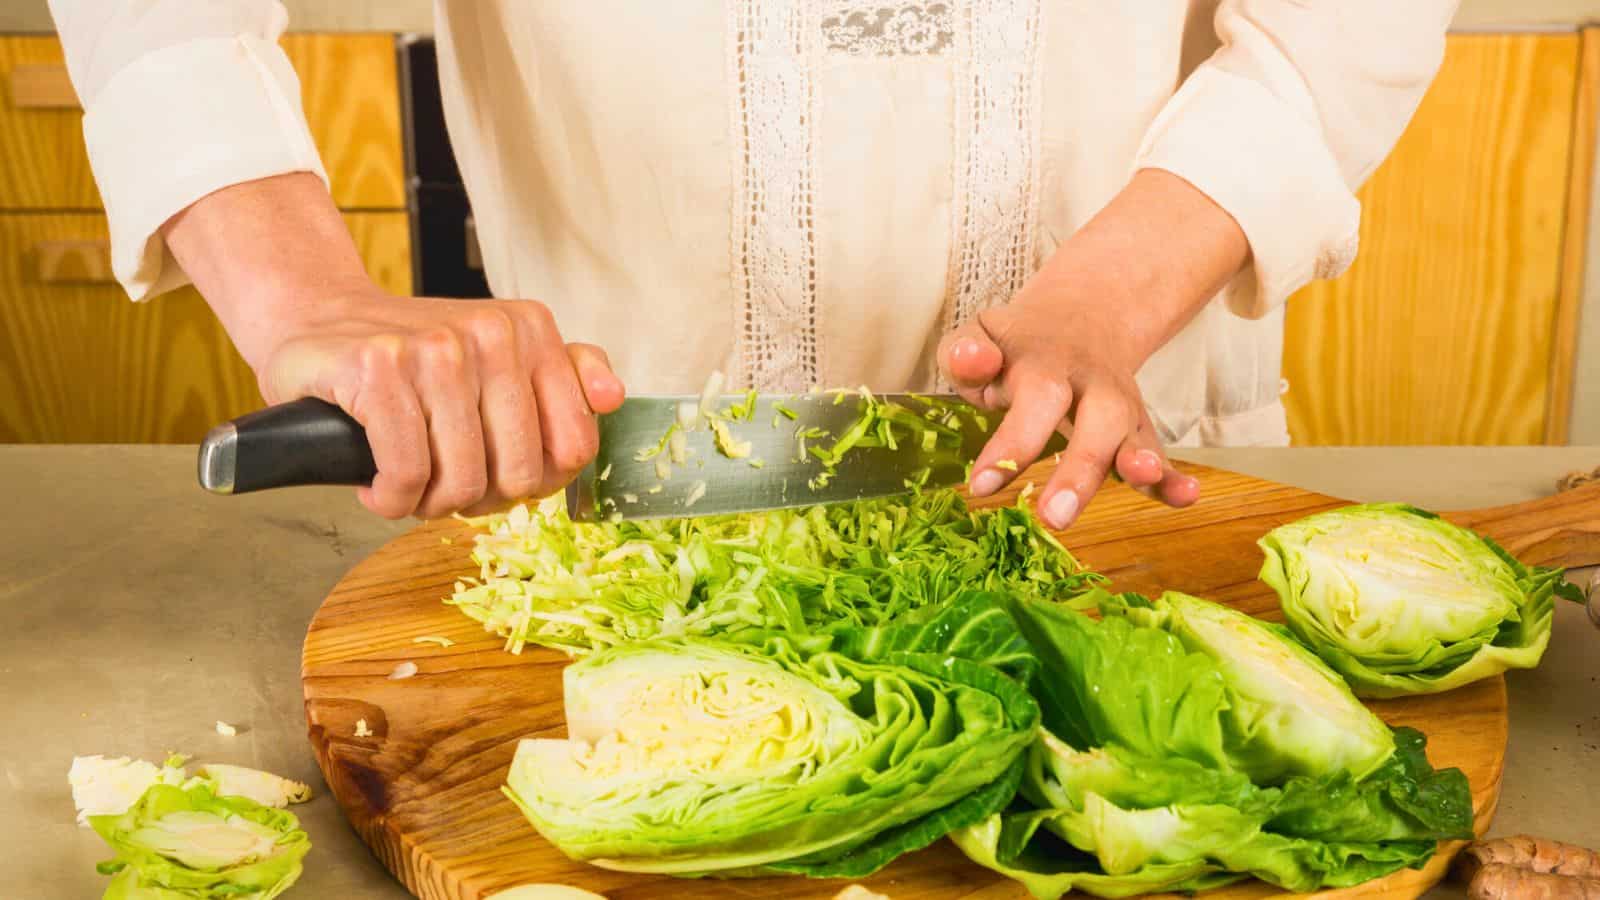
Cutting vegetables uniformly guarantees they pickle evenly. When vegetables are cut to the same size, they absorb the brine at the same rate, leading to a consistent texture and flavor. Use a sharp knife or mandoline slicer to achieve even cuts. This is especially important for vegetables like cucumbers and carrots. Uniform slices also make your pickles look more appealing and professional. Taking the time to cut your vegetables evenly pays off in the final product.
Avoid Air Bubbles
Trapped air bubbles can affect the quality of your pickles. After filling your jars with vegetables and brine, tap the jars gently on the counter to release any air bubbles. You can also use a non-metallic utensil, like a plastic spatula, to remove bubbles by running it around the inside edge of the jar. This helps guarantee that the vegetables are fully submerged in the brine, which is crucial for proper fermentation and preservation.
Use Weights

Keeping vegetables submerged in the brine is essential to prevent mold and spoilage. Using weights can help with this. Special fermentation weights or simple solutions like a clean rock or a smaller jar can be used to keep your vegetables under the brine. This prevents them from floating to the surface and makes sure they remain in an anaerobic environment, which is necessary for safe fermentation. Proper submersion also helps the vegetables absorb the flavors of the brine evenly.
Label Jars
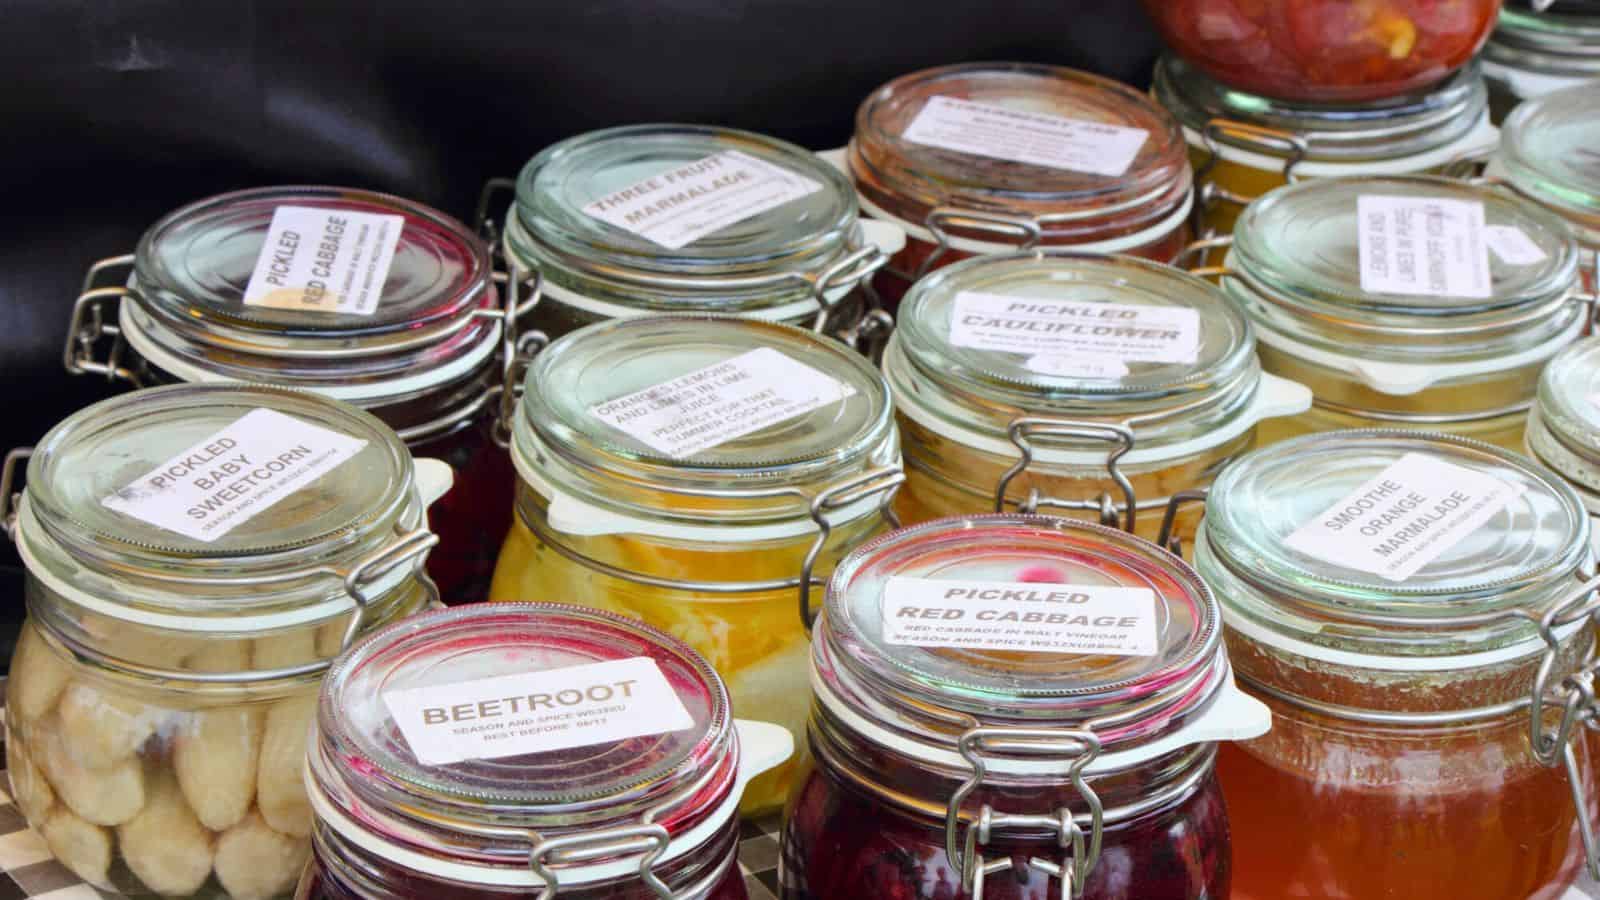
Labeling your jars with the date and contents helps you keep track of your pickling process. This information is especially useful if you're making multiple batches or experimenting with different recipes. Labels help you know when your pickles are ready to eat and allow you to track their shelf life. Use waterproof labels or write directly on the jars with a permanent marker to avoid smudging. Proper labeling is a simple step that can save you a lot of confusion later on.
Temperature Control
The environment where you store your jars during fermentation affects the final product. Pickles ferment best at a consistent, cool temperature, ideally between 65-75°F (18-24°C). Too much heat can speed up fermentation too quickly, while too cold can slow it down. A dark pantry or cupboard is usually a good spot. Avoid direct sunlight and areas with fluctuating temperatures. Proper temperature control helps develop the flavors and makes sure your pickles are safe to eat.
Patience is Key

Patience is crucial in pickling. The fermentation process can take anywhere from a few days to several weeks, depending on the recipe and your taste preference. It's tempting to taste your pickles early, but giving them time allows the flavors to fully develop and the vegetables to absorb the brine. Check your recipe for the recommended fermentation time and try to wait until then before sampling. Remember, good things come to those who wait, and this is especially true for pickling.
Refrigerate After Opening

Once you open a jar of pickles, it's important to store them in the refrigerator to maintain their quality. The cool temperature slows down the fermentation process, preserving the crispness and flavor that make pickles so enjoyable. Always use a clean utensil to remove pickles from the jar to avoid introducing bacteria, which can spoil the pickles and shorten their shelf life. Proper refrigeration significantly extends the time your pickles remain fresh and safe to eat, allowing you to enjoy them at their best for a longer period.
Test and Taste
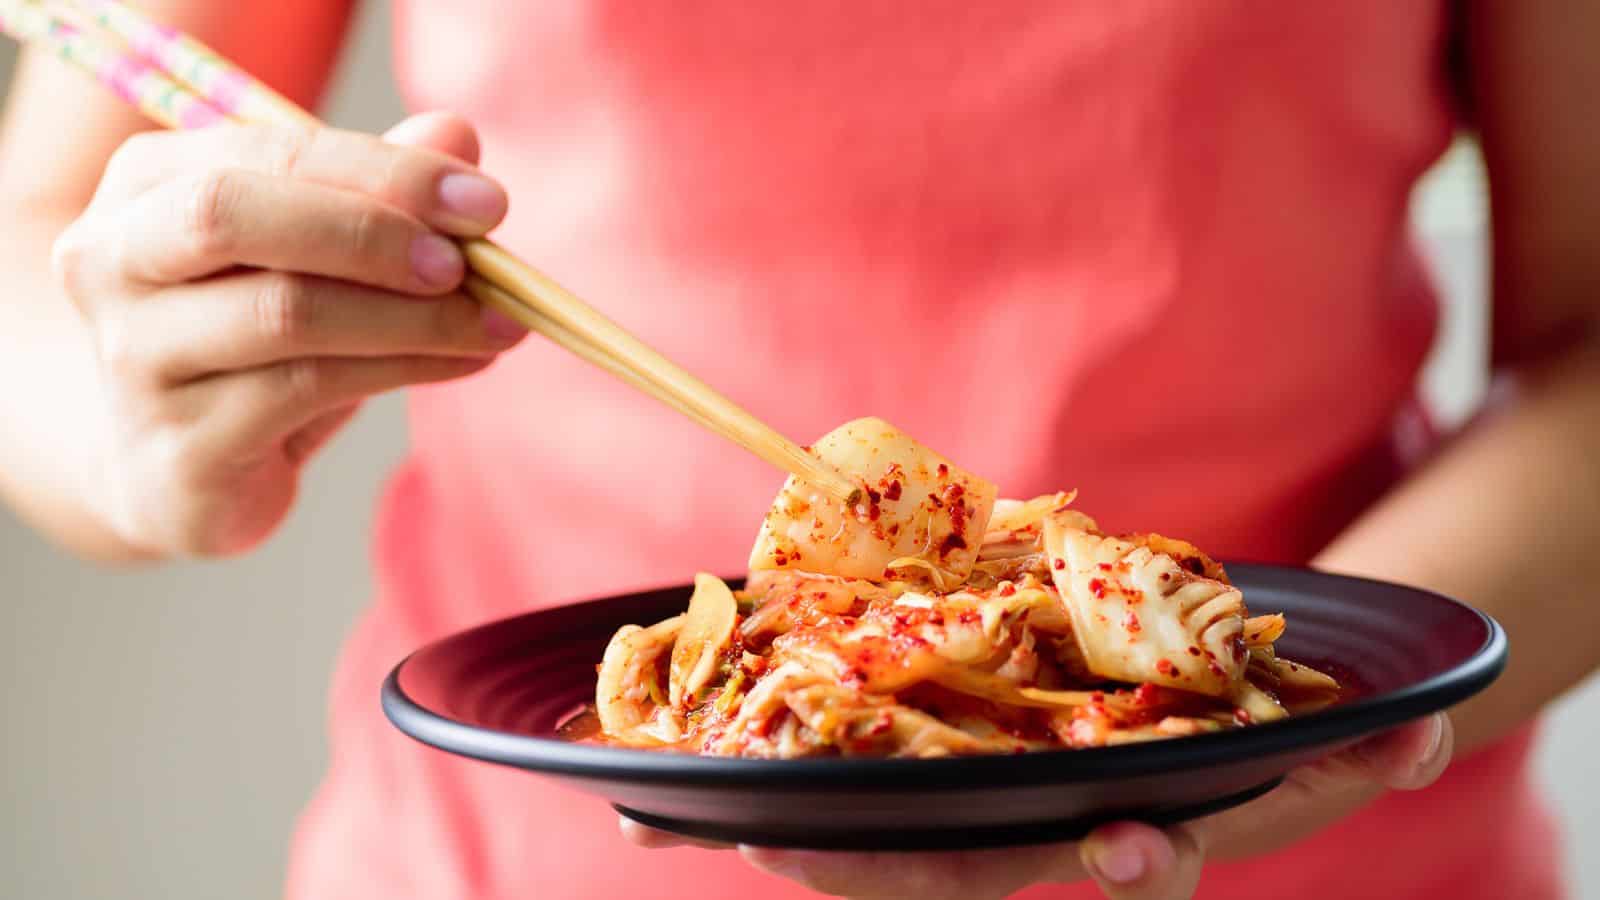
It's important to taste your pickles after the recommended fermentation time to see if they meet your flavor and texture expectations. If they're too mild, you can let them ferment longer. If they're too sour, you might want to reduce the fermentation time in your next batch. Tasting helps you adjust the recipe to your liking and improves your pickling skills. Don't be afraid to try out different flavors and techniques until you find what works best for you.
Experiment with Sweetness

Adding sugar or honey to your brine can create a sweeter pickle, making it a more pleasant variation from traditional sour pickles. The amount of sweetness can be adjusted based on your preference. Start with a small amount, tasting as you go, and increase gradually until you reach the desired level of sweetness. This method allows you to tailor the pickles to your taste, whether you prefer a hint of sweetness or a more pronounced sugary flavor.
Record Your Recipes

Keeping a record of your pickling recipes and any modifications you make is incredibly beneficial. Documenting the types of vegetables used, the brine ratio, spices added, and fermentation times helps you remember what worked well and what didn't. Detailed notes make it easier to replicate successful batches and avoid repeating mistakes, leading to continuous improvement. Additionally, having a record allows you to experiment confidently, knowing you can always refer back to your tried-and-true methods for reliably delicious results.
Brine Time, Anytime!
By now, you should feel confident about diving into the pickling process. These tips have given you a solid foundation, so you can start creating your own great pickles at home. Remember, it's all about fresh ingredients, the right techniques, and a bit of patience. Once you get the hang of it, you'll be amazed at how easy and rewarding it is to make your own pickles.
Pickling is a great way to preserve your favorite veggies and add a burst of flavor to your meals. It's a simple project that anyone can tackle. Plus, homemade pickles are always a hit, whether you're serving them at a family dinner or giving them as gifts. So don't be afraid to get creative and try new things as you go along.
With these tips in your back pocket, you're ready to pickle like a pro. Gather your ingredients, follow the steps, and enjoy the process. Not only will you experience great flavors, you'll also have jars of homemade pickles to enjoy all year round. Happy pickling!