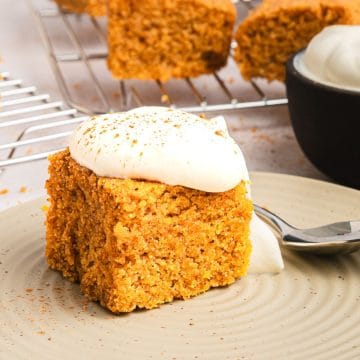
Dates find their way into my kitchen year-round, so I've had plenty of opportunities to test what works and what doesn't. With a soft date filling and buttery oat layers, they're simple to make, freezer-friendly, and loved by both kids and adults.
Some of my favorite childhood afternoons started with a trip to the library. I would come home carrying more books than I could realistically finish, spreading them across the kitchen table before settling into the one that called to me first. Somewhere nearby, my grandmother would be baking or pulling something from the oven. The scent floating through the house made concentrating on the story almost impossible.
As I grew up, date squares started appearing more often. Adilts spoke about them like they belonged with afternoon tea or coffee, because they were filled with oats and dates. I never believed them. To me, those buttery crumbs and sticky centers felt like dessert, especially when sweet bits found their way onto the pages of my books.
Hours slipped by that way. A stack of borrowed stories beside me, a square within reach, and nowhere else I needed to be.
Depending on where you grew up, you may know date squares by another name. Similar versions are sometimes called matrimony cake in Canada, while their oat-filled structure often reminds people of British-style flapjacks. They were a staple in Winnipeg, my first home in Canada.
Years later, after spending time in Israel and cooking foods rooted in Jewish and Middle Eastern traditions, I found myself appreciating dates in entirely new ways. Silan covered roasted vegetables appeared on breakfast tables. Dates tucked inside pastries or served alongside coffee felt familiar, carrying a kind of quiet hospitality that reminded me of gatherings with friends and family.
These days, Leo and Lin race around the house while I bake, and I catch myself repeating things my own mother used to say. F sneaks pieces from the cooling rack, pretending he is checking whether they are ready.
Dates still find their way into our kitchen often. When we need something small after dinner, I make my stuffed dates with chocolate almond butter. Around the holidays, the rich gluten-free sticky date pudding appears on the table with coffee after everyone has lingered over conversation. And when the children ask for something that tastes like candy, I pull together a batch of date Snickers, which disappear faster than I can store them.
These gluten-free date squares bring me back to those afternoons with library books and quiet corners. I still tell myself one more chapter and one more square. Somehow, both the book and the pan empty faster than expected.
Ingredients
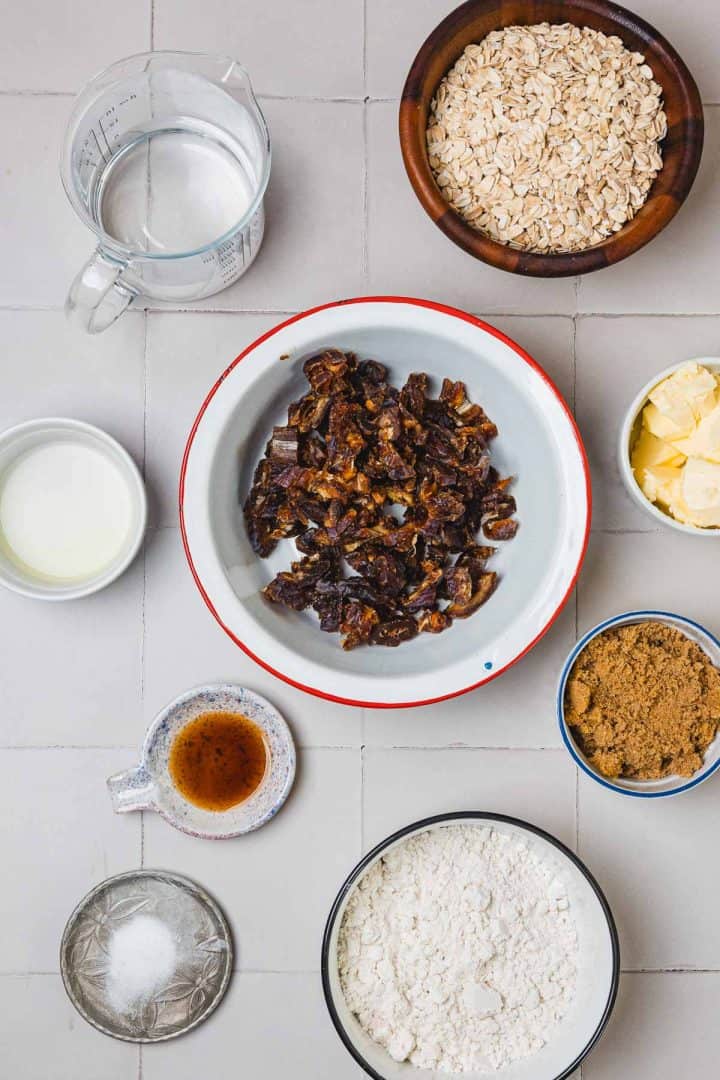
Dates are the heart of these gluten free squares. I almost always reach for Medjool dates because they soften easily and cook into a thick filling without much work. Their deep sweetness reminds me of the dates I first tasted in Israel, where trays of them sat beside nuts and dried fruit in open markets. Softer Deglet Noor dates also work, though they create a slightly lighter filling. If your dates feel dry, soak them briefly before cooking.
Fresh lemon juice keeps the filling from feeling heavy. I learned early on that dates benefit from a little brightness, especially in baked desserts. Without it, the center can taste flat. Bottled juice works in a pinch, though fresh lemons bring a cleaner flavor.
Gluten-free rolled oats give these bars their familiar crumbly texture. They bake into golden layers that remind me of the date squares my mother kept on the counter after school. I prefer old-fashioned rolled oats because they hold their texture well. Quick oats can be used, though the topping becomes softer and less defined.
See the recipe card for the full list and exact quantities.
Top Tips
Start with soft dates - I've made these with older dates that had been sitting in the pantry for too long, and the filling never became quite as smooth. Soft Medjool dates cook down much more easily and create that thick layer I remember from childhood. If your dates feel firm, a short soak in hot water helps bring them back to life.
Let the bars rest overnight if you can - these are one of the few treats I actually prefer the next day. After a night in the refrigerator, the filling settles and the oat layers hold together beautifully. I often bake them in the evening and cut them the following morning with coffee nearby and a book waiting on the table.
Don't aim for a perfectly smooth topping - The first few times I made date squares, I tried to make the top layer completely even. Over the years, I've come to prefer leaving some larger crumbs and uneven bits. They bake into golden pockets that give each square a little more texture and remind me of the ones my mother used to make.
How to Make Gluten Free Date Squares Recipe
These gluten free healthy date squares come together with simple ingredients, though paying attention to texture along the way makes all the difference. The goal is a soft, jammy center tucked between two buttery oat layers that hold together without becoming dry. Here's how to make this recipe:
Prepare the Pan and Oven
- Start by heating your oven and lining an 8x8-inch baking pan with parchment paper. Leave enough paper hanging over the sides to act as handles later.
- The parchment matters more than it seems. Date filling tends to cling to the pan as it cools, and those overhanging edges make lifting the entire slab much easier when it's time to cut.
Cook the Date Filling Until Smooth
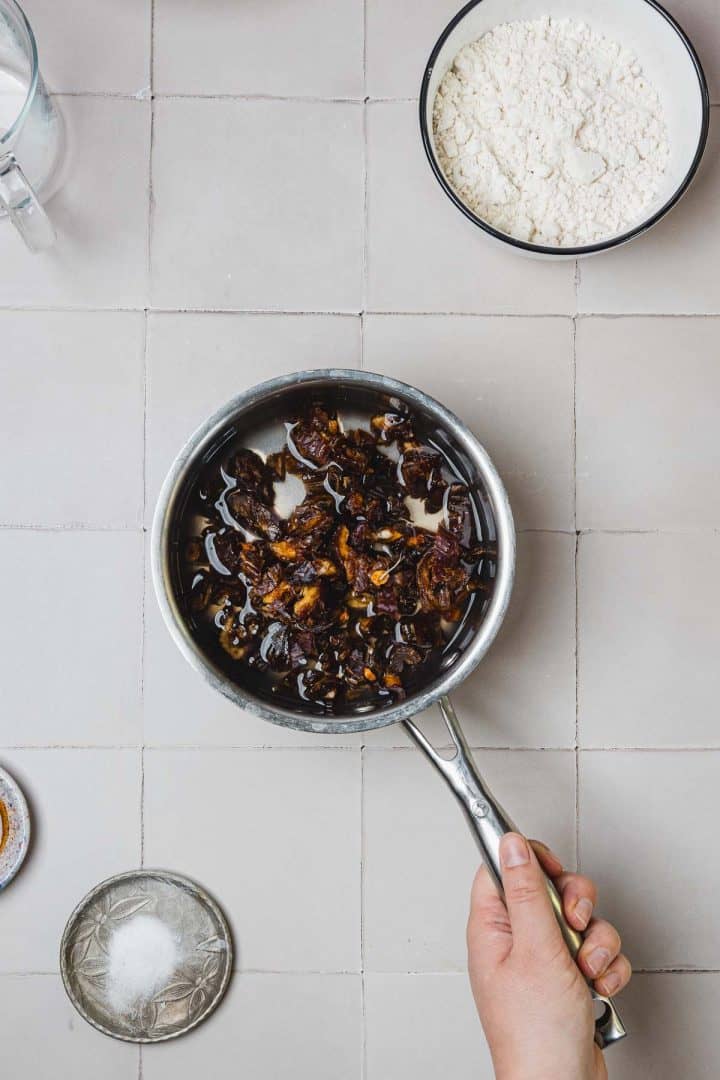
- As the mixture cooks, the dates will slowly lose their shape and soften into a thick paste. At first, it may look separated or uneven, but keep stirring. After several minutes, the filling becomes glossy and spreadable, almost like a thick jam.
- Pay attention to the bottom of the pan! Dates can stick quickly once the water evaporates. If the mixture starts looking dry before the fruit has fully broken down, add a spoonful of water and continue cooking. You're looking for a consistency that spreads easily without running.
Cool the Filling Slightly
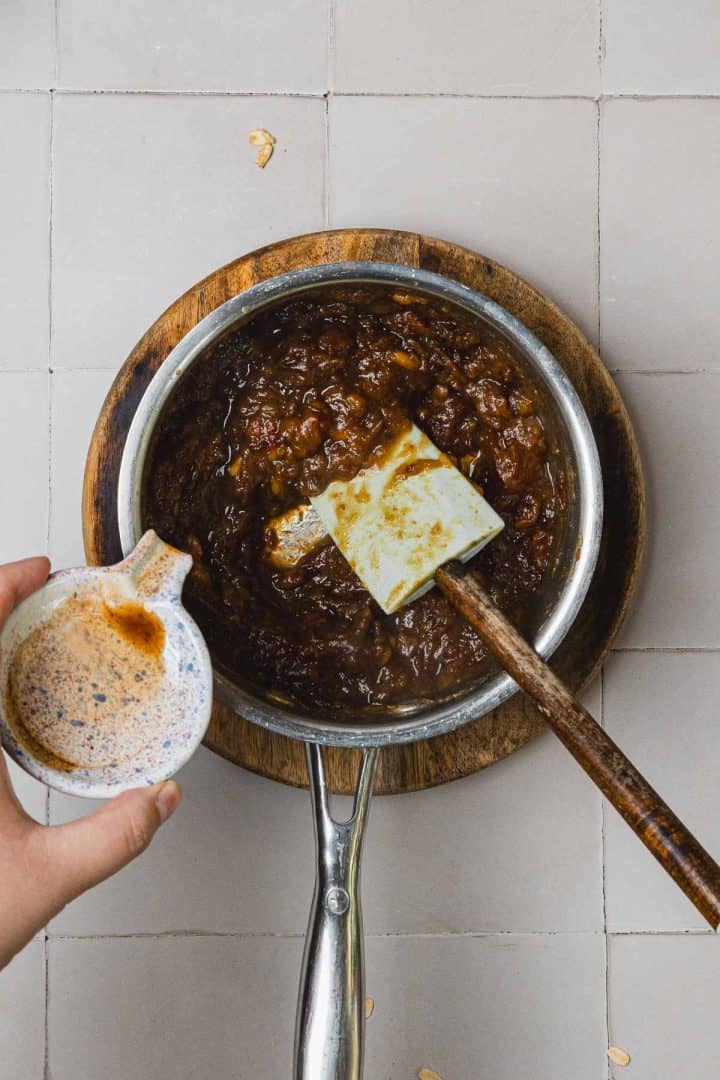
- The filling should cool slightly while you prepare the crumble. Spreading very hot filling over the crust can soften the base too much, making the finished bars harder to cut cleanly later.
Mix the Dry Ingredients
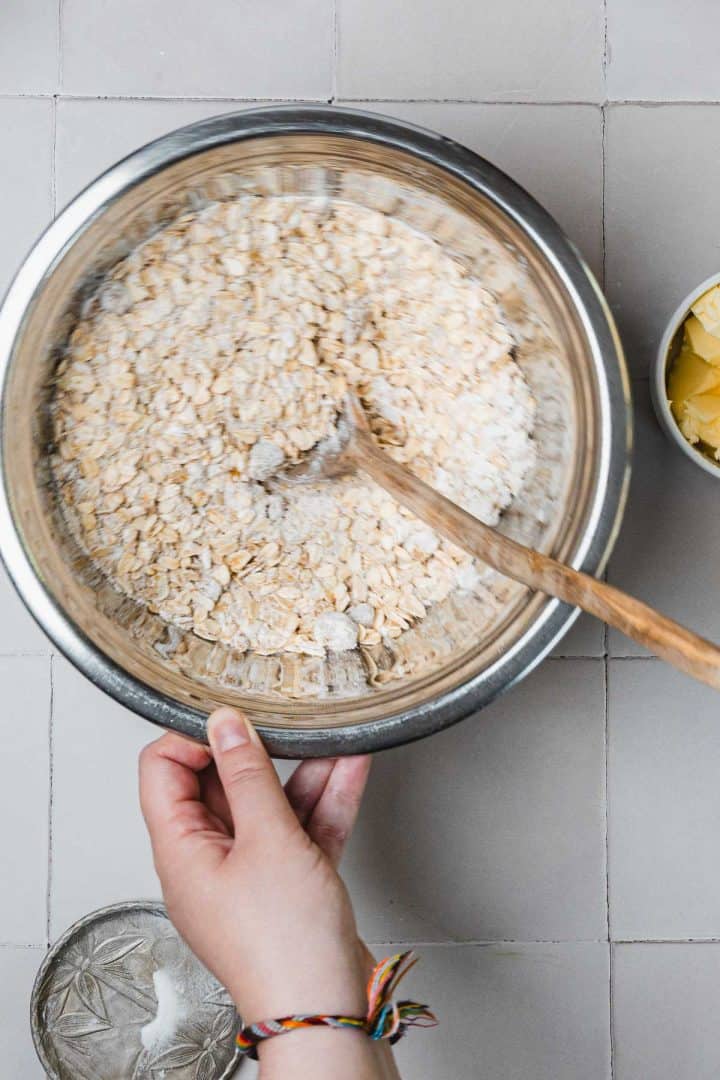
- Take a moment to distribute everything evenly. You want the oats and flour mixed thoroughly so every bite has the same crumbly texture.
Work the Butter Into the Oats
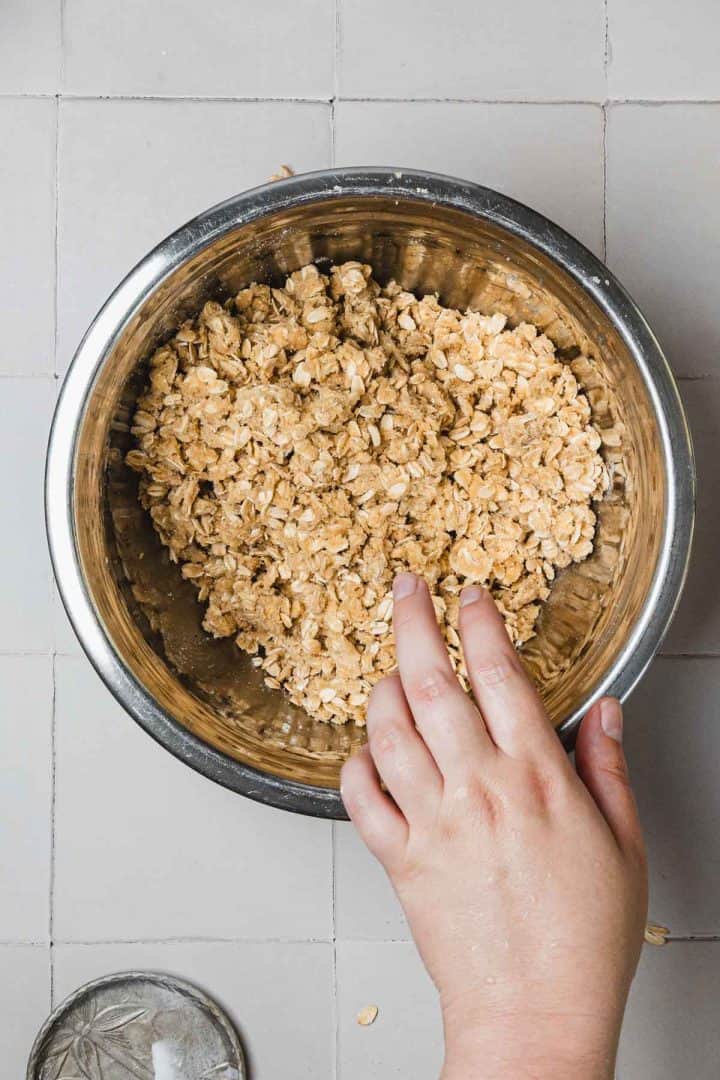
- The mixture should resemble coarse crumbs with a few pea-sized pieces of butter still visible. Those larger bits are what create the golden pockets throughout the topping.
- Avoid overworking the mixture. If it becomes too fine and sandy, the bars lose some of their texture and bake up denser than intended.
Create a Firm Bottom Layer
- Press half of the crumb mixture firmly into the prepared pan.
- This layer should feel compact and even, almost like a shortbread crust. Using the bottom of a measuring cup helps create a solid foundation that won't crumble when sliced.
- If the base feels loose or uneven, the finished squares can fall apart after baking.
Spread the Date Filling Evenly
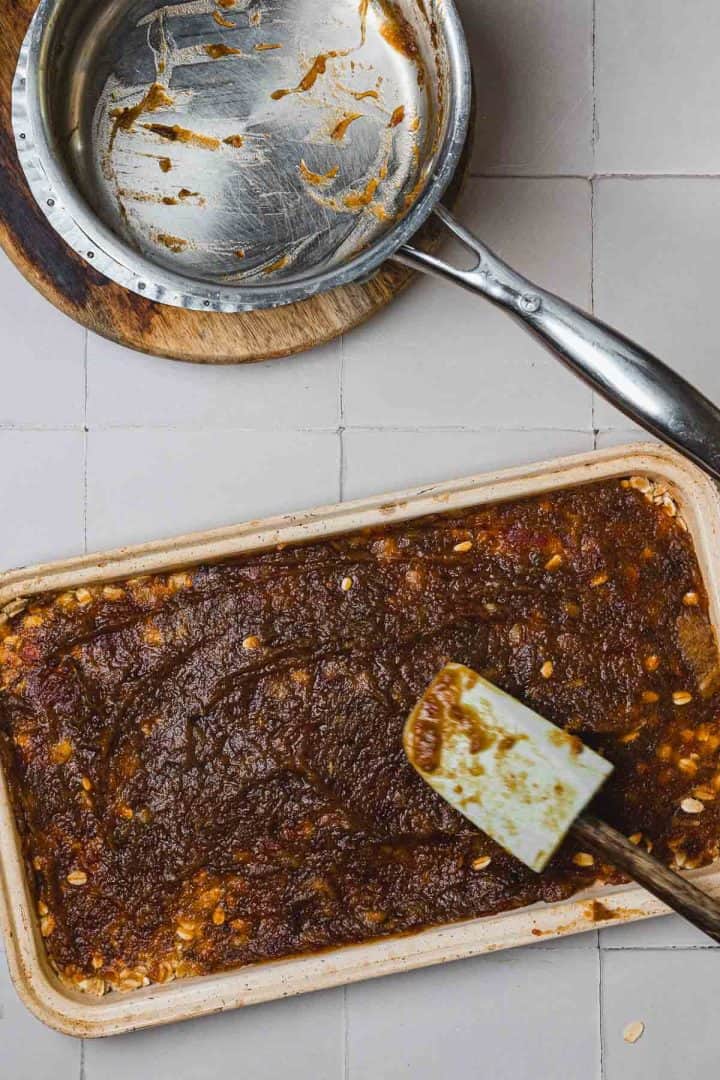
- The filling should be thick enough that it stays in place without running. If it feels too loose, let it cool for another few minutes before spreading.
- Try to keep the layer even. Thin spots can disappear during baking, while thicker areas may overwhelm the oat layers.
Add the Crumble Topping
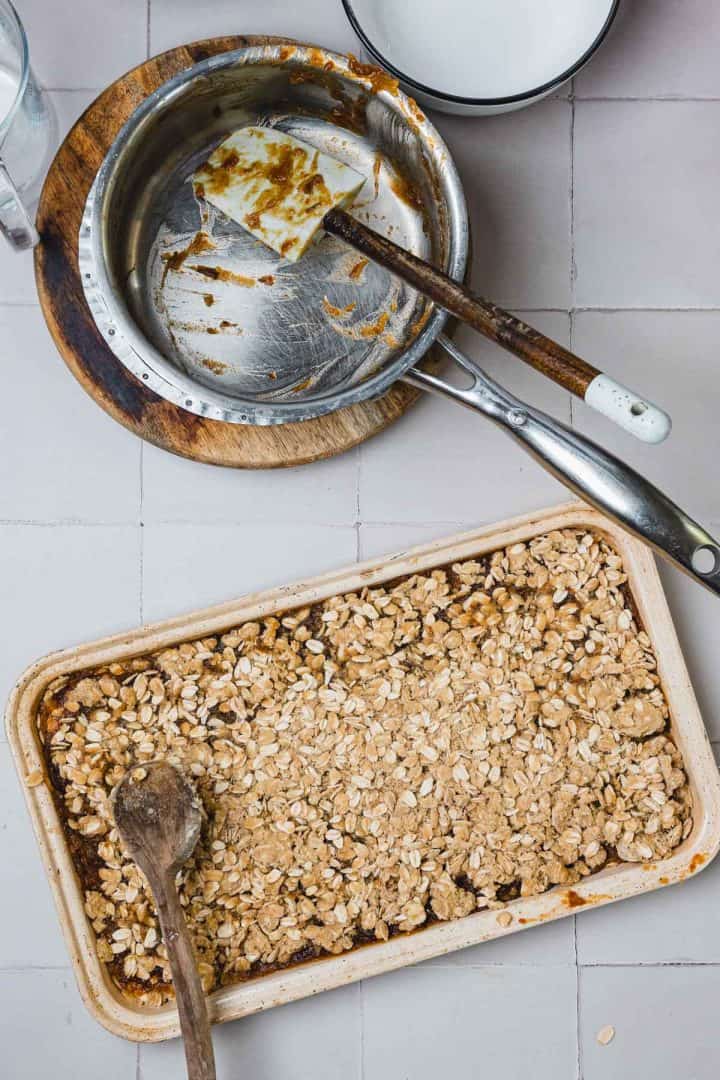
- Unlike the bottom crust, the top shouldn't be packed down firmly. Keeping it loose allows the crumbs to bake into a golden, textured surface.
- Some uneven patches are perfectly fine. In fact, I prefer them. Those little peaks brown beautifully and create extra crunch.
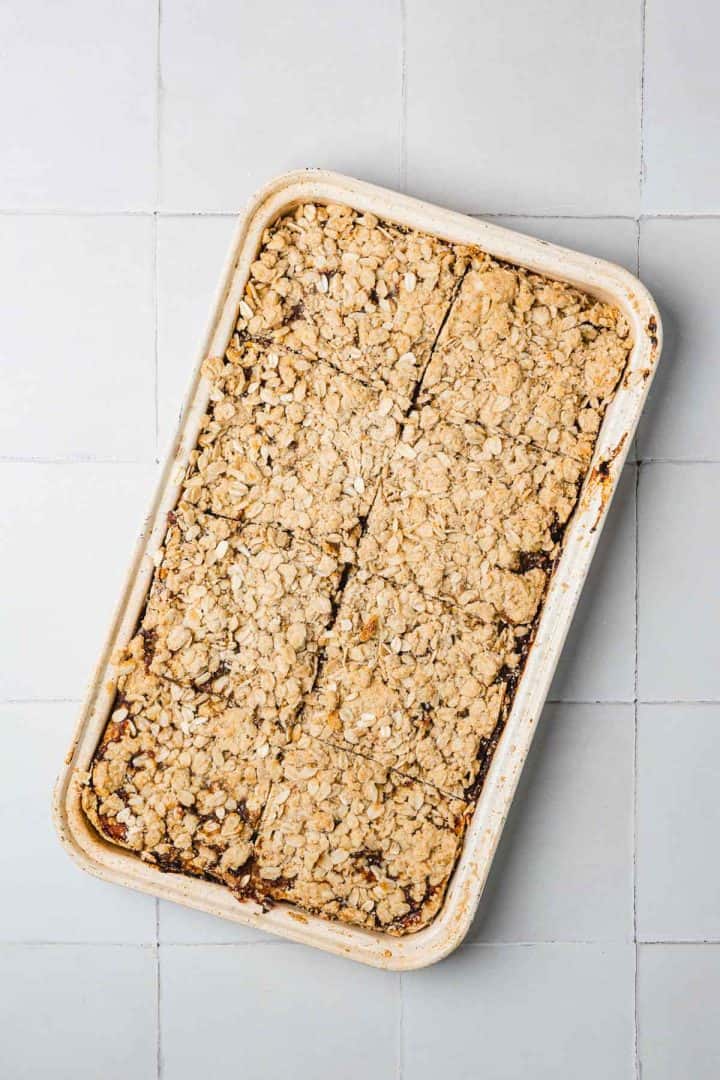
Bake Until Golden
- Bake the bars until the top turns golden and feels lightly set when touched.
- The center may still seem slightly soft, which is completely normal. The edges often darken first and take on a deeper color than the middle.
- Try not to bake until the entire surface becomes dark brown. Overbaking dries out the filling and makes the oat layers harder than they should be.
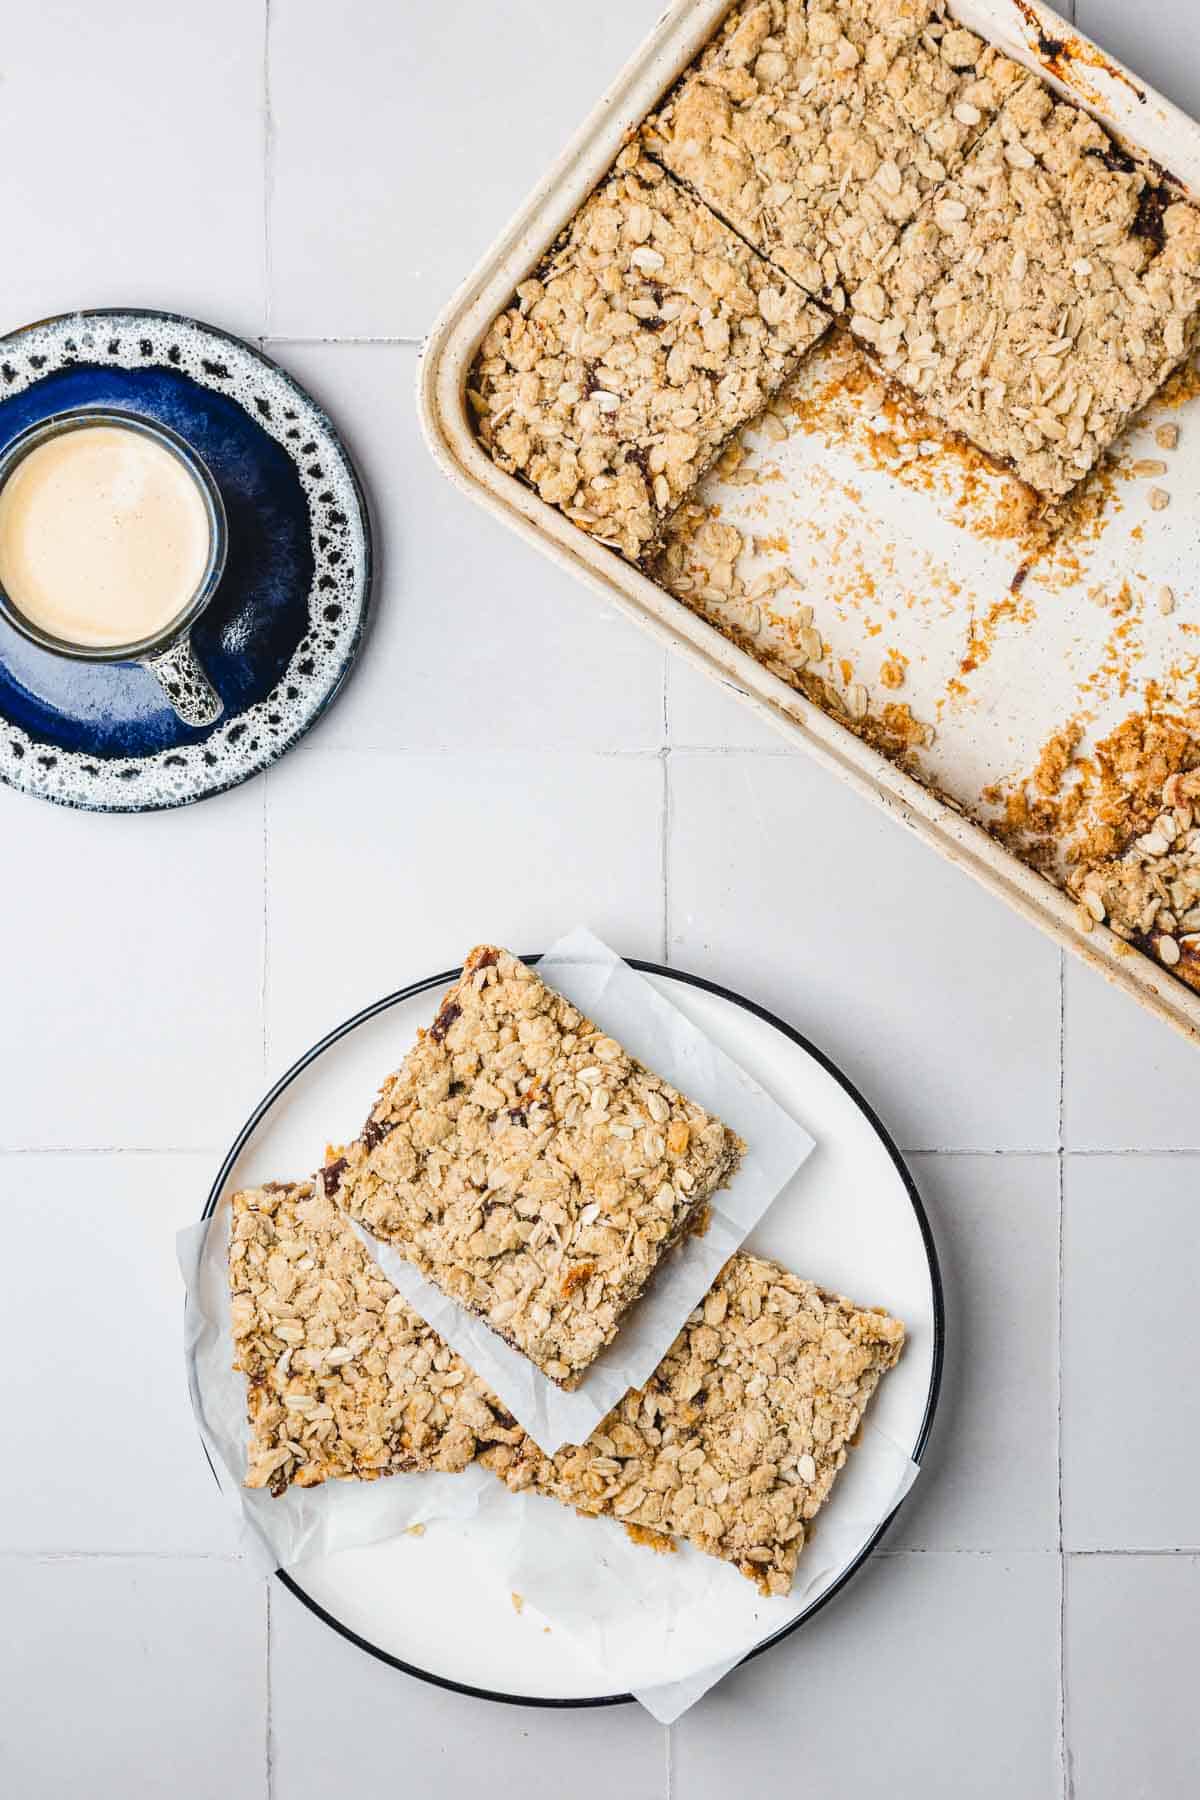
Cool Completely Before Cutting
- Once out of the oven, the bars will still be delicate. Resist the urge to slice into them immediately.
- As they cool, the filling settles and the oat layers firm up. I often let them cool completely, then refrigerate the pan for an hour before cutting. That extra time creates cleaner layers and neat squares instead of crumbly pieces.
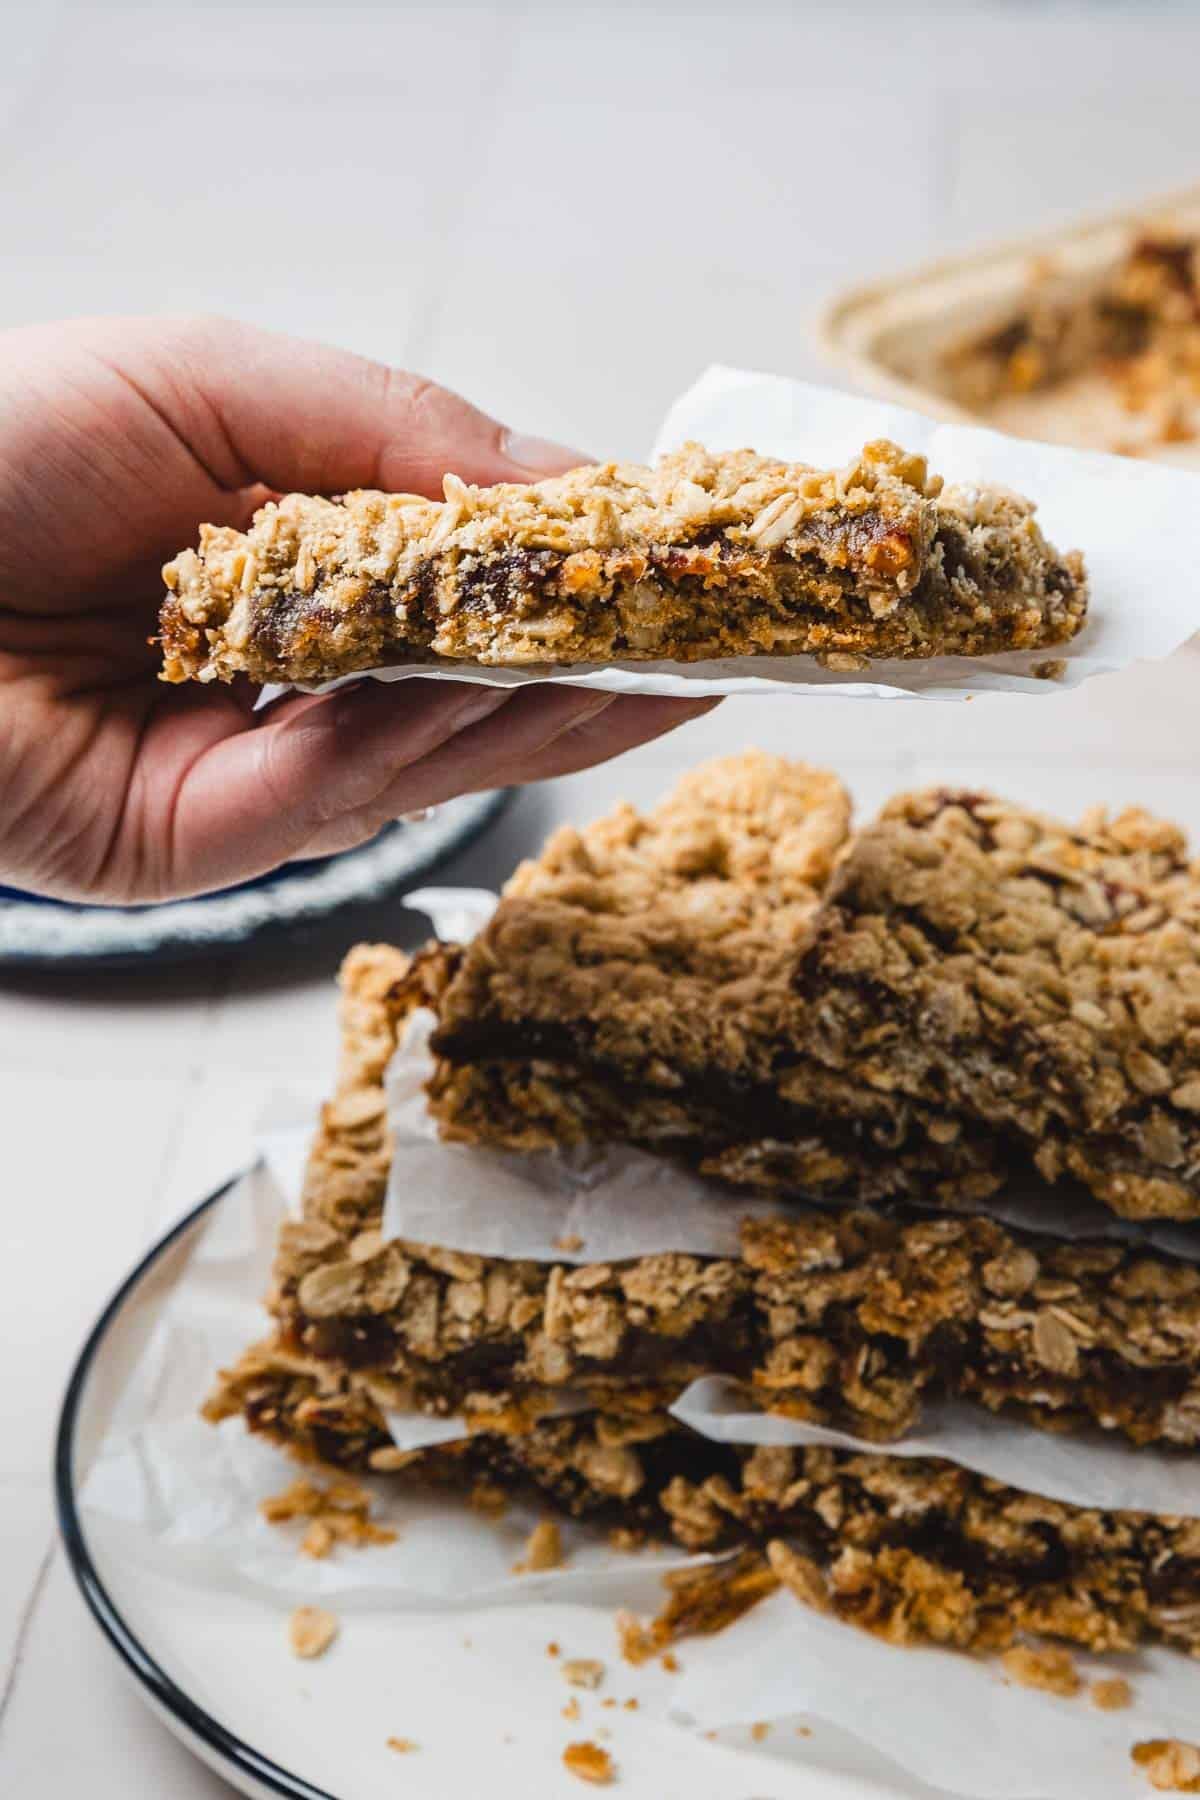
Slice and Serve
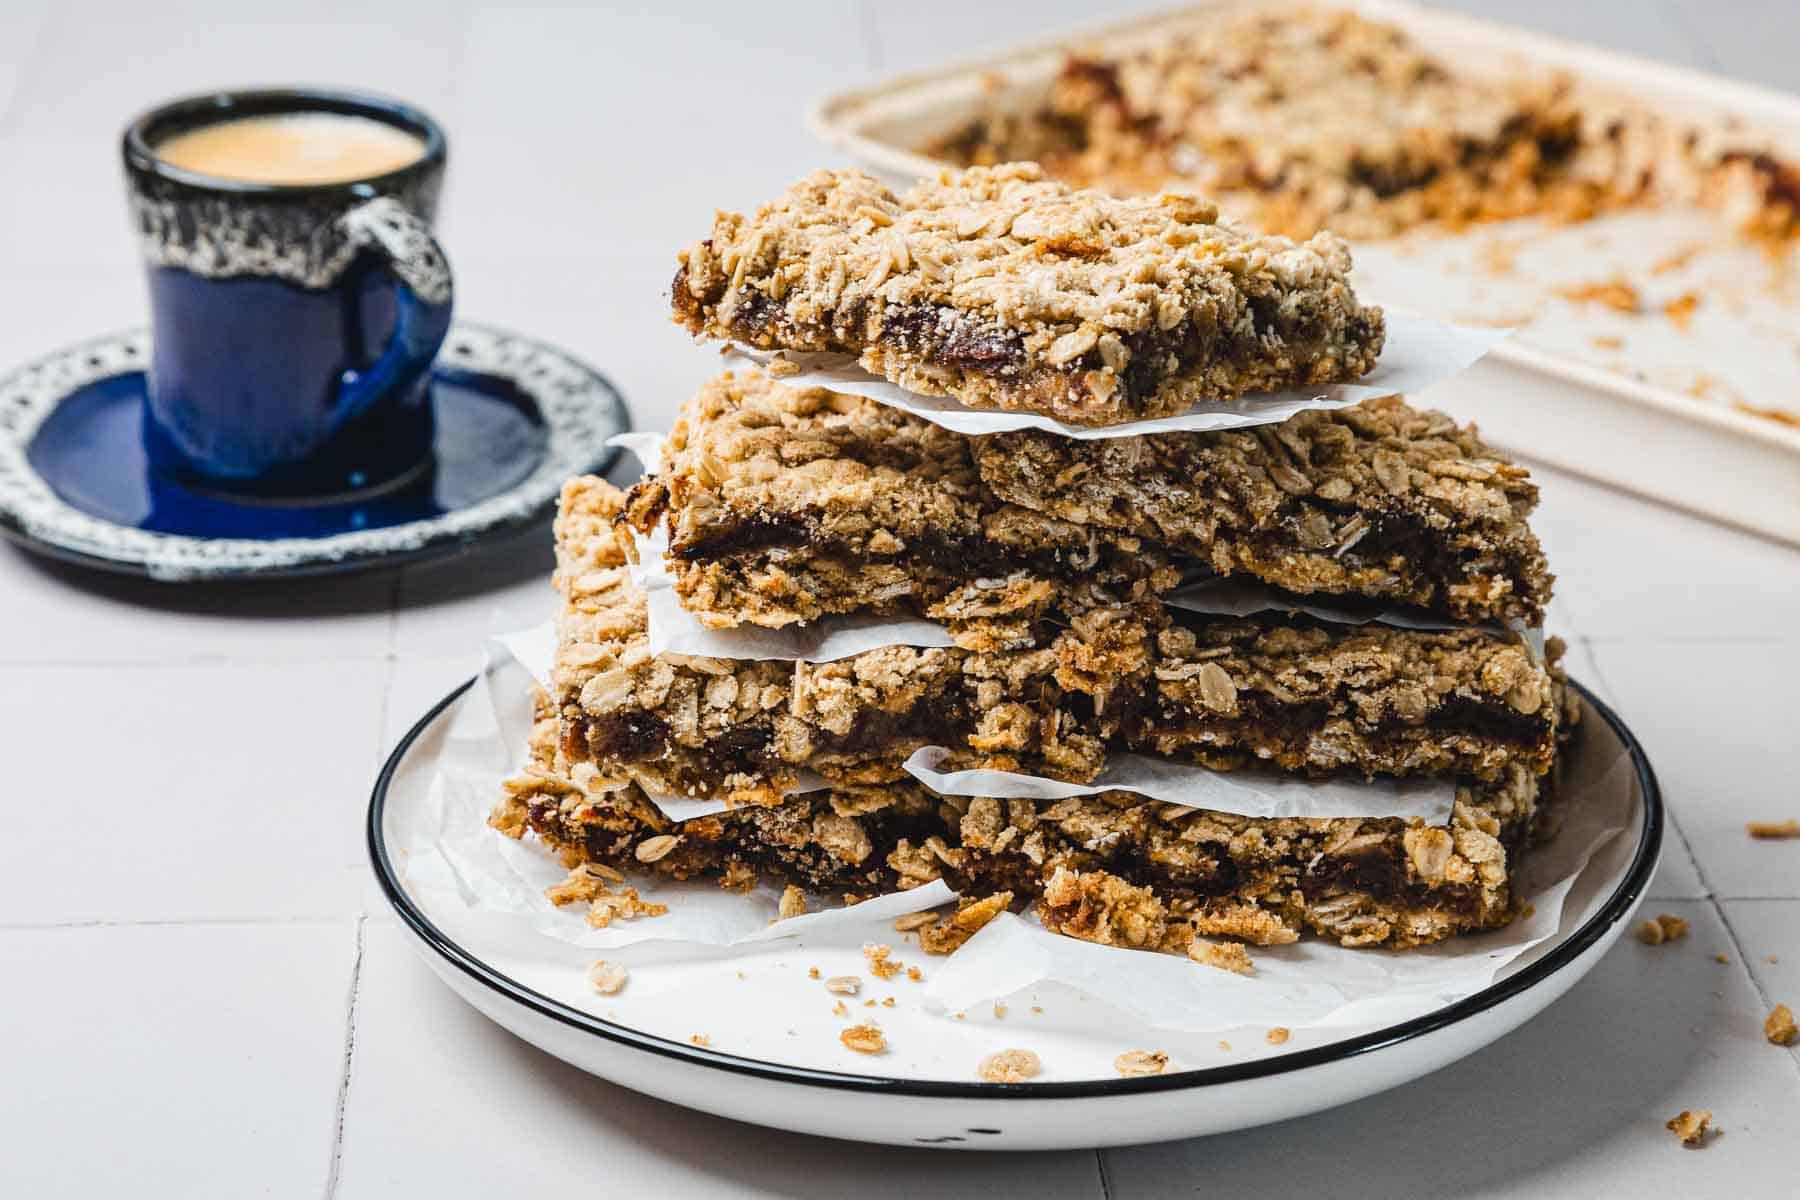
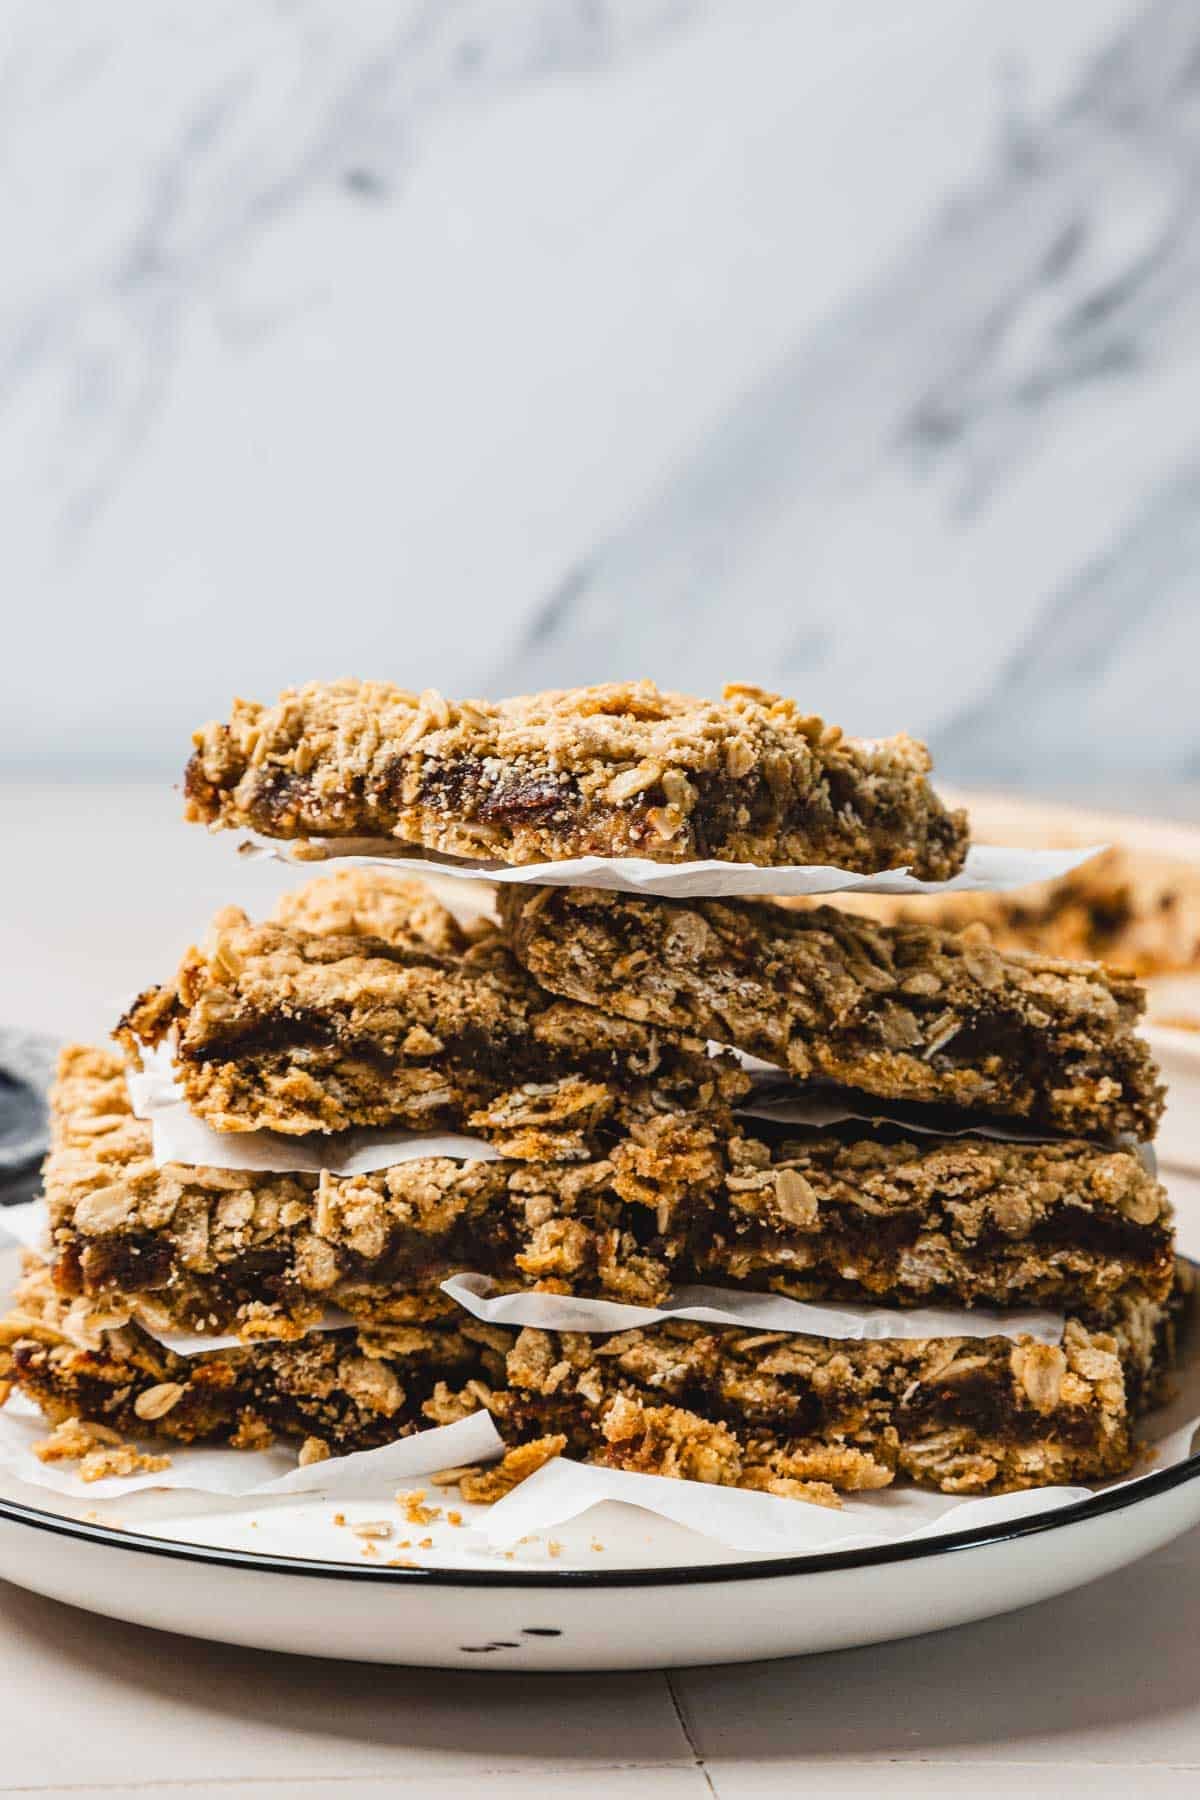
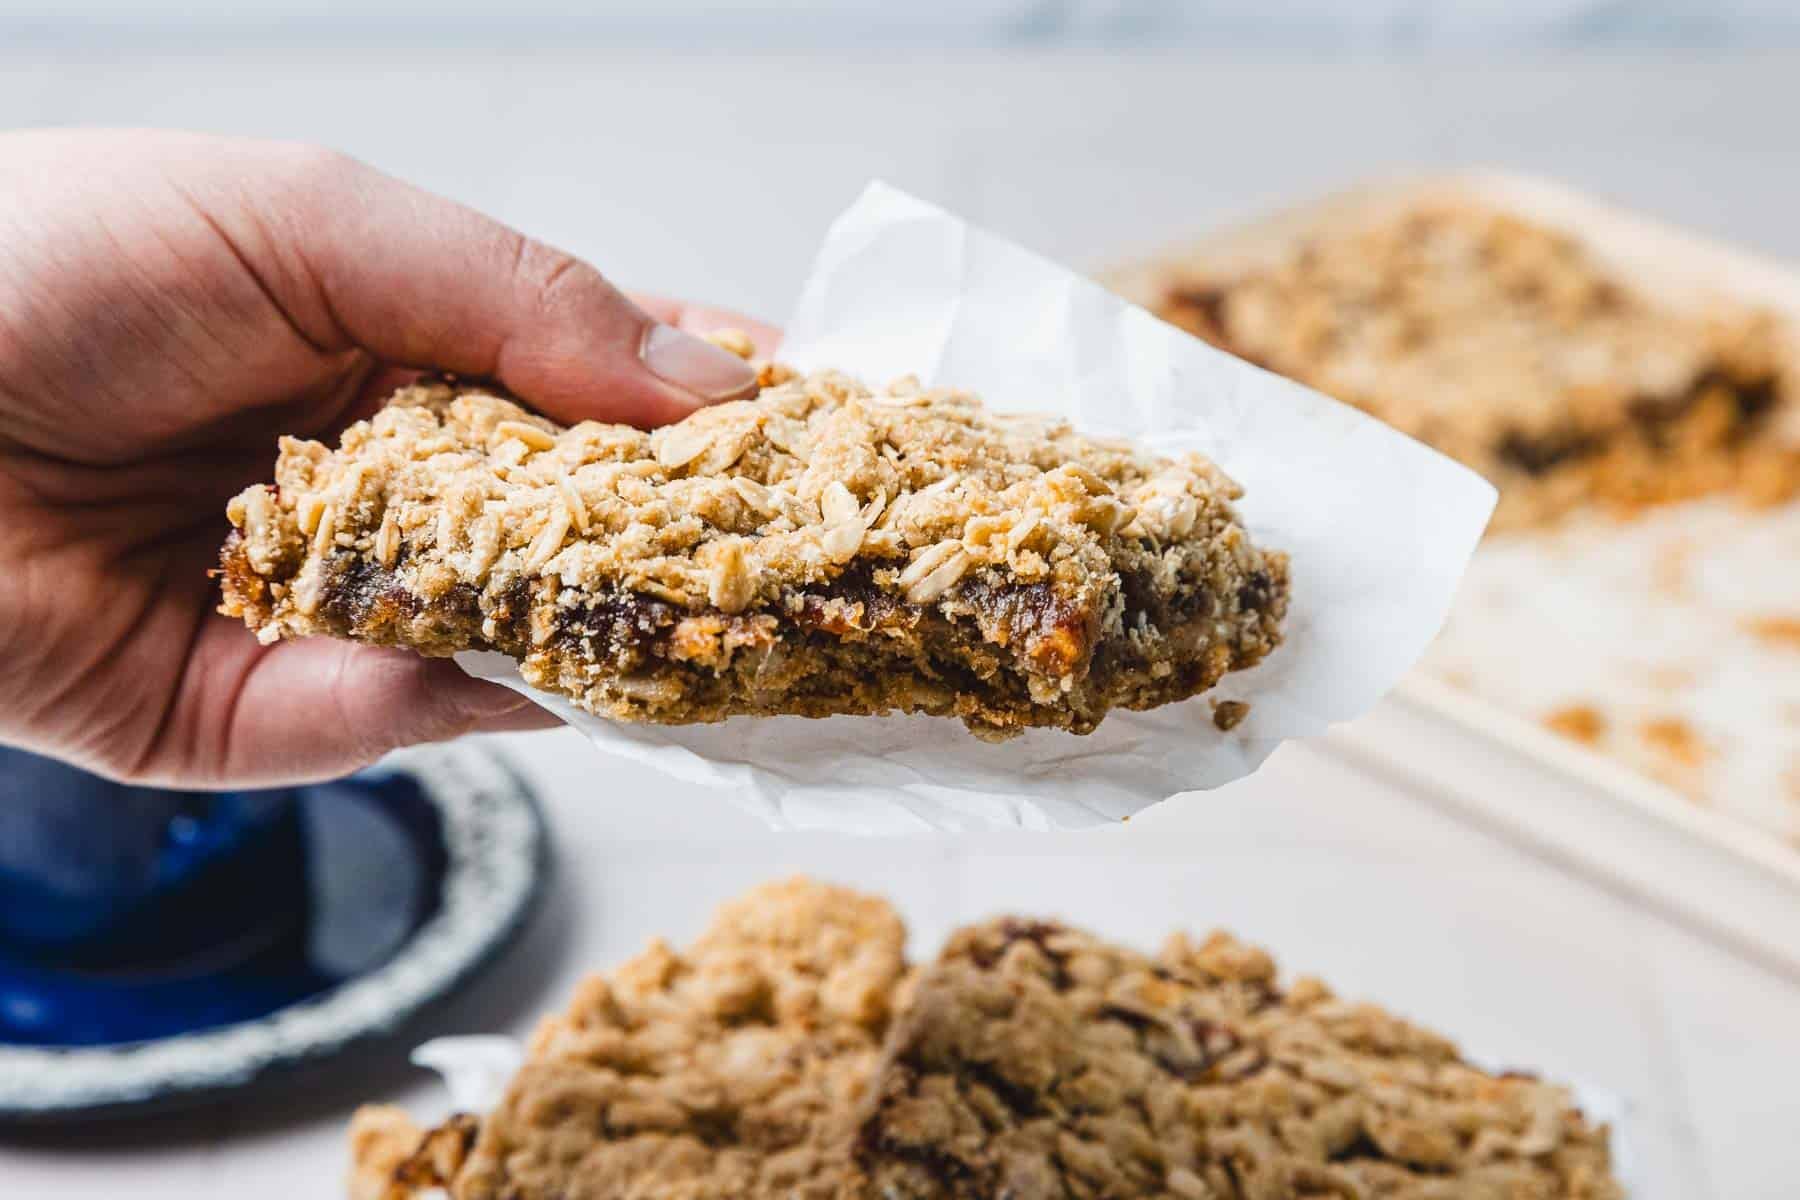
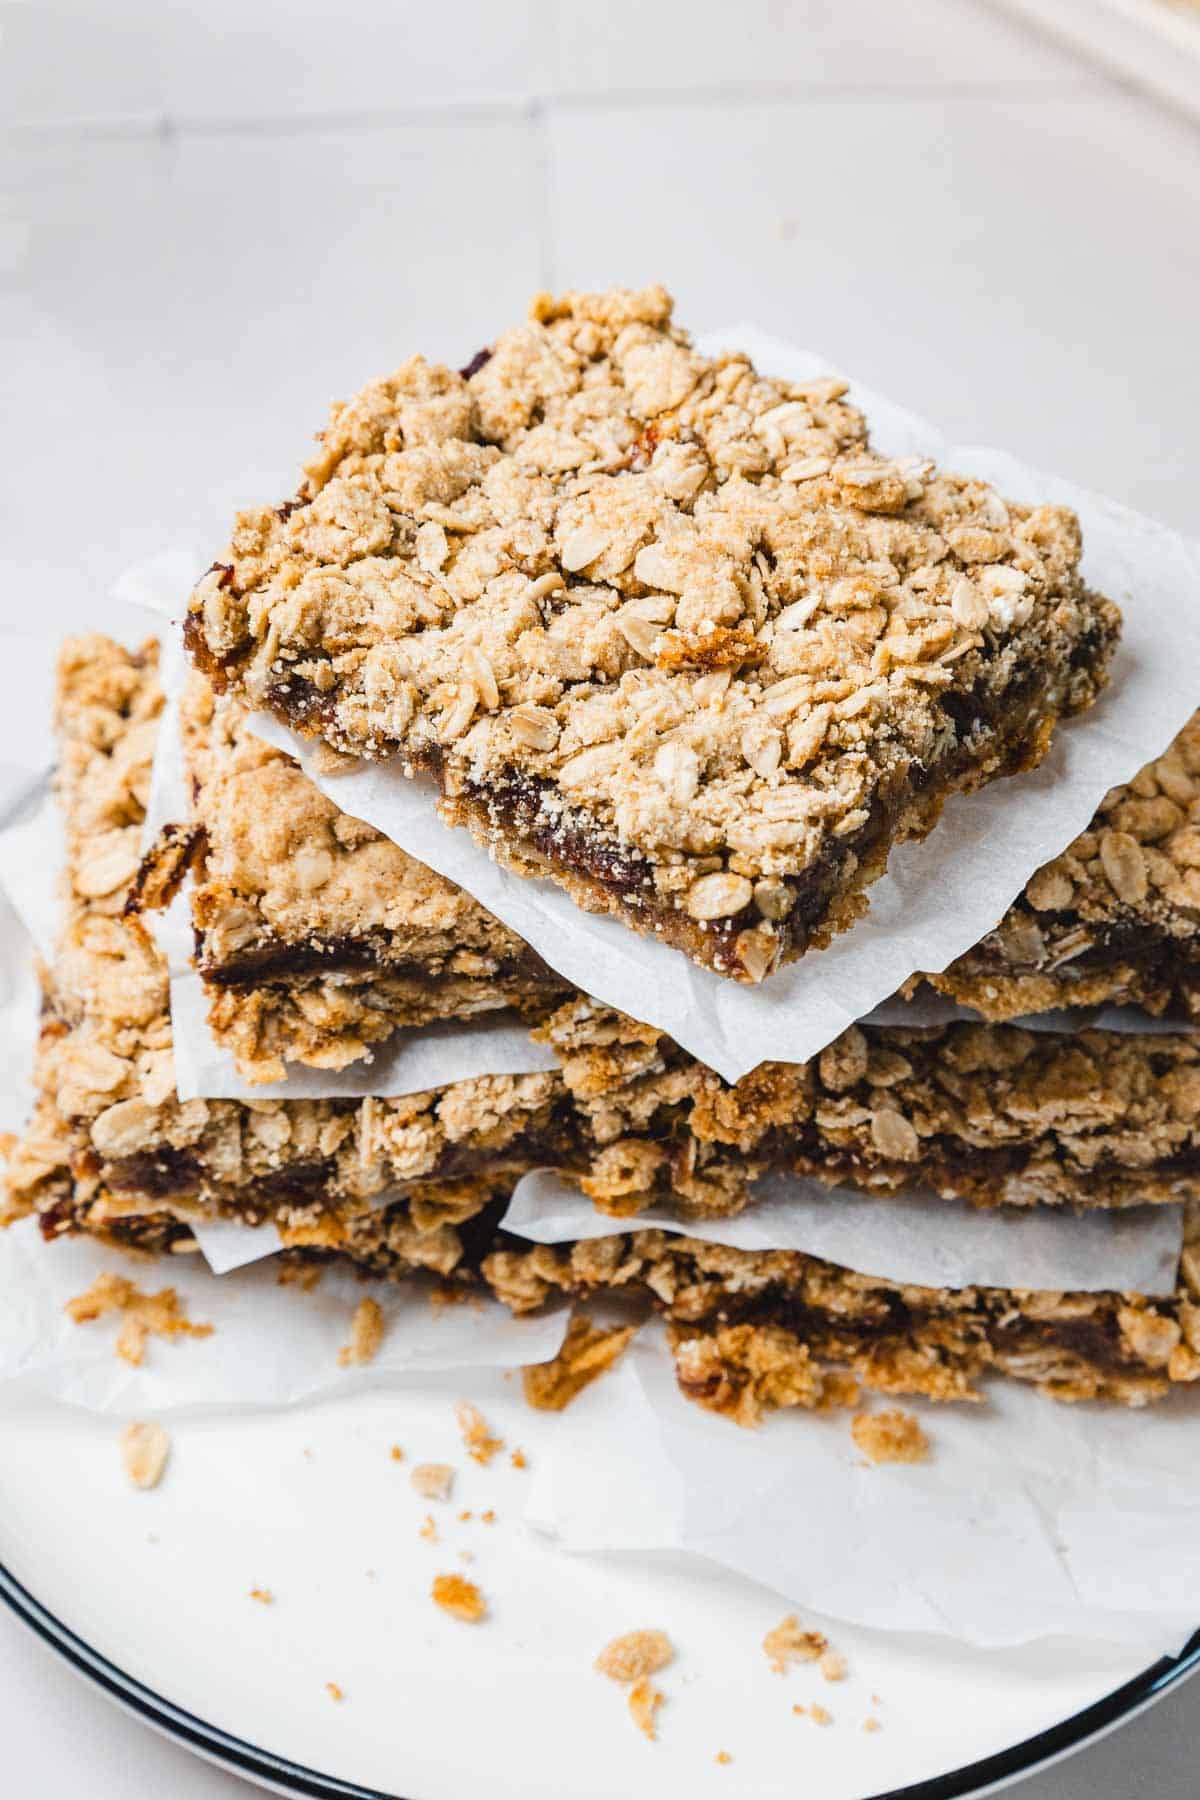
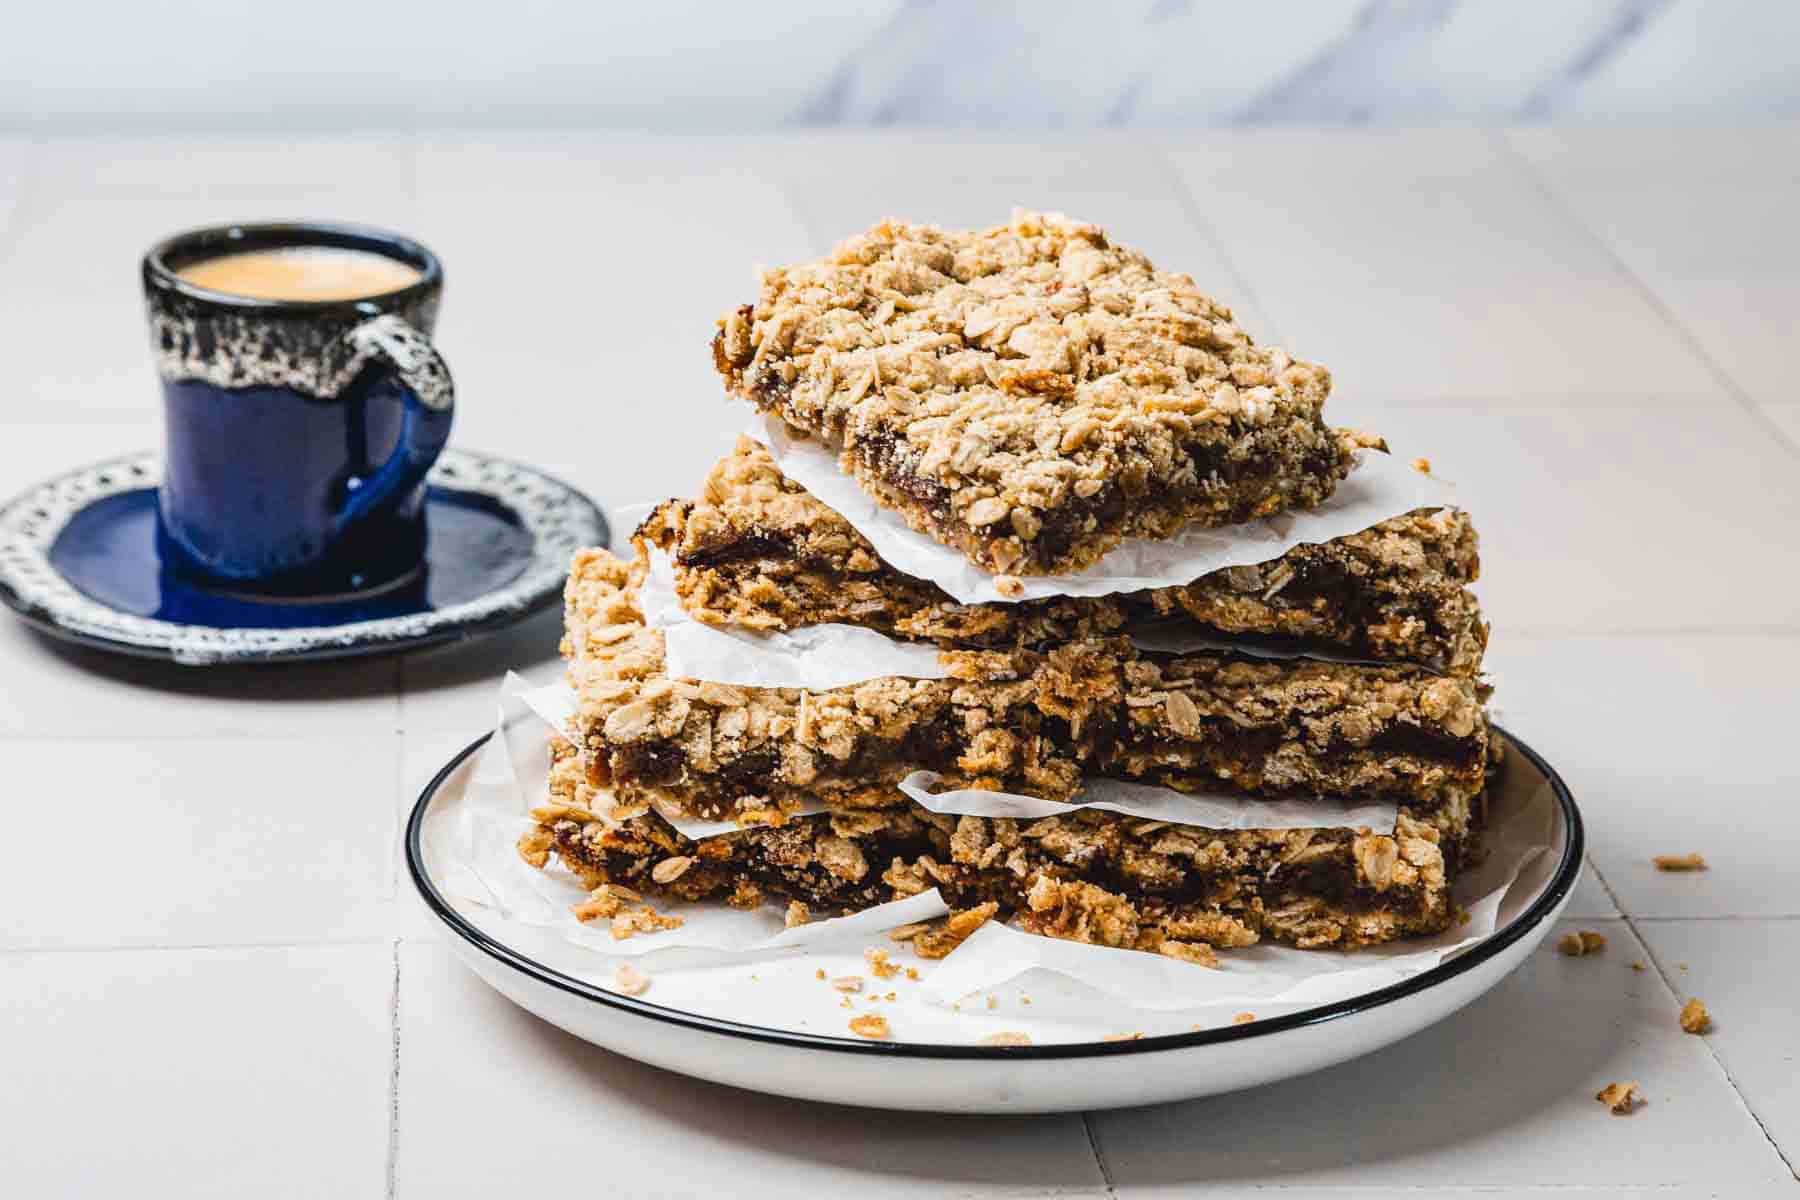
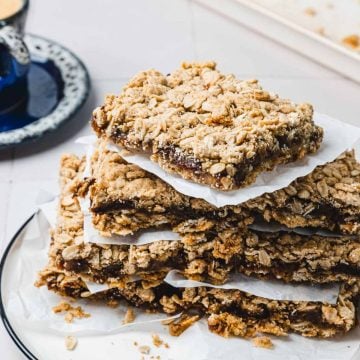
- The finished gluten-free date squares should have a tender oat base, a thick layer of soft dates in the center, and a golden crumb topping with plenty of texture.
Storage
Store gluten-free date squares in an airtight container at room temperature for up to 5 days, placing parchment paper between layers to prevent sticking. If your kitchen is warm, refrigerate them for up to 2 weeks. Chilling helps the bars firm up, making them easier to pack into lunchboxes or serve with coffee.
For longer storage, freeze the squares for up to 3 months in a freezer-safe container with parchment between layers. Thaw overnight in the refrigerator or at room temperature for about an hour before serving. The oat layers soften slightly after freezing but remain sturdy and flavorful.
FAQs
No. The dates provide plenty of natural sweetness on their own, especially if you're using soft Medjool dates. The lemon juice balances that sweetness and keeps the filling from tasting overly rich. Since the oat crumble already contains brown sugar, I don't find that the filling needs anything extra.
This recipe is intentionally simple, but there are a few easy ways to change the flavor! A pinch of cinnamon pairs beautifully with the dates, while a little orange zest adds brightness. You can also stir in chopped walnuts or pecans for texture. If you enjoy warm spices, a small pinch of cardamom works especially well with the sweet date filling.
This usually happens when the date filling is spread while still very hot or when the topping is pressed down too firmly. A slightly cooled filling and a light hand with the top layer help maintain those distinct crumbly layers.
Recipe
Tried and loved this recipe? Please leave a 5-star review below! Your reviews mean a lot to me, so if you've got any questions, please let me know in a comment.
Gluten-Free Date Squares
Equipment
- 8×8 inch baking pan
- Measuring Cups and Spoons
- Offset spatula or spoon
- wire cooling rack
- Sharp Knife
Ingredients
For the Date Filling
- 2 cups pitted dates chopped
- 1 cup water
- 2 tablespoons fresh lemon juice
- 1 teaspoon vanilla extract optional
For the Oat Crumble
- 2 cups gluten-free rolled oats
- 1 cup gluten-free flour blend
- 1 cup packed brown sugar
- ½ teaspoon baking soda
- ½ teaspoon salt
- ¾ cup cold butter cubed
Instructions
Prepare the pan
- Preheat the oven to 350°F (175°C). Line an 8x8-inch baking pan with parchment paper, leaving overhang on two sides for easy removal.
Cook the date filling
- Combine the chopped dates, water, and lemon juice in a medium saucepan. Bring to a gentle boil over medium heat, stirring occasionally.
Simmer until smooth
- Reduce the heat to low and cook for 10 to 15 minutes, stirring often, until the dates soften into a thick paste. Add a splash of water if needed. Stir in the vanilla extract and set aside to cool slightly.
Make the crumble mixture
- In a large bowl, whisk together the gluten-free oats, gluten-free flour blend, brown sugar, baking soda, and salt.
Cut in the butter
- Add the cold butter and work it into the dry ingredients until the mixture resembles coarse crumbs with a few pea-sized pieces remaining.
Form the base
- Press half of the crumble mixture firmly into the bottom of the prepared pan to create an even crust.
Add the filling
- Spread the date mixture evenly over the crust, smoothing it all the way to the edges.
Top with crumble
- Sprinkle the remaining crumble mixture over the filling and lightly press it down so it adheres.
Bake
- Bake for 25 to 30 minutes, or until the top is golden brown and lightly set.
Cool completely
- Let the bars cool in the pan on a wire rack. For cleaner slices, refrigerate for 1 hour before cutting.
Slice and serve
- Lift the slab from the pan using the parchment overhang and cut into 16 squares or 24 smaller bars.