There's something special about old-school kitchen tips that makes them timeless. My grandma's kitchen wisdom has been a game-changer for me. These 13 old-school kitchen tips aren't just practical-they're a combination of common sense and a touch of tradition. They make cooking smoother, faster, and even a bit more fun. There's a certain magic in these time-tested methods that modern gadgets and shortcuts can't replicate.
Every time I step into the kitchen, I remember my grandma's advice. Whether it's about keeping my knives sharp or using a damp towel under my cutting board, her tips always come through. They're not complicated or fussy, just straightforward solutions to everyday problems. It's like having a little bit of her with me every time I cook.
Fortunately, I've gathered the best of her secrets to share with you. These are the kinds of tips that make you nod your head and think, "Why didn't I think of that?" So, if you're ready to up your kitchen game with some great, time-tested advice, keep reading!

Sharpen Your Knives Regularly

Keeping your knives sharp is crucial for both efficiency and safety in the kitchen. A sharp knife slices through food easily, reducing the risk of slipping and cutting yourself. It also means you can make precise cuts, which is especially important for presentation and even cooking. You can use a honing steel for regular maintenance and a sharpening stone or professional service for a deeper sharpen. Regularly sharpened knives make your prep work faster and more fun, allowing you to focus on cooking rather than struggling with dull blades.
Use a Damp Towel Under Your Cutting Board

Placing a damp towel under your cutting board is a simple trick that keeps the board from moving around while you chop, slice, or dice. This adds stability, making your cutting safer and more efficient. It also helps prevent accidents caused by the board slipping unexpectedly. To do this, just wet a kitchen towel, wring out the excess water, and lay it flat on your counter before placing your cutting board on top. This method is especially helpful when working with larger or heavier foods that require more force to cut.
Keep a Waste Bowl Handy
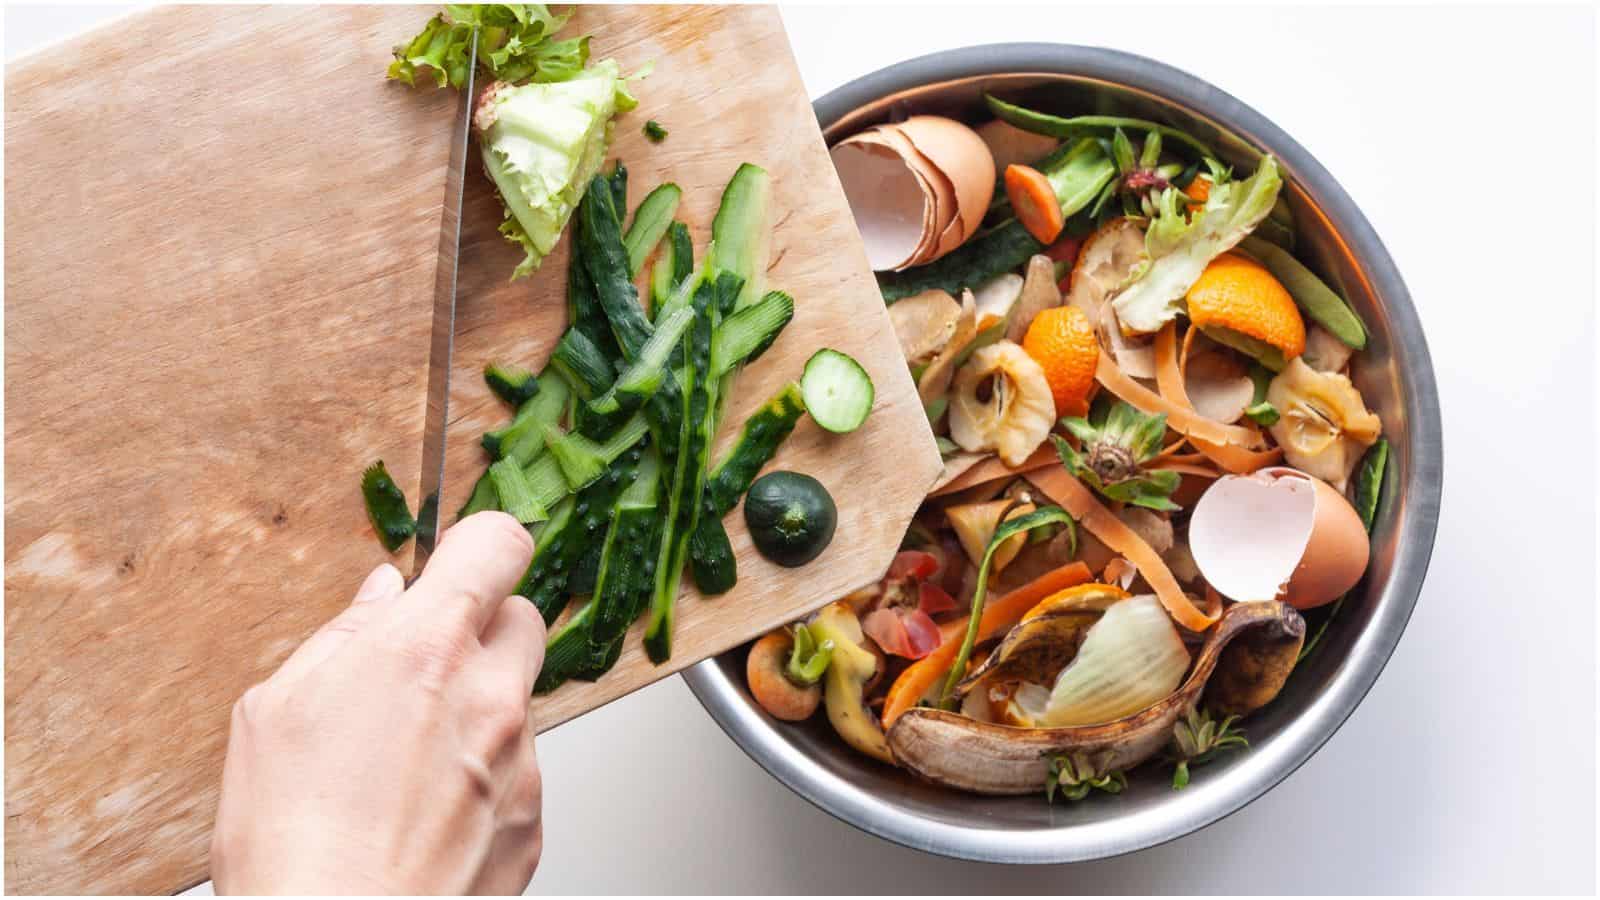
Having a waste bowl on your counter while cooking is a game-changer for keeping your workspace tidy and organized. Instead of making multiple trips to the trash can or compost bin, you can toss peels, scraps, and other waste into the bowl as you work. This helps you maintain a clean and clutter-free surface, making the cooking process smoother and more enjoyable. Once you're done, you can easily dispose of the waste all at once. This tip is especially useful during meal prep when you generate a lot of waste in a short period.
Salt Your Pasta Water

Salting your pasta water is essential for flavor. The water should be as salty as the sea, which means adding about 1-2 tablespoons of salt per gallon of water. This is the only chance you have to season the pasta itself, as it absorbs the salt while cooking. If you skip this step, your pasta may taste bland, no matter how flavorful your sauce is. Using enough salt enhances the pasta's taste and helps it blend well with the sauce. Remember to add the salt once the water is boiling to prevent it from pitting your pot.
Reuse Vegetable Scraps
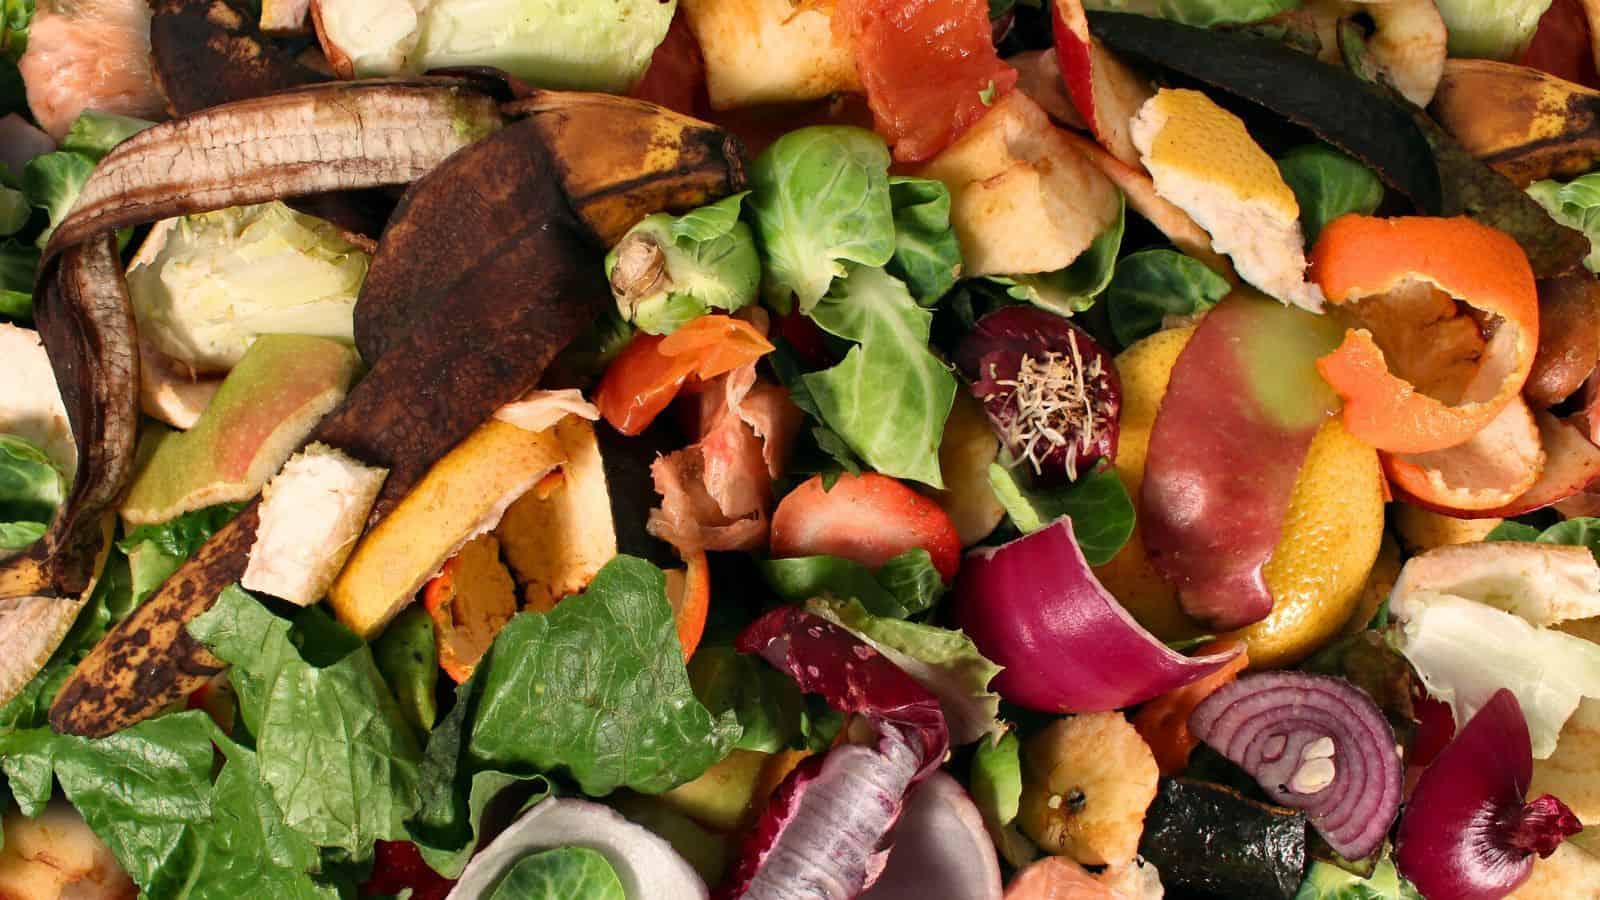
Instead of throwing away vegetable peels, ends, and scraps, save them to make homemade stock. This not only reduces waste but also adds flavor and nutrients to your dishes. Collect scraps like carrot peels, onion skins, celery ends, and herb stems in a bag and store it in the freezer. Once you have enough, simmer them in water with some seasoning to create a rich, flavorful stock. You can use this stock as a base for soups, stews, and sauces, adding depth to your recipes without needing to buy store-bought broth.
Clean as You Go

Cleaning as you go can make the cooking process much more manageable and less overwhelming. Instead of letting dirty dishes, utensils, and spills pile up, take a few moments to wash or wipe things down as you finish using them. This keeps your workspace organized and reduces the amount of cleanup needed at the end. It also helps prevent cross-contamination and makes it easier to find the tools and ingredients you need. By incorporating this habit into your routine, you'll find that cooking becomes more efficient and less stressful.
Preheat Your Pan

Preheating your pan before adding ingredients is crucial for achieving the best results. When a pan is properly heated, food cooks more evenly and develops a better crust or sear. This is particularly important for meats, as it helps lock in juices and create a nice, caramelized exterior. To preheat, place the pan on the stove over medium heat for a few minutes before adding oil or butter. You can test if it's ready by flicking a few drops of water into the pan - if they sizzle and evaporate immediately, the pan is hot enough.
Use the Right Tool for the Job

Using the right tool for each task in the kitchen can make a significant difference in both efficiency and outcome. For example, a microplane is perfect for zesting citrus fruits or grating hard cheeses, while tongs are ideal for flipping meat or tossing salads. Having a good set of knives, including a chef's knife, paring knife, and serrated knife, covers most of your cutting needs. Investing in quality tools and knowing how to use them properly can make cooking more fun and help you achieve professional-looking results.
Don't Overcrowd the Pan

Overcrowding the pan is a common mistake that can lead to uneven cooking and poor browning. When you add too much food to a pan, the temperature drops, causing the food to steam rather than sear. This prevents the formation of a nice, crispy crust and can make the food soggy. To avoid this, cook in batches if necessary, leaving enough space between pieces for the heat to circulate. This is especially important when cooking meat, as proper browning adds flavor and texture. Patience and attention to spacing will yield better results.
Taste as You Cook

Tasting your food as you cook is essential for achieving the right balance of flavors. Seasoning and adjusting throughout the process allows you to catch and correct any issues before the dish is finished. This helps you avoid over-seasoning or under-seasoning and makes sure that all elements of the dish come together harmoniously. Use a clean spoon to sample your food periodically, and don't be afraid to tweak seasoning, acidity, or sweetness as needed. This proactive approach leads to better results and a more refined final dish.
Let Meat Rest

Allowing meat to rest after cooking is crucial for retaining its juices and achieving optimal tenderness. When meat cooks, the juices are driven toward the center. Letting it rest for a few minutes before slicing gives these juices time to redistribute throughout the meat, resulting in a juicier and more flavorful bite. The resting time varies depending on the size of the cut - small cuts like steaks might need 5-10 minutes, while larger roasts could benefit from 15-20 minutes. Cover the meat loosely with foil to keep it warm while it rests.
Store Herbs Properly

Proper storage of fresh herbs can significantly extend their shelf life and maintain their flavor. For most herbs, trimming the stems and placing them in a glass of water, like a bouquet, helps keep them fresh. Cover the glass loosely with a plastic bag and store it in the fridge. Alternatively, you can wrap herbs in a damp paper towel and store them in a resealable bag in the fridge. This method works well for herbs like parsley, cilantro, and basil. Proper storage keeps herbs vibrant and flavorful for longer, reducing waste.
Keep Butter and Eggs at Room Temperature

Using butter and eggs at room temperature is essential for baking. When these ingredients are at the right temperature, they mix more evenly with other ingredients, resulting in better textures and more consistent results. Cold butter doesn't cream properly with sugar, which can affect the texture of cookies and cakes. Similarly, room temperature eggs incorporate more easily into batters and doughs. To bring them to room temperature quickly, you can cut the butter into small pieces or place eggs in a bowl of warm water for a few minutes before using them.
Cooking Like It's 1950, But Better

There you have it, the top old-school kitchen tips straight from my grandma's wisdom. These simple yet effective tricks have been passed down through generations for a reason-they work. They bring a sense of ease and efficiency to your cooking routine, making everyday tasks a bit more manageable. Plus, there's something deeply satisfying about using techniques that have stood the test of time.
By incorporating these tips into your kitchen habits, you'll find cooking to be more fun and less stressful. Whether it's the magic of a sharp knife or the practicality of a waste bowl, these small changes can make a big difference. They help you focus on the joy of cooking and less on the hassle, bringing a touch of old-school charm to your modern kitchen.
So next time you're prepping a meal, remember these nuggets of wisdom. Embrace the simplicity and practicality that my grandma swore by. You'll be amazed at how much smoother your cooking process becomes. Happy cooking, and may your kitchen always be filled with great food and even better memories!