Baking bread at home can be one of the most rewarding experiences. There’s something special about pulling a fresh loaf out of the oven, with the aroma filling your kitchen and the anticipation of that first slice. Whether you’re just starting out or have some experience, there are always ways to improve your bread-making skills. With these 11 bread-baking tips, you can create a loaf that impresses everyone!
From choosing the right ingredients to mastering the kneading technique, each step plays a crucial role in the final product. Understanding the importance of temperature, proper shaping, and even how to use steam can make a significant difference. If you’re ready to take your bread baking to the next level, you’re in the right place. Let’s discuss some straightforward advice that will help you create the perfect loaf every time.
Use Quality Ingredients

When it comes to baking bread, the quality of your ingredients plays a crucial role in the final outcome. Opt for high-protein bread flour, as it contains more gluten, which contributes to a better structure and chewiness in the loaf. Fresh yeast is essential for optimal fermentation; expired yeast can lead to poor rising and dense bread. Additionally, using filtered or bottled water can eliminate any chlorine or impurities that might interfere with yeast activity. Investing in quality ingredients will yield a more flavorful and well-textured loaf that stands out.
Measure Accurately

Precision is crucial in bread baking, as even slight variations in ingredient amounts can result in substantial differences in the final product. Using a kitchen scale to weigh your ingredients can help achieve consistent results. For example, measuring flour by weight rather than volume eliminates discrepancies caused by packing or sifting. Additionally, ensure that your measuring cups and spoons are calibrated accurately. Accurate measurements of water and yeast are equally important, as they directly affect hydration levels and fermentation, which in turn impact the dough's rise and crumb.
Room Temperature Ingredients

Allowing ingredients to reach room temperature before use is crucial for achieving effective mixing and optimal dough development. Cold butter or eggs can hinder the emulsification process, resulting in a less cohesive dough. For yeast-based recipes, using warm water (around 100°F or 38°C) can activate the yeast more effectively, promoting a robust rise. This practice also helps in achieving a uniform texture throughout the dough. By ensuring that all components are at a similar temperature, you create an environment conducive to consistent fermentation and rising.
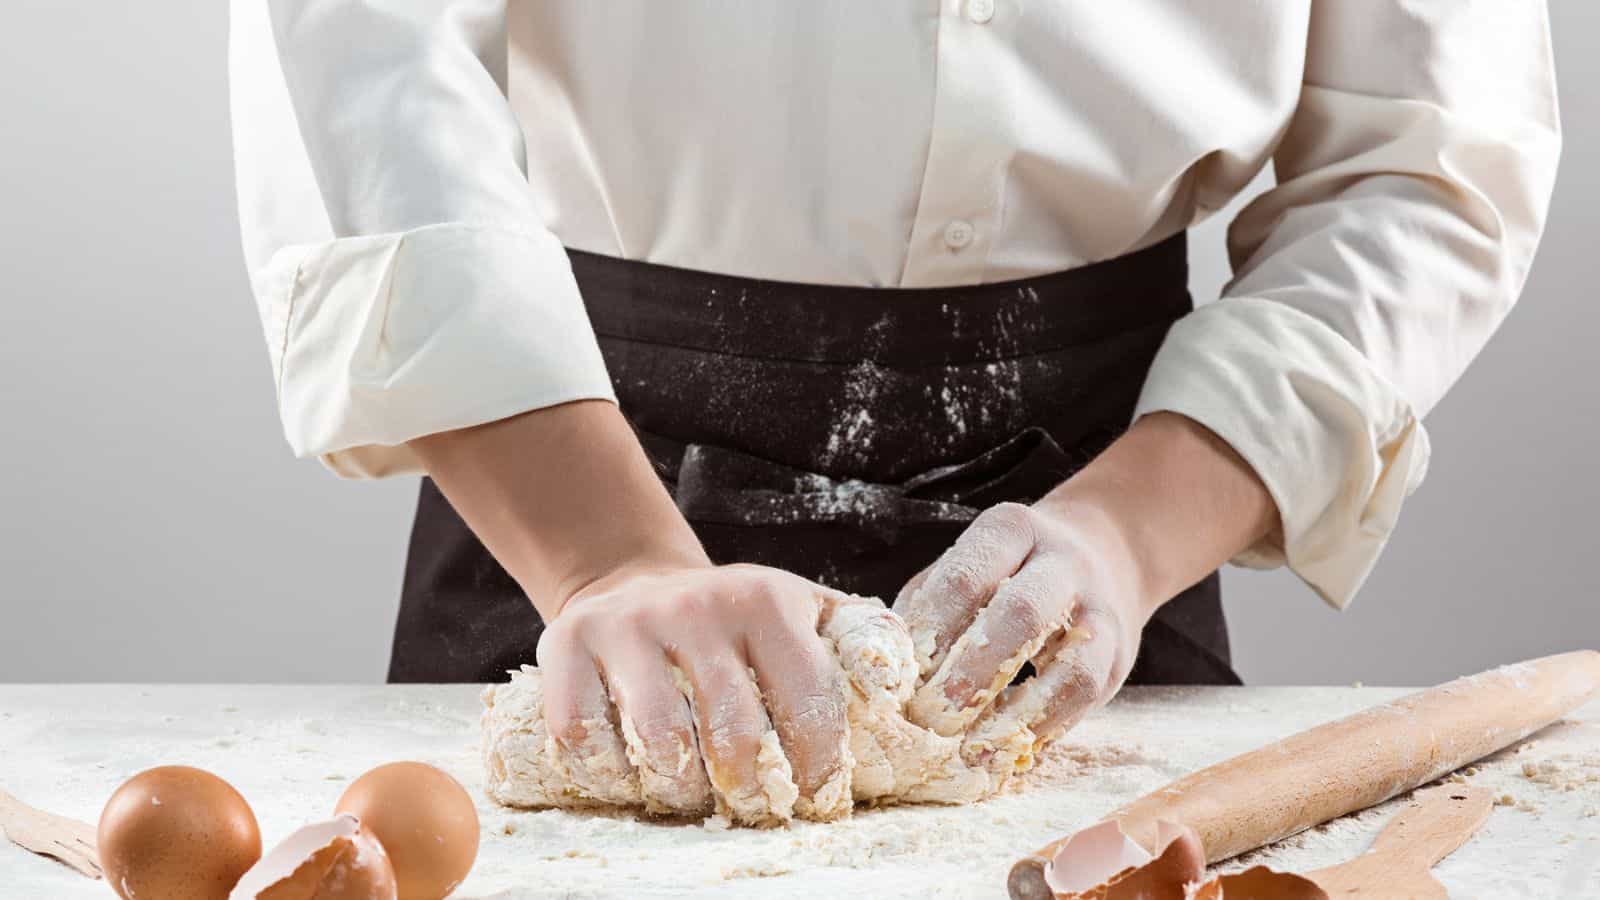
Knead Properly

Kneading is a fundamental step in bread making, as it develops gluten, which provides the bread with structure and elasticity. The process involves folding, pressing, and stretching the dough to align gluten strands. Proper kneading yields a smooth, elastic dough that can trap air bubbles during fermentation, resulting in a lighter loaf. Aim to knead until the dough passes the windowpane test, where a small piece can stretch thin without tearing. This indicates that the gluten is well-developed, allowing the bread to rise effectively and achieve a desirable texture in the finished product.
Temperature Matters
The temperature at which you proof your dough significantly impacts yeast activity and fermentation. Ideally, the environment should be warm and free from drafts, as cooler temperatures can slow down the rising process. Aim for a temperature range of 75°F to 80°F (24°C to 27°C) for optimal yeast performance. If your kitchen is cold, consider placing the dough in a slightly warmed oven or covering it with a damp cloth to maintain warmth. Monitoring the dough's rise is crucial; a well-proofed dough will double in size and develop a light texture.
Use the Windowpane Test

The windowpane test is a simple yet effective method to assess the development of gluten in your dough. To perform this test, take a small piece of dough and gently stretch it between your fingers. If the dough stretches thin enough to form a translucent membrane without tearing, it indicates that gluten has formed properly. This elasticity is essential for trapping air bubbles during fermentation, which contributes to the bread's rise and texture. If the dough tears easily, it requires more kneading to achieve the desired gluten structure.
Don’t Rush the Rise

Patience is crucial when allowing your dough to rise. Rushing this process can lead to dense bread with insufficient texture. The dough should be left to rise until it has doubled in size, which may take longer in cooler environments. Be attentive to the dough’s appearance and feel; it should look puffy and have a slightly airy quality. If you’re uncertain, perform the poke test by gently pressing your finger into the dough; if the indentation springs back slowly, it’s ready for shaping. This careful approach yields a superior loaf.
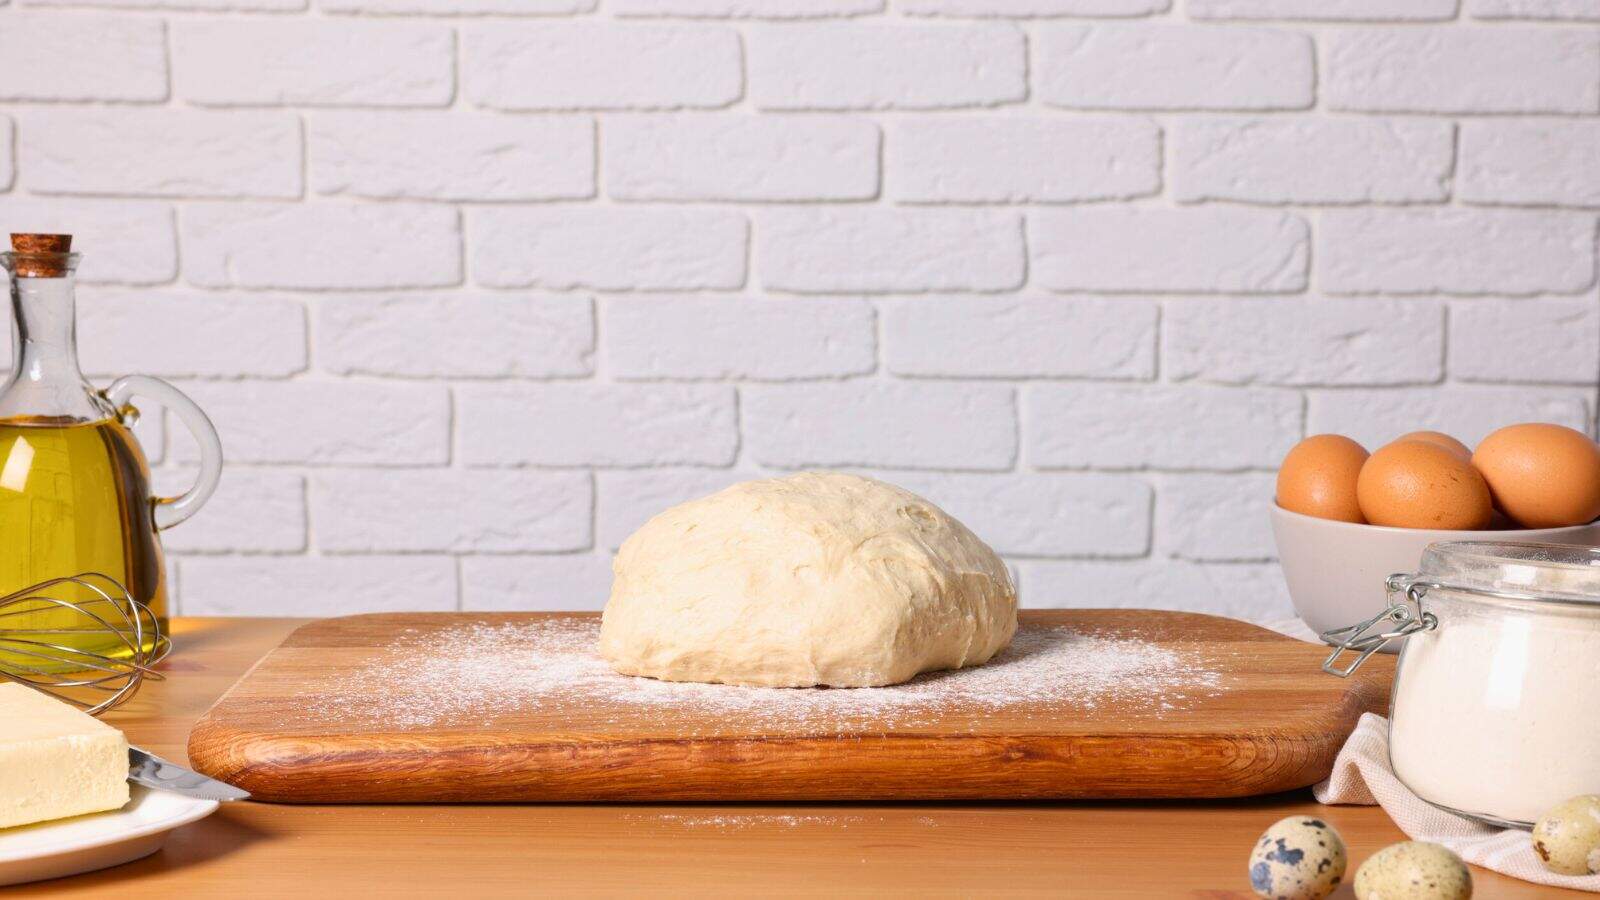
Shape Carefully

Shaping your dough with care is essential for creating a well-structured loaf. After the first rise, gently deflate the dough to release excess air without overworking it. Use a light touch to shape the dough into its final form, whether it be a round or oblong loaf. Proper shaping helps to create surface tension, which supports the dough during the second rise and baking. Avoid aggressive handling, as this can lead to a dense texture. A well-shaped loaf will rise evenly and develop a beautiful crust when baked.
Preheat Your Oven

Making sure that your oven is fully preheated before placing the bread inside is crucial for achieving the best results. A hot oven creates an immediate burst of steam, which is crucial for the dough's initial rise, known as oven spring. This rapid expansion helps to create a light and airy texture. Preheating also contributes to the development of a crust that is both appealing and flavorful. Depending on your recipe, preheat your oven to the appropriate temperature, typically between 375°F to 475°F (190°C to 245°C).
Use Steam

Introducing steam into the oven during the first few minutes of baking can significantly enhance the crust of your bread. Steam helps to keep the outer layer of the dough moist, allowing it to expand more freely before forming a hard crust. You can create steam by placing a pan filled with hot water at the bottom of the oven or by spritzing the oven walls with water just before closing the door. This technique yields a crust that is crispy and well-developed, lending your bread an appealing appearance and texture.
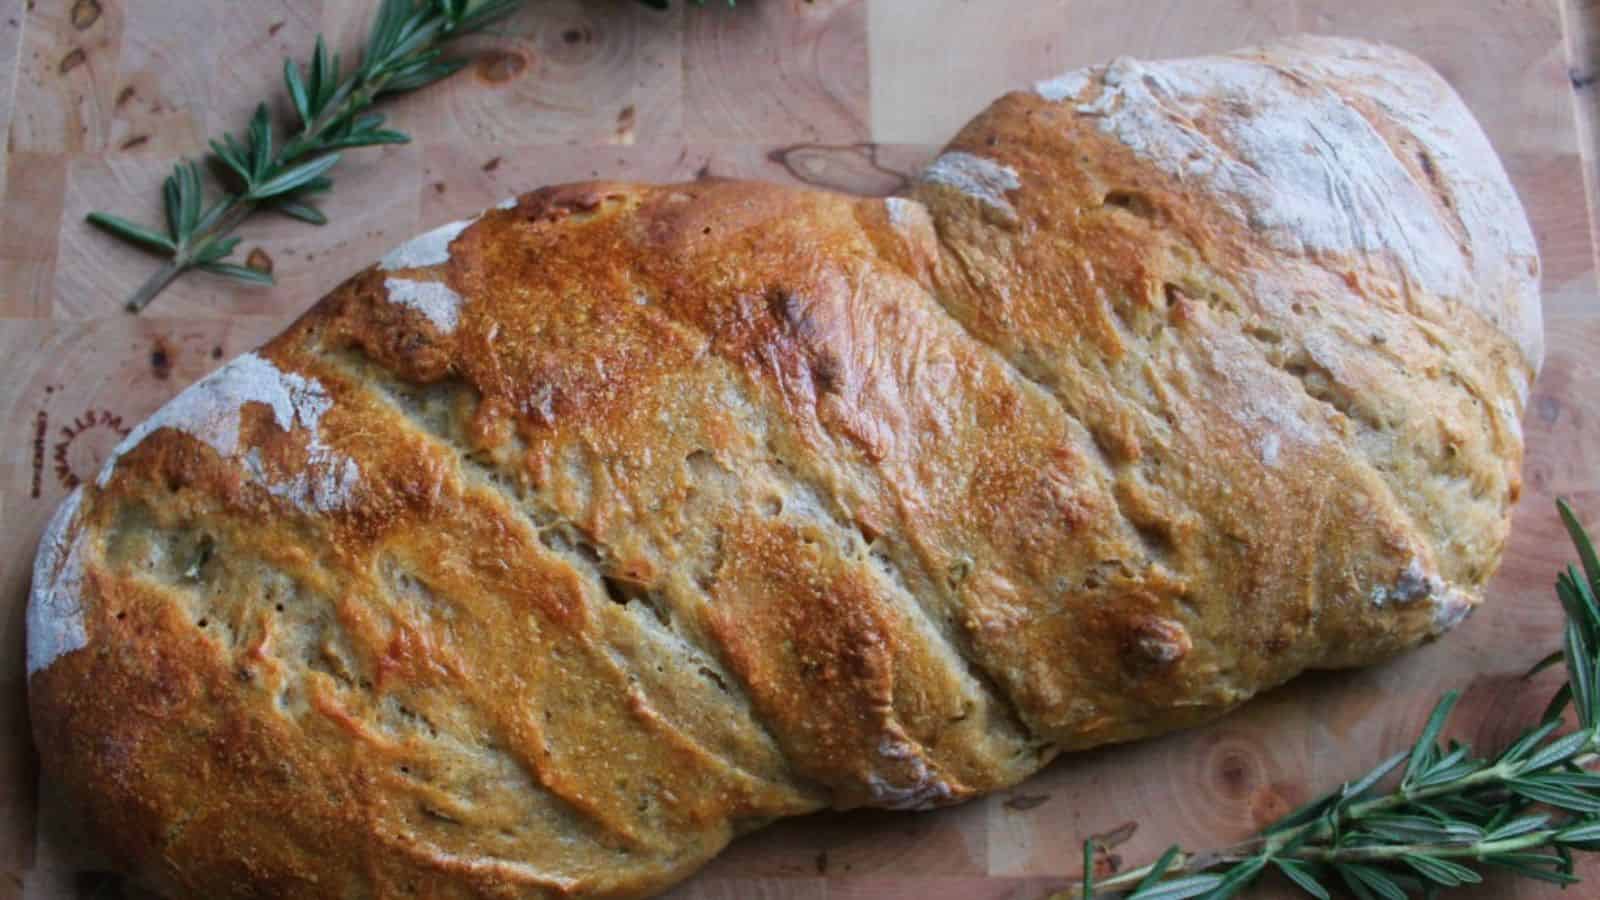
Cool Completely

Allowing your bread to cool completely on a wire rack is a crucial step in the baking process. When bread comes out of the oven, it continues to steam, and if you slice it too soon, you risk disrupting the crumb structure. This can lead to a dense and gummy texture. Cooling on a wire rack allows air to circulate around the loaf, preventing moisture from accumulating on the bottom. This helps maintain a crisp crust while guaranteeing that the inside sets properly. Allow at least 30 minutes of cooling time before slicing to achieve optimal results.
Loaf Like Nobody's Watching

Baking the perfect loaf of bread is a journey filled with learning and experimentation. By incorporating these tips into your routine, you’ll find that each batch becomes better than the last. Remember, bread making is as much about the process as it is about the final product. Enjoy the rhythm of kneading, the anticipation of rising dough, and the satisfaction of pulling a golden loaf from the oven.
Don’t be afraid to make mistakes along the way; they often lead to the best discoveries in baking. With practice and a little patience, you’ll be able to craft bread that not only looks great but also tastes amazing. So, gather your ingredients, roll up your sleeves, and get ready to impress your family and friends with your newfound skills. Happy baking, and here’s to many perfect loaves ahead!
Crave-Worthy Breads You’ll Want to Bake on Repeat
There’s nothing better than the smell of freshly baked bread filling the kitchen. These 11 crave-worthy breads are the kind you’ll want to make again and again. Whether you love soft and fluffy rolls, rustic loaves, or sweet, spiced treats, these recipes bring warmth and comfort to any table. Once you start baking these at home, you might never go back to store-bought.
Read it Here: 11 Crave-Worthy Breads You’ll Want to Bake on Repeat
Wallet-Friendly Homemade Breads That Put Store-Bought to Shame

Making homemade bread is easier and cheaper than you might think. These 15 budget-friendly recipes cost less than store-bought loaves and taste even better. With simple ingredients and basic steps, you can bake fresh bread that’s warm, soft, and satisfying. Save money and skip the additives by making your own bread at home.
Read it Here: 15 Wallet-Friendly Homemade Breads That Put Store-Bought to Shame


Tell Me What You Think!