Growing vegetables from bits you usually throw away is a great way to save money and help the planet. It's easy to do and lets you enjoy fresh veggies you grew yourself, even if you're not a gardening expert.
You can regrow lots of different vegetables, like salad greens and root veggies. It's really simple, and you can do it in your kitchen or in a small spot outside. Instead of getting rid of vegetable leftovers, you can use them to make new plants. It's fun to grow your own food and watch it get bigger!
Here are 11 vegetables that are easy to regrow from kitchen scraps.

Lettuce
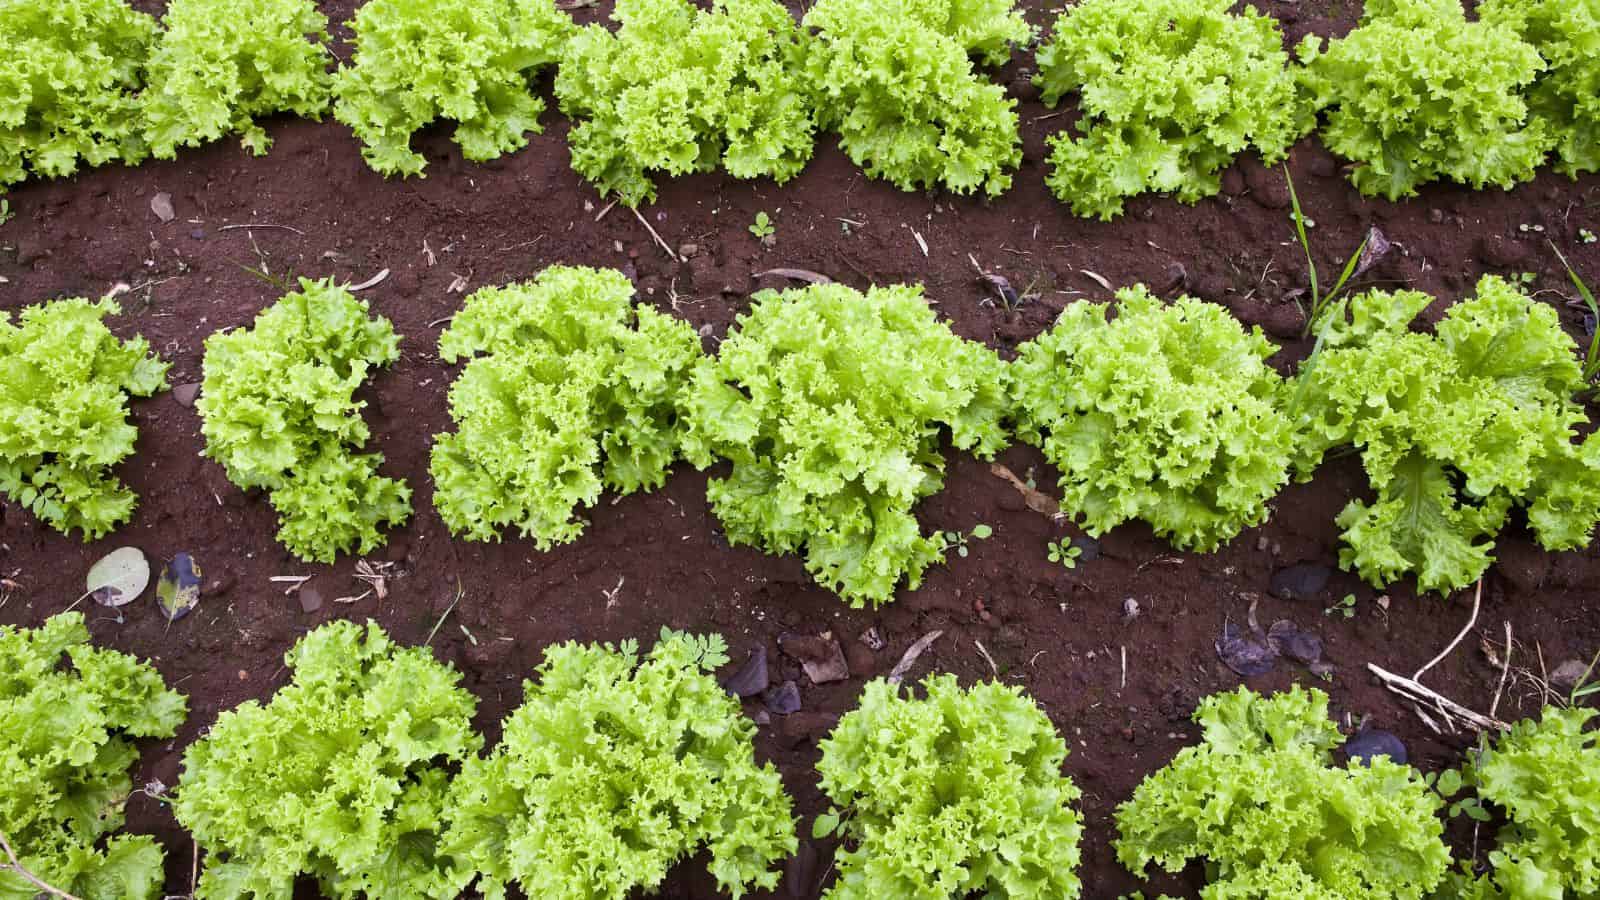
Regrowing lettuce is super easy! Just save the bottom part of the lettuce head (about 1-2 inches). Put it in a shallow dish with a little water, making sure the bottom is wet but the top isn't submerged. Place it in a sunny spot and change the water every day or two. In about a week, you'll see new leaves growing from the center. Once the leaves are big enough, you can plant the lettuce in soil or keep it in water. Remember to harvest the outer leaves and let the inner ones keep growing. This way, you can have a steady supply of fresh lettuce for your sandwiches and salads
Green Onions
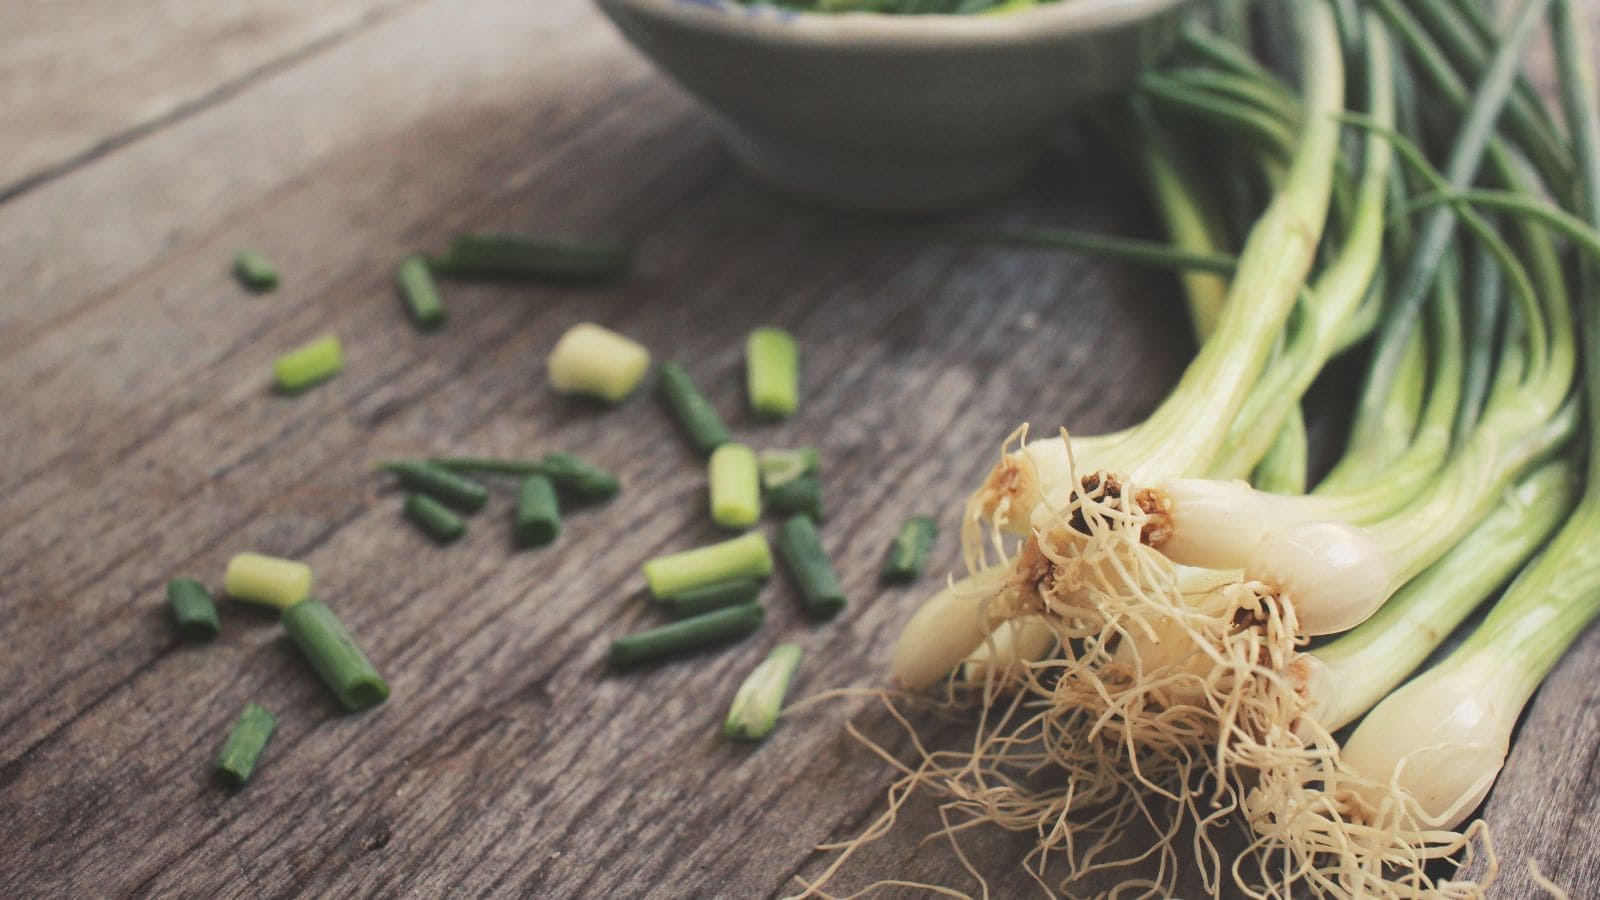
Green onions are one of the easiest veggies to regrow. After using the green parts, keep the white bottom with the roots attached. Put these in a glass with enough water to cover the roots, but leave the top above water. Place the glass in a sunny spot and change the water every few days. You'll see new green shoots growing in just a few days! You can keep harvesting the green parts as they grow. If you want, you can plant them in soil after a week or two for even more growth. It's like having an endless supply of green onions for your cooking.
Get the Recipe: Green Onions
Celery
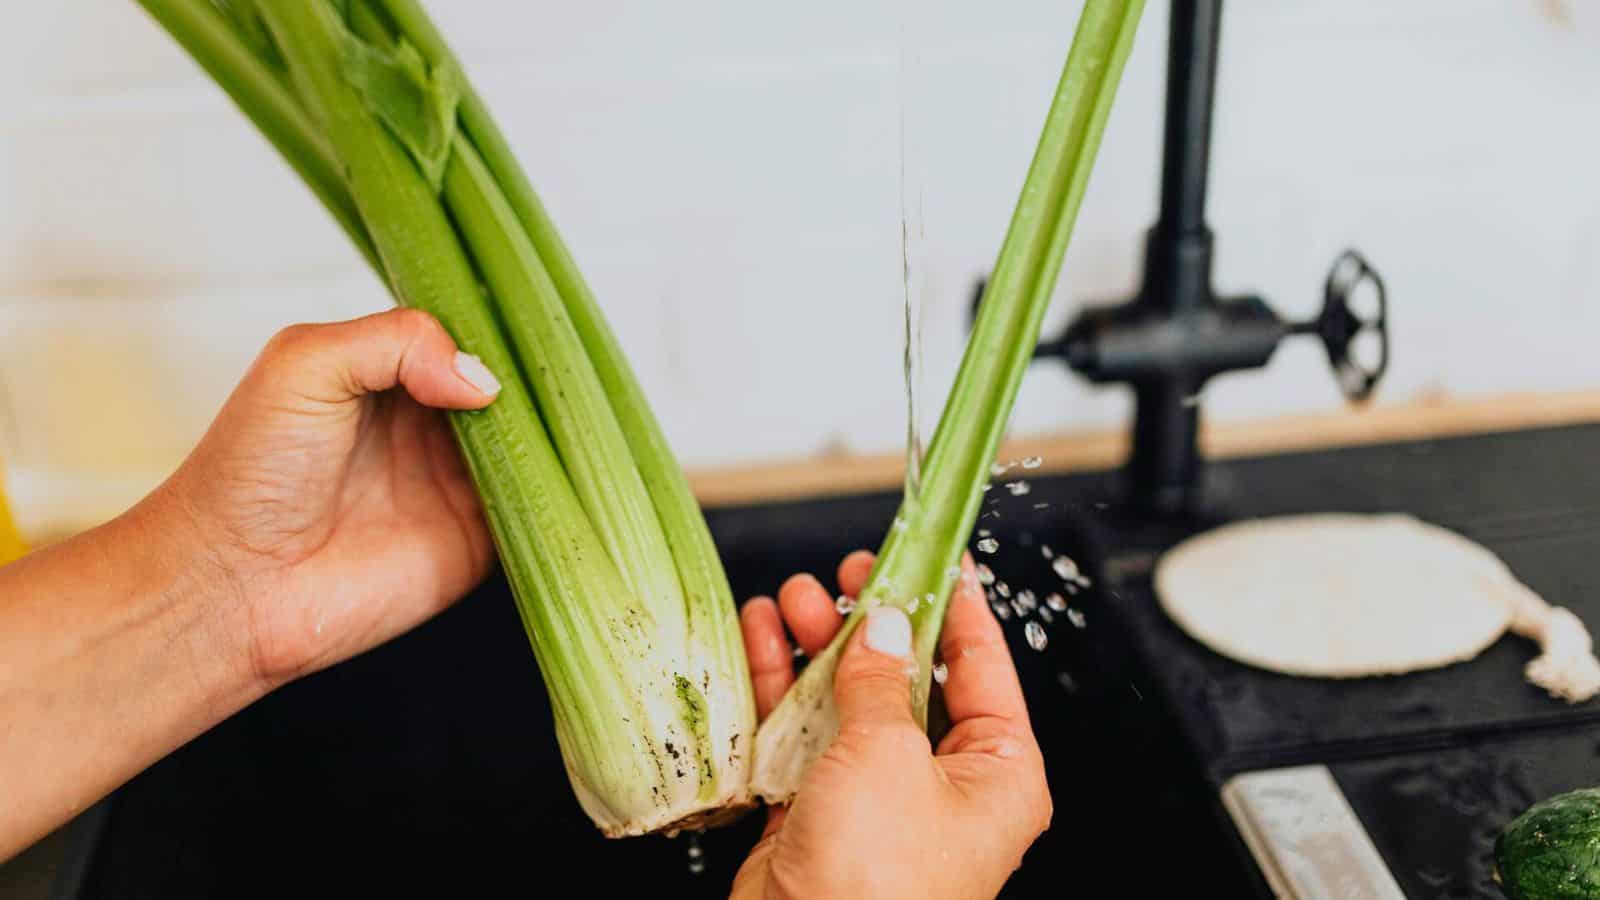
To regrow celery, cut off the bottom 2-3 inches of the celery bunch. Put this base in a shallow bowl with a little water, keeping the top part above water. Place it in a sunny spot and change the water every couple of days. After about a week, you'll see little leaves growing from the center. Once these leaves are growing well, you can plant the celery in soil. Keep it watered and in a sunny spot. In a few weeks, you'll have new celery stalks growing. It's a bit slower than some other veggies, but it's super cool to watch your own celery grow.
Basil

Basil is a yummy herb that's easy to regrow. Take a stem of basil about 4 inches long and remove the lower leaves, leaving just the top ones. Put this stem in a glass of water, making sure the leaves are above the water. Place it in a bright spot but not in direct sunlight. Change the water every couple of days. In about a week, you'll see roots growing from the stem. Once the roots are about 2 inches long, you can plant your basil in soil. Keep it watered and in a sunny spot, and soon you'll have a whole new basil plant for your pizzas and pasta.
Garlic
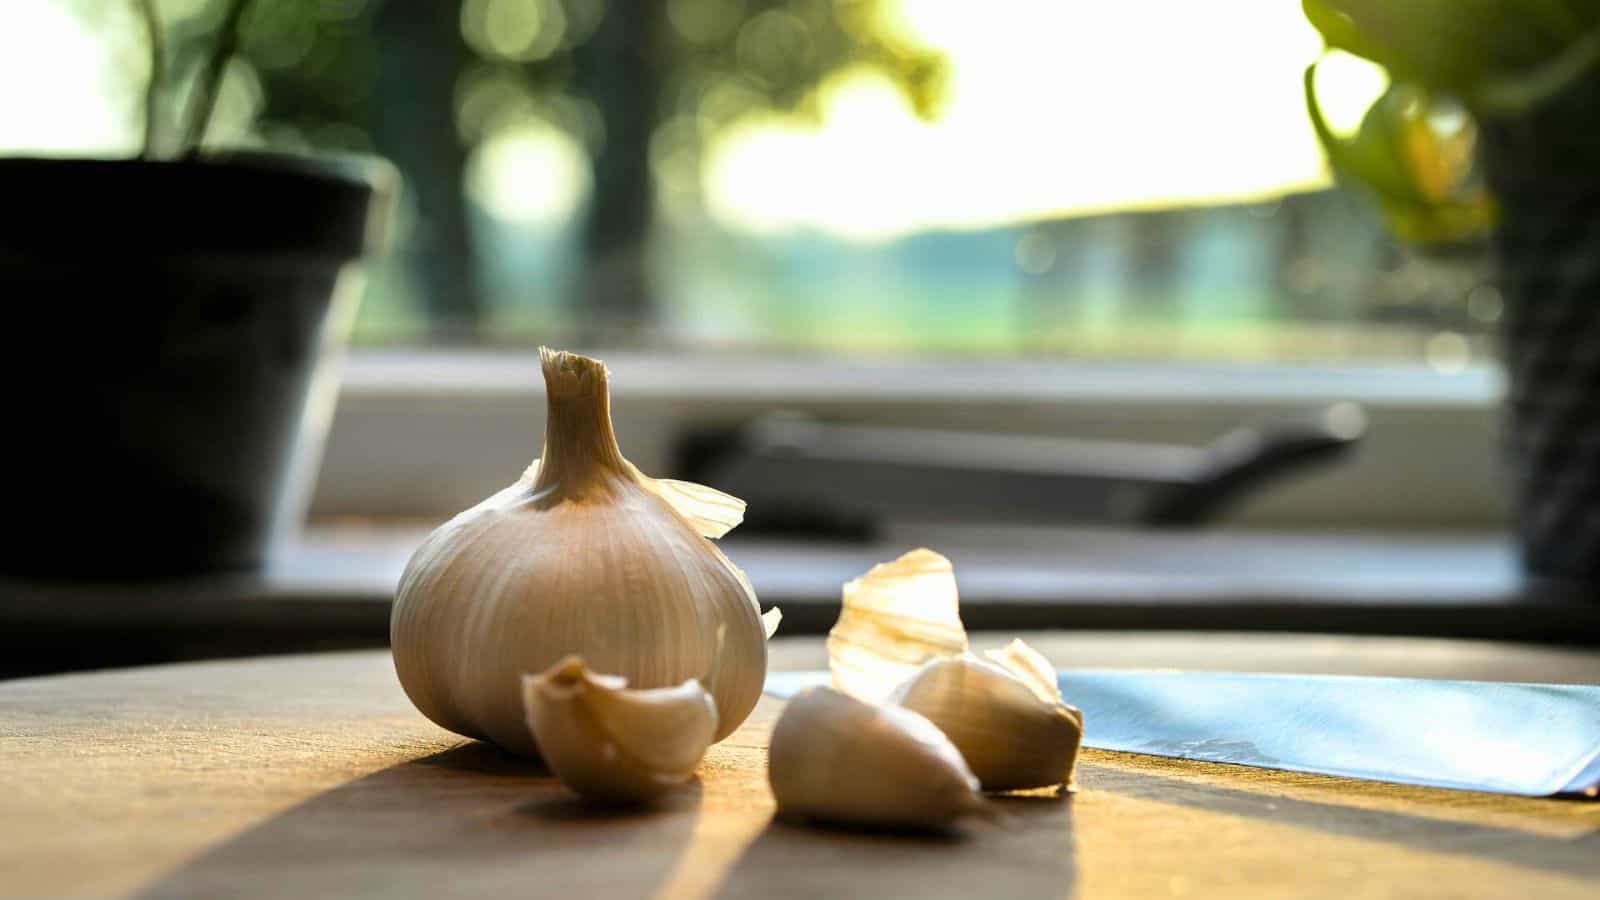
Regrowing garlic is fun and easy! When you find a garlic clove that's started to sprout (you'll see a little green shoot), you can grow it into a new plant. Plant the clove in a small pot with soil, pointy end up. Water it well and place it in a sunny spot. Soon, you'll see the green shoot growing taller. You can use these garlic greens just like green onions in your cooking. If you leave it growing, eventually it will form a whole new head of garlic underground! It takes a while, but it's cool to grow your own garlic.
Carrot Greens
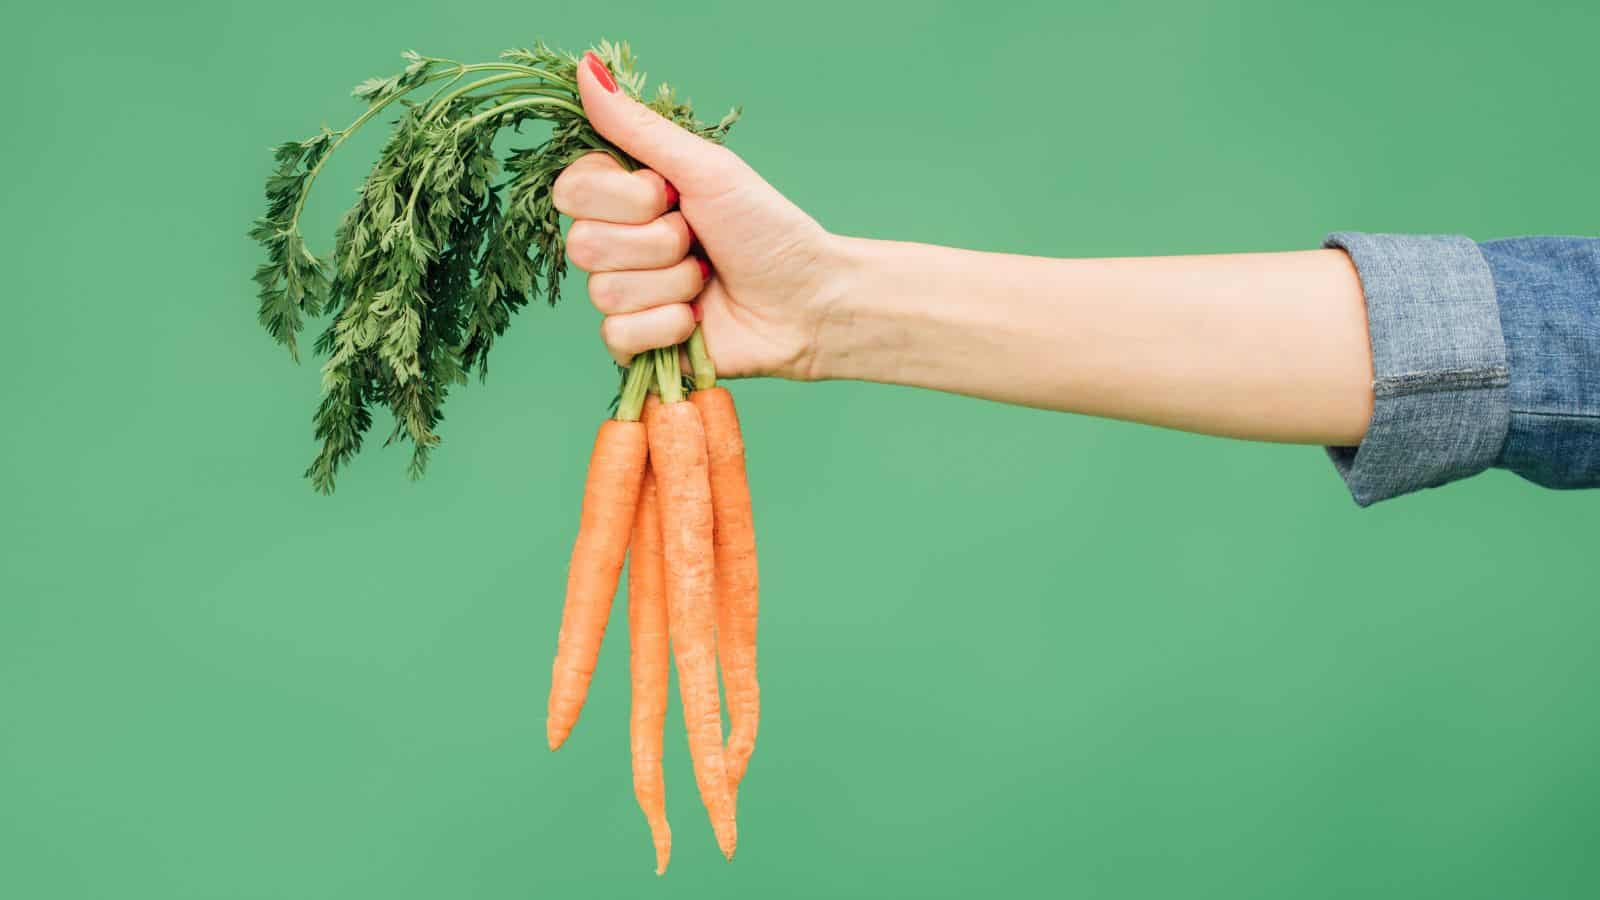
While you can't regrow a whole carrot, you can grow tasty carrot greens from the top! Cut off the top of a carrot, leaving about half an inch of the carrot attached. Put this in a shallow dish with a little water, just enough to cover the bottom. Place it in a sunny spot and keep the water fresh. In a few days, you'll see green shoots growing from the top. These greens are edible and taste a bit like parsley. You can use them in salads or as a garnish. It's a fun way to get more out of your carrots!
Bok Choy
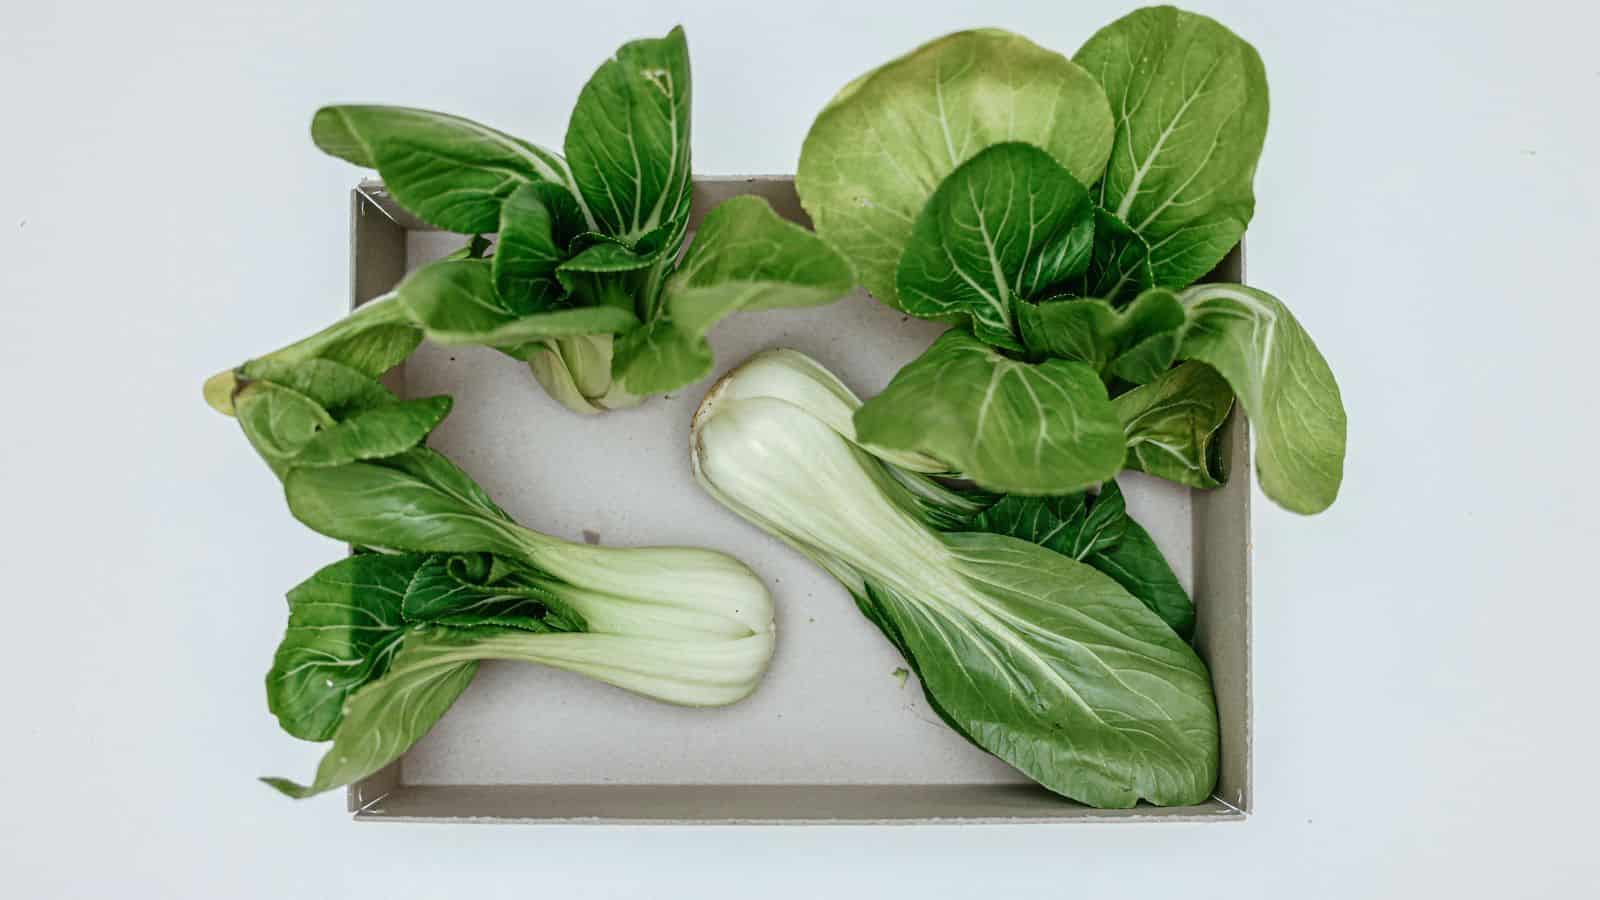
Bok choy is a tasty veggie that's easy to regrow. Save the bottom 2-3 inches of the bok choy and place it in a shallow dish with a little water. Make sure the cut side is facing up and only the bottom is in water. Put it in a sunny spot and change the water every couple of days. In about a week, you'll see new leaves growing from the center. Once these leaves are growing well, you can plant the bok choy in soil. Keep it watered and in a sunny spot, and soon you'll have new bok choy leaves to use in your stir-fries.
Romaine Lettuce
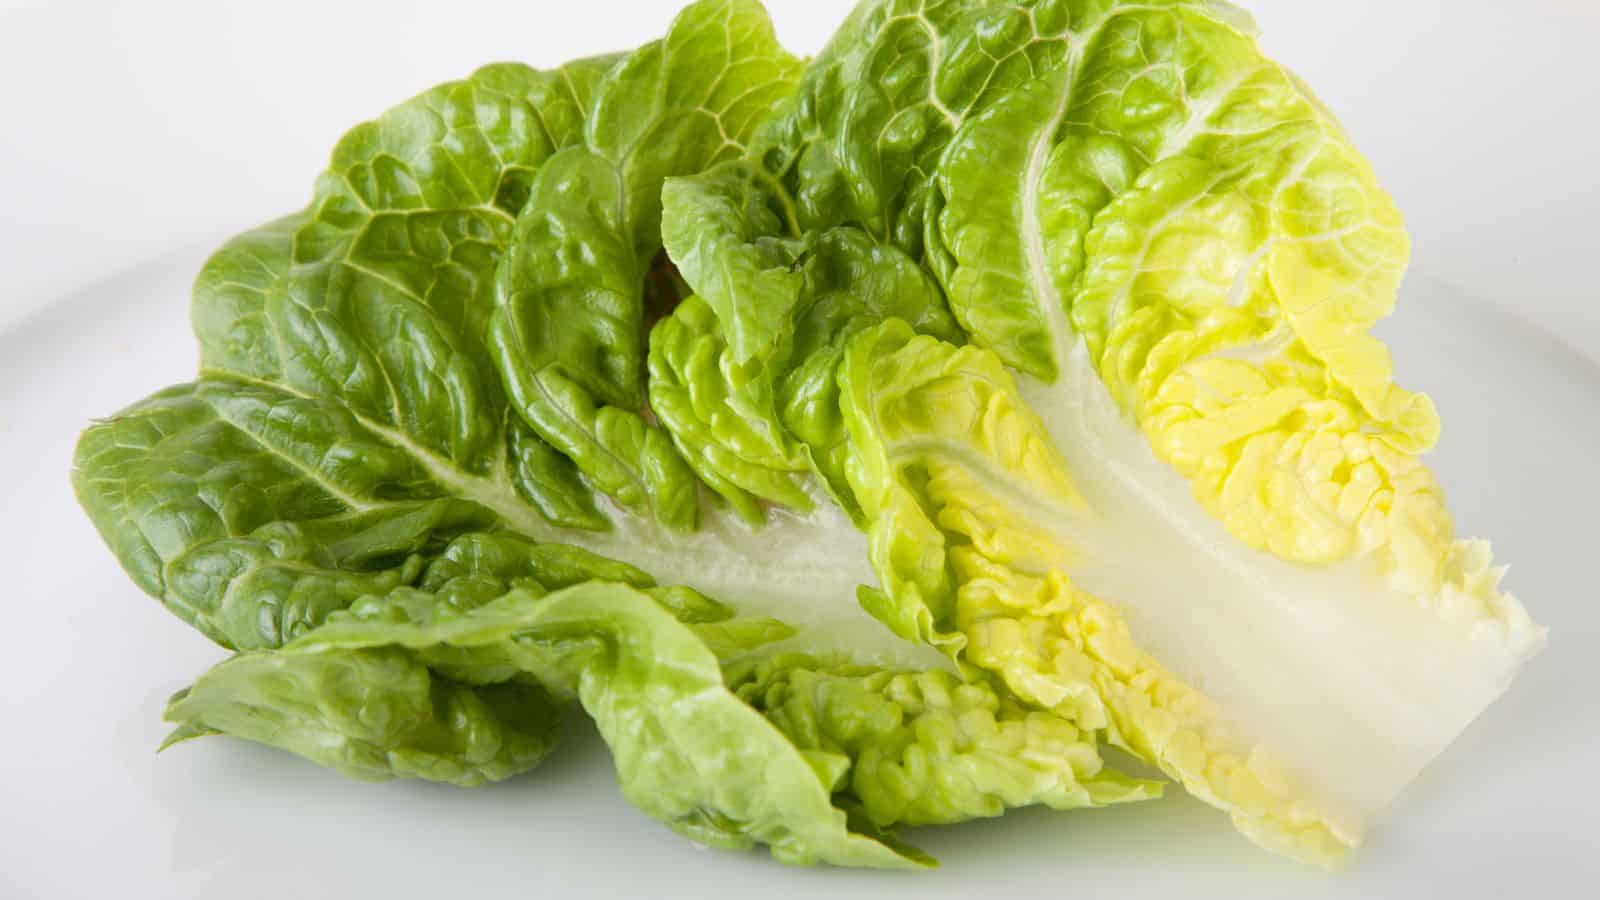
Romaine lettuce is super easy to regrow, just like other types of lettuce. Keep the bottom 2-3 inches of the romaine heart. Put it in a shallow dish with a little water, making sure the bottom is wet but the top isn't underwater. Place it in a sunny spot and change the water every day or two. In about a week, you'll see new leaves growing from the center. You can keep it in water or plant it in soil once the new leaves are growing well. Soon, you'll have fresh romaine lettuce for your salads and sandwiches.
Lemongrass
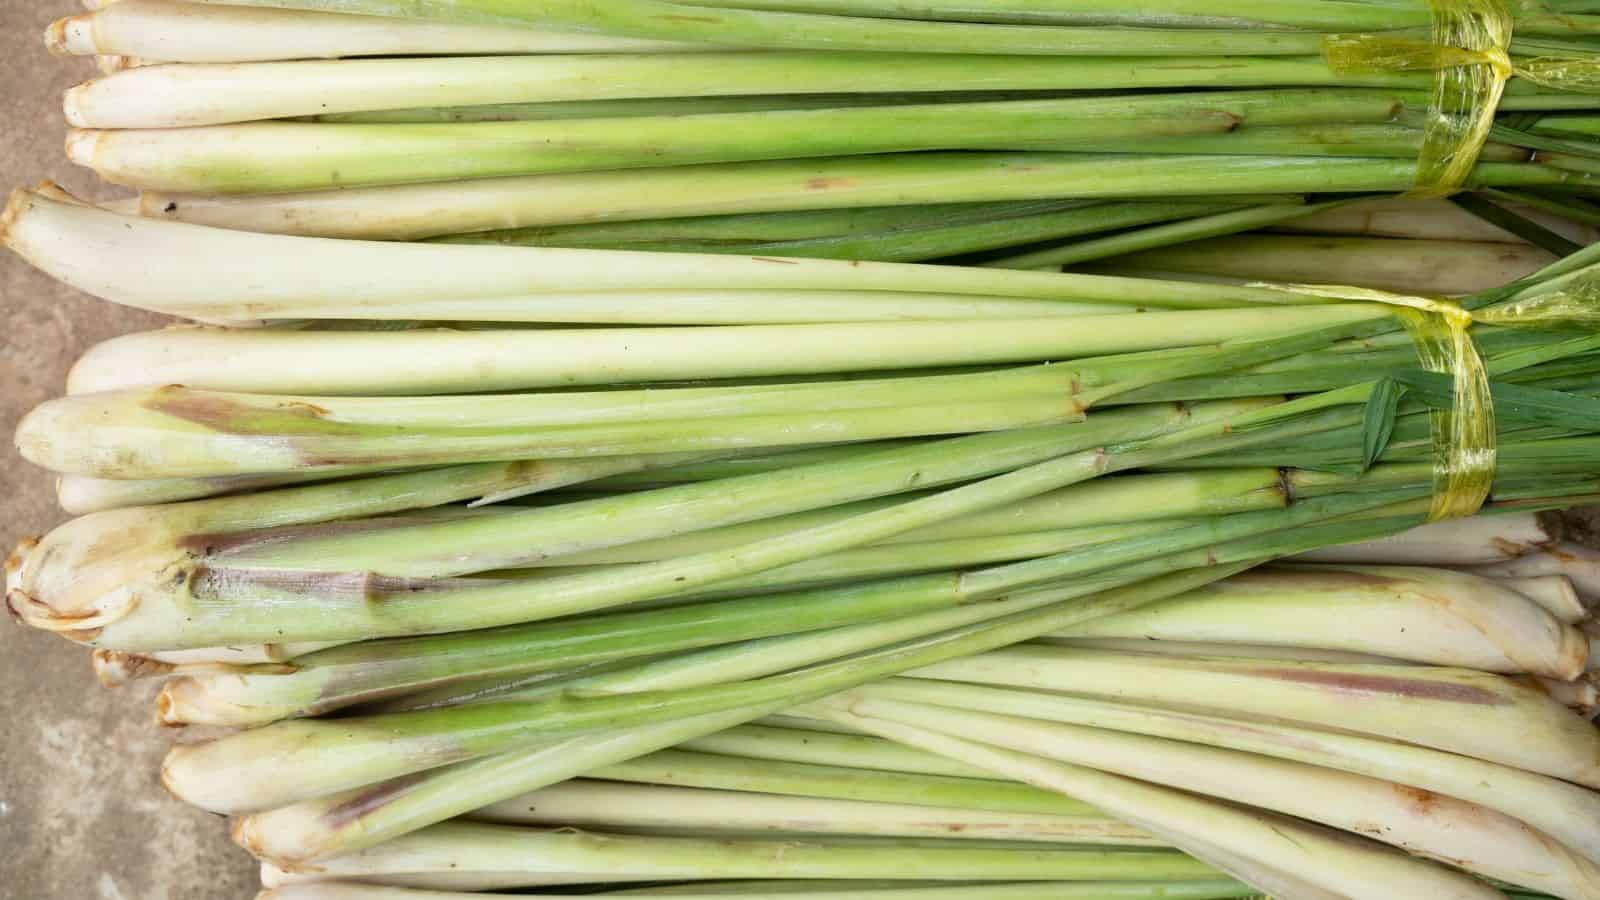
Lemongrass is a yummy herb that's easy to regrow. When you buy lemongrass, look for stalks that still have the base intact. Cut off the top, leaving about 4 inches of the base. Put this base in a glass of water and place it in a sunny spot. Change the water every couple of days. In about a week, you'll see new roots and shoots growing. Once the new shoots are a few inches tall, you can plant the lemongrass in soil. Keep it watered and in a sunny spot, and soon you'll have your own lemongrass plant for Thai dishes and teas.
Ginger
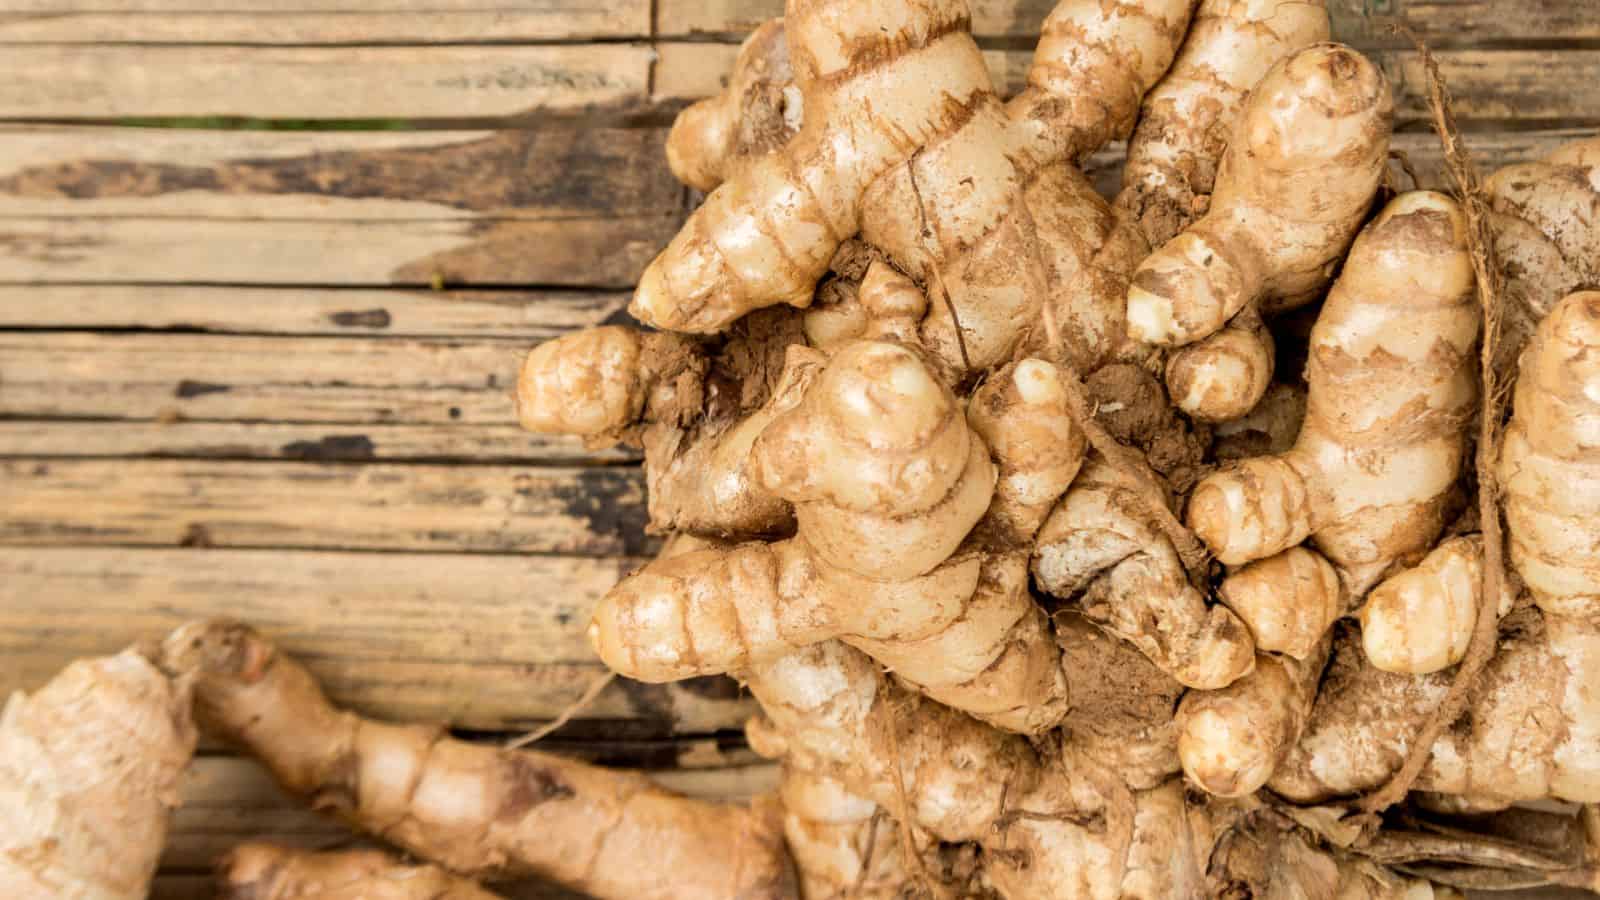
Ginger is a fun root to regrow. Find a piece of fresh ginger with some bumpy parts (these are called eyes, like on a potato). Cut the ginger into pieces, making sure each piece has at least one eye. Let these pieces dry out overnight. Then, plant them in soil with the eye facing up, just barely covered with soil. Water it and place it in a warm, not-too-sunny spot. Be patient - it can take a few weeks to see new shoots. Keep the soil moist but not soggy. In a few months, you'll have new ginger to harvest.
Pineapple
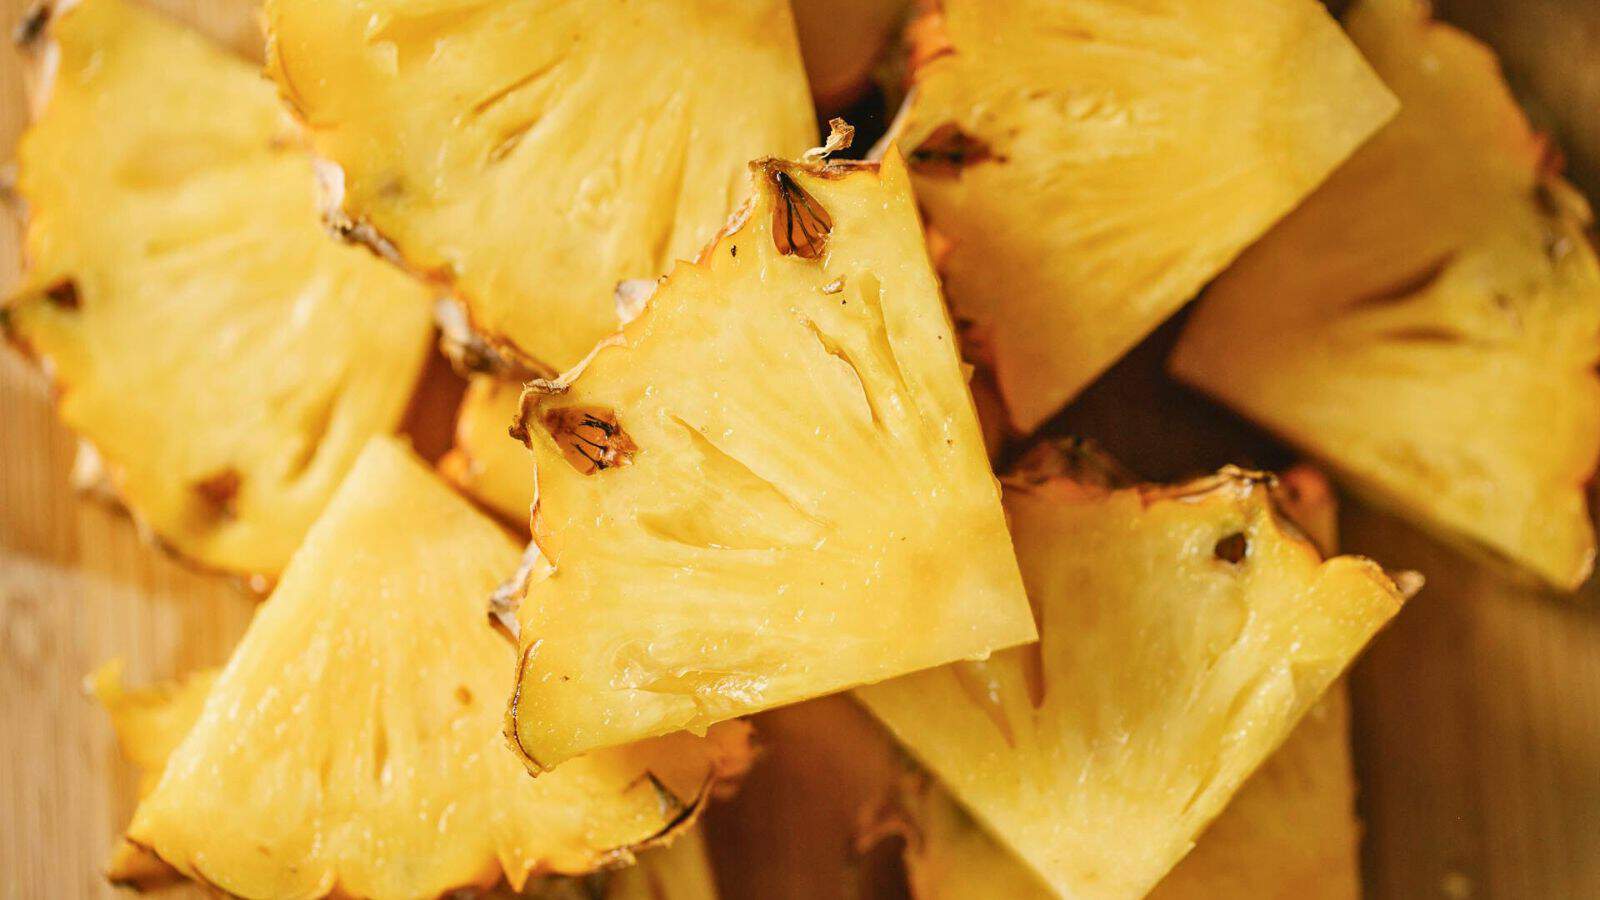
Regrowing a pineapple takes a long time, but it's super cool! Cut off the top of the pineapple, leaving about half an inch of fruit attached to the leaves. Remove some of the lower leaves to expose about an inch of the base. Let this dry out for a couple of days. Then, plant it in soil, making sure the base is covered but the leaves are above the soil. Water it and place it in a warm, sunny spot. Keep the soil moist but not soggy. It can take a few months to see new growth, and it might take 2-3 years before you get a new pineapple, but it's an awesome long-term project.
Turn Your Kitchen Waste Into Dinner With These 23 Plants You Can Grow From Scraps
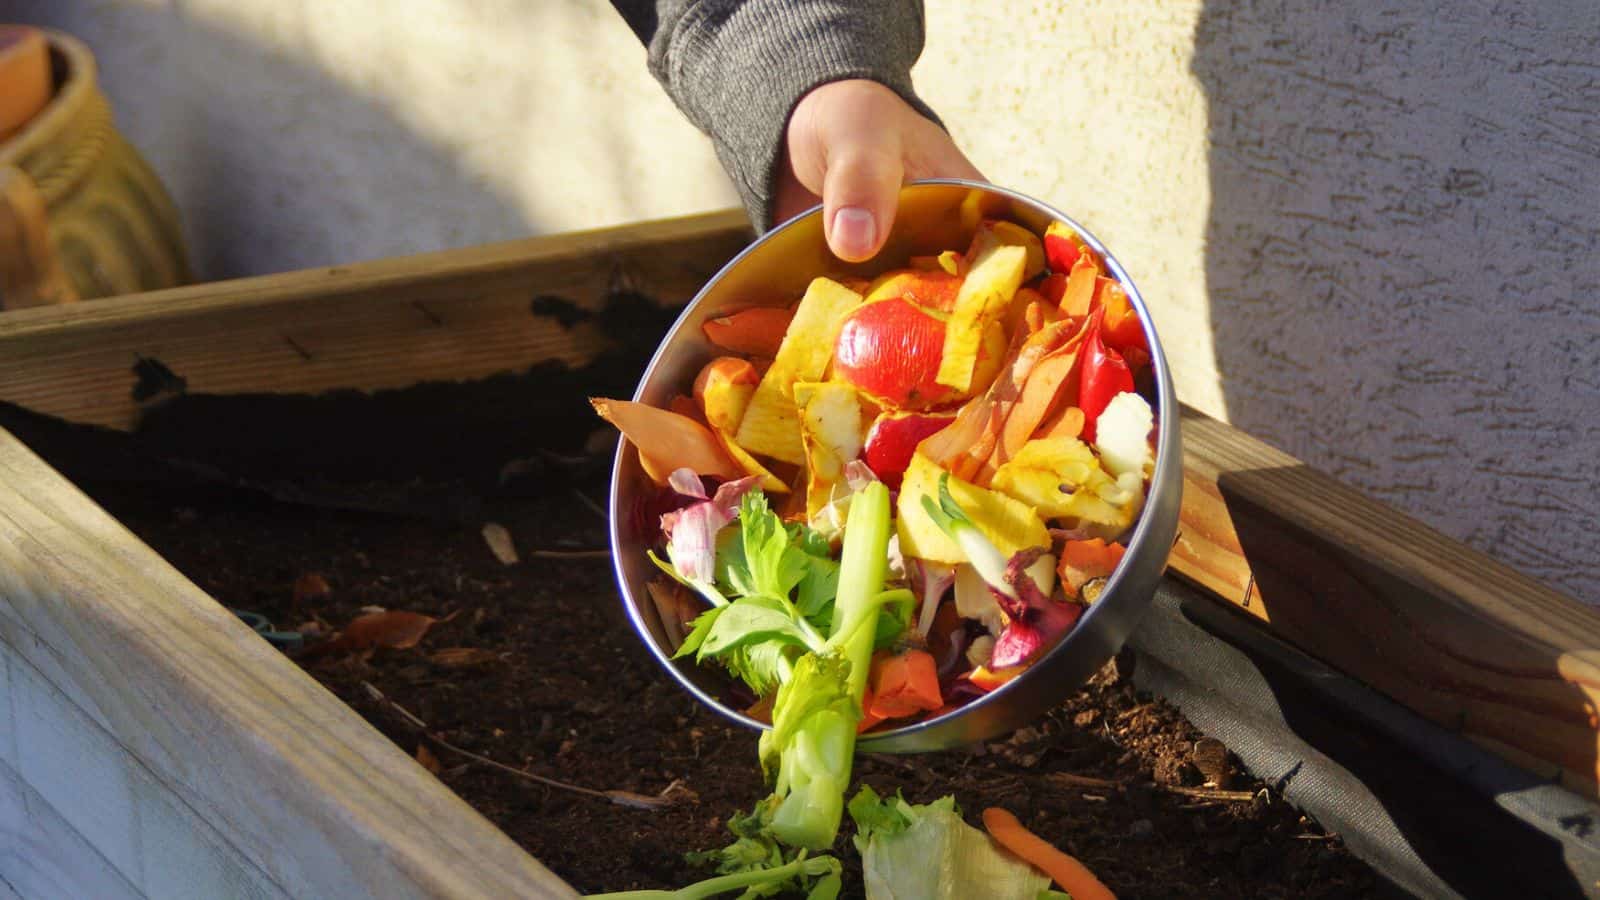
Want to explore what else you can regrow? Here are 23 more plants you can regrow at home! Growing food from scraps is also a great way to gain a supply of fresh produce at your fingertips means you can enjoy the freshest ingredients for your meals. There’s nothing quite like the taste of homegrown food. So why not give it a try? Turn those scraps into a thriving garden and enjoy the benefits of fresh, home-grown food without the extra cost.
Get the Recipe: Turn Your Kitchen Waste Into Dinner With These 23 Plants You Can Grow From Scraps
9 Hacks to Open Even the Most Stubborn Jars Without Breaking a Sweat
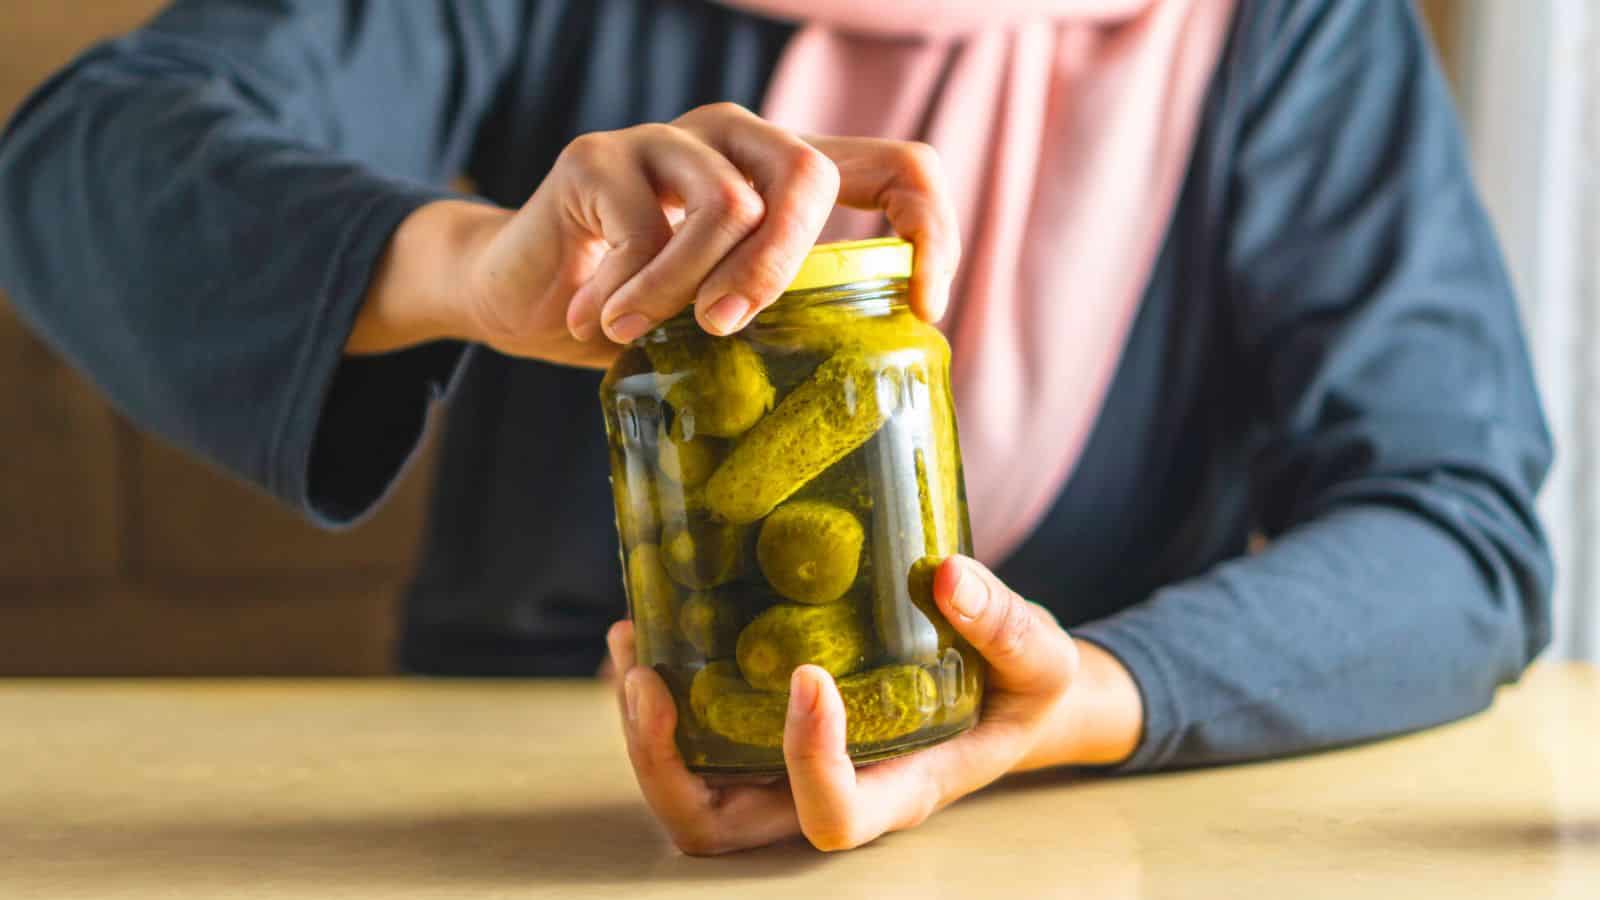
Jar-opening hacks? Yes, please! Here are 9 hacks to help you open even the most stubborn jar! Get ready to say goodbye to those stubborn lids for good. With these clever hacks, you’ll never have to ask someone else for help or feel frustrated again. So, next time you’re faced with a tricky jar, remember these tips and tackle it with confidence. You’ve got this!
Get the Recipe: 9 Hacks to Open Even the Most Stubborn Jars Without Breaking a Sweat


Tell Me What You Think!