A Christmas tree charcuterie board that feels like art on your table! It's fresh, fragrant, and perfect for this year's cozy holiday gatherings.
Every December, our kitchen turns into a small workshop of color and laughter. Between the tangle of lights and half-wrapped gifts, there's always one tradition that brings calm to the chaos: assembling a charcuterie board. It's my way of marking the start of the season. A quiet pause before the rush of cooking, wrapping, and welcoming begins.
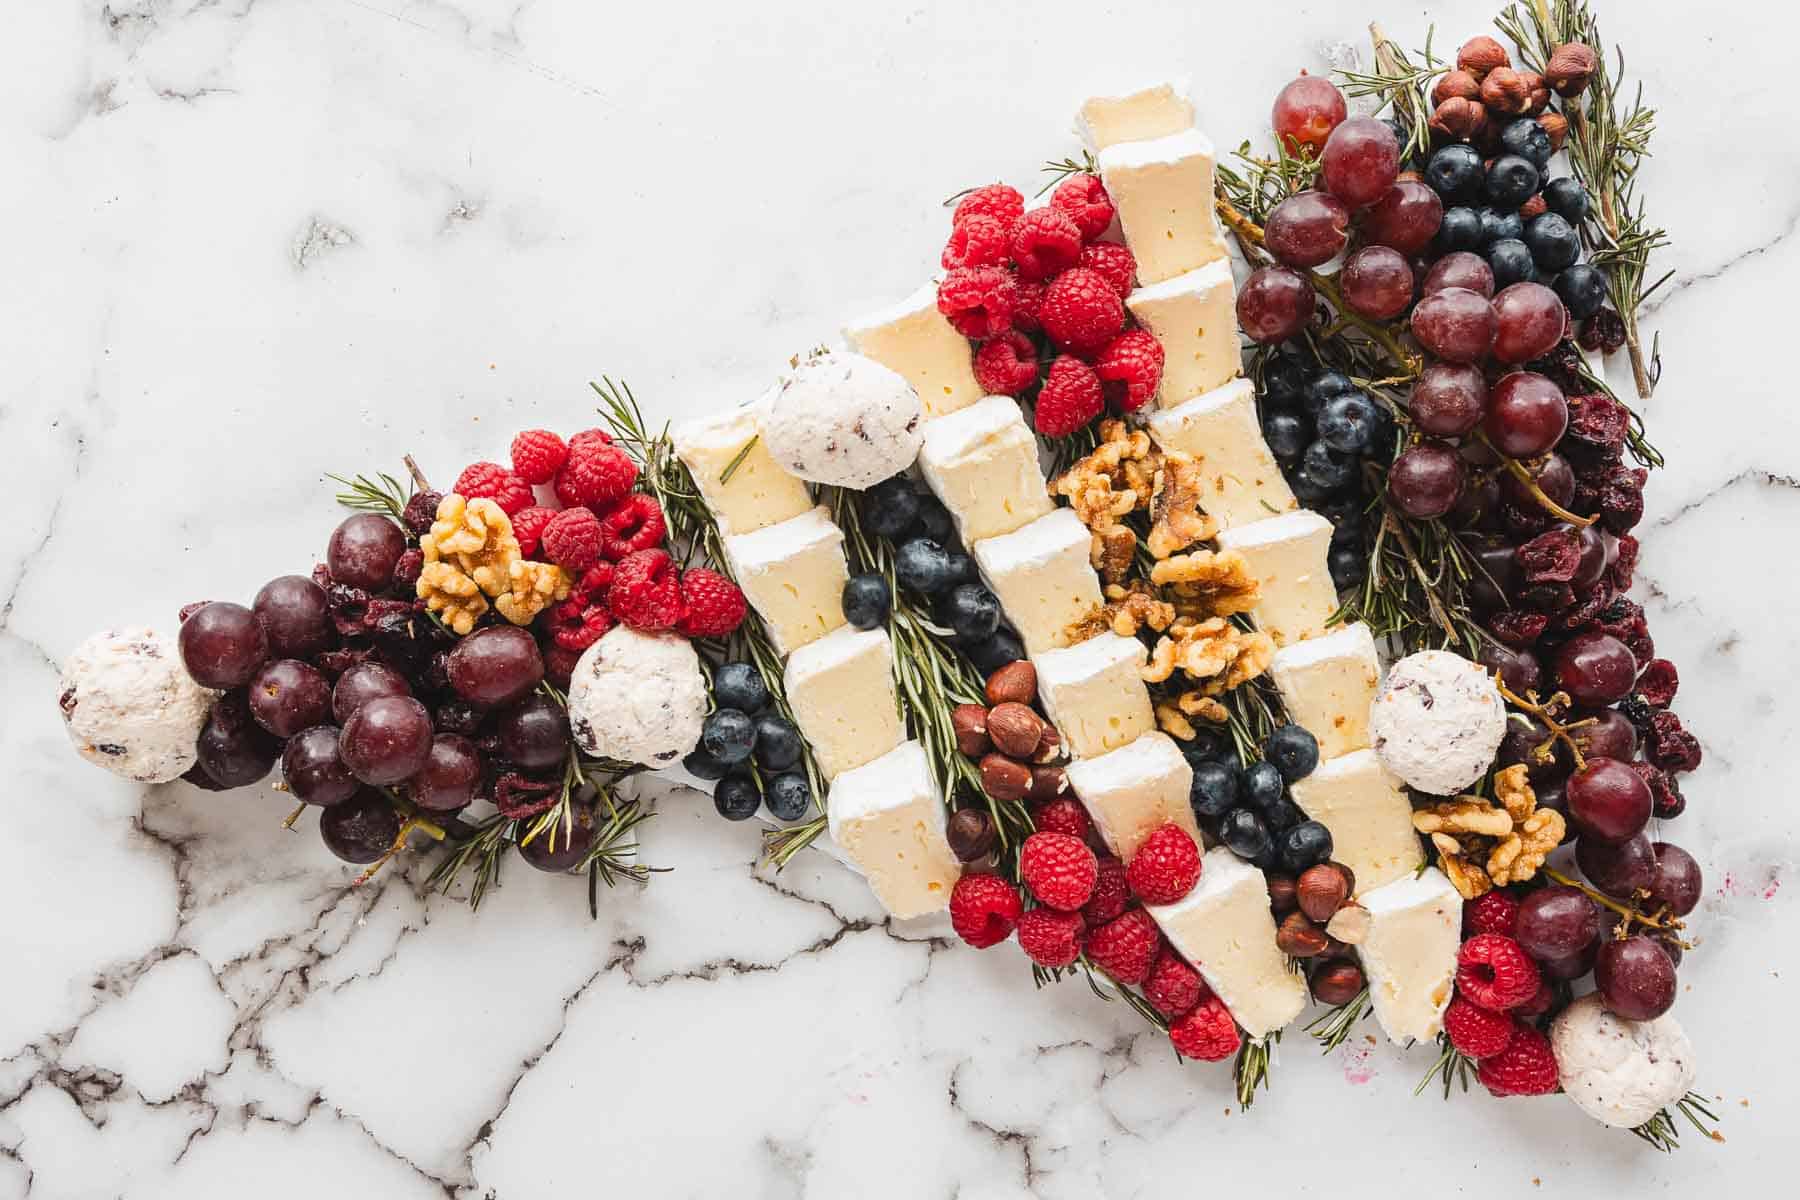
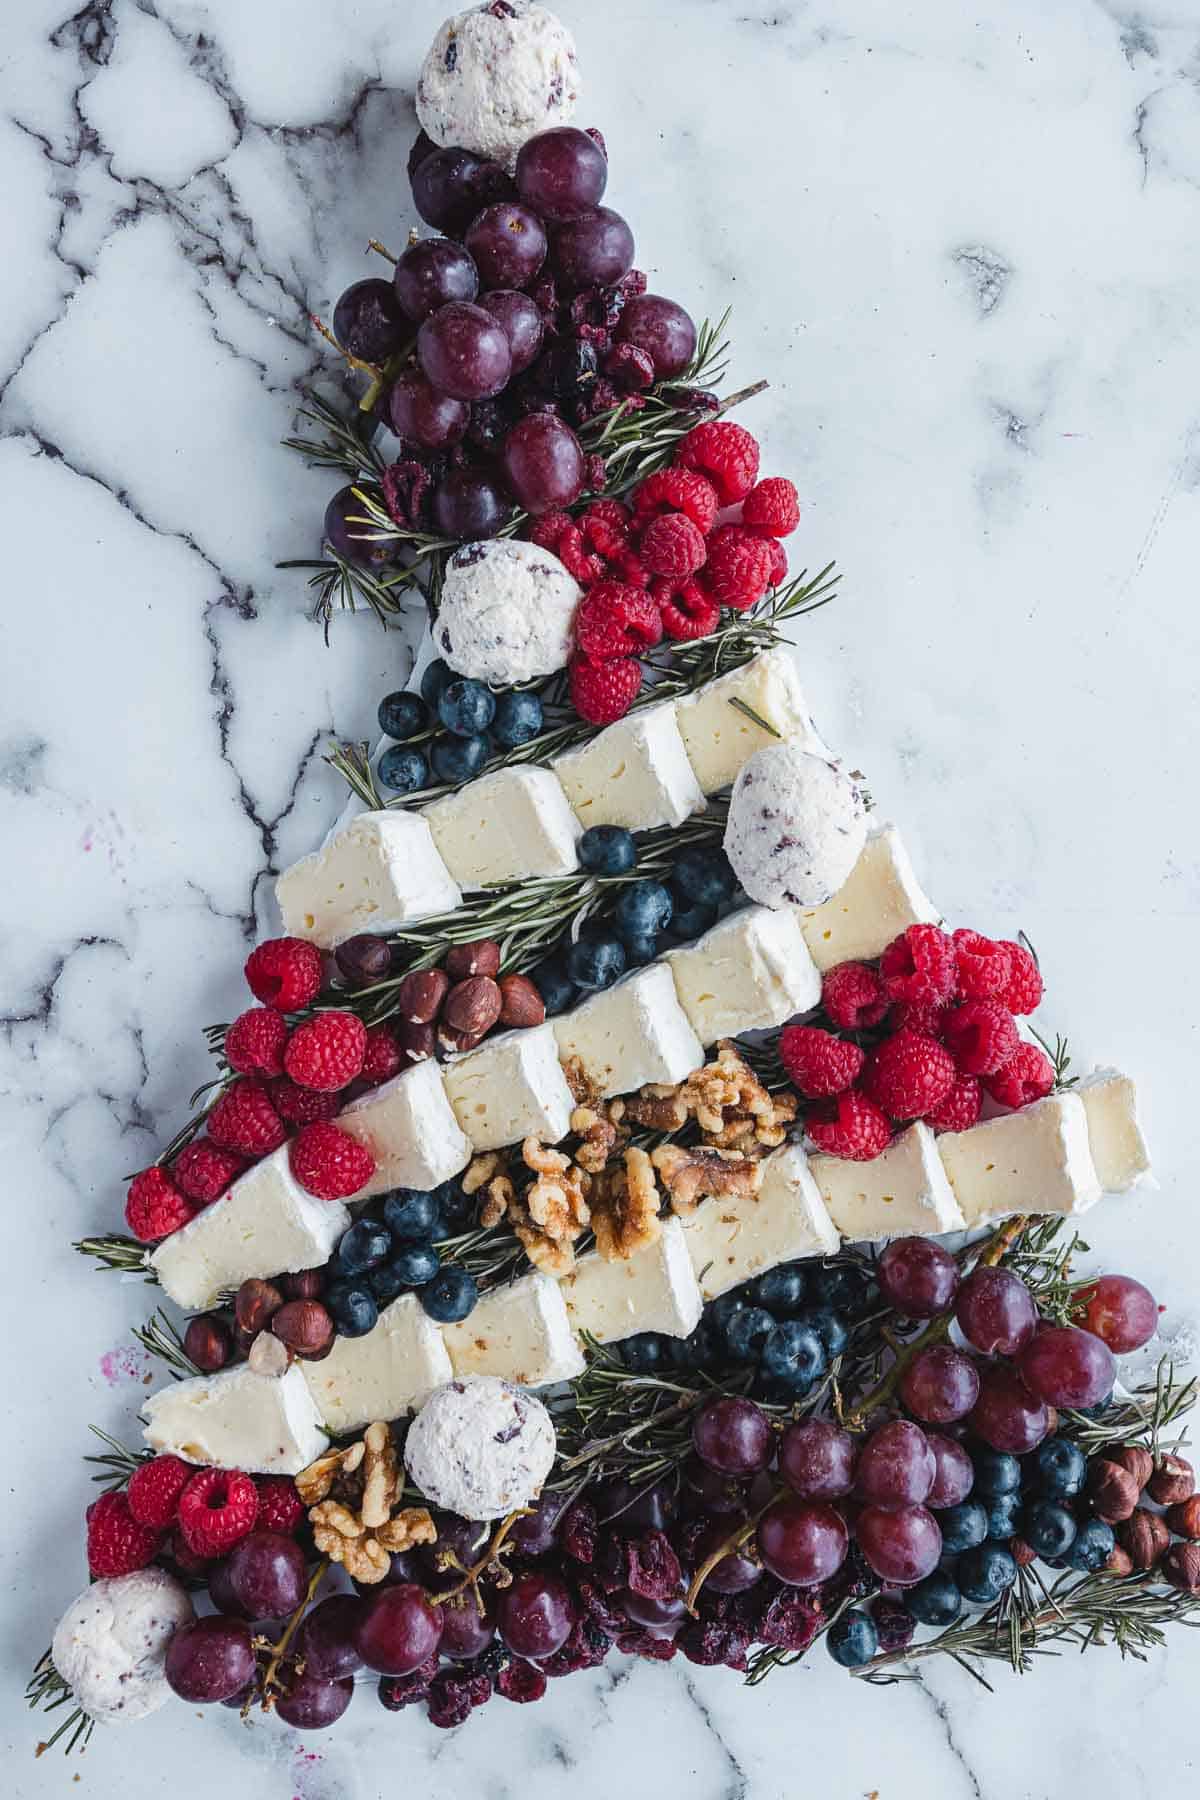
This year's centerpiece is a charcuterie tree that feels like something out of a storybook. The green rosemary branches, the ruby-red raspberries, the shimmer of candied walnuts. It's the kind of spread that draws everyone in before dinner even starts. It's playful and soothing all at once, a simple act of arranging that turns into something beautiful.
I've loved making charcuterie boards for as long as I can remember. There's something deeply satisfying about arranging cheese, fruit, and nuts until they start to tell a story together.
I still think of a dinner years ago at a friend's flat, where her board of soft cheeses and pomegranate seeds glowed under the lights. We lingered at that table for hours, passing pieces, sharing stories. That evening stayed with me, the kind of moment you remember long after everyone's gone home.
Now, my husband tends to the roast while Leo and Lin sneak grapes and help with the board. The rosemary ends up uneven, the fruit slightly scattered, but their proud smiles make it feel perfect.
Like I've mentioned before, I've always had a soft spot for building charcuterie boards. They've become my quiet way of marking a celebration. Over the years, I've shared a few of my Christmas favorites: the Christmas wreath charcuterie board for larger gatherings, and the antipasto Christmas tree, its savory, Mediterranean cousin.
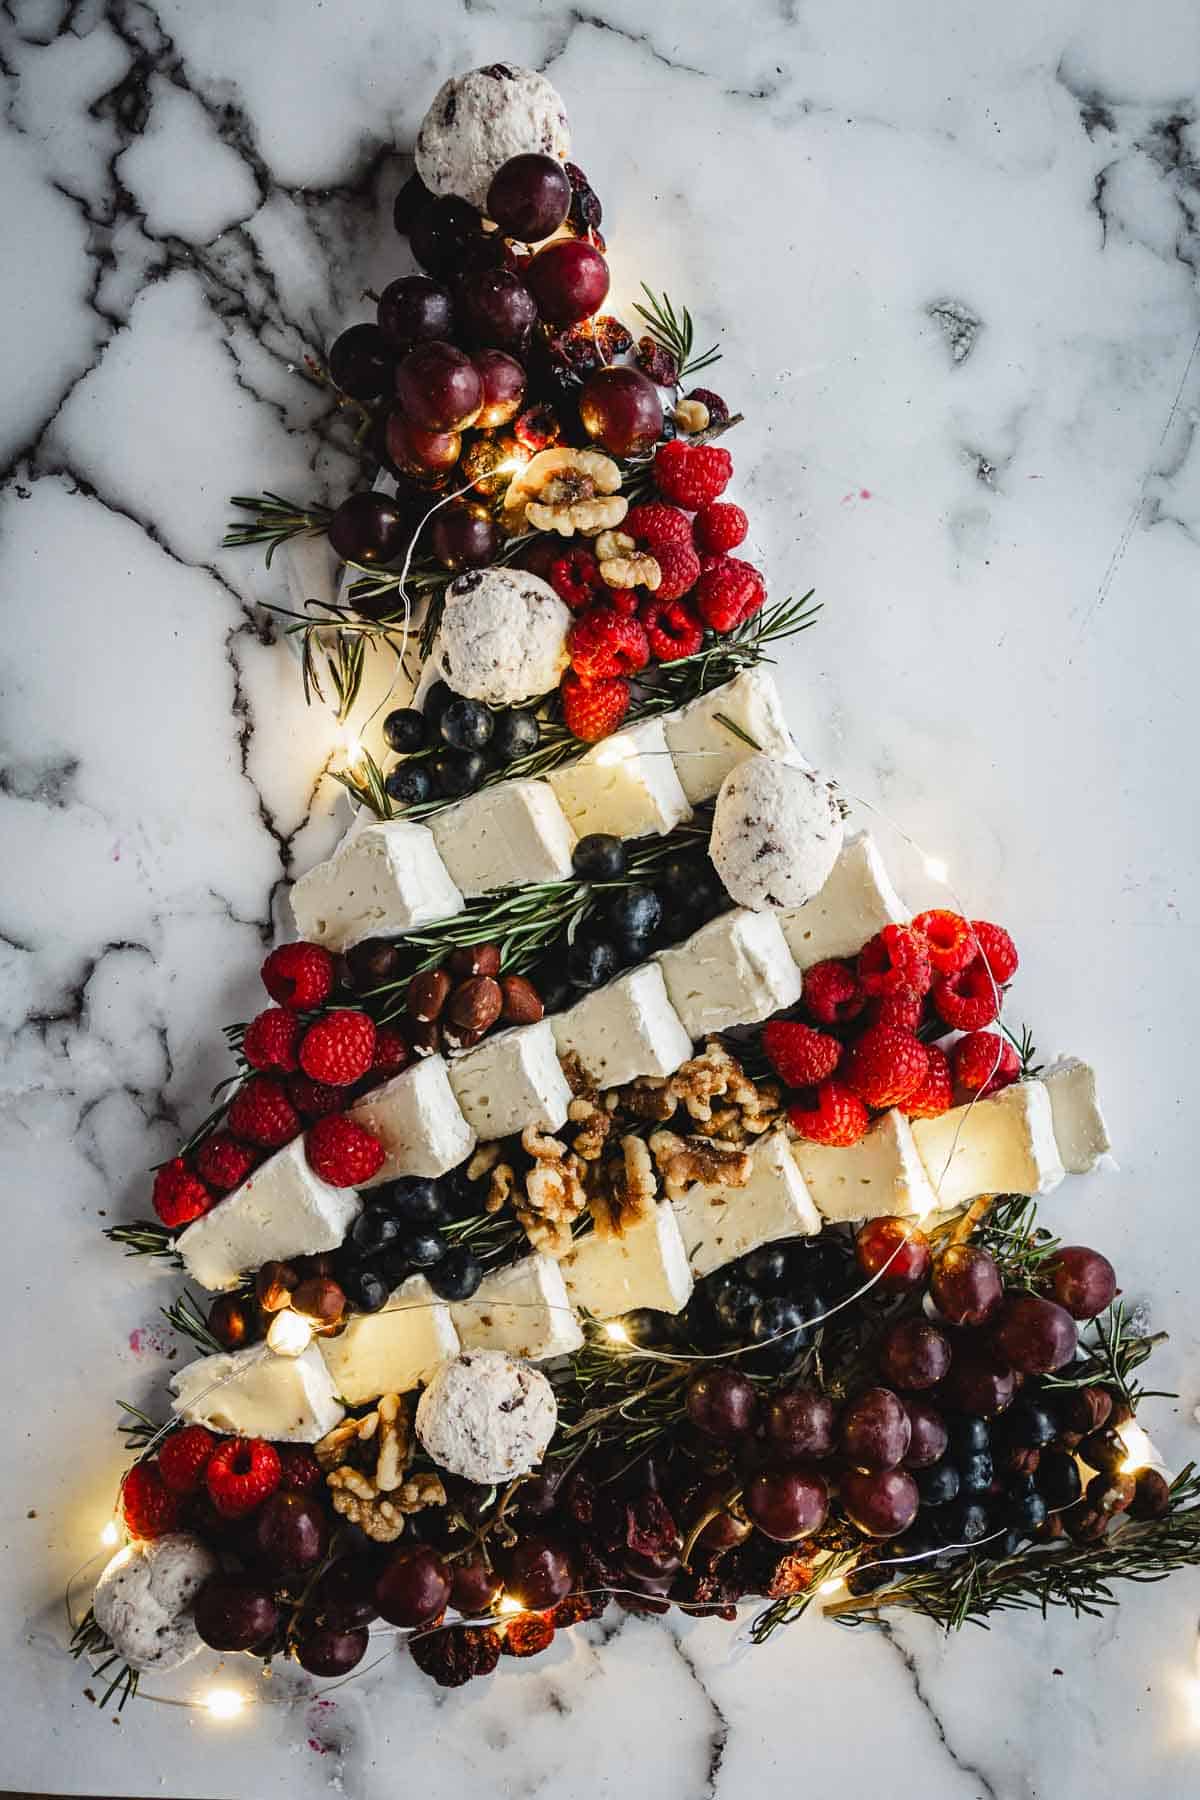
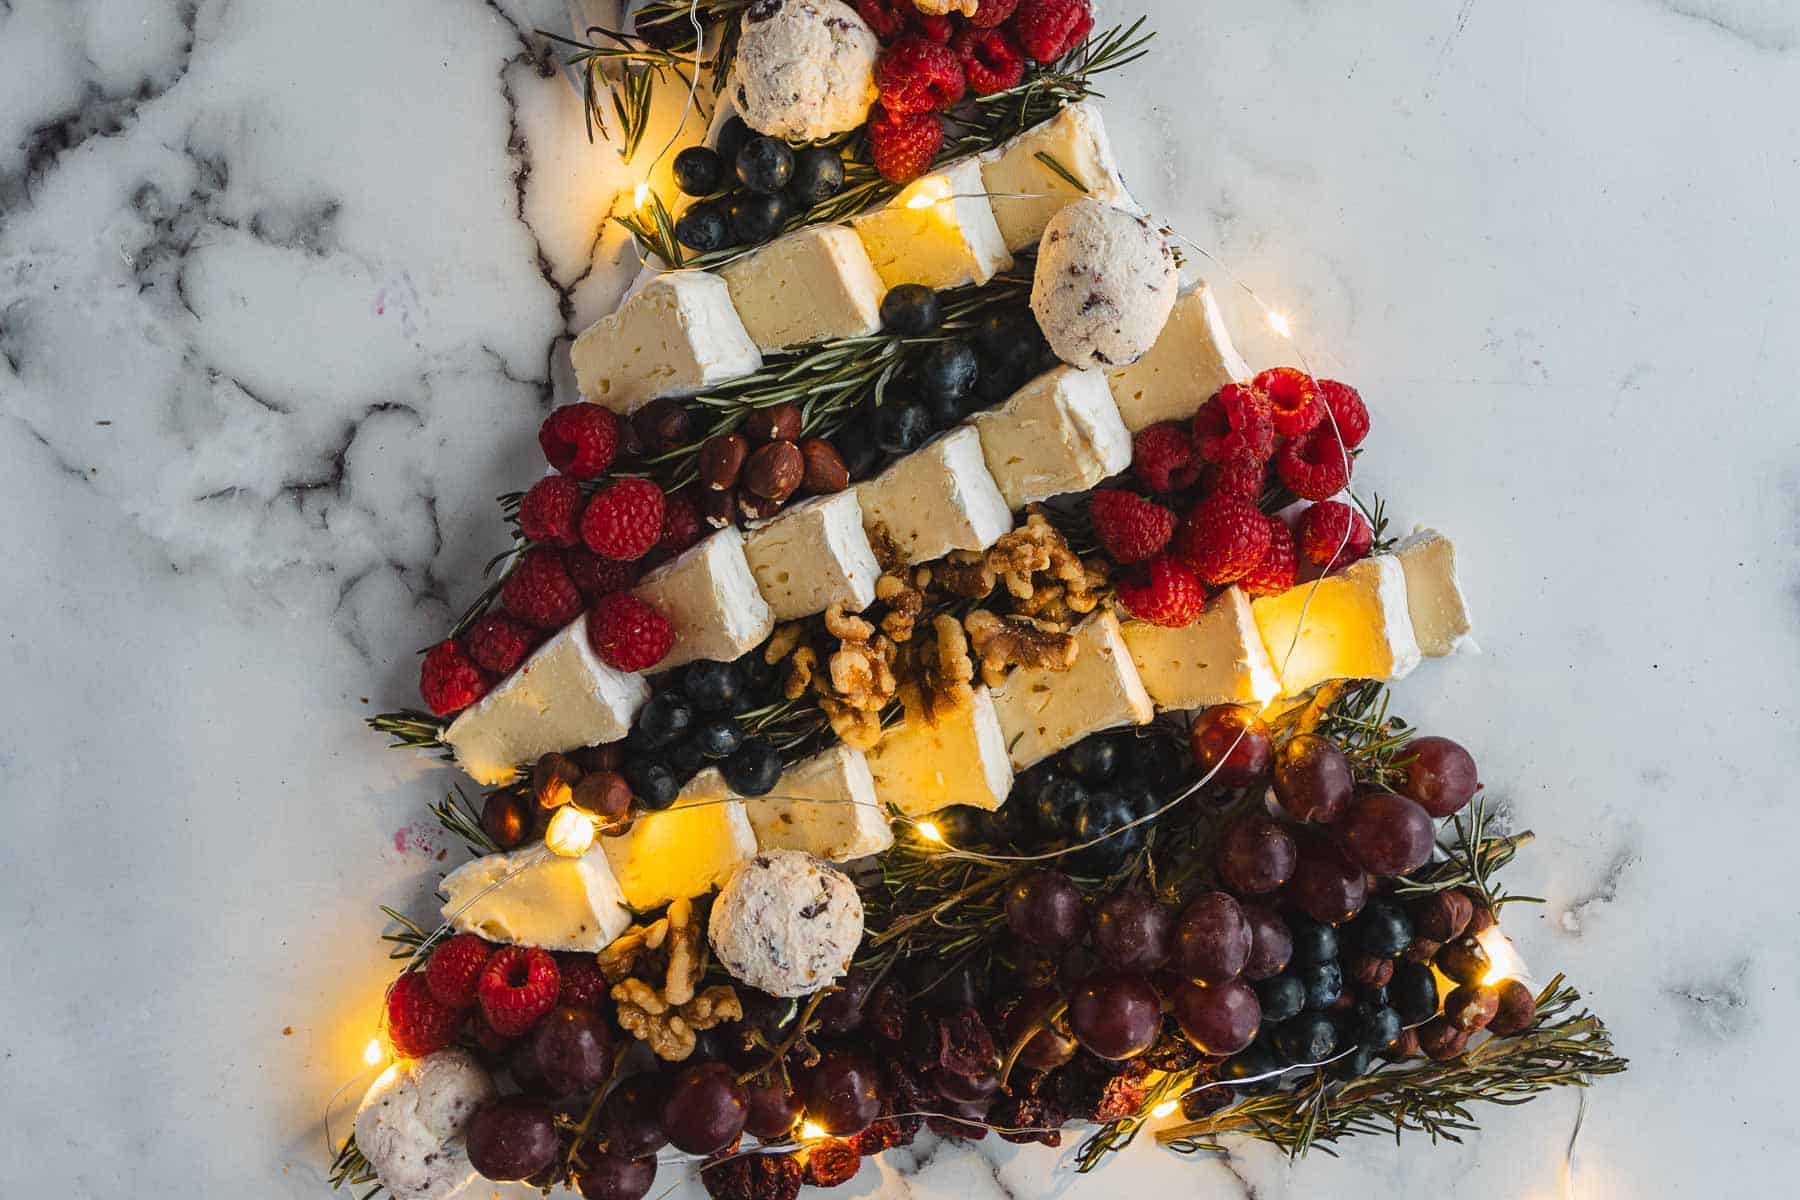
But this one feels softer, more peaceful, meant for quiet evenings when the lights glow and laughter fills the kitchen. It's art you can eat, a beautiful Christmas centerpiece built together, one piece at a time.
Ingredients
- Brie - This adds creaminess and balance.. I always use a good, firm wheel that cuts cleanly for layering. If you prefer a sharper bite, camembert or young manchego works well.
- Fresh Fruit - A mix of grapes, blueberries, and raspberries gives the board its color and freshness. The reds and purples pop against the white brie and green rosemary, making the whole spread look alive. I like to choose firm, chilled fruit so it stays crisp through the evening. Strawberries or blackberries can step in if needed.
- Candied Walnuts - These bring crunch and a light caramel flavor that pairs beautifully with the cheese and fruit. I make mine in small batches every December with honey and a touch of cinnamon. Pecans are a lovely substitute if you prefer something milder.
- Rosemary Sprigs- The branches of the tree and the heart of the presentation. I like using longer sprigs for the base and shorter ones toward the top, it makes the "tree" feel balanced.
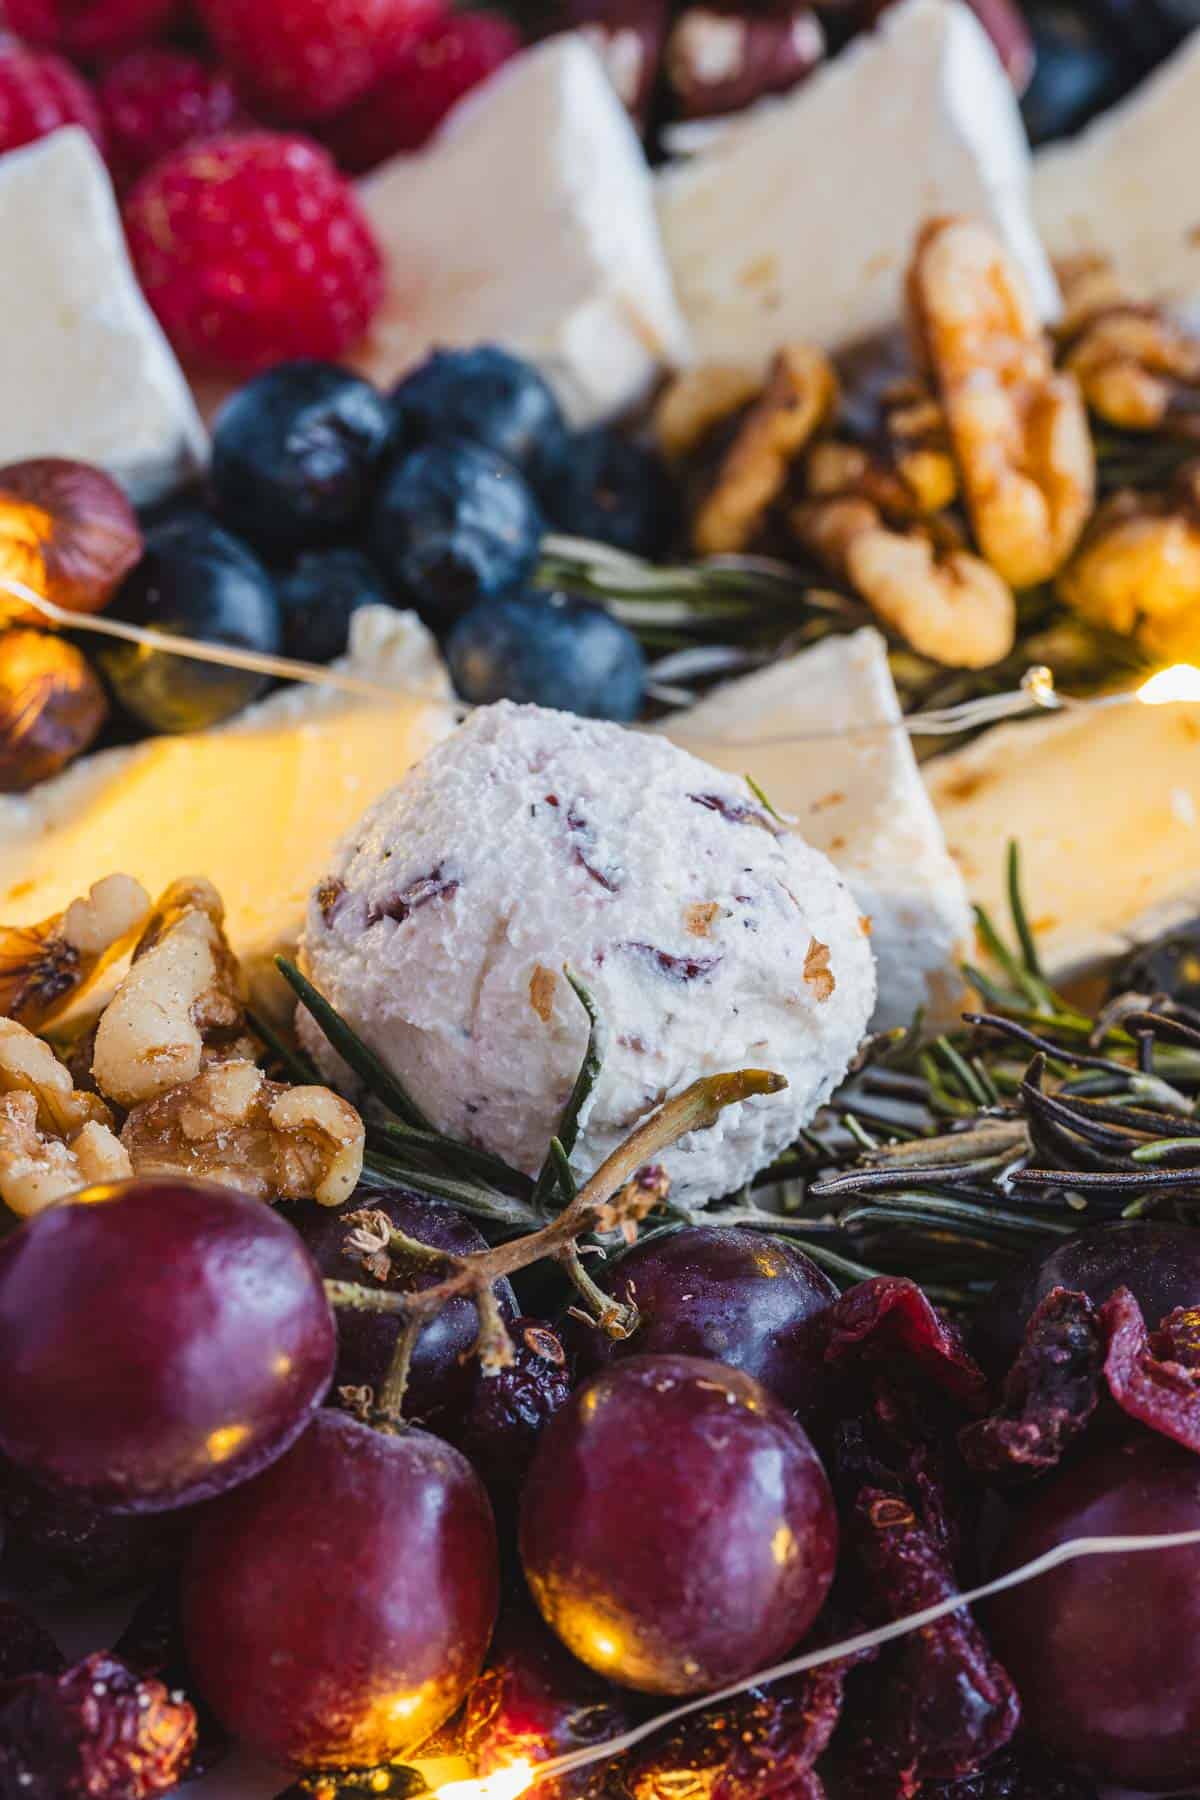
- Goat Cheese Truffles (rolled in cranberries or nuts)- Their tangy flavor breaks up the richness of the brie. I roll them in crushed pistachios or dried cranberries, depending on what's in the pantry. For a softer option, try mozzarella pearls sprinkled with herbs.
See the recipe card for full list and exact quantities.

How to Make This Christmas Tree Charcuterie Board
If you're looking for a holiday appetizer that's as beautiful as it is simple, this Christmas charcuterie board brings together creamy cheese, fresh fruit, and herbs in a way that feels festive and comforting. It's a simple project for your Christmas party you can prepare in under half an hour. Here's how to make this beautiful christmas tree charcuterie:
Prepare the Base


Cut a Christmas tree shape from foam board or sturdy cardboard. Make sure it's large enough for layering cheese, fruit, and nuts. Cover the surface with parchment paper to keep it food-safe and neat. A flat base helps the layers stay even when serving, especially once guests start reaching in.
Arrange the Greenery

Lay rosemary sprigs horizontally, starting at the bottom and working upward. Overlap the sprigs slightly so the shape feels full and structured. The rosemary gives the board its tree form and fills the kitchen with a clean, herbal scent. Let a few sprigs extend past the edges for a natural look.
Add the Cheese
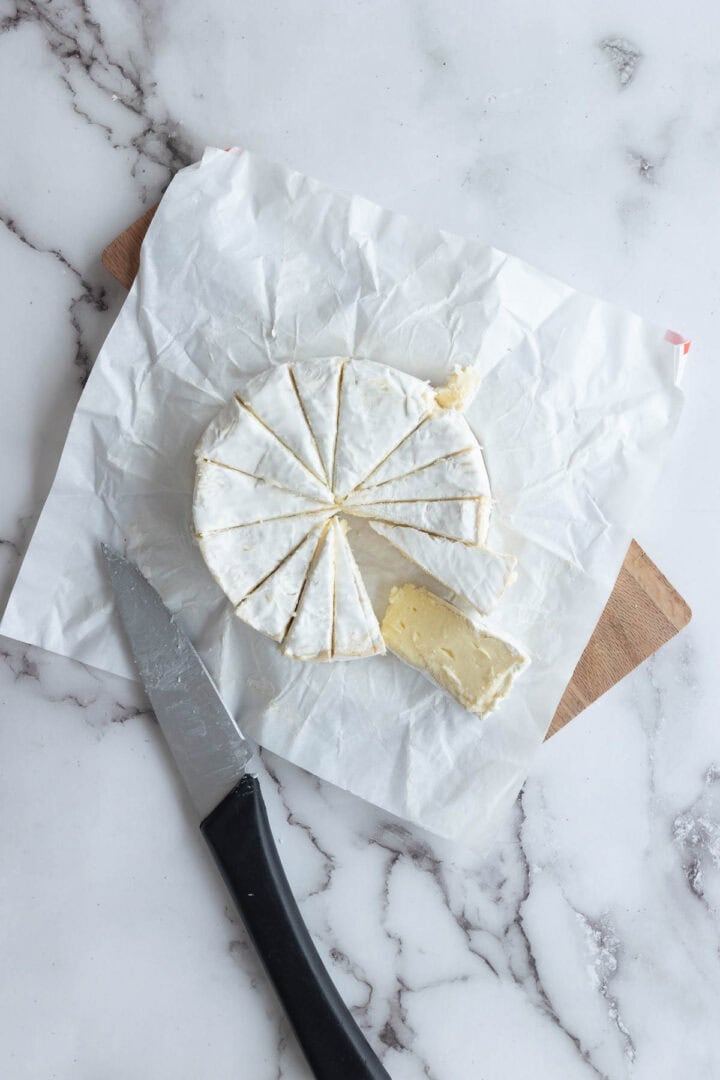
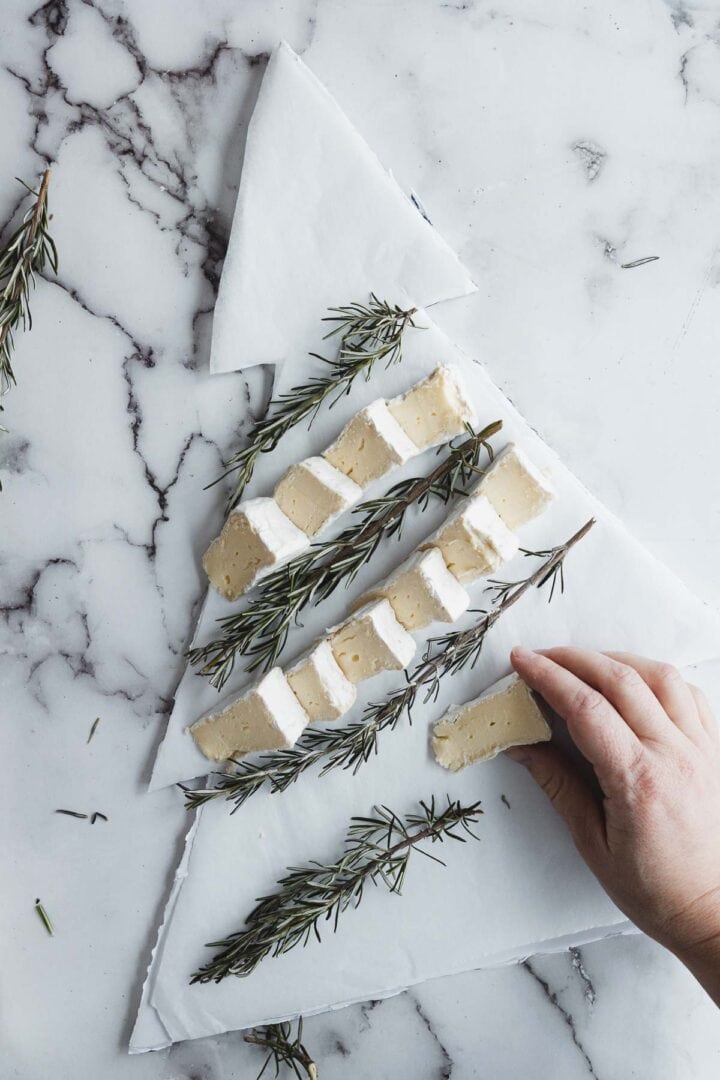
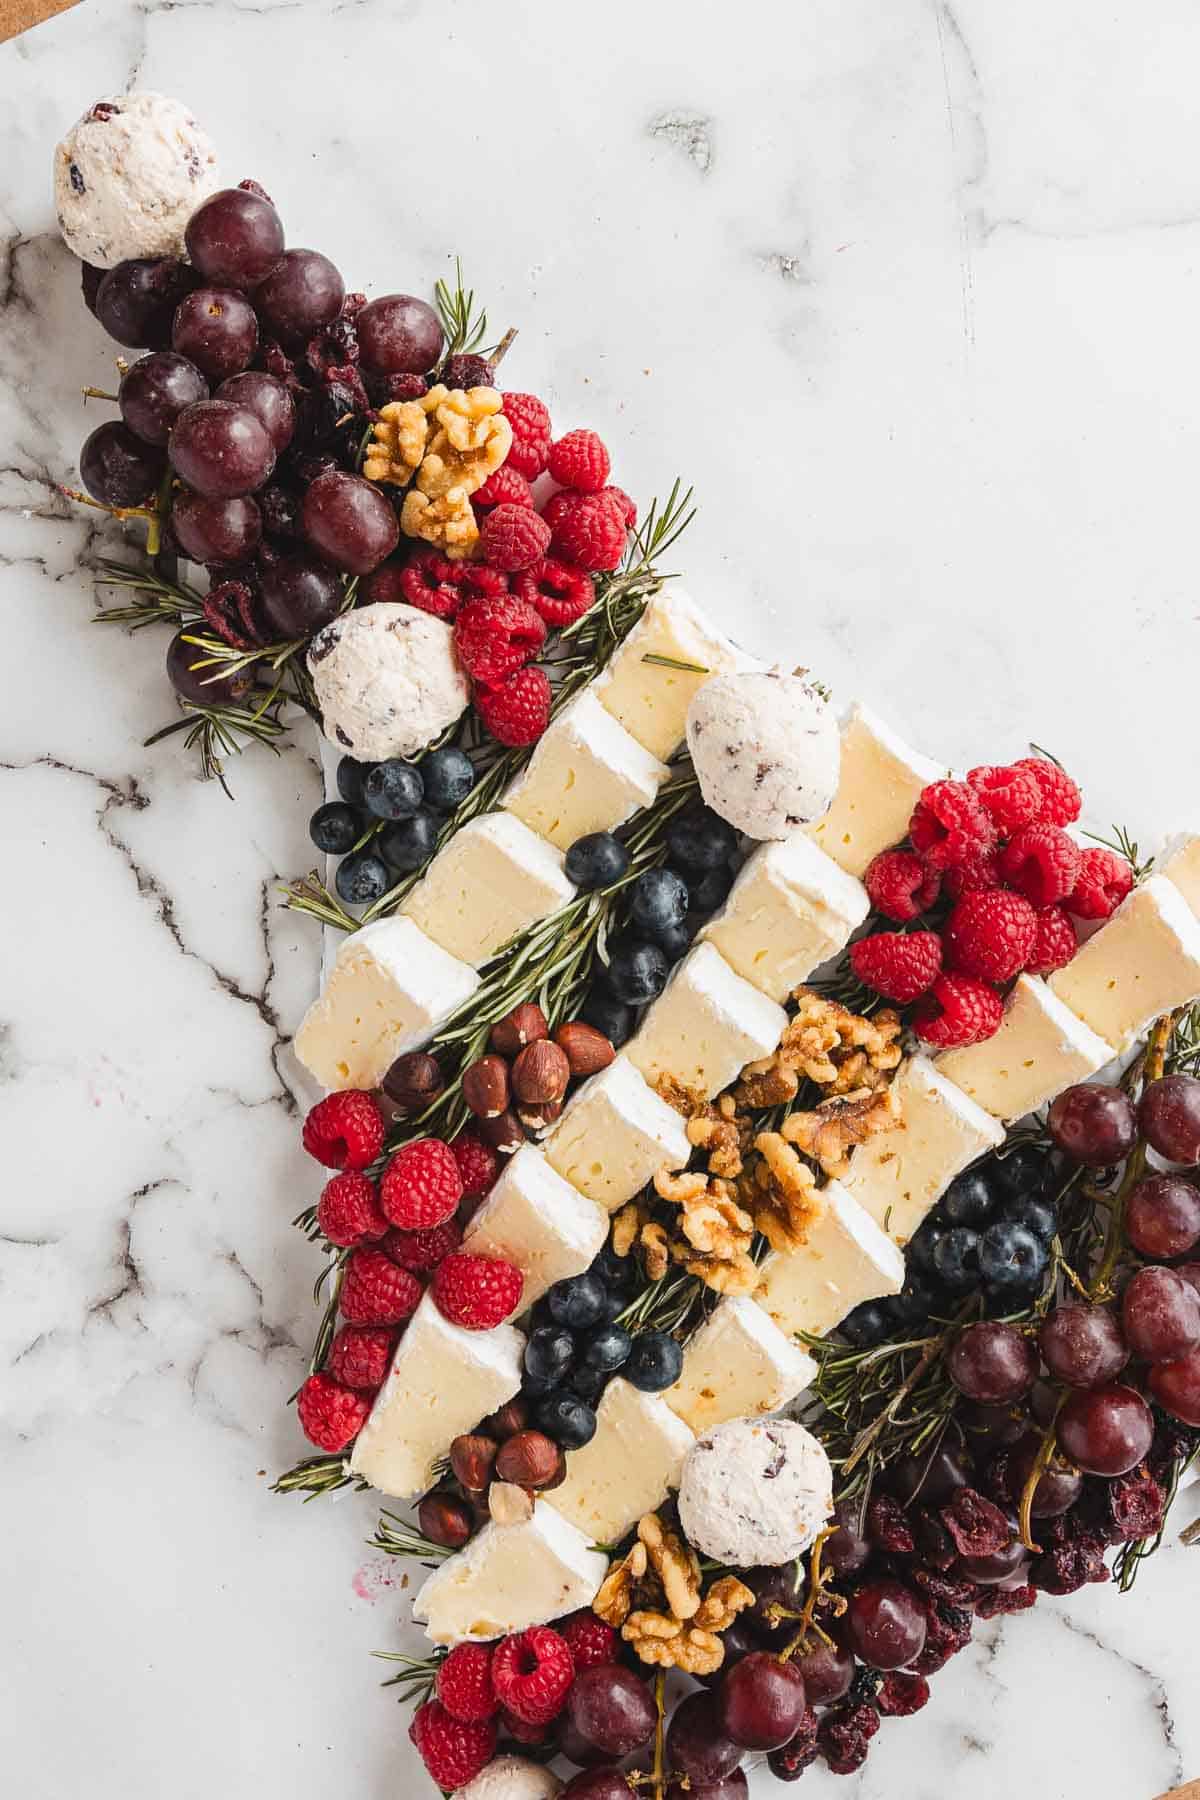
Slice brie into wedges and arrange them diagonally between the rosemary layers. Place them close together to mimic branches. The brie should be soft but still hold its shape. If it's too cold, let it sit a few minutes before adding, it spreads easier and gives a nice creamy finish when served.
Layer the Fruits and Nuts
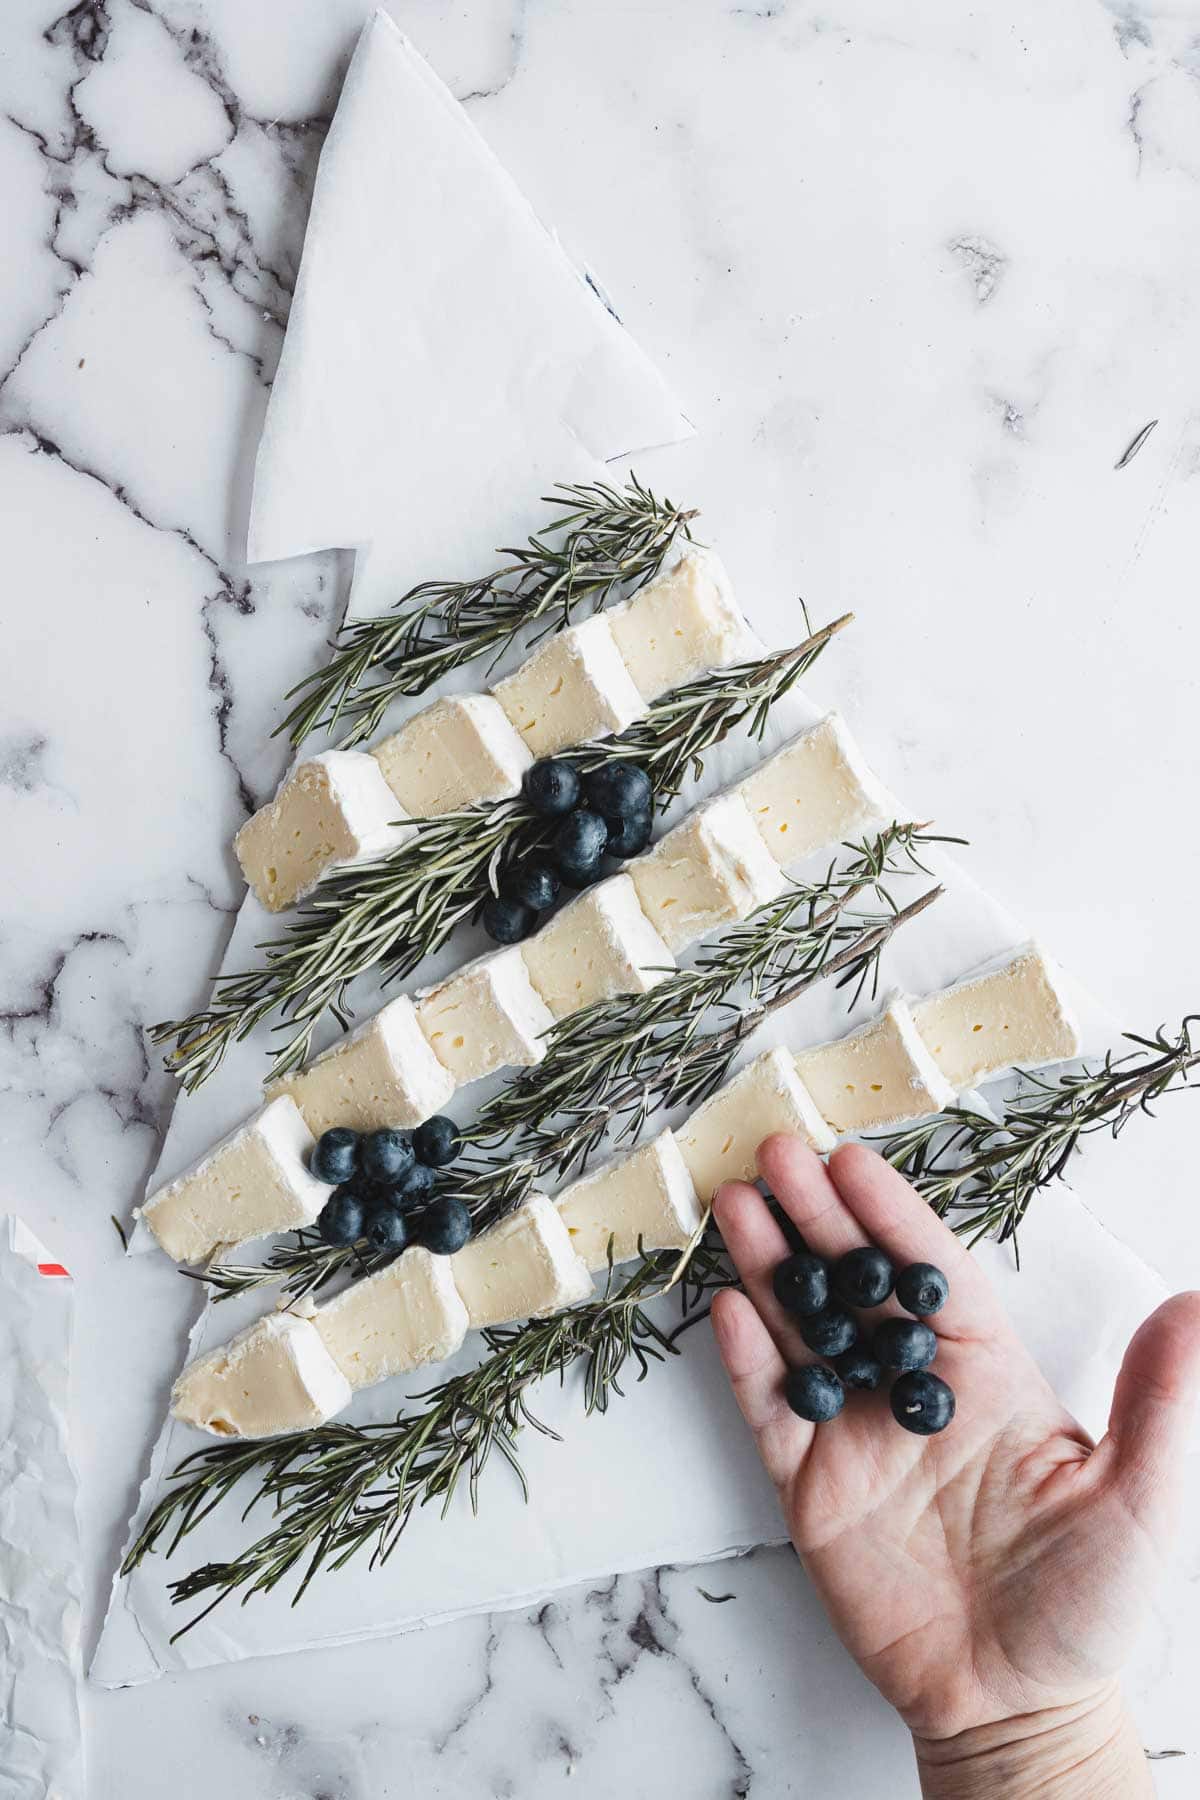
Fill the gaps with grapes, blueberries, raspberries, and candied walnuts. Vary the placement so the board looks colorful without strict patterns. The fruit adds brightness while the walnuts bring crunch. When arranging, make sure the fruit doesn't crowd the cheese; each layer should feel open and easy to grab from.
Add the Truffles
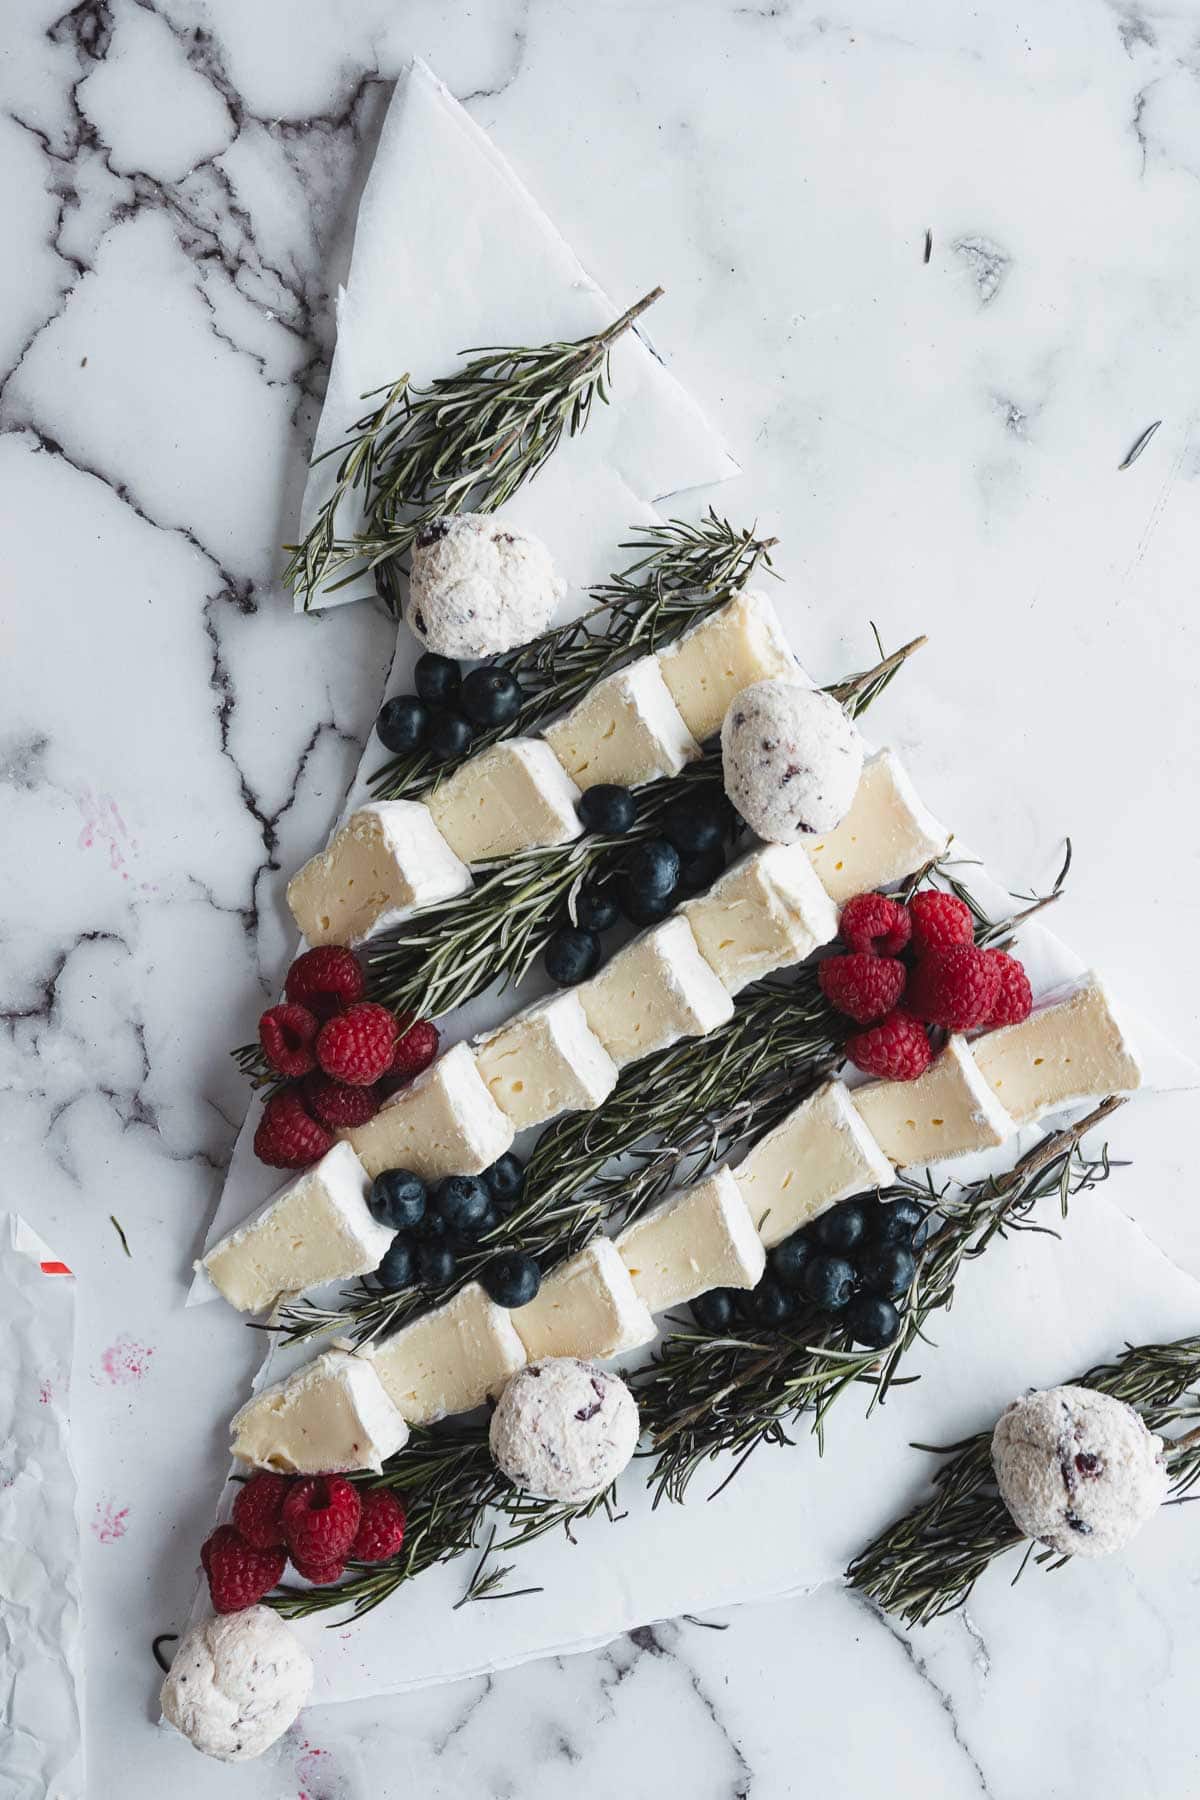
Place goat cheese truffles rolled in cranberries or nuts across the board. They work like ornaments, giving the "tree" texture and small bursts of flavor. I like to put one at the top as a star, it finishes the shape nicely and adds a small detail that catches the eye.
Final Touches and Serving
Refrigerate for up to an hour if preparing ahead. Before serving, drizzle a bit of honey over the cheese and nuts for a glossy finish. When you bring the board out, it should feel balanced and fragrant, a small edible centerpiece that fits perfectly into any Christmas party spread.
Storage
After serving, separate the components to keep their texture and flavor. Wrap leftover cheeses, like brie and goat cheese truffles, in parchment paper and refrigerate for up to three days. Transfer fruits such as grapes, raspberries, and blueberries to a paper towel-lined container to absorb excess moisture and keep them firm. Store candied walnuts in a sealed jar at room temperature; refrigeration can make them sticky.
If preparing in advance, arrange the cheese, nuts, and rosemary first, then cover the board with plastic wrap and refrigerate for up to an hour. Add the fruit and drizzle honey right before serving to keep everything bright and crisp.
Top Tips
Build from the Center Out - when I first started making charcuterie boards, I would fill the edges first and end up running out of space in the middle. Now I always begin at the center, layering the brie and rosemary first, then filling in with fruit and nuts. It creates a balanced shape and keeps the "tree" from looking uneven.
Keep Fruit Cold Until the Last Minute - chilled grapes and berries not only stay firmer but also keep the cheese cool once assembled. I learned this after one holiday dinner where the board sat too long under warm lights. Beautiful, but the berries softened too quickly. Now I refrigerate them until the final layer.
Choose Cheese That Holds Its Shape - brie works well because it softens slightly without melting. Skip cheeses that turn runny at room temperature, especially if you're serving outdoors or in a warm kitchen.
Recipe
Tried and loved this recipe? Please leave a 5-star review below! Your reviews mean a lot to me, so if you've got any questions, please let me know in a comment.
Christmas Tree Charcuterie Board
Equipment
- Cutting board or foam board
- Sharp Knife
- Serving tray or platter
Ingredients
- 10 oz brie sliced into wedges
- ½ cup red grapes
- ½ cup blueberries
- ½ cup raspberries
- ½ cup candied walnuts
- 4 rosemary sprigs
- 4 -5 goat cheese truffles rolled in cranberries or nuts
Instructions
Prepare the Base
- Draw and cut a Christmas tree shape on foam or cardboard. Cover with parchment paper for a clean, food-safe surface.
Assemble the Greenery
- Lay rosemary sprigs horizontally across the board to form branches.
Add the Cheese
- Arrange brie wedges in neat diagonal rows between the rosemary.
Layer the Fruits and Nuts
- Fill the spaces with grapes, berries, and candied walnuts for color and texture.
Finish with Truffles
- Add goat cheese truffles as ornaments. Refrigerate for up to 1 hour before serving.
- Chef's Tip: Alternate fruit colors along each row and drizzle honey just before serving for a glossy finish.