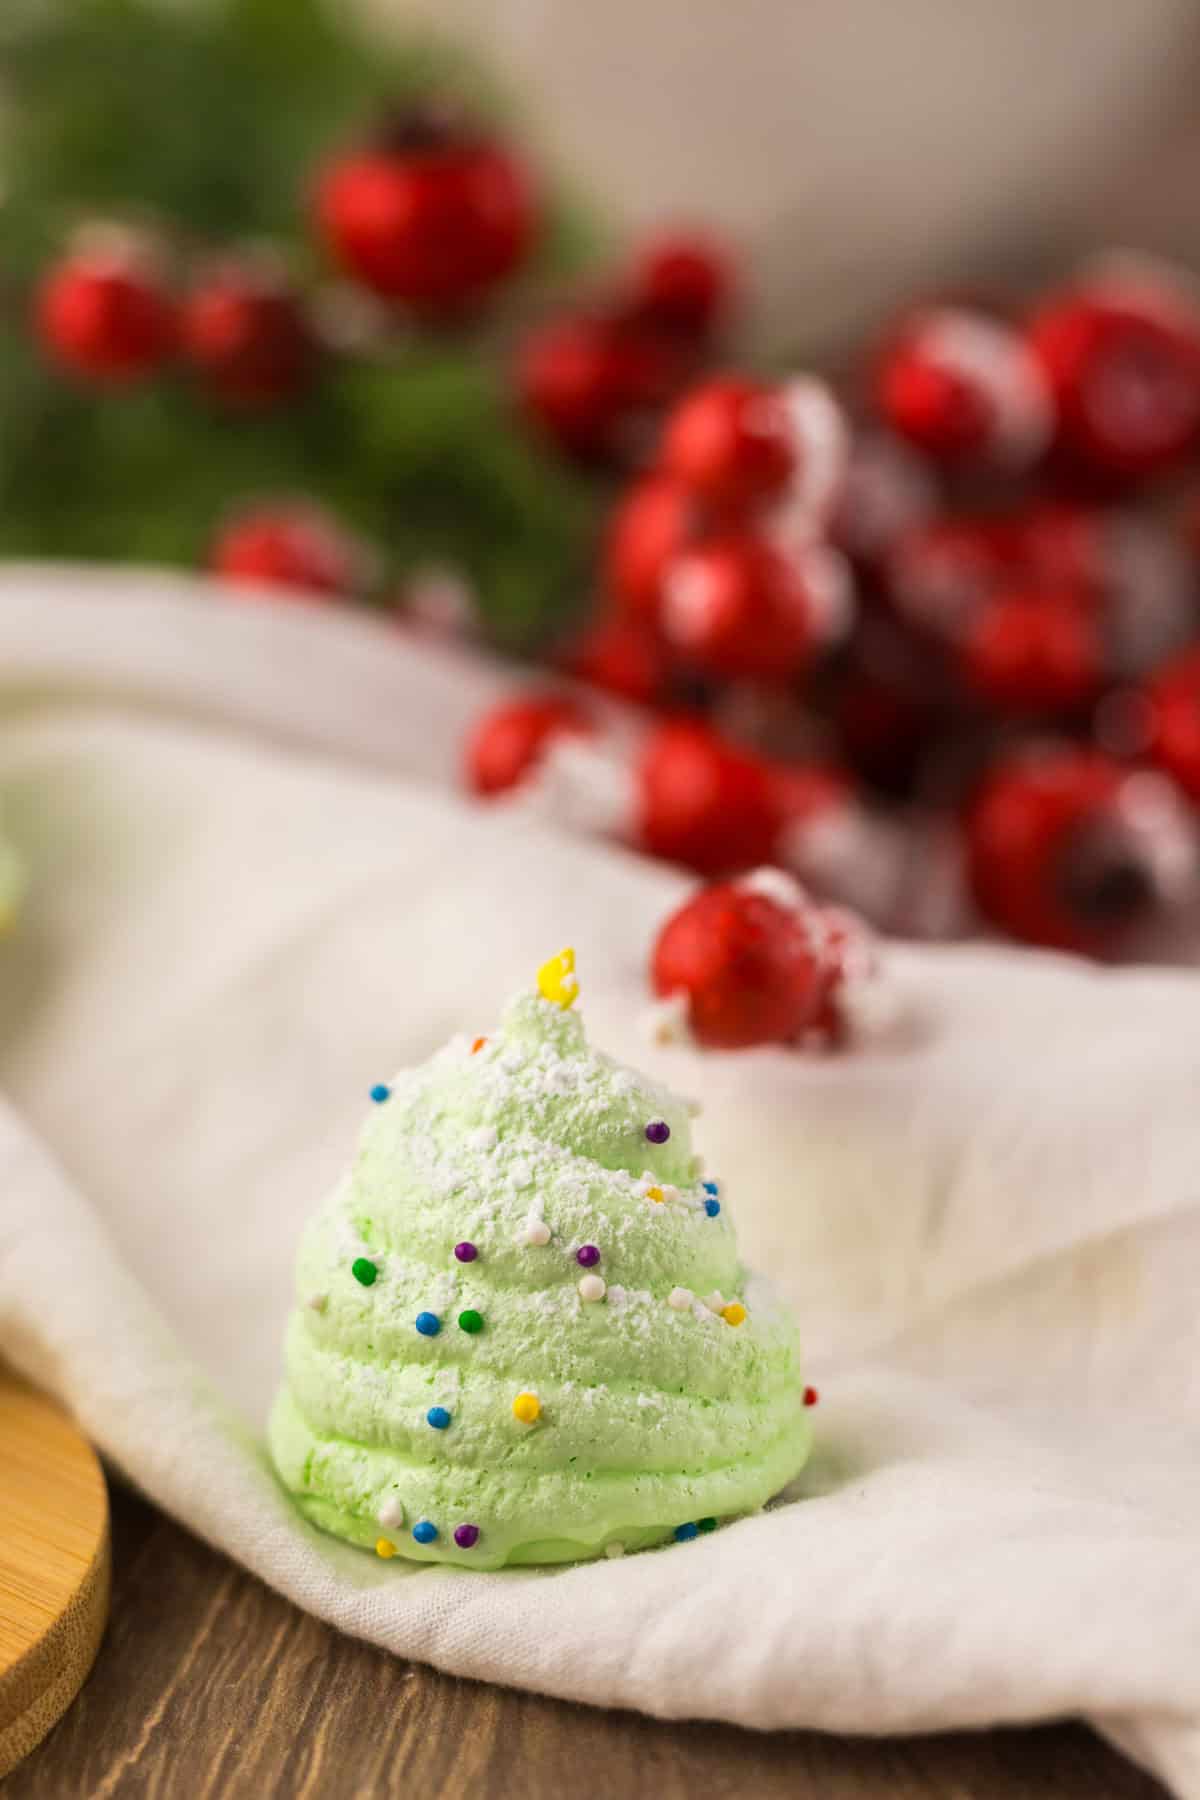
These Christmas tree meringues are crisp, airy and shaped like miniature evergreens, easy to make at home, and perfect for holiday dessert tables, gifts, and festive baking with kids.

When the first snow begins to fall, the world outside our window softens. The trees stand tall and still, their branches catching tiny flecks of white like stars. Every year, I gather Leo and Lin close and tell them that when the forest grows quiet under the snow, it's because the trees are whispering their winter wishes. They listen, wide-eyed, pressing their palms to the cold glass. My husband starts the kettle, and the scent of sugar and pine lingers in the air. That's when the season begins for us.
It was on one of those snow-heavy afternoons that the myth of meringues came up again. Someone online had said they're meant for professionals, too delicate for home kitchens. I laughed softly, because I used to think that too. But I've learned that meringues are a simple magic, it's sugar and patience spun into light. That afternoon, with Leo perched on a chair and Lin clutching a tiny whisk, we made our own forest indoors.
We beat the egg whites until they turned glossy and thick, folded in sugar until they shone like glass, then tinted them the pale green of new pine. With steady hands, we piped little trees, small at first, then taller. Each crowned with a sugar star and colorful sprinkles. The oven hummed quietly as the house filled with warmth.

When I brought them to a friend's dinner that weekend, there was a small hush at the table before someone asked where I bought them. It reminded me of the same quiet wonder I once saw when I first served Christmas date cookies, or the lemon rosemary shortbread I make with my mother's old rolling pin. The same kind of awe I felt the first time I rolled a gluten-free yule log and realized that the most beautiful things often come from the simplest ingredients.
Now, every snowy December, our kitchen fills with the sound of the mixer, the laughter of two small helpers, and the scent of sugar baking. When the trees have cooled and the snow has settled outside, a small forest of meringues waits on the counter, crisp, light, and full of love.
Ingredients

- Egg Whites- I always start with room temperature egg whites because they whip higher and hold better peaks. Cold egg whites tend to resist the whisk. If you're vegan or avoiding eggs, aquafaba (the liquid from canned chickpeas) works surprisingly well, three tablespoons per egg white will get you close to the same volume and shine.
- Cream of Tartar - It stabilizes the egg whites and prevents them from collapsing during baking. If you don't have it, a squeeze of lemon juice or a drop of white vinegar does the same job.
- Vanilla Extract - You can also try almond or peppermint extract for a holiday variation: peppermint turns these into edible snowflakes, while almond adds a gentle nutty note.
- Green Food Coloring - I use green gel food color because it creates deeper tones without thinning the mixture. You can skip the color altogether and leave them white for a snowy forest look.
- Sugar Stars and Festive Sprinkles- I keep a small tin of gold sugar pearls and snowflake sprinkles from past holidays, they add sparkle and texture that children love. You can use edible pearls, small candies or glitter sugar for a bright, festive finish.
See the recipe card for full list and exact quantities.
How to Make Christmas Tree Meringues (Step-by-Step)

If you've ever looked at a tray of glossy, piped meringues and thought they were too intricate to make at home, this recipe will change your mind. These meringue Christmas trees are airy, crisp, and beautifully festive, it's the kind of treat that turns an ordinary afternoon into a moment worth remembering. Here's how to make this Christmas cookie:
Prepare the Oven and Pans
Preheat your oven to 225°F. Line two large baking sheets with parchment paper. This will keep the meringues from sticking and make cleanup easy later.
Add the Egg Whites

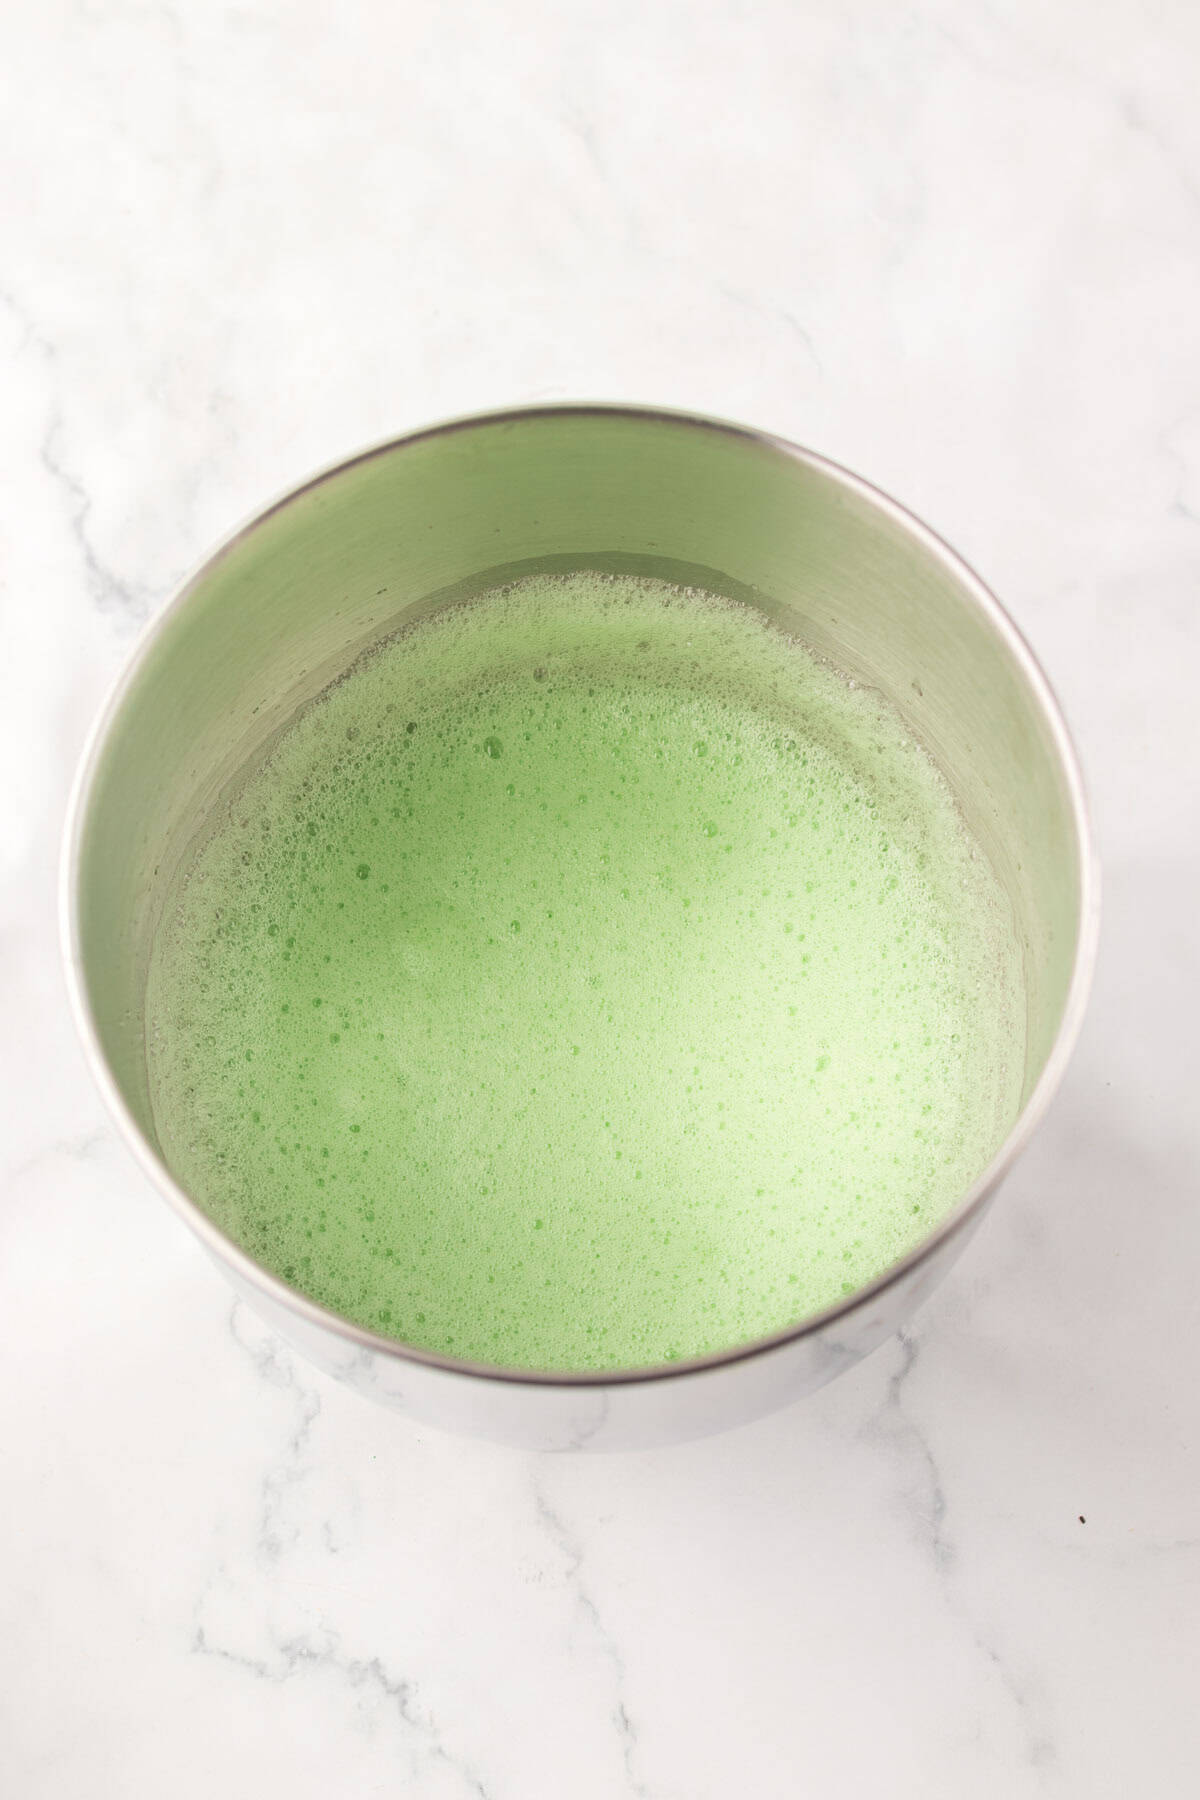
Add the egg whites, vanilla extract, green food coloring, and a pinch of salt to the bowl of a stand mixer. Beat on medium-low speed until the mixture becomes foamy, about one minute. The foam should look soft and uniform, with no liquid pooling at the bottom.
Mix the Dry Ingredients
In a small bowl, stir together the sugar and cream of tartar. Keeping them combined will help the sugar dissolve smoothly once added to the egg whites, giving the meringue its glossy finish. Once it reaches this stage, gradually start sprinkling in the sugar and cream of tartar mixture, one spoonful at a time.
Form the Meringue Peaks
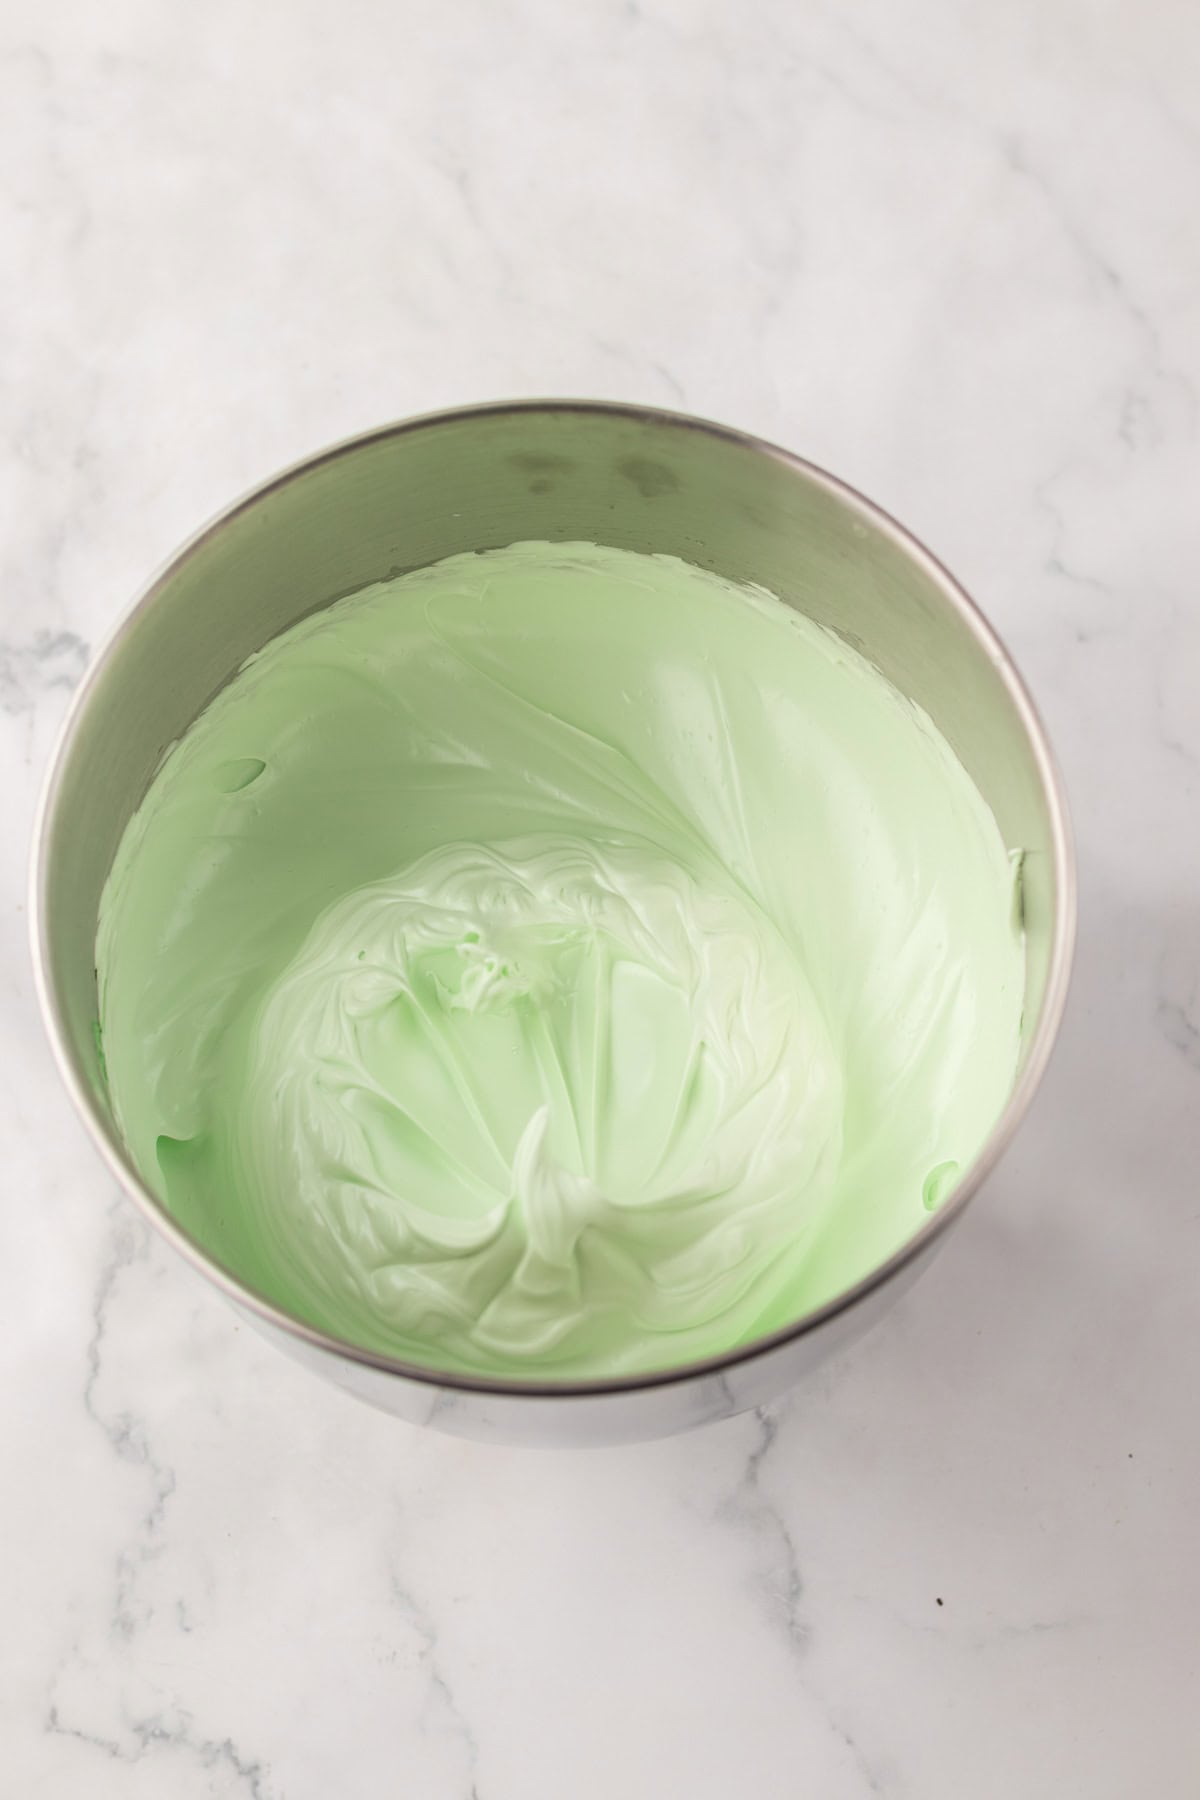
Increase the mixer speed to medium-high. Slowly add the sugar mixture, one spoonful at a time, letting it dissolve before adding more. Continue beating until the meringue becomes glossy and holds stiff peaks, when you lift the whisk, the peaks should stand tall and firm. This usually takes 2 to 3 minutes.
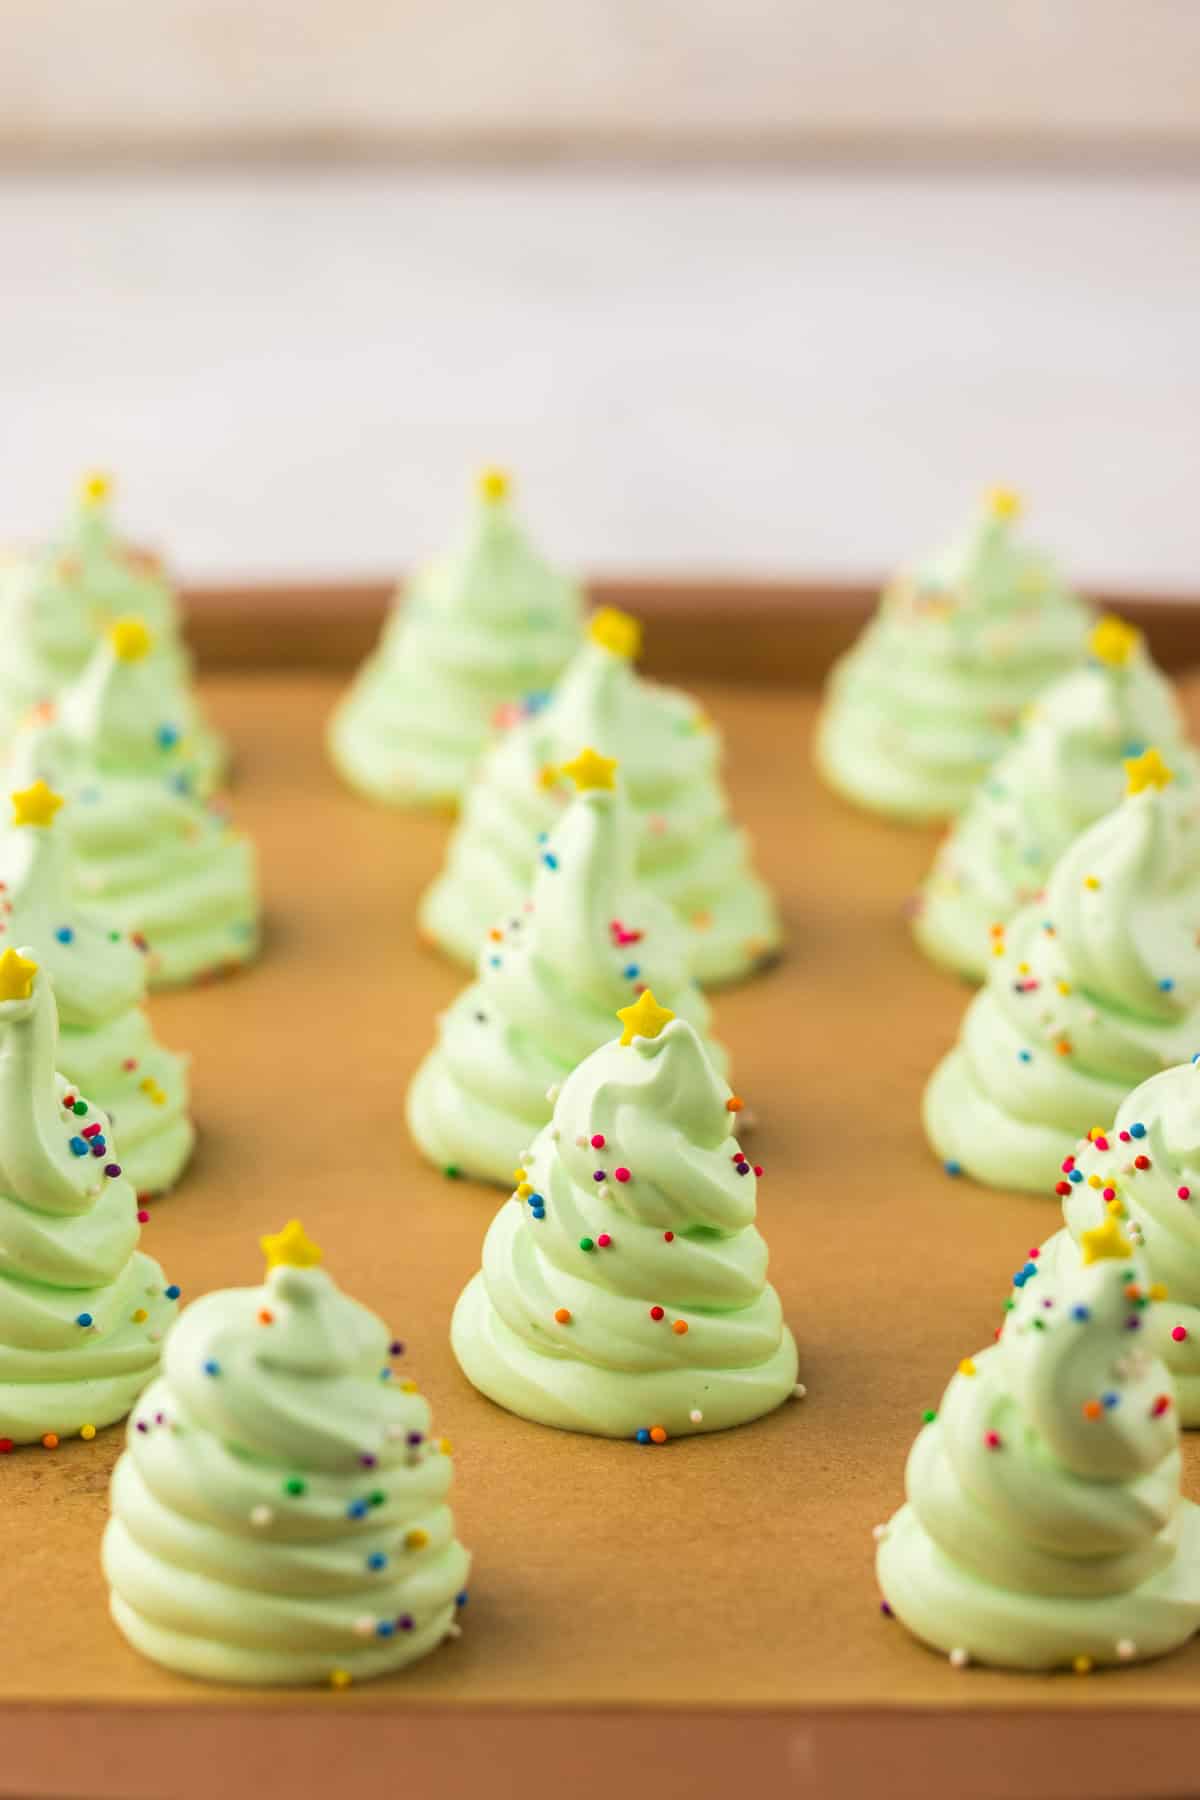
Pipe the Christmas Tree Meringues
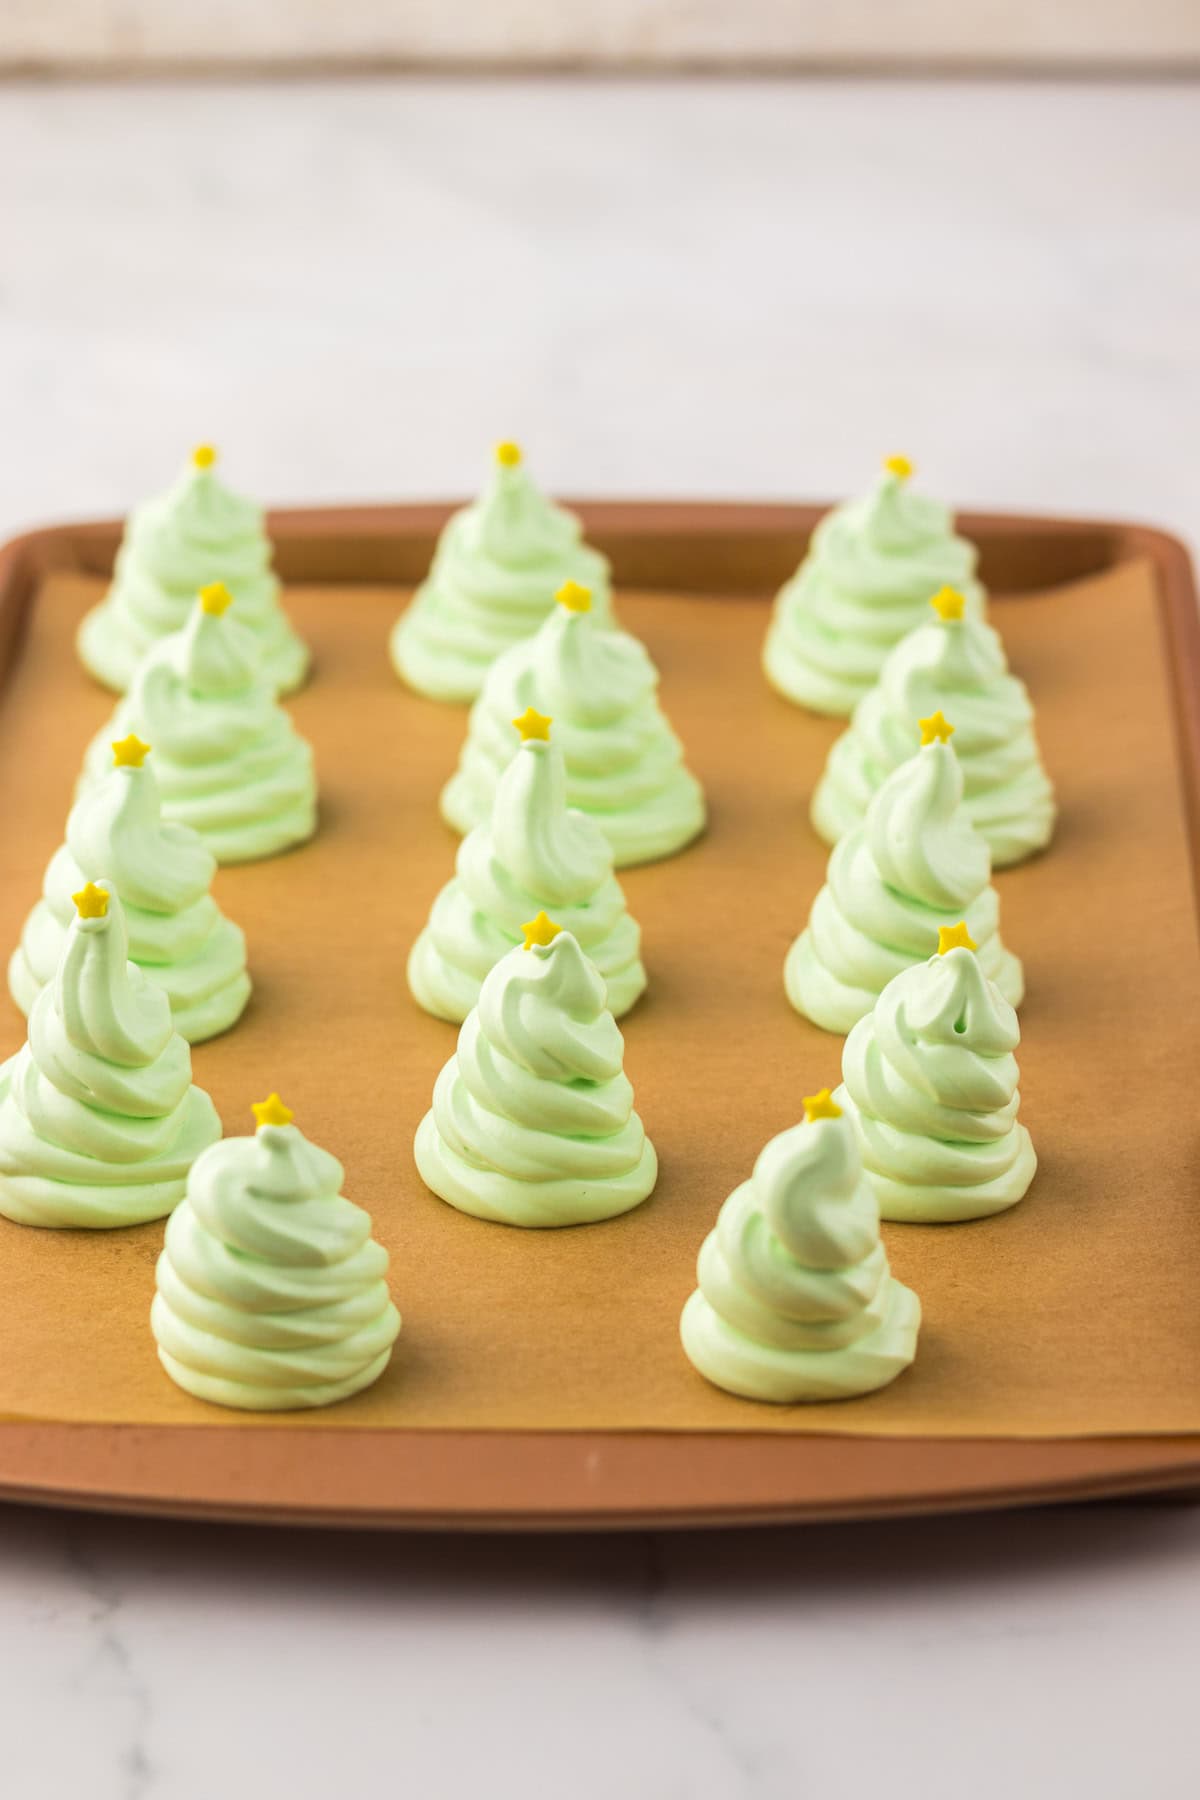
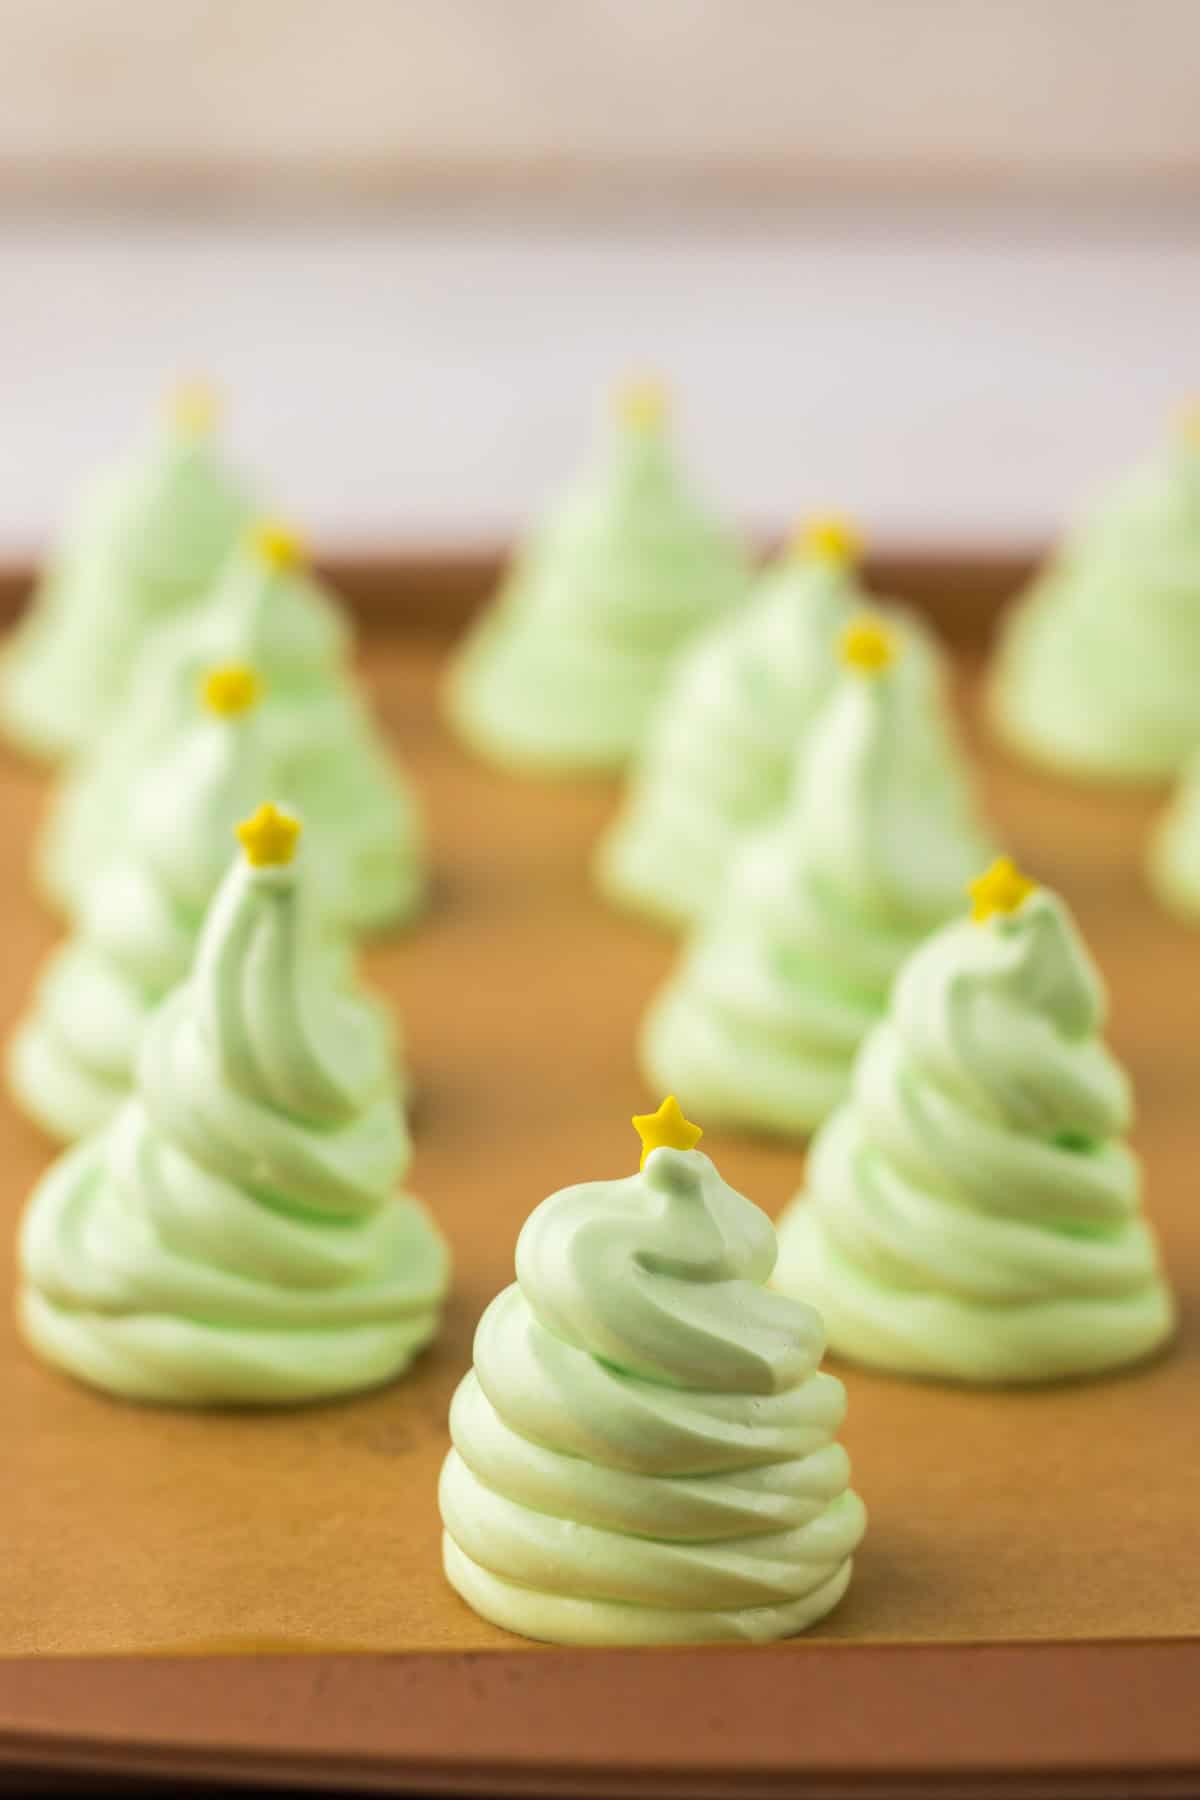
Spoon the meringue into a piping bag fitted with a star tip. On the prepared baking sheets, pipe star-shaped layers, stacking them smaller and smaller to resemble miniature Christmas trees. Let Leo and Lin help crown each tree with a sugar star and scatter sprinkles.
Bake the Cookie Slowly
Slide the trays into the oven and bake for 1 hour, rotating the pans halfway through. The low temperature dries the meringues gently without browning them.
Cool and Decorate
After baking, turn off the oven and leave the meringues inside for 1 hour to cool slowly. This keeps them crisp and prevents cracking. Remove from the oven, let cool to room temperature, then top with extra sugar stars or sprinkles if desired.
Serve and Share
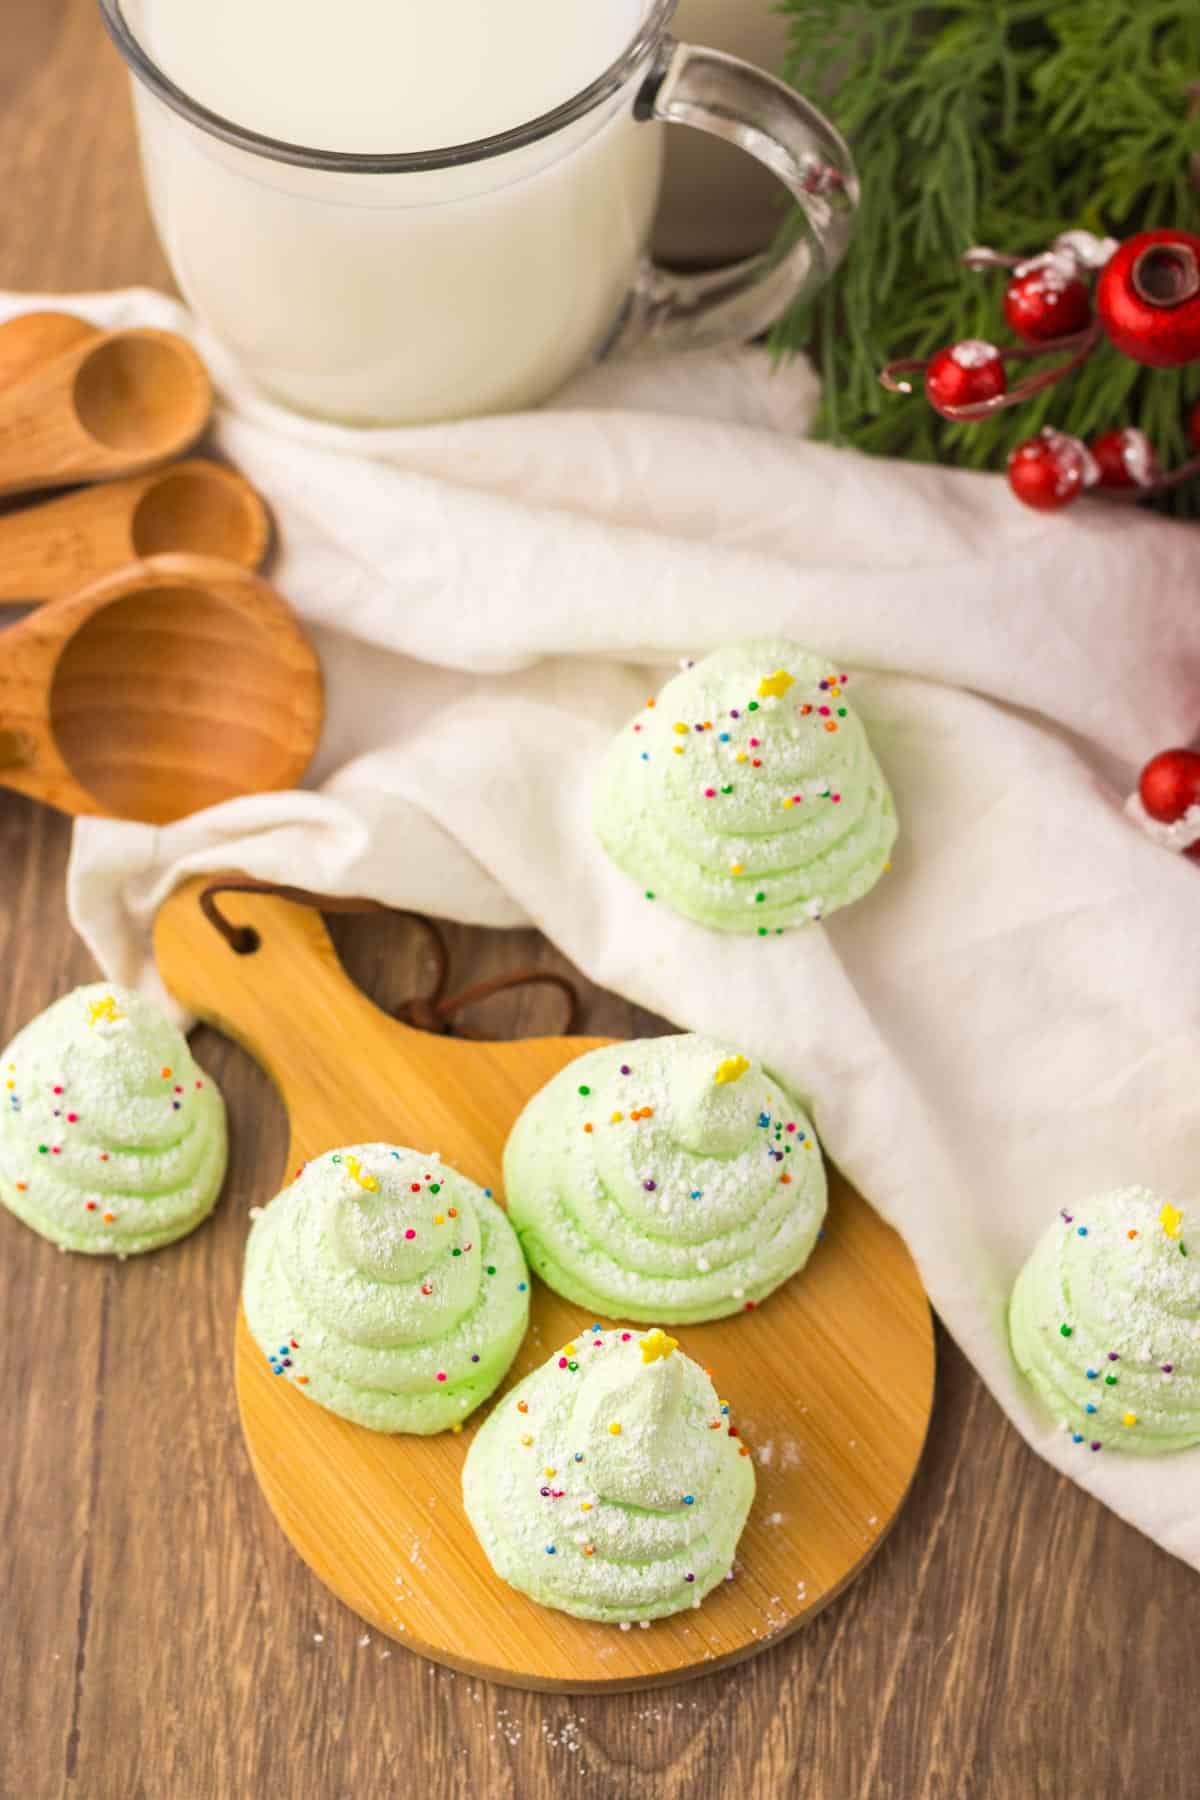
Arrange the meringues on a festive platter or wrap them in clear bags tied with ribbon. They make lovely gifts or a whimsical centerpiece for the dessert table.
Storage
Once your Christmas tree meringues have cooled completely, store them in an airtight container at room temperature. They'll keep their crisp texture for about five days, which makes them perfect to prepare ahead of a gathering or as little gifts tucked into tins. If your kitchen tends to be humid, keep the container lined with a bit of parchment to absorb moisture, it's an old trick I learned from my grandmother, who used to store her cookies in metal tins under the counter, away from the stove's warmth.
For longer keeping, these meringues can rest in the refrigerator for up to ten days. If you want to hold onto them even longer, freeze the meringues in layers separated by parchment paper for up to a month. Before serving, let them sit at room temperature for about 15 minutes so they regain their light crunch.
Top Tips
Patience Is Everything - let the mixer do the work and don't rush the peaks. I once tried speeding it up before a holiday dinner, and the meringues slumped like melting snow. Slow whipping gives them that glossy, cloud-like texture.
Cool in the Oven - turning off the heat and letting the meringues rest inside prevents cracks and keeps them crisp. It's a small step that makes all the difference. I usually use that quiet hour to clean up or sneak a cup of tea.
Choose a Dry Day - humidity is the quiet enemy of meringue. I learned that the hard way one rainy December, when my "trees" softened overnight. If it's damp outside, bake them a little longer or store them somewhere cool and dry.
Recipe
Tried and loved this recipe? Please leave a 5-star review below! Your reviews mean a lot to me, so if you've got any questions, please let me know in a comment.
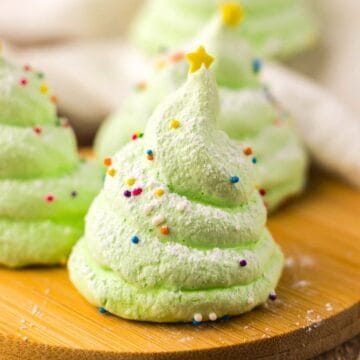
Christmas Tree Meringues
Equipment
- Stand mixer or hand mixer
- Piping bag fitted with a large star tip
- 2 large baking sheets
- rubber spatula
- wire cooling rack
Ingredients
- 1 cup granulated sugar
- ½ teaspoon cream of tartar
- 4 large egg whites room temperature
- ¾ teaspoon vanilla extract
- 8 to 10 drops green food coloring
- ⅛ teaspoon salt
- Sugar stars and festive sprinkles
Instructions
Prep pans and oven
- Heat the oven to 225°F. Line two large baking sheets with parchment so the meringues release cleanly.
Mix the stabilizer
- In a small bowl, stir together the sugar and cream of tartar. This helps the sugar dissolve evenly later.
Start the foam
- Add egg whites, vanilla, green food coloring, and salt to the mixer bowl. Beat on medium-low until the mixture looks foamy and even, about 1 minute.
Build the peaks
- Increase to medium-high. Sprinkle in the sugar mixture a spoonful at a time. Keep whisking until the meringue is glossy and forms stiff peaks that stand tall when you lift the whisk, about 2 to 3 minutes.
Pipe the trees
- Fill a piping bag fitted with a star tip. On the parchment, pipe a large star as the base, then stack smaller stars on top to shape a tree. Add a sugar star and sprinkles. This is a fun job for little helpers.
Bake low and slow
- Bake for 1 hour, rotating the sheets halfway through so they dry evenly. You want them set and matte, not browned.
Cool in the oven
- Turn off the oven and leave the trays inside for at least 1 hour. This gentle cool-down keeps the shells crisp and helps prevent cracks.
Finish and store
- Transfer to a wire rack to cool completely. Store airtight once cooled to keep that light crunch.