
Get ready for Halloween with homemade rice krispies loaded with candy! A fun treat for the season and perfect for kids and adults alike.
Jump to:
Spooky season always brings out the same mix of excitement and mild chaos in our house. The weather cools down, the evenings start earlier, and the kids begin talking nonstop about what they'll wear.
Lin still insists that last year's Pippi Longstocking costume was her "best one ever," mostly because of the red braids that bounced when she ran. Leo, on the other hand, would have happily lived in his Iron Man suit if we'd let him. He wore it to breakfast, to the park, even when we went to the grocery store. By mid-October, it had ketchup stains and the knees were starting to fray, but nothing could convince him that Iron Man ate scrambled eggs.
And then comes the real event: trick-or-treating night. There's a kind of magic in watching them dash from house to house, their buckets filling with bright wrappers and sticky treats. The laughter, the rush, the sound of other kids shouting from down the block, it's one of those small, fleeting moments that remind you what childhood should feel like.
Still, every parent knows the small tug that follows all that excitement. The quiet worry of not knowing where each candy came from or what's inside.
Growing up, my parents were cautious too. Halloween wasn't really a thing back home, but Purim had that same feeling of dressing up and giving out sweets. I remember my mother inspecting every mishloach manot before we were allowed to dig in. It's strange how those small habits stick with you. Now I find myself doing the same, sifting through candy wrappers, keeping what feels safe, setting aside the rest.
That's how these halloween candy rice krispies came to life. A way to channel that candy-crazed excitement into something homemade, something I could trust. My version of "safe candy." It's a little tradition now, the first thing we make together before the real trick-or-treating begins.
Whisking Up the Halloween Spirit

I start the day early, butter softening on the counter while the kids hover by the counter in their pajamas, already bargaining over who gets to sprinkle the candy. The marshmallows melt into a glossy, sweet cloud, and for a moment, everything feels still. There's something sweet about making dessert in your own kitchen, surrounded by the hum of small voices and the clatter of spoons.
This recipe is also where all my years of Halloween tinkering come together. I've played with so many themed treats through the years, the halloween snack board with its mix of crunchy and soft textures, chocolate mousse cups that somehow disappear before dinner, the skeleton elote that my husband still talks about, and those pumpkin and caramelized onion puff pastry pockets that always remind me of autumn evenings in my childhood home, where the scent of caramelized onions could fill an entire apartment.
Those taught me how to build small moments of joy into a season that can be chaotic and loud. These rice crispies do the same. They're sticky and colorful, yes, but also comforting in a way that feels familiar. It's the smell of buttered cereal that instantly pulls you back to childhood, to hands pressing sticky squares into a pan, to giggles and sprinkles flying everywhere.
By the time the treats have cooled, the kids are already in costume again. Lin adjusting her red braids in the mirror, Leo talking to his own version of Jarvis. I cut the bars into neat squares, the kind that crackle when you press down on them. They don't last long. Neither do the worries, at least for a little while.
Halloween will always carry its mix of excitement and small fears. But maybe that's what makes it so special. We keep the magic alive for our kids, balancing that wide-eyed wonder with the quiet instinct to keep them safe. And if a tray of homemade rice crispy treats helps bridge those two things, then it's worth every sticky spoon and candy-studded counter.
Ingredients
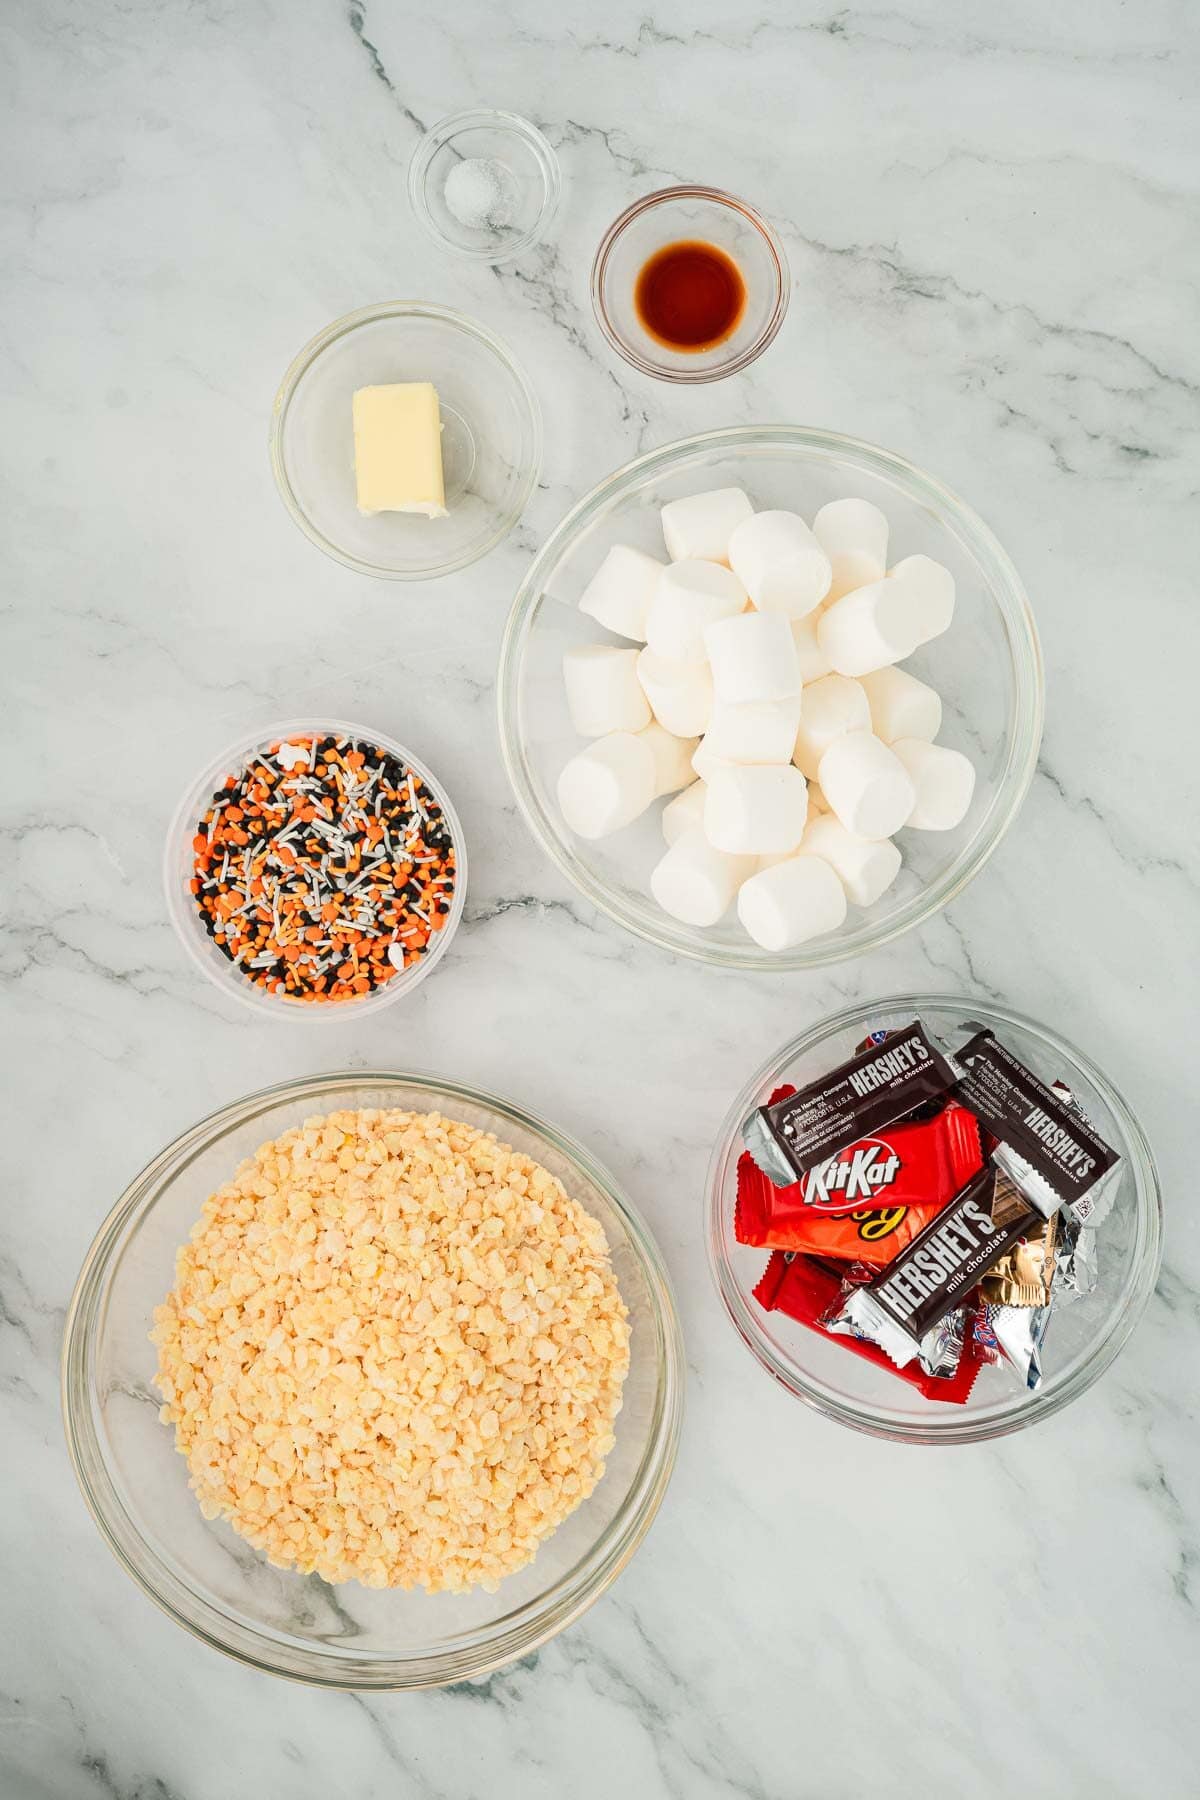
- Marshmallows- I always reach for jumbo marshmallows because they melt evenly and coat every grain of cereal without turning stiff. If you prefer a lighter texture, mini marshmallows work too; they melt a little faster and are easier for small hands to stir when the kids help.
- Butter- A small amount of real butter makes all the difference. It gives these bars their tender chew and a rich aroma that balances the sweetness of the marshmallows. I tend to use unsalted butter, but if that's what you have, salted butter is fine, just skip adding extra salt later. Once I even used brown butter, and the nutty flavor made the treats taste faintly toffee-like.
- Rice Krispies Cereal- The crisp foundation that keeps everything airy and light. I've tried off-brand cereals before, but nothing quite matches the texture of the original. For a gluten-free version, there are rice puff cereals that hold up well, though they can be slightly softer.
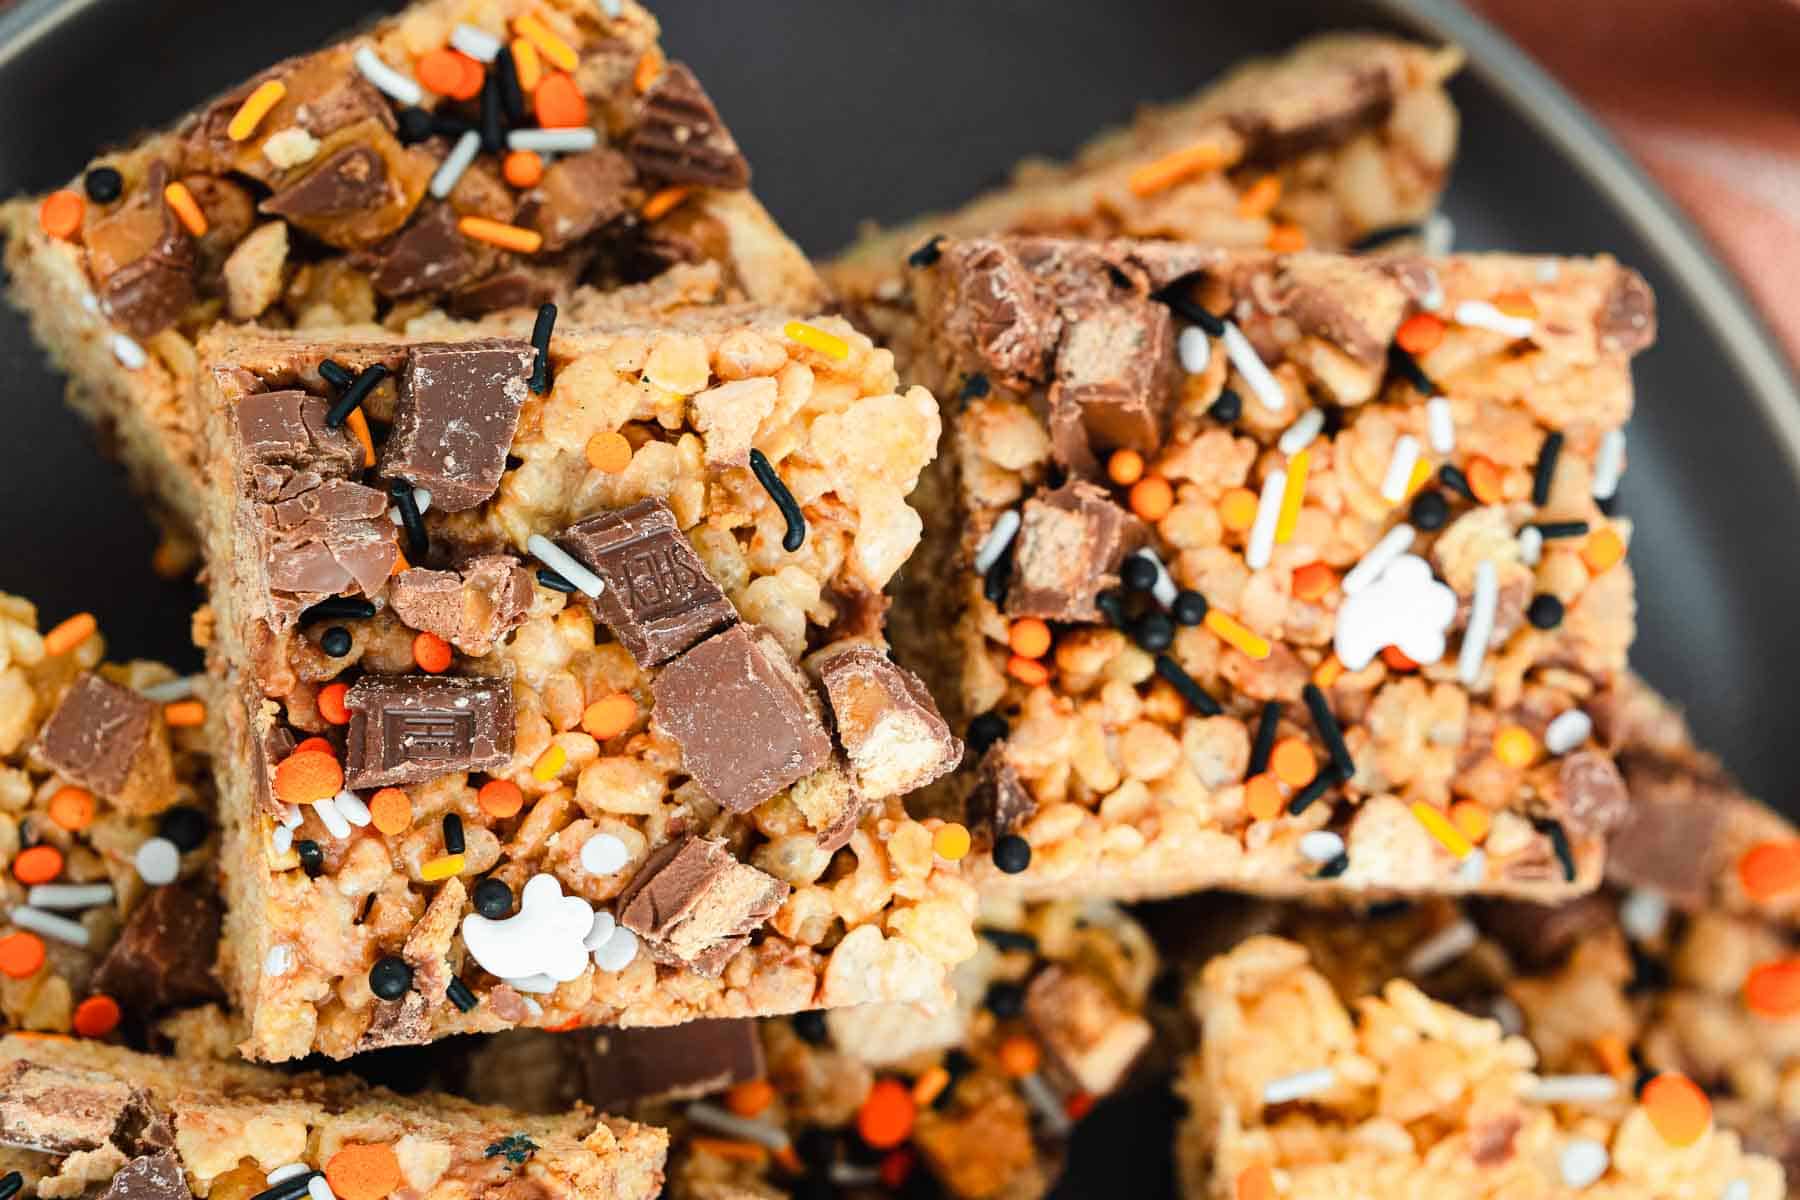
- Halloween Candy- This is where the fun begins. I chop up a mix of Reese's, Snickers, Kit Kats, Twix, and Milky Way minis, making sure there's a bit of everything: chocolate, caramel, and a touch of peanut butter. The kids love the variety and it gives each bite its own surprise. Use whatever your family loves most, leftover trick-or-treat candy works beautifully here too.
See the recipe card for full list and exact quantities.
How to Make Halloween Rice Krispies Candy Recipe

If you want something festive to start Halloween morning, or to calm the sugar-fueled excitement before trick-or-treating, these halloween rice krispie treats are perfect. Sweet, chewy, and studded with bits of everyone's favorite candy, they come together in minutes and set beautifully while you finish wrangling costumes and candy buckets.
Prepare the Pan
Line an 8×11½-inch baking dish with parchment paper. Leave a little overhang on the sides so you can lift the treats out easily once they're set. I like to do this step first, it makes cleanup easier later and keeps little hands from sticking to the counter.
Melt the Butter
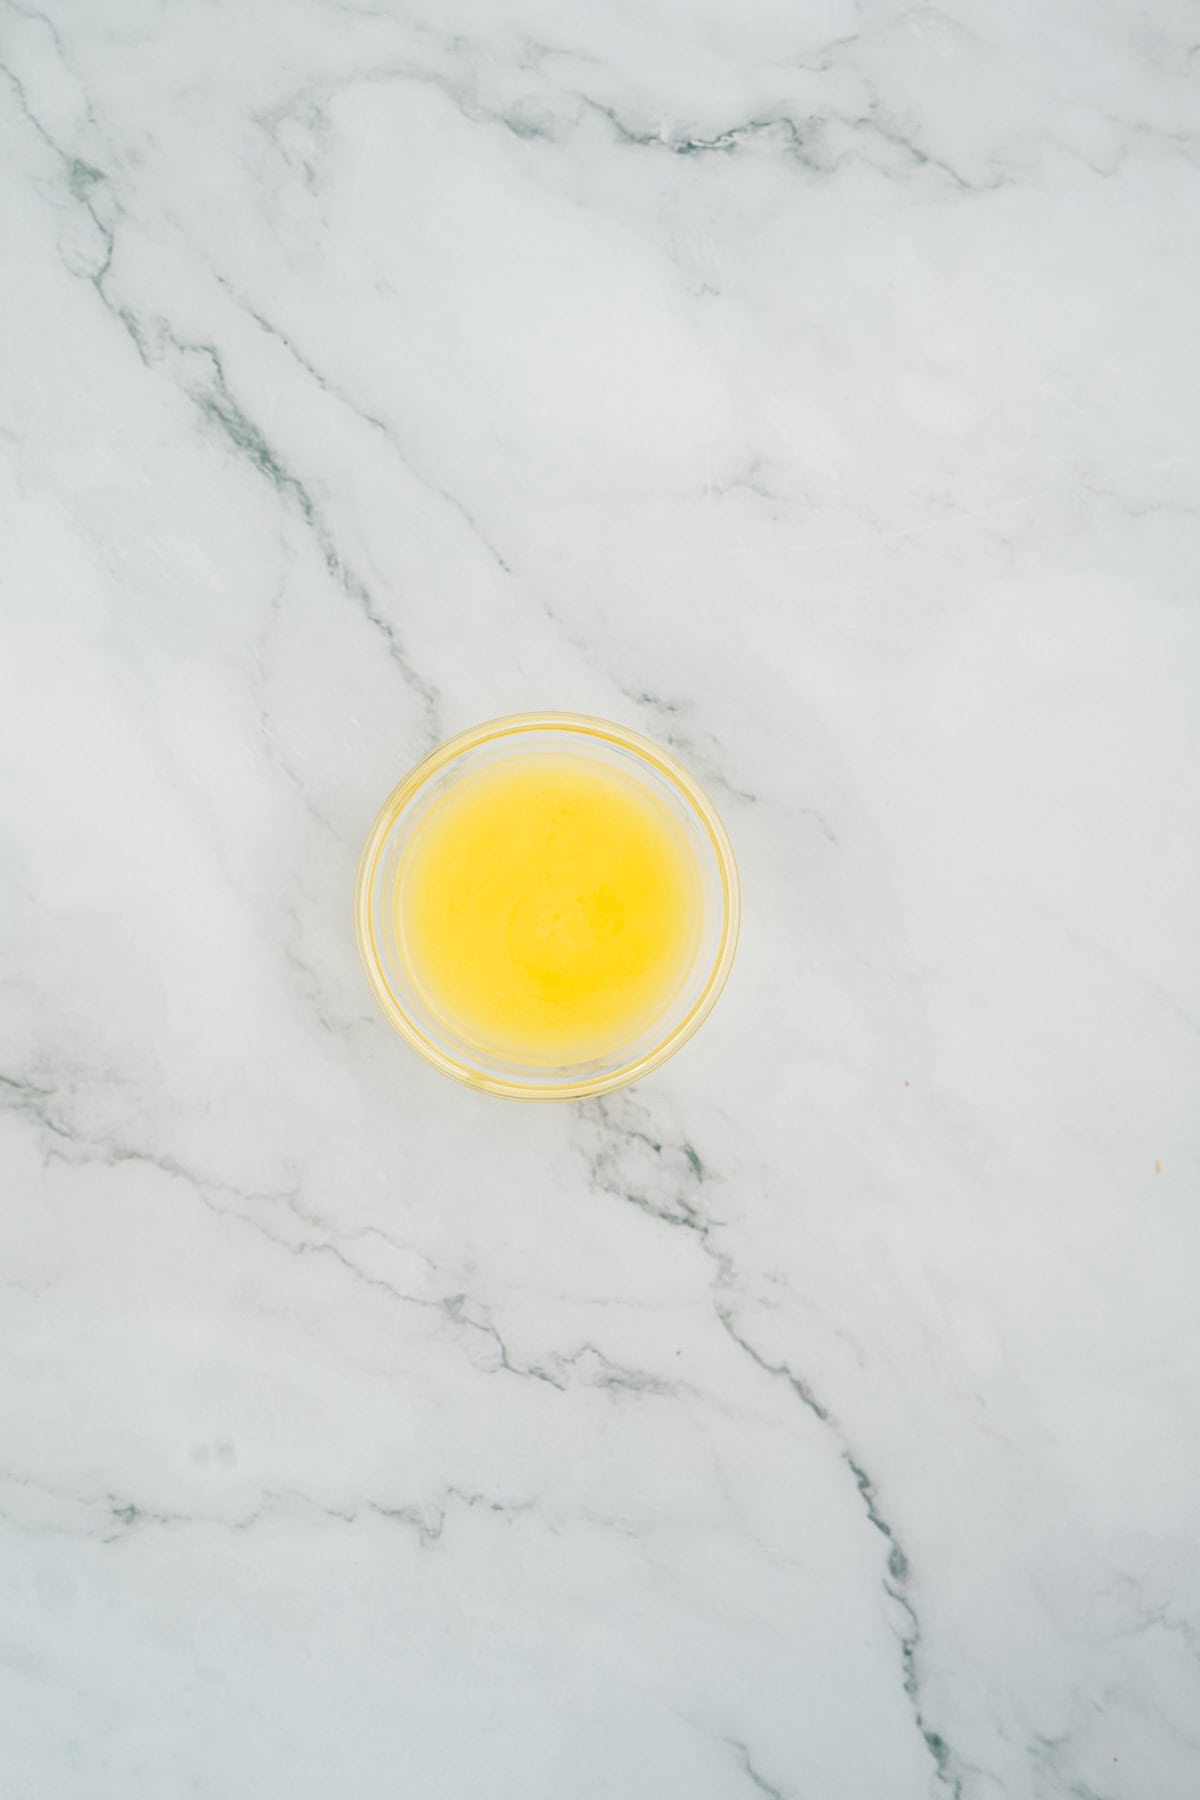
Place the butter in a microwave-safe bowl and heat for about 30 seconds, or until fully melted. The aroma alone signals that something good is about to happen.
Melt the Marshmallows
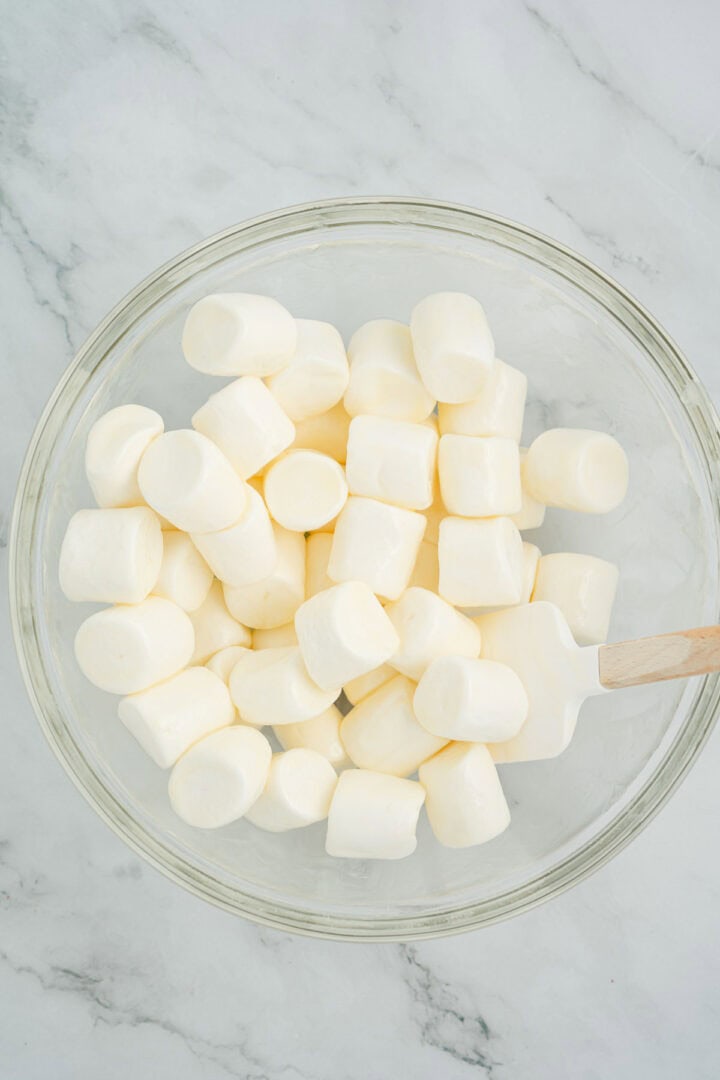
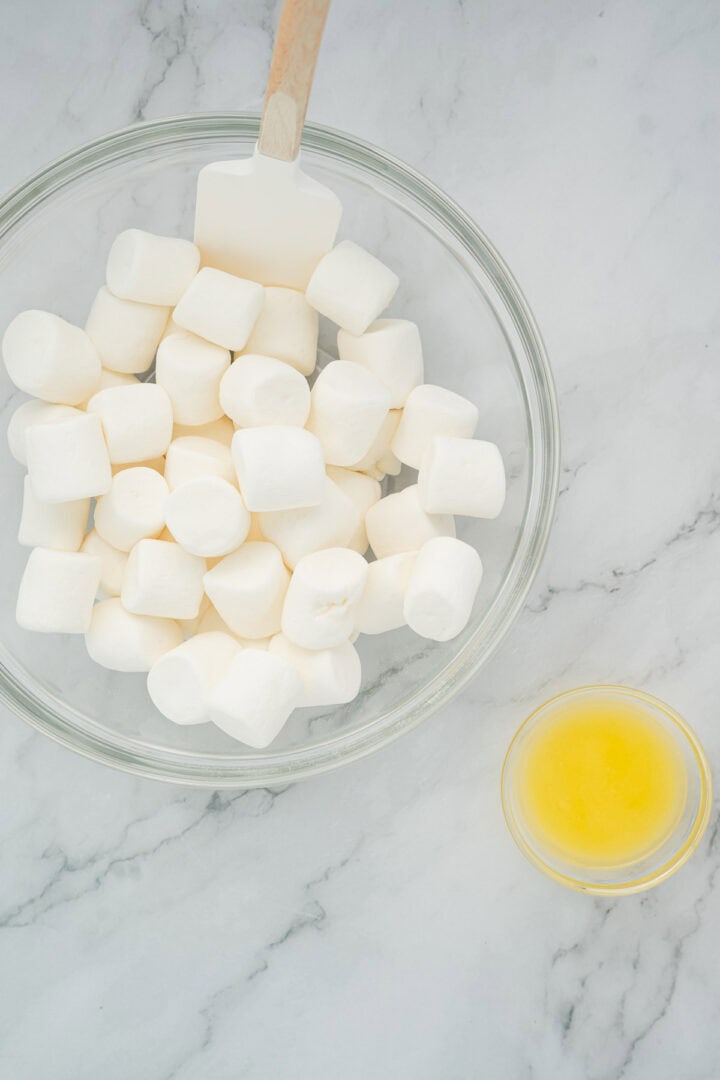
In a large microwave-safe mixing bowl, add the marshmallows and pour the melted butter over them. Toss until the marshmallows are coated, then microwave for 2 to 3 minutes. The goal is soft, puffed marshmallows that melt together easily.
Combine and Flavor
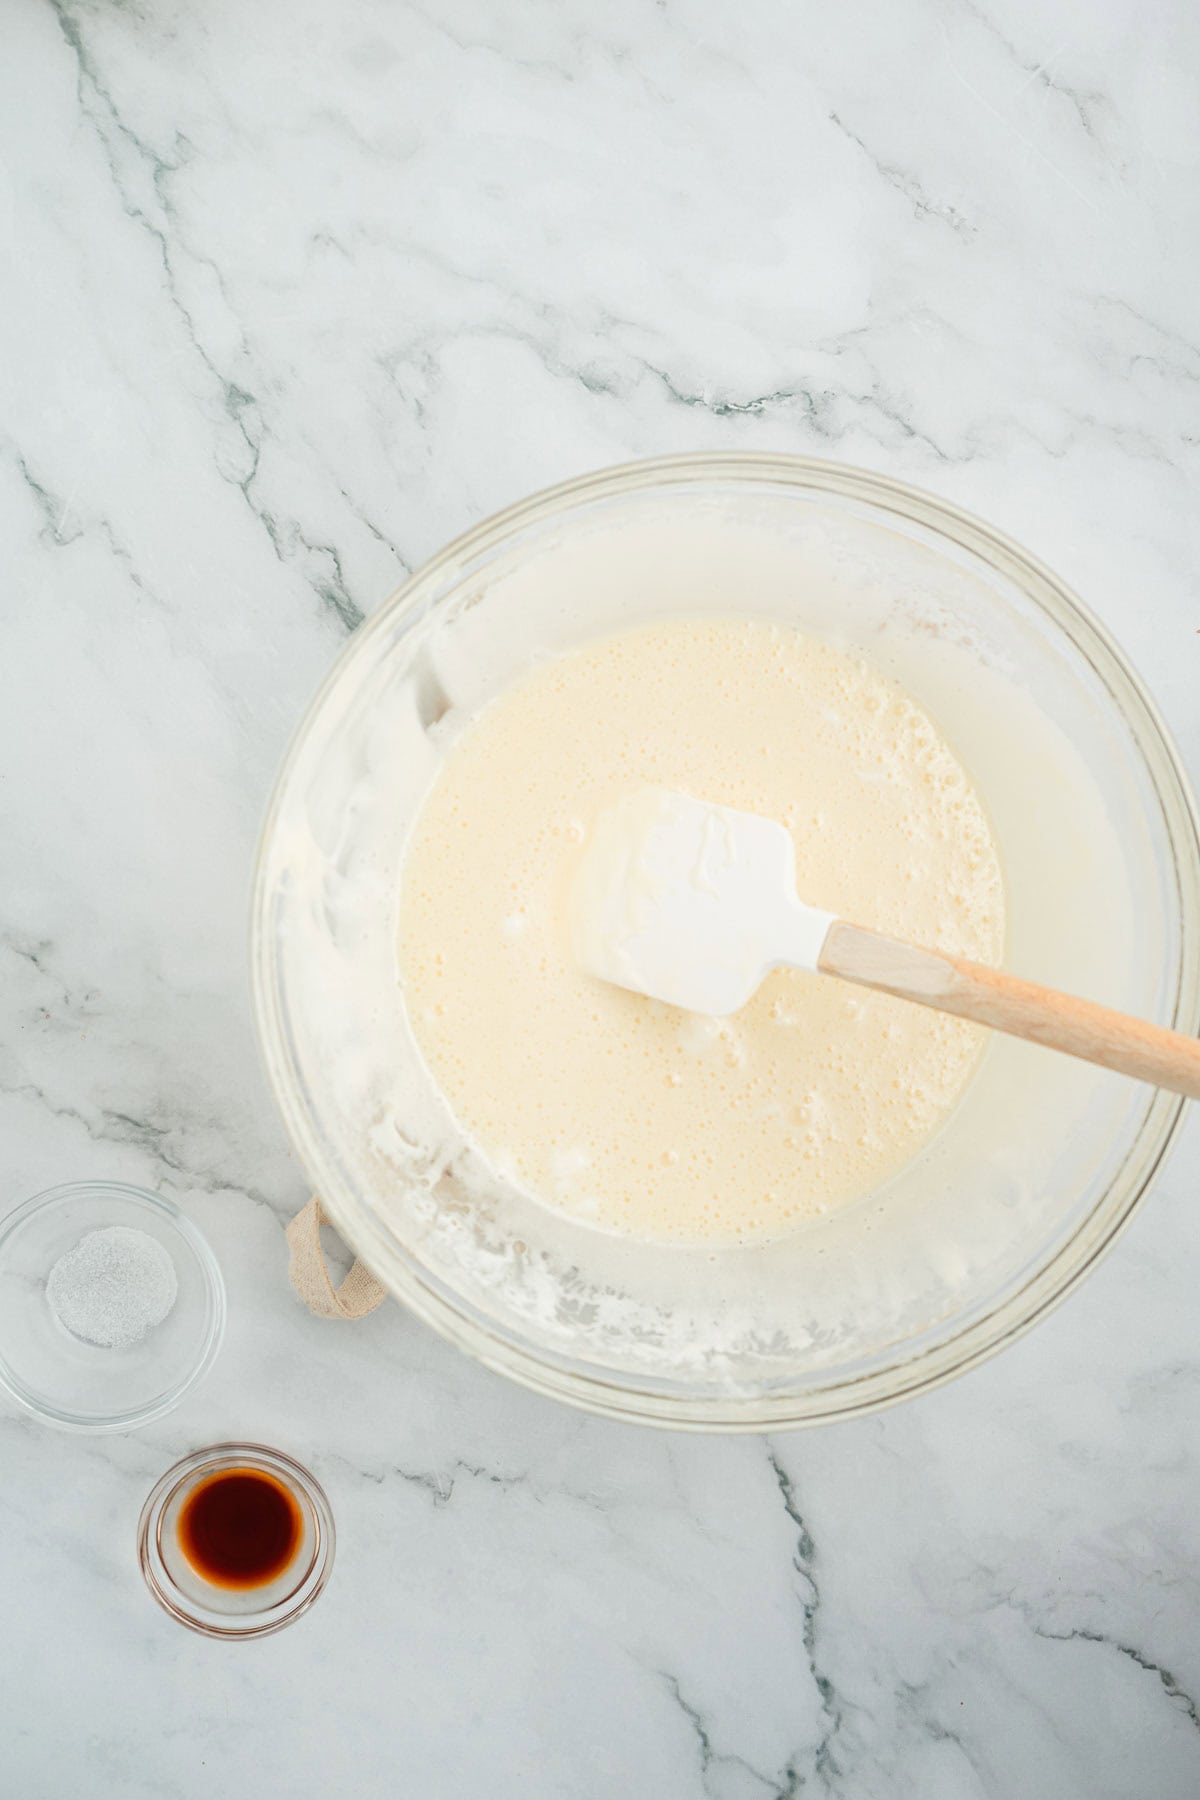
Stir quickly while the mixture is still warm, adding the vanilla extract and a small pinch of salt. The vanilla rounds out the sweetness, while the salt keeps the flavor balanced.
Add the Rice Krispies
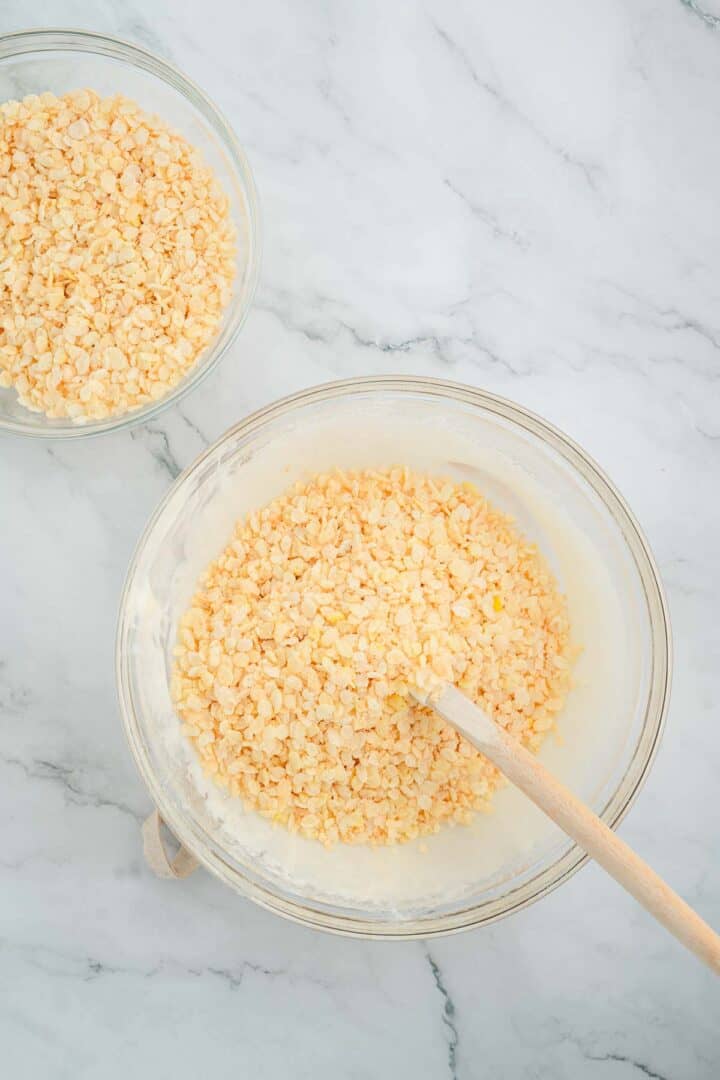

Add half of the Rice Krispies cereal and stir until coated, then pour in the remaining cereal. Mix gently but thoroughly, folding until every piece is covered in the glossy marshmallow mixture.
Fold in the Candy
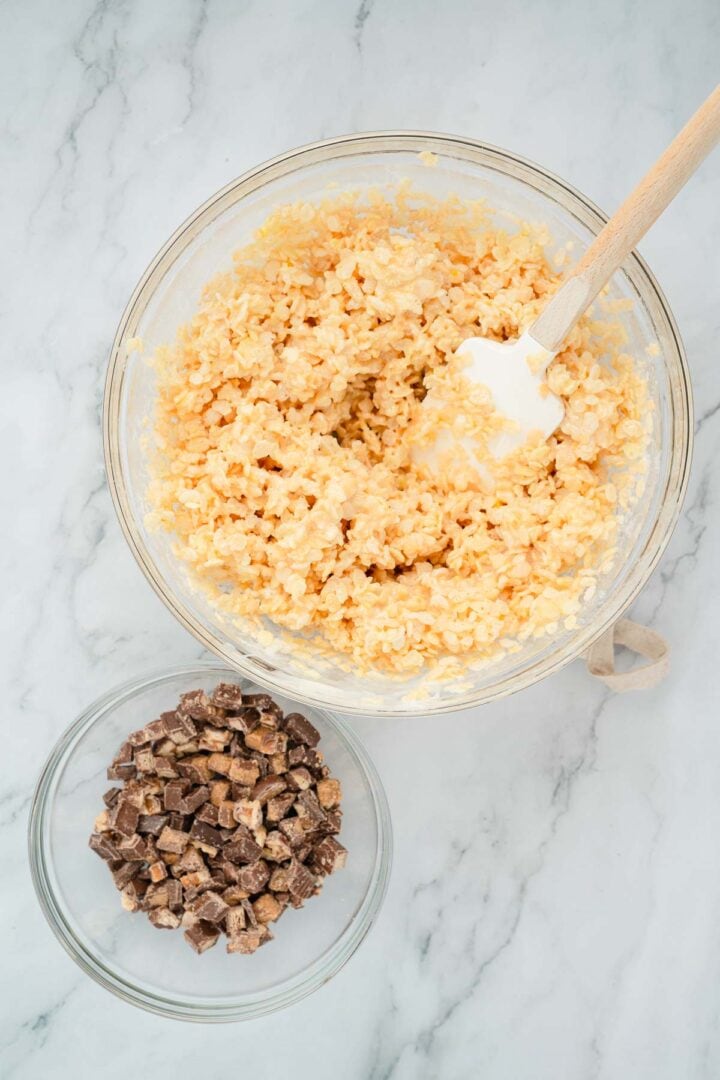

Add half of your chopped Halloween candy to the mixture. The heat will cause some of the chocolate and caramel to streak into the marshmallow, creating ribbons of color and flavor. It's messy, but that's part of the charm.
Shape and Set
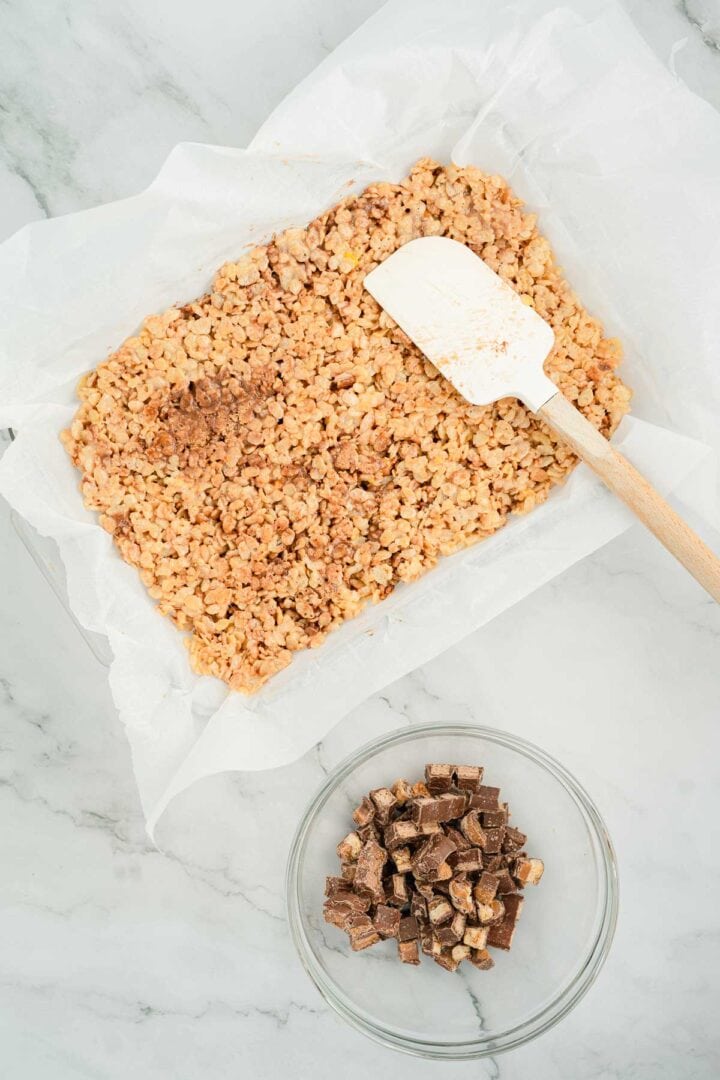
Transfer the mixture into your prepared baking dish. Using a buttered spatula or clean hands lightly coated with butter, press the mixture into an even layer. Be gentle, you want it compact enough to hold together, but not dense.
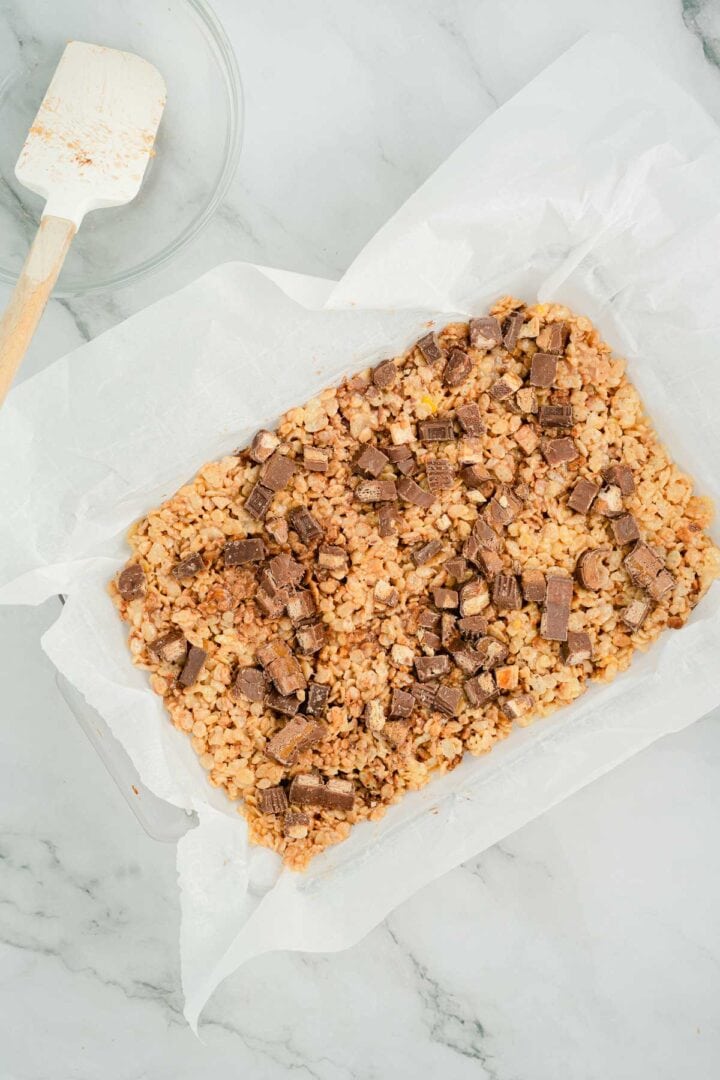
Add the Toppings
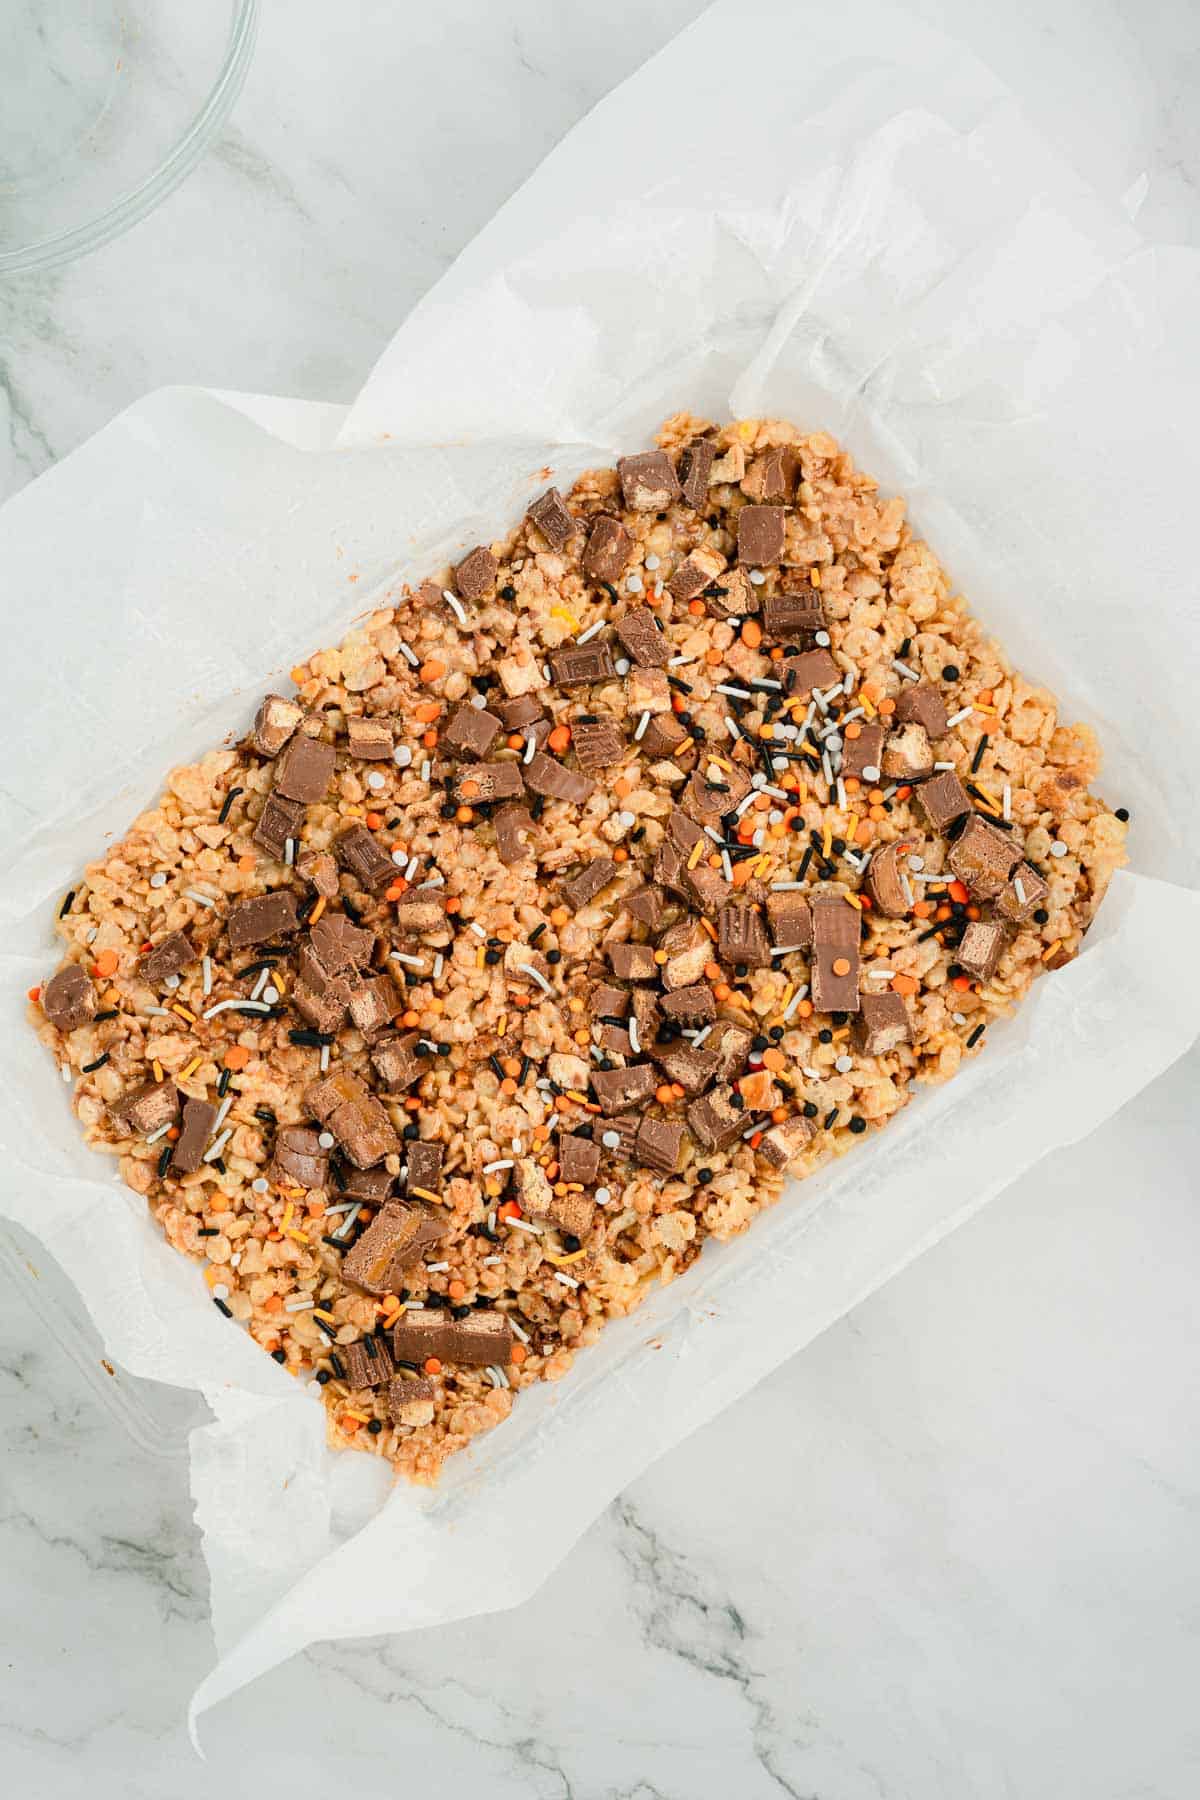
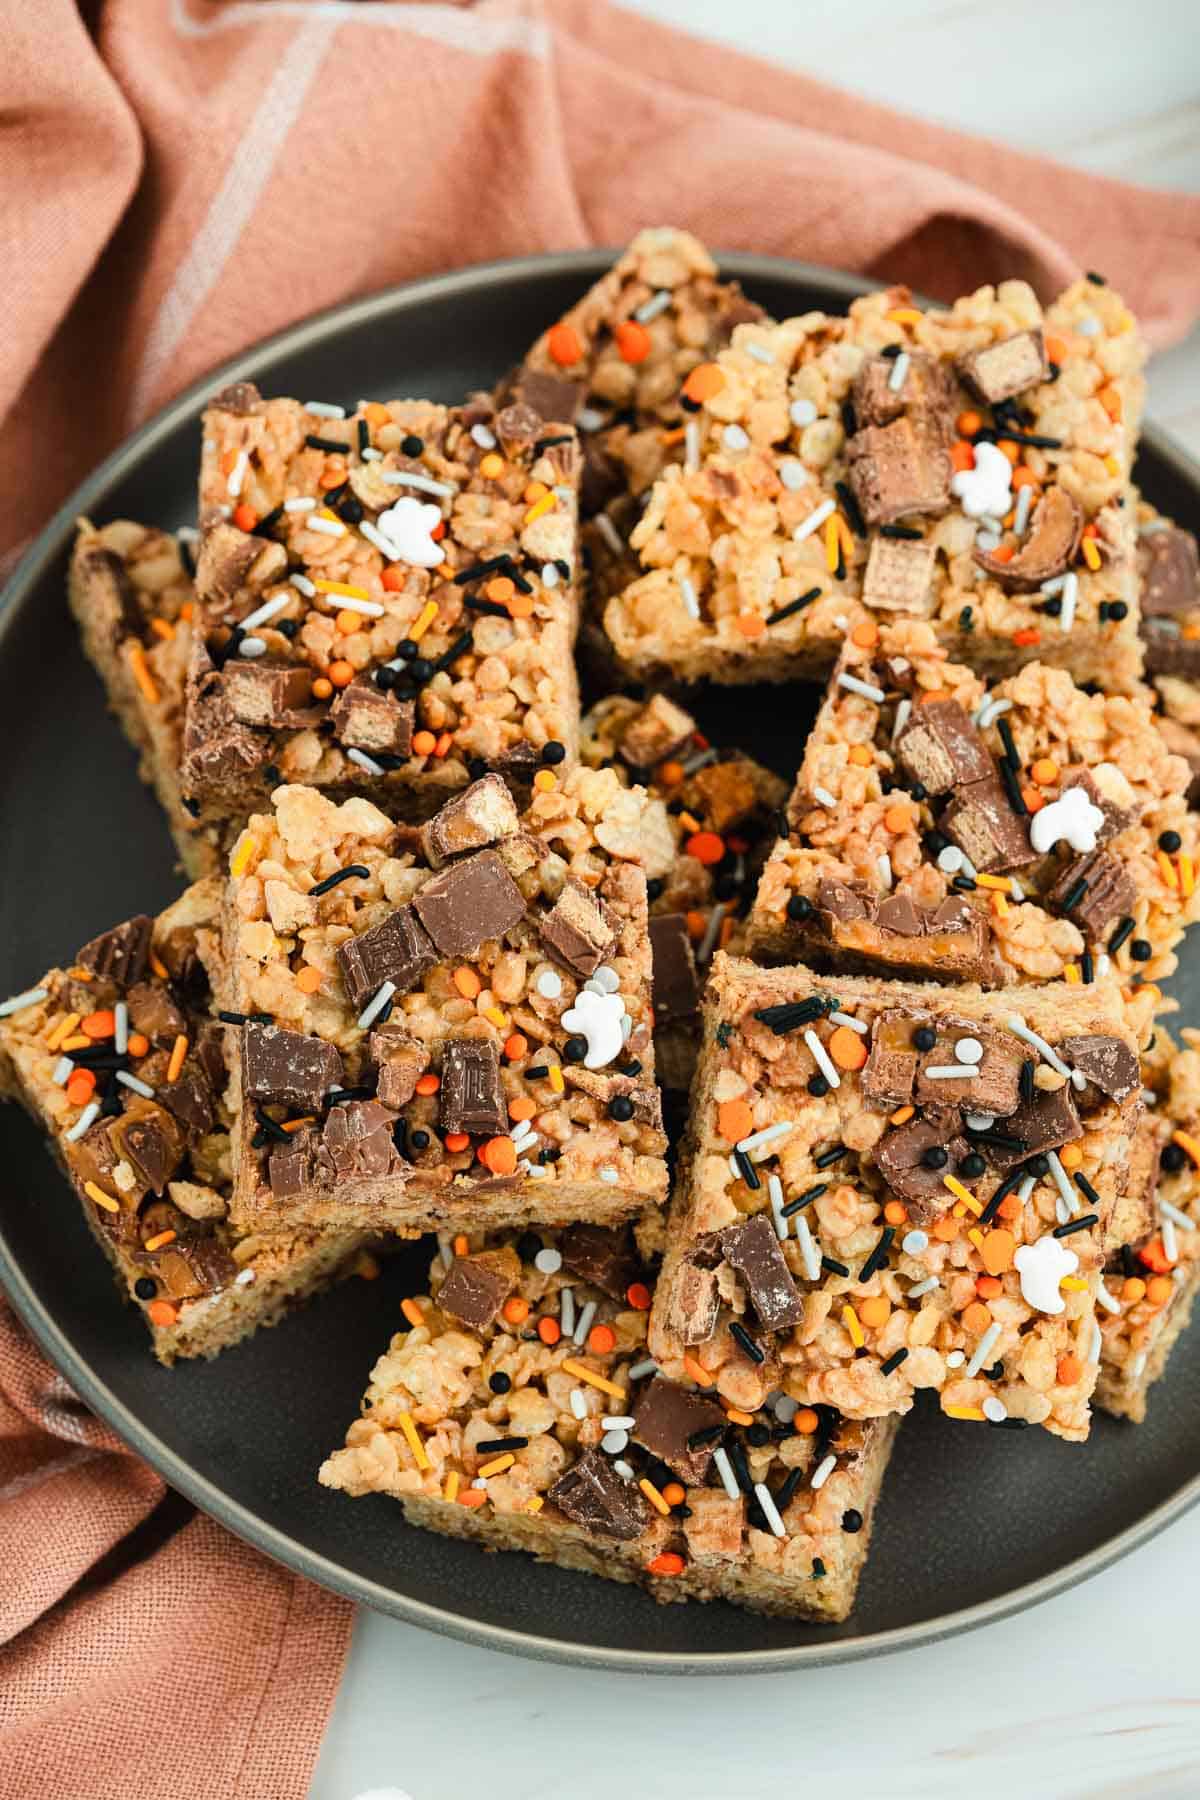
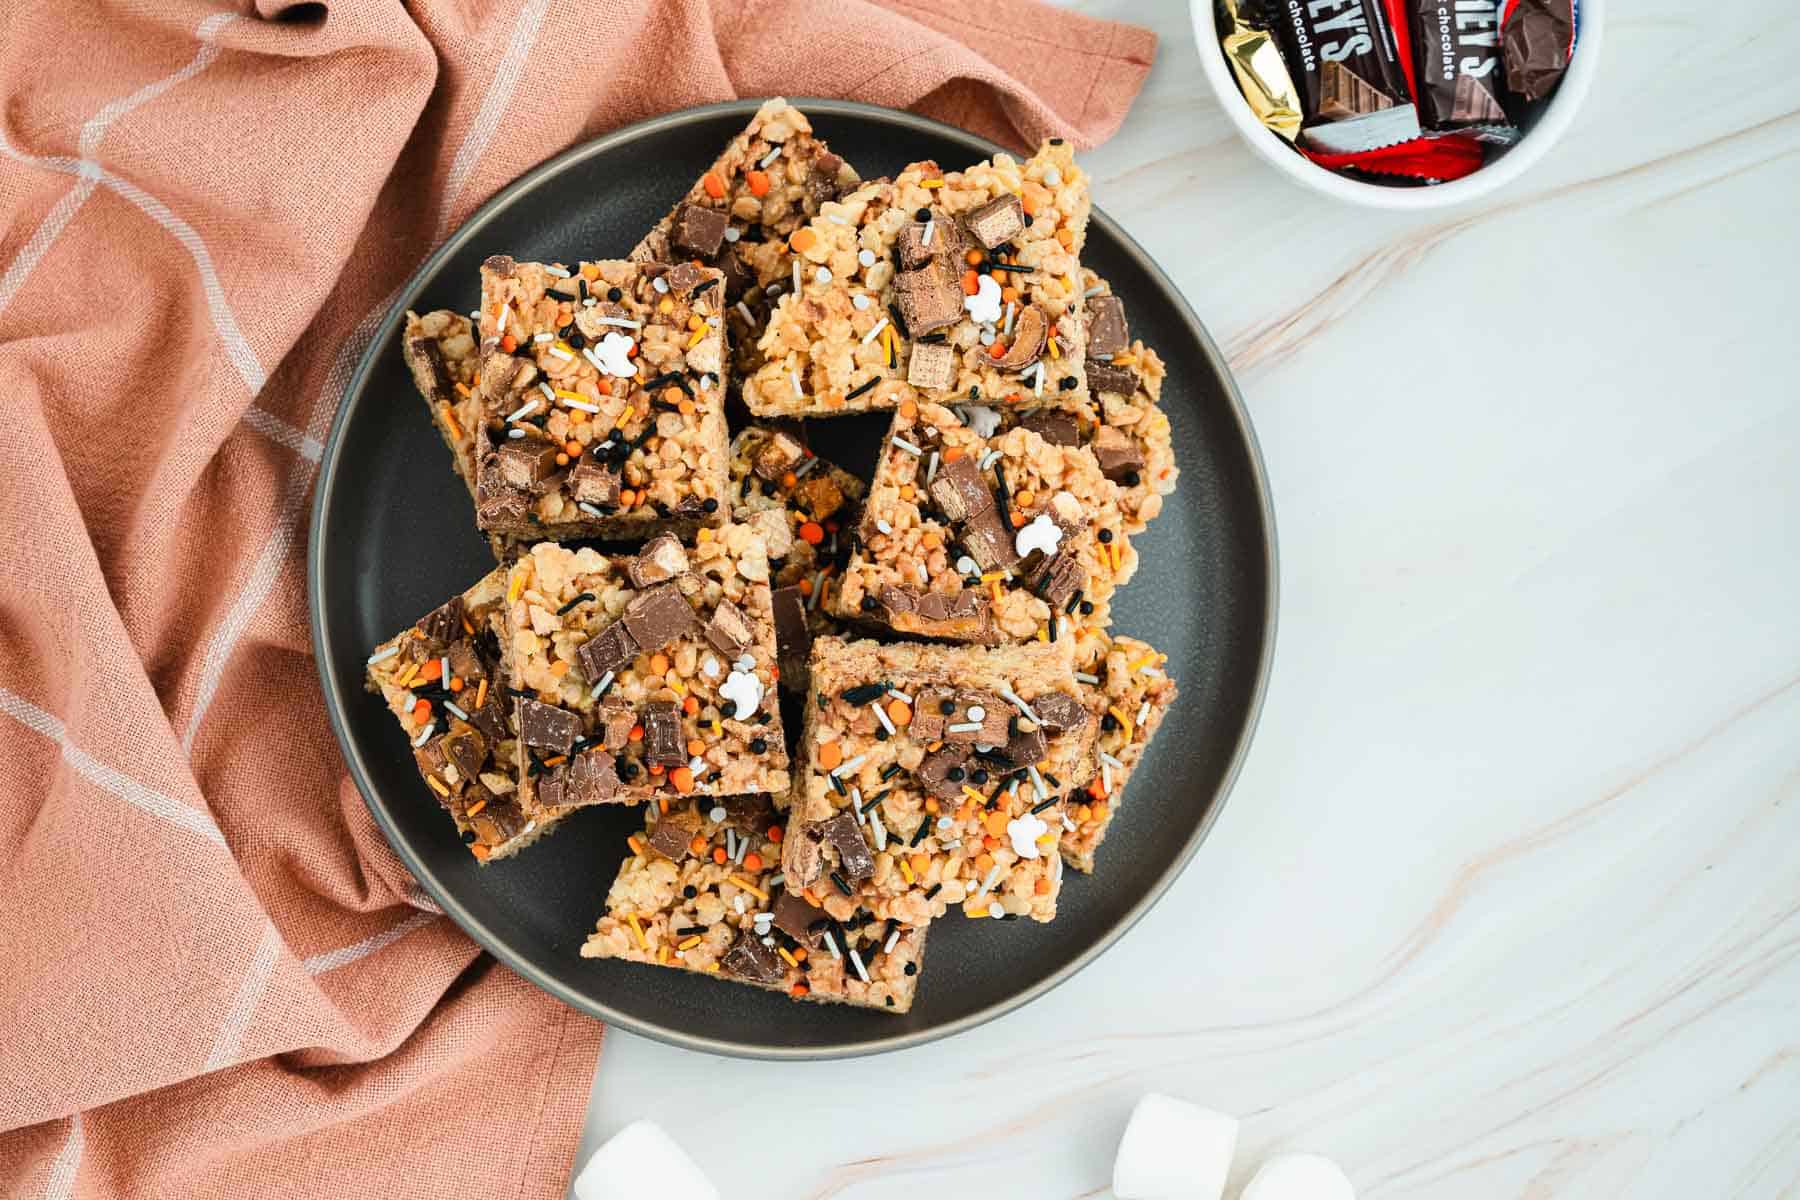
Scatter the remaining chopped candy and festive sprinkles over the top, pressing them lightly so they stick.
Cool and Serve

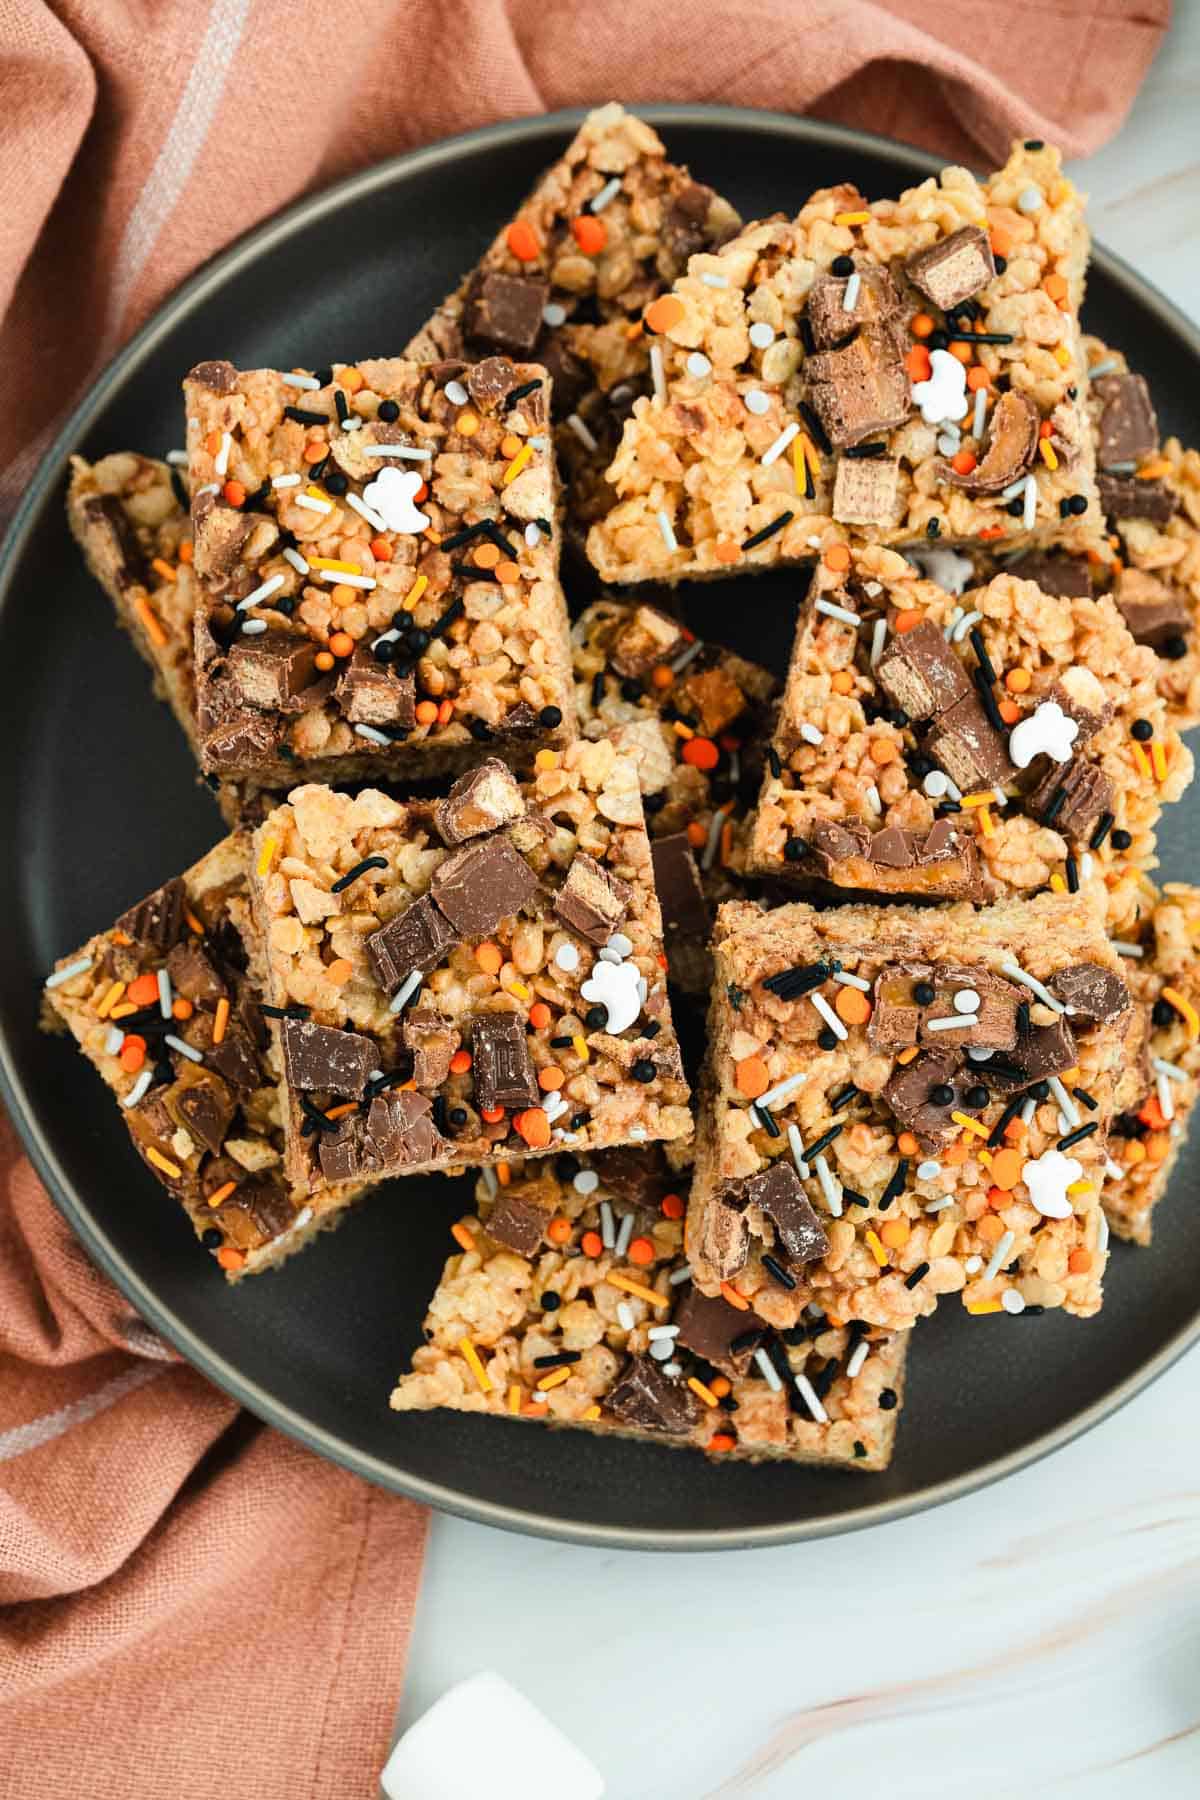
Set the pan aside and let the bars rest for at least 30 minutes to 1 hour. They'll firm up enough to cut cleanly while staying soft and chewy. Once cool, lift the parchment from the pan and transfer to a cutting board. Use a sharp knife to cut into squares. Serve and enjoy your treats!
Storage
Once cooled and cut, store the Rice Krispie treats in an airtight container at room temperature for up to 3 days to keep them soft and crisp. If you live in a warm or humid area, refrigerate instead, they'll stay fresh for up to 1 week. Let them sit at room temperature for a few minutes before serving so the texture softens. For longer storage, wrap individual bars in parchment and freeze for up to 1 month. Thaw at room temperature before eating.
Top Tips
Work Quickly - once the marshmallows melt, move fast. The mixture firms up quickly as it cools, so having your cereal and candy ready to go makes all the difference.
Don't Press Too Hard - when spreading the mixture into the pan, press gently. Compacting too firmly makes the bars dense instead of light and chewy.
Recipe
Tried and loved this recipe? Please leave a 5-star review below! Your reviews mean a lot to me, so if you've got any questions, please let me know in a comment.

Halloween Candy Rice Krispies
Equipment
- 8 × 11½ inch baking dish
- Large microwave-safe bowl
- Small microwave-safe bowl
- Silicone or rubber spatula
- Measuring Cups and Spoons
- Sharp knife and cutting board
Ingredients
- 3½ tablespoons unsalted butter or salted butter, omitting the salt
- 1 12-ounce bag jumbo marshmallows
- 1 teaspoon vanilla extract
- ⅛ teaspoon salt
- 5 cups Rice Krispies cereal
- 2 cups chopped Halloween candy see suggested mix below
- 2 tablespoons sprinkles
Suggested Halloween Candy Mix:
- 4 snack-size Reese's Peanut Butter Cups
- 3 fun-size Hershey's bars
- 3 Milky Way minis
- 5 Snickers minis
- 3 snack-size Kit Kat bars
- 4 fun-size Twix bars
Instructions
- Line an 8×11½-inch baking dish with parchment paper; set aside.
- Place butter in a microwave-safe bowl and microwave for 30 seconds until melted.
- In a separate large microwave-safe bowl, combine marshmallows and melted butter, tossing until marshmallows are well coated. Microwave for 2-3 minutes until marshmallows are completely melted.
- Quickly stir in vanilla extract and salt until well combined.
- Add half of the Rice Krispies cereal, stirring until completely coated with marshmallow mixture.
- Add remaining Rice Krispies and mix until well combined.
- Fold in half of the chopped Halloween candy, incorporating completely into the mixture.
- Transfer mixture to prepared baking dish and spread evenly. Using a spatula, gently press mixture into pan without compacting too firmly.
- Sprinkle remaining chopped candy and sprinkles over the top.
- Allow to set for 30 minutes to 1 hour before cutting and serving.

May says
Yum! I had the similar thought when the nieces went trick or treating as well... I’ll do this during the week!
kseniaprints says
Hope it was a hit!