Freezing peaches is the perfect way to enjoy that fresh summer flavor all year long. There's something special about biting into a sweet, juicy peach, and with a bit of prep, you can keep that experience alive even in the depths of winter. The process is simpler than you might think. No fancy equipment is needed—just our handy guide on how to freeze peaches and a bit of time.
Once you know how to freeze peaches properly, you’ll always have them on hand for your favorite recipes. Smoothies, pies, or just a quick, healthy snack—frozen peaches are versatile and convenient. The key is to pick ripe but firm peaches and follow the right steps to prepare them for freezing.
Getting started with freezing peaches is a game-changer. Not only does it save you money, but it also means you can enjoy the peak flavor of summer peaches any time. Plus, it’s a great way to reduce waste if you have more peaches than you can eat right away. Let's start!
Looking for more ways to freeze your favorite summer produce? Check out my guide on how to freeze corn. I also religiously follow this how to freeze strawberries guide.

1. Prepare Your Tools

Before starting the freezing process, gather all necessary tools and materials to streamline your work. You will need a large pot for blanching, a bowl filled with ice water for cooling the peaches after blanching, a sharp paring knife, and a cutting board for slicing. Additionally, have a baking sheet lined with parchment paper ready for flash freezing, along with freezer bags or airtight containers for storage. It’s also useful to have a lemon and a spoon handy for the browning-prevention step. A clean kitchen towel will help dry the peaches after peeling. Preparing these tools in advance makes the process more efficient and helps avoid interruptions.
2. Select and Wash the Peaches
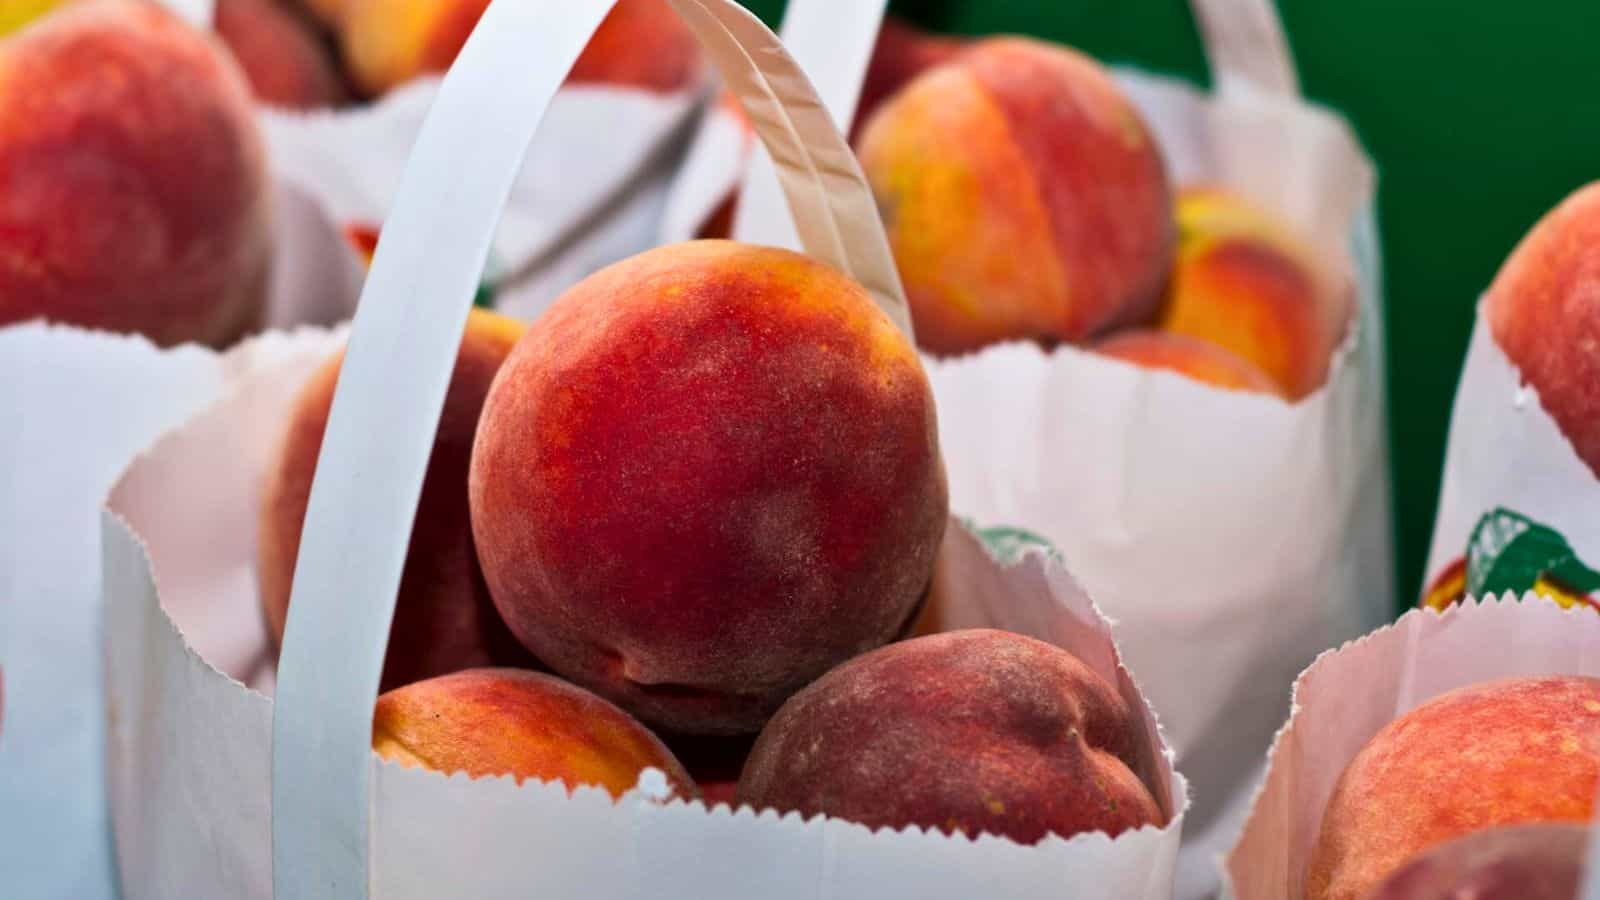
When selecting peaches for freezing, it is best to choose those that are ripe yet firm to the touch. This firmness indicates that the peaches have reached peak ripeness, delivering the best flavor and texture for freezing without being overly soft. Varieties like Freestone peaches are ideal for freezing because their pits are easier to remove compared to Clingstone peaches. Avoid peaches with bruises or soft spots as these can deteriorate further during the freezing process. Once you have chosen your peaches, rinse them thoroughly under cool running water to remove any dirt, pesticides, and residues. Using a gentle fruit scrub brush can be particularly effective in cleaning the peaches more thoroughly.
3. Peel the Peaches
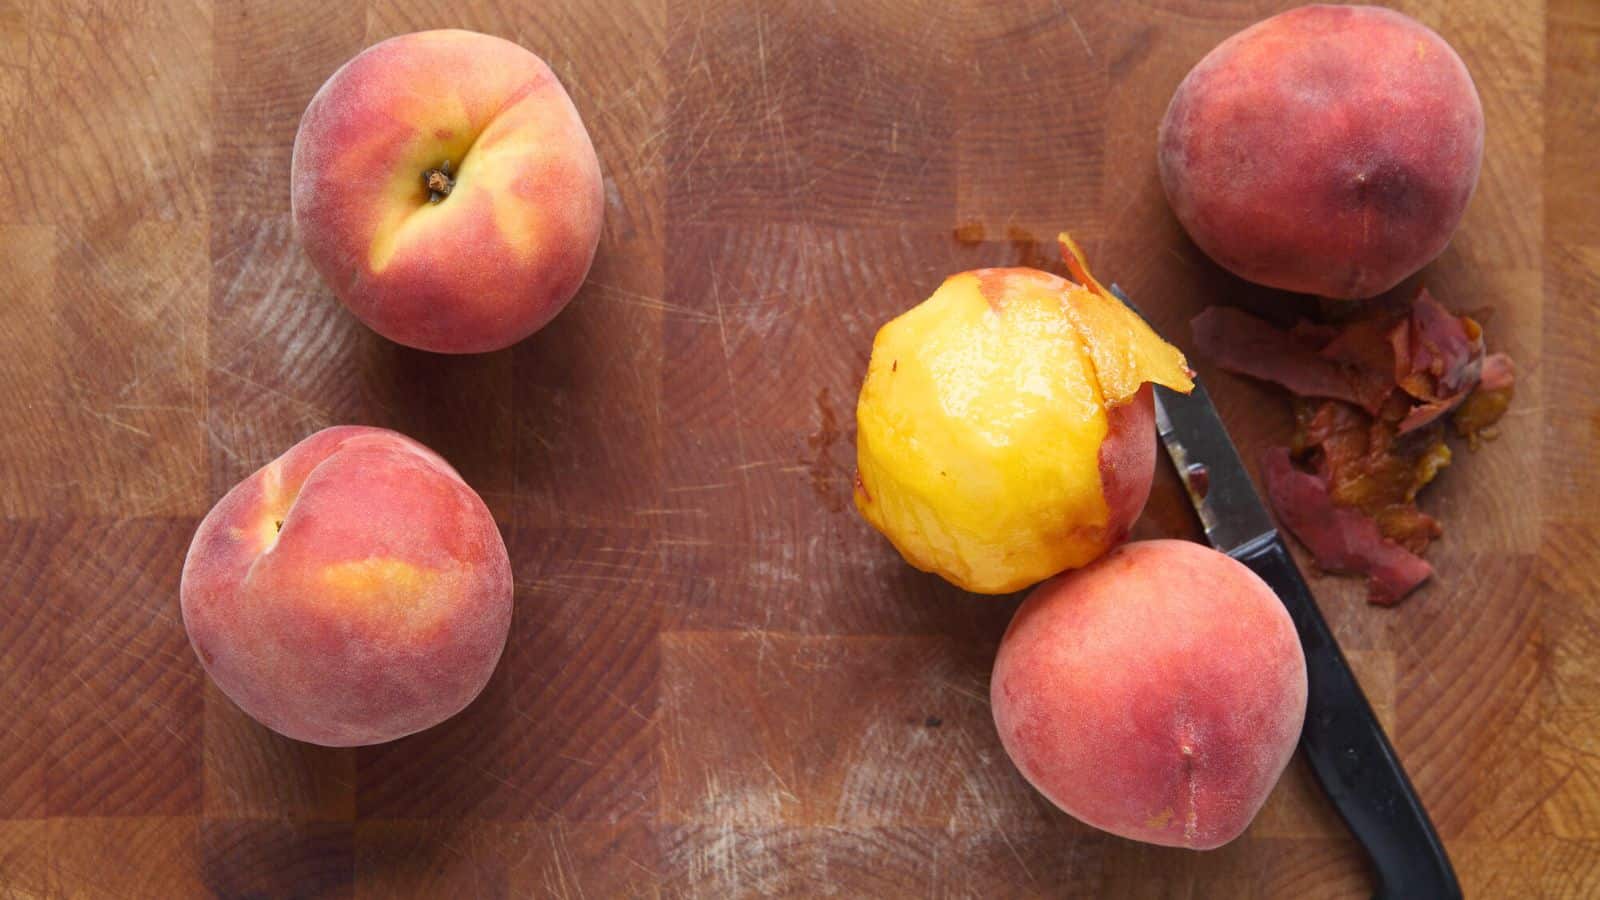
Peeling peaches can be simplified by blanching. First, bring a large pot of water to a rolling boil. While the water heats, prepare a bowl filled with ice water. Using a sharp knife, score a small 'X' on the bottom of each peach. Submerge the peaches in the boiling water for 30 to 60 seconds, just until the skins start to loosen. Quickly transfer them to the ice water to stop the cooking process. The skins should now peel off easily. Alternatively, you can use a paring knife to peel the peaches directly, though this method requires more precision and effort. Peeling is essential for achieving a smooth texture in the final product.
4. Slice the Peaches
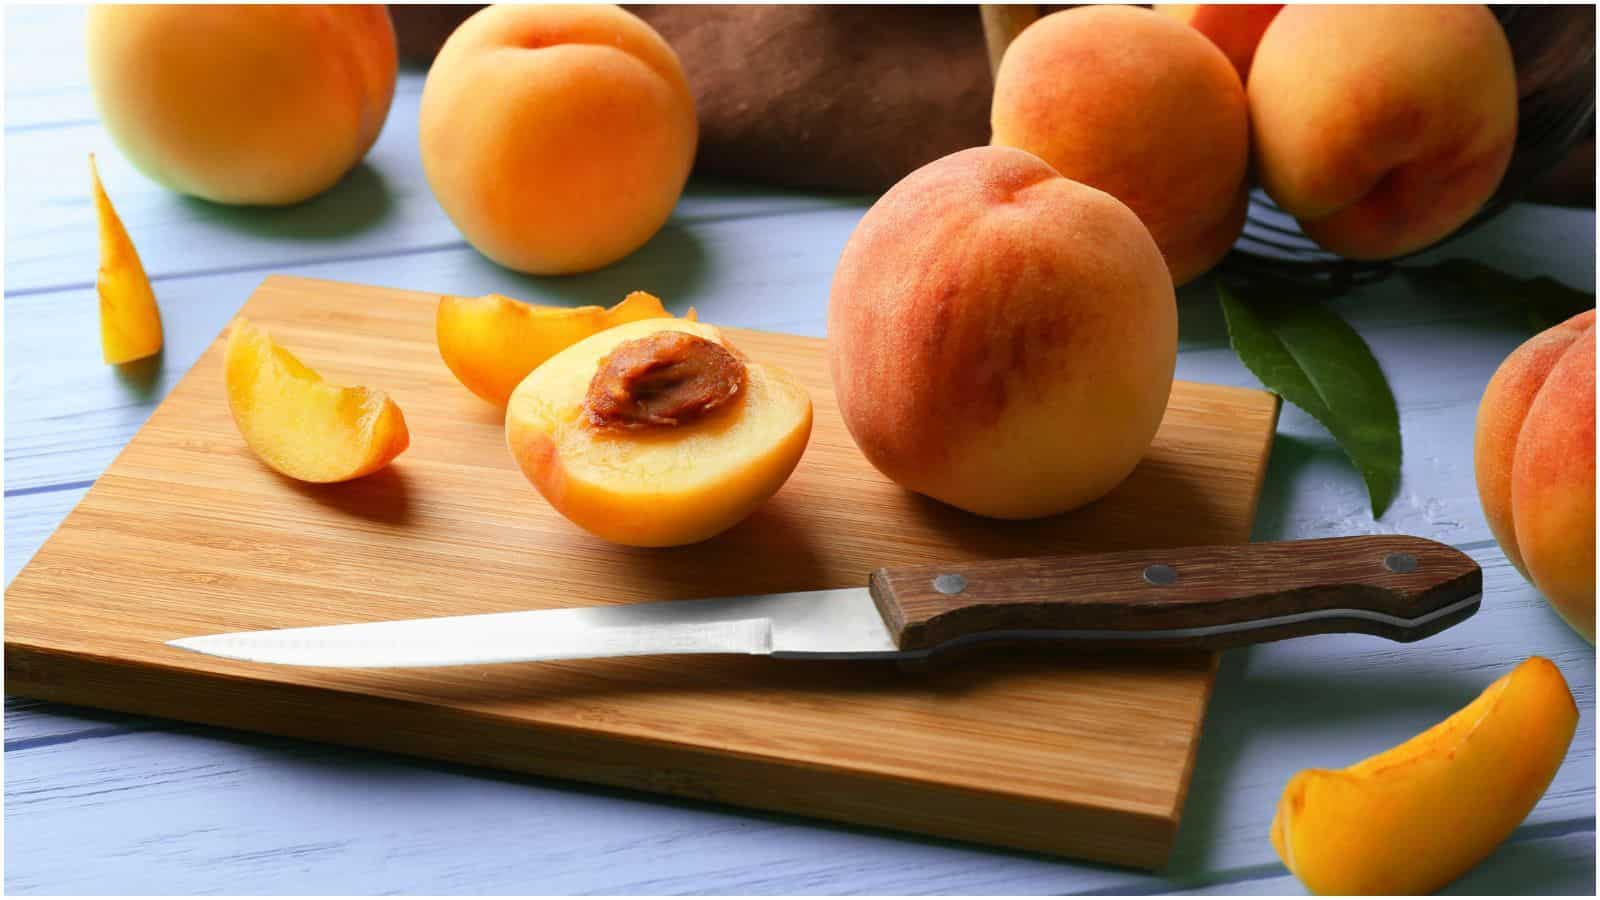
After peeling, cut the peaches in half to remove the pits. Use a sharp knife to make a clean cut along the natural indentation of the peach. Gently twist the two halves in opposite directions to separate them, and then use the knife or your fingers to carefully remove the pit from the center. Once the pits are removed, proceed to slice the peach halves into wedges or chunks, depending on your preference and intended use. It is advisable to aim for uniform slices as this promotes even freezing and thawing. Smaller pieces are more convenient for later use in recipes like smoothies, pies, or desserts. Cutting the peaches evenly also helps in achieving consistent texture and flavor in your dishes.
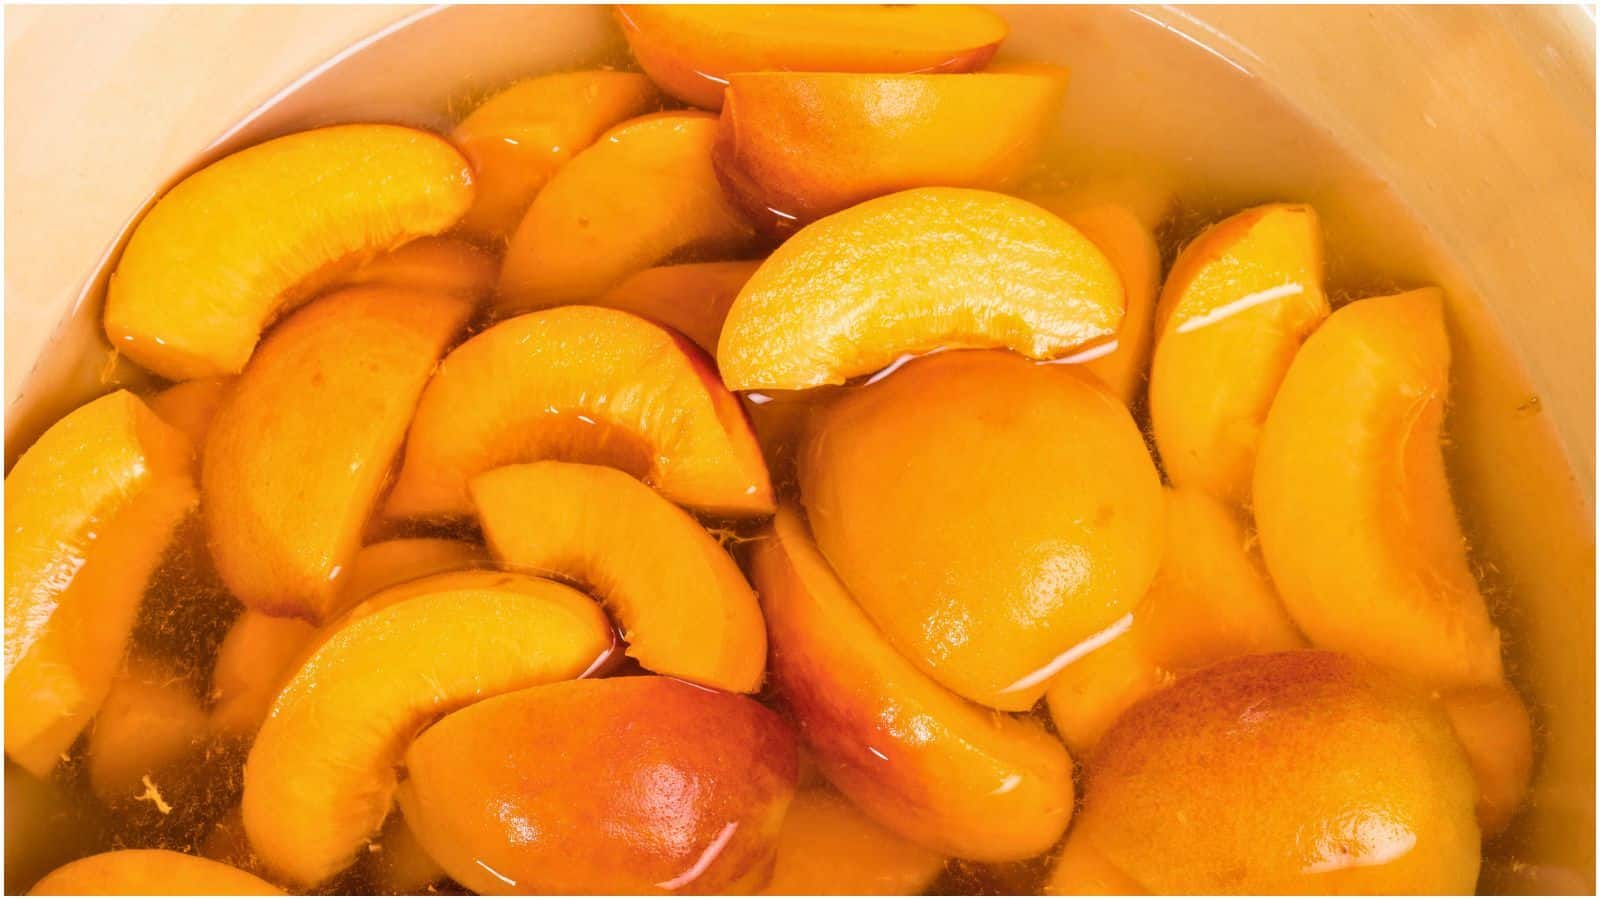
5. Prevent Browning

To keep the peaches from browning, toss the slices in a mixture of water and lemon juice. You can also use a commercial fruit preserver like Fruit-Fresh. Mix about one tablespoon of lemon juice per cup of water and make sure all the slices are coated evenly. This acid solution helps maintain the peaches' color and flavor during freezing. Preventing browning is crucial as it preserves the appearance and taste of the peaches. This step guarantees that the peaches remain vibrant and flavorful when you use them in future recipes.
6. Flash Freeze the Slices
Arrange the peach slices in a single layer on a baking sheet lined with parchment paper. Make sure the slices do not touch each other to prevent clumping. Place the baking sheet in the freezer for about 2 to 3 hours, or until the peaches are solid. Flash freezing helps keep the slices separate, which makes it easier to store and use them later. This method also preserves the texture and shape of the peach slices, making them look fresh and appetizing when thawed. Flash freezing is a key step in maintaining the quality of your frozen peaches.
7. Pack and Store the Peaches

Once the peach slices are frozen solid, transfer them to airtight freezer bags or containers. Remove as much air as possible from the bags before sealing to prevent freezer burn. Label each bag with the date and contents to keep track of storage time. Store the bags flat in the freezer to save space and allow for even freezing. Properly stored, frozen peaches can last up to a year without significant loss of quality. This step is important for organizing your freezer and maximizing the shelf life of the peaches.
8. Thawing and Using Frozen Peaches

When ready to use the frozen peaches, take out the desired amount and thaw them in the refrigerator or at room temperature. For smoothies, you can use them directly from the freezer. If you’re baking or cooking, thawing them slightly will make it easier to incorporate into recipes. Thawed peaches might be softer than fresh ones, but they will still retain their flavor and nutritional value. This step makes sure that you can enjoy your frozen peaches in a variety of dishes, delivering versatility and convenience in your cooking.
Peachy Keen All Year Round

Freezing peaches is a simple yet effective way to keep enjoying their sweet, juicy flavor throughout the year. By following a few straightforward steps, you can preserve the peak ripeness and quality of summer peaches for months. Not only does this method save you money, but it also guarantees that you have a constant supply of fresh-tasting peaches ready for any recipe or snack.
Whether you're blending them into a smoothie, baking them into a pie, or just enjoying them as a frozen treat, having peaches on hand makes meal prep easier and more delicious. The versatility of frozen peaches means you can bring a taste of summer into your kitchen no matter the season.
Plus, by freezing them yourself, you know exactly what goes into your food, without any added preservatives. So, next time you find yourself with an abundance of ripe peaches, don't let them go to waste. Take a little time to freeze them, and you’ll thank yourself later!


Tell Me What You Think!