A flourless chocolate torte built for hosting nights when flour is off the table and chocolate carries the whole conversation.
The first time I hosted a Galentine's night, I spent days thinking about everything except dessert. I built playlists for the living room, lined the table with candles that felt festive without trying too hard, and filled bowls with olives, nuts, and whatever snack could survive curious hands. The kids treated the evening like a personal mission to sample every plate before guests arrived.
Somewhere between wiping chocolate fingerprints off the counter and answering a message about parking, one friend texted to say she was gluten-free now.
I stood in the kitchen, phone in one hand, butter softening on the counter, and felt that brief pause every host knows. It wasn't panic, more like recalculation. Flour had already been ruled out in our house more than once. Over the years, I had learned how to build structure from eggs, chocolate, and patience.
Passover desserts taught me early that flour is not always the backbone. Those chocolate hazelnut bars I make each spring rely on ground nuts and restraint, not wheat. A gluten free chocolate pie showed me how a filling can hold when the crust steps aside. Even a lighter dark chocolate tart taught me that cocoa and butter know how to carry themselves if you let them.
A flourless chocolate torte felt like the quiet answer. Six eggs. A generous amount of butter. Chocolate doing most of the talking. It's about sequence and temperature. Yolks and sugar worked until pale and thick enough to leave ribbons. Whites whipped in a clean bowl, building air slowly so they can hold the batter without collapsing. Chocolate melted and then given time, because rushing here leaves you with scrambled eggs instead of silk.
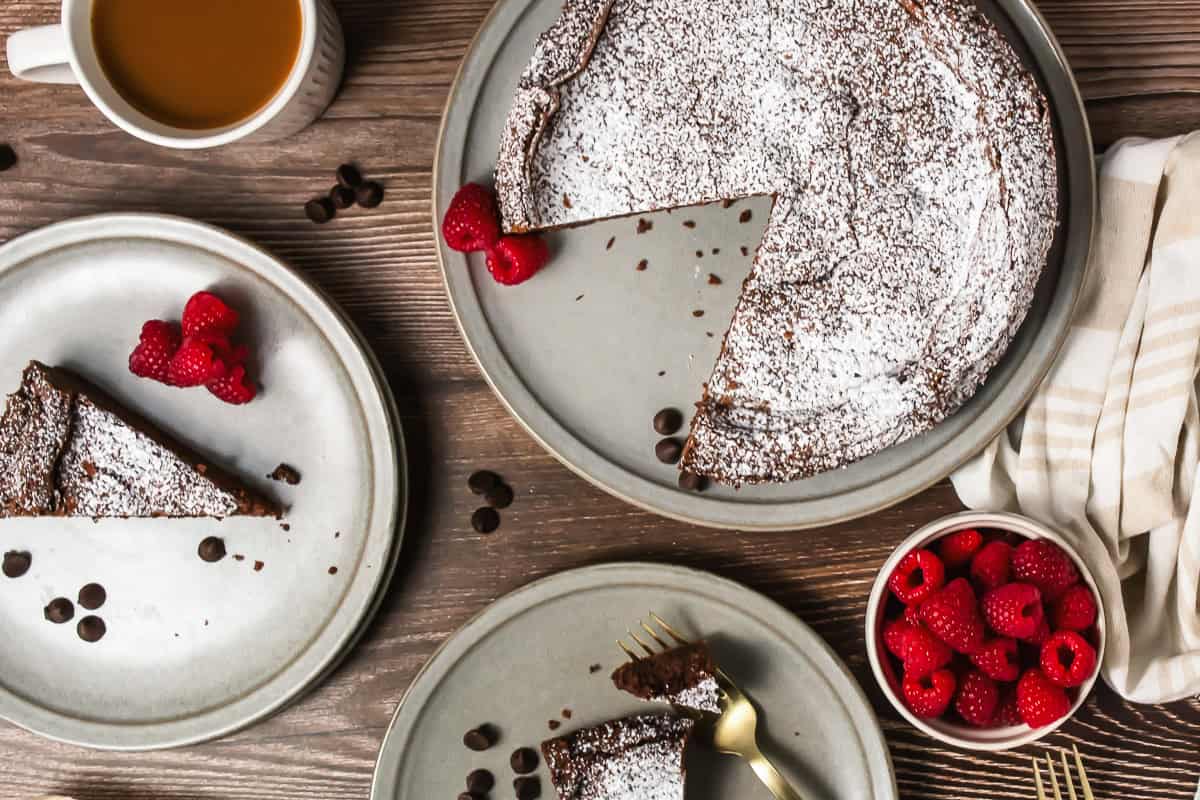
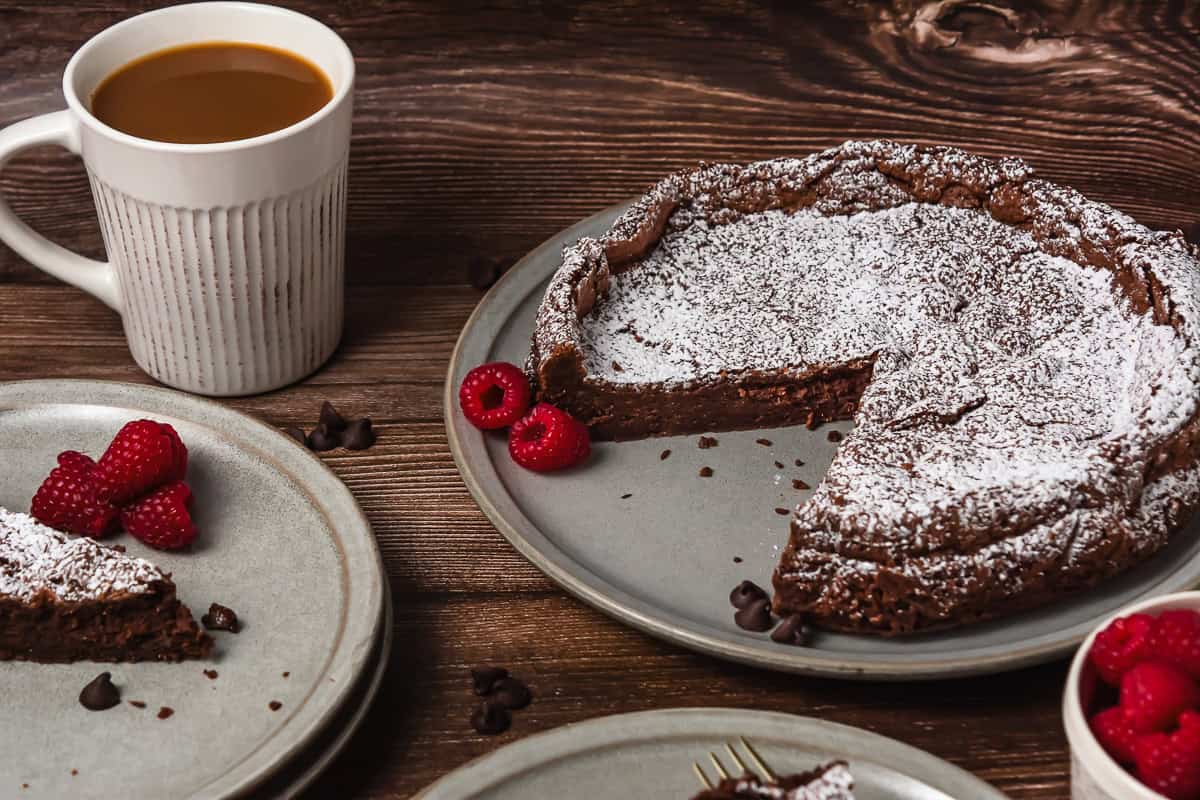
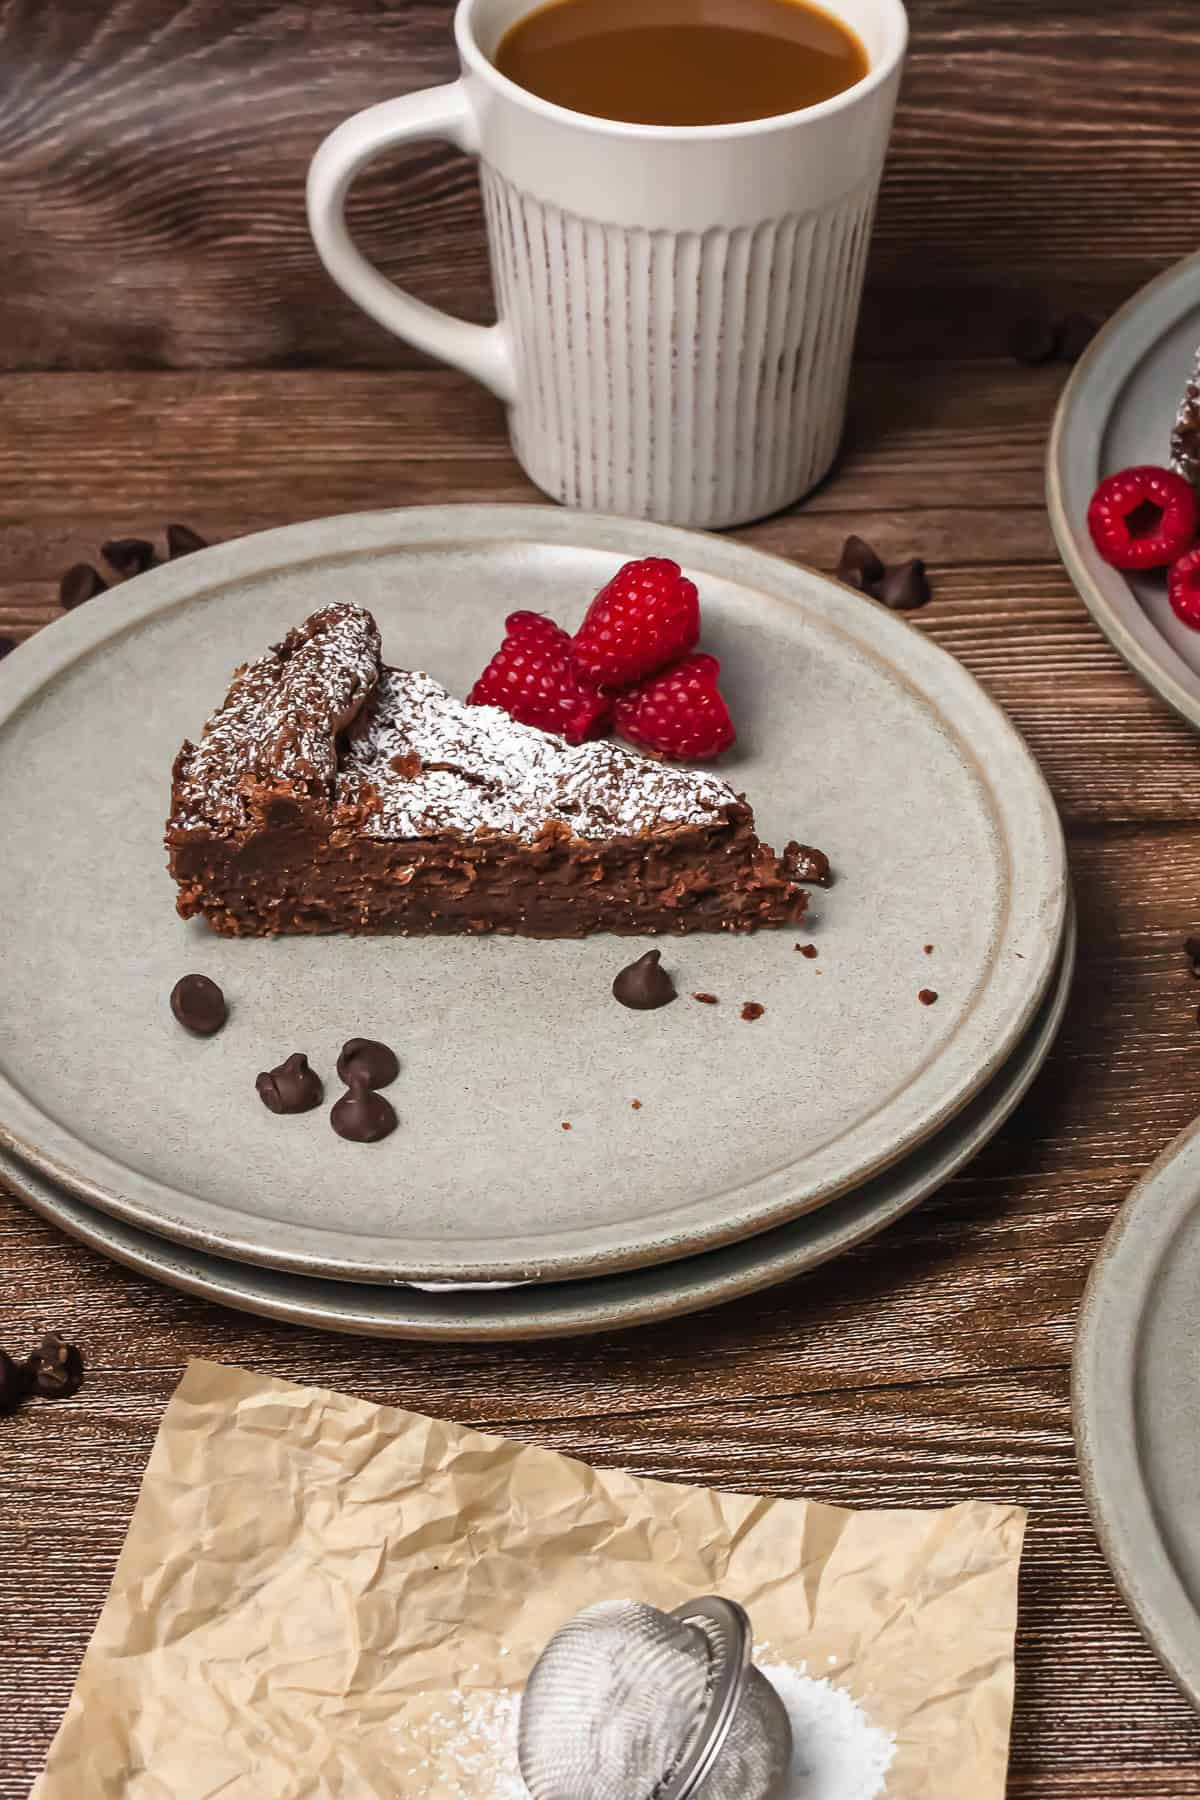
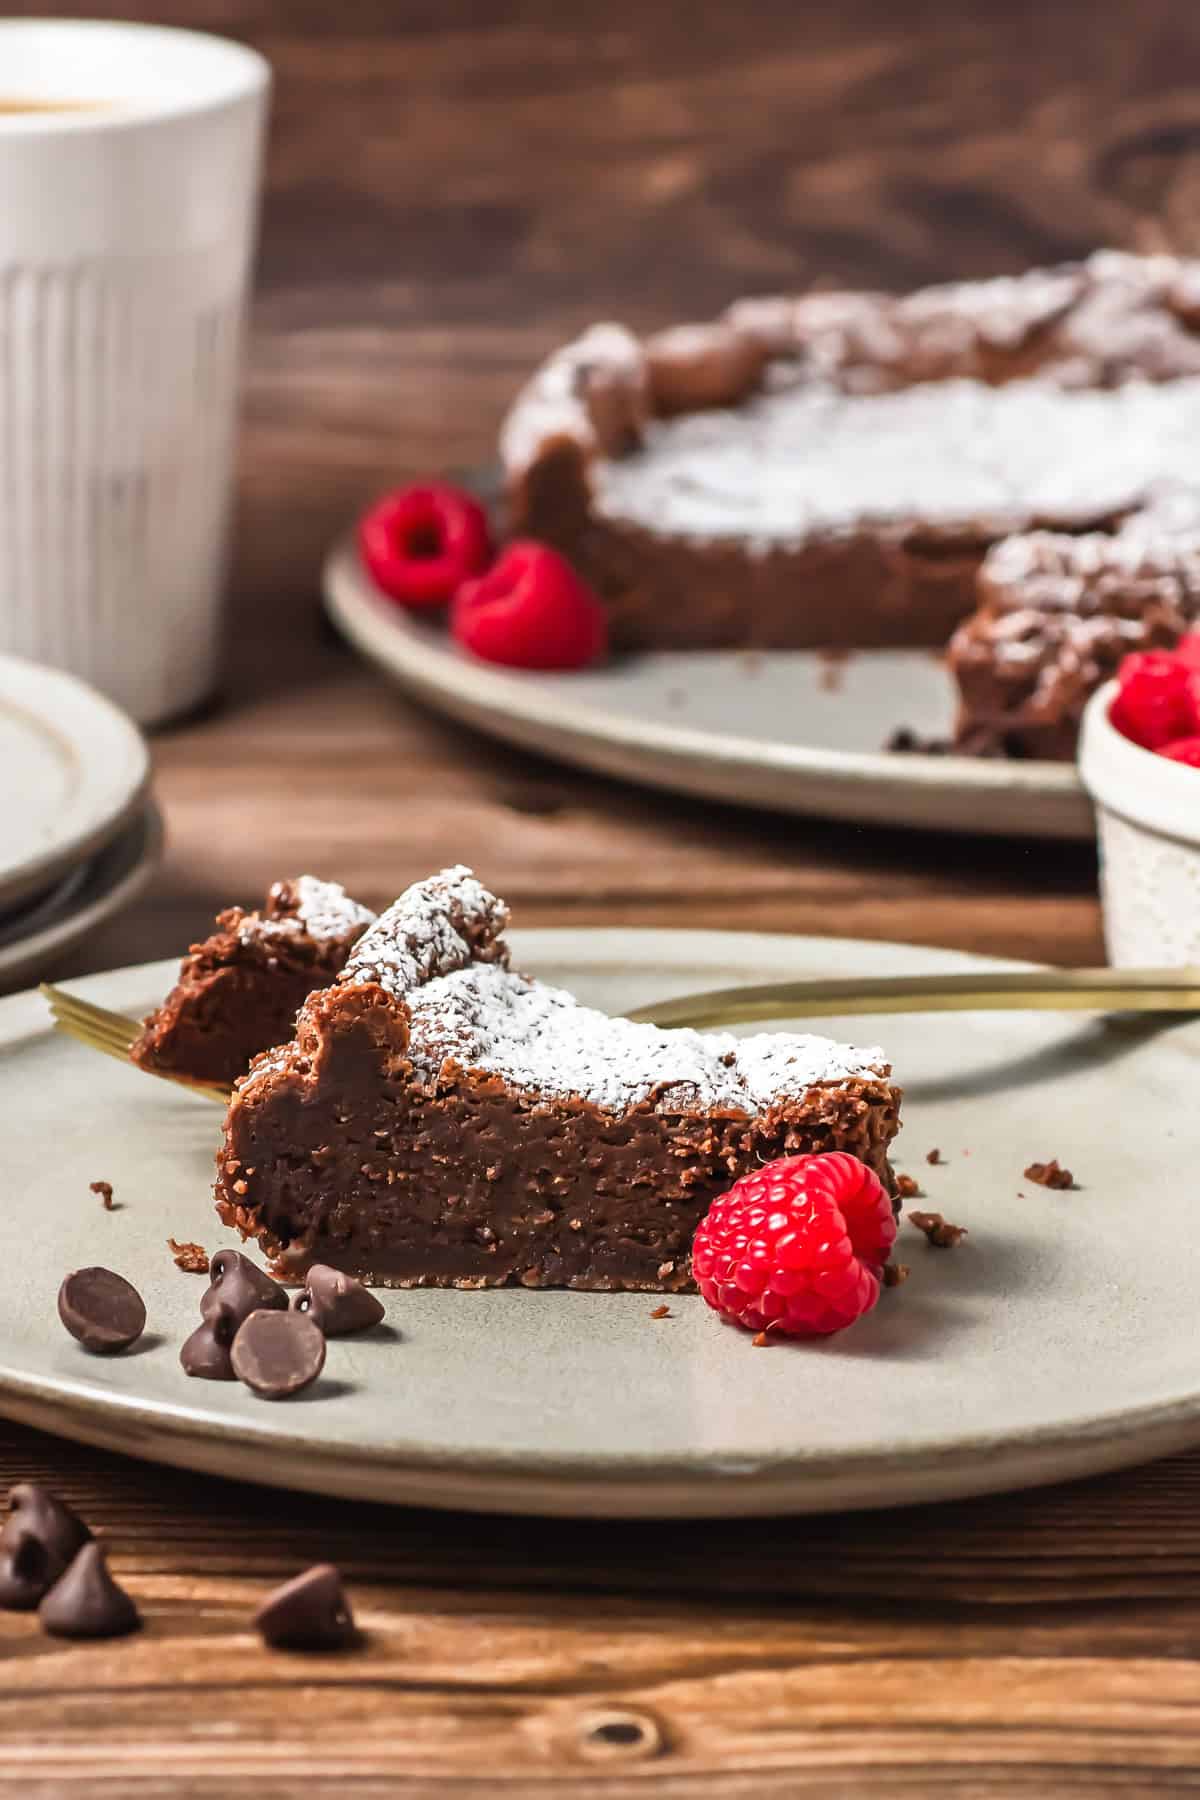
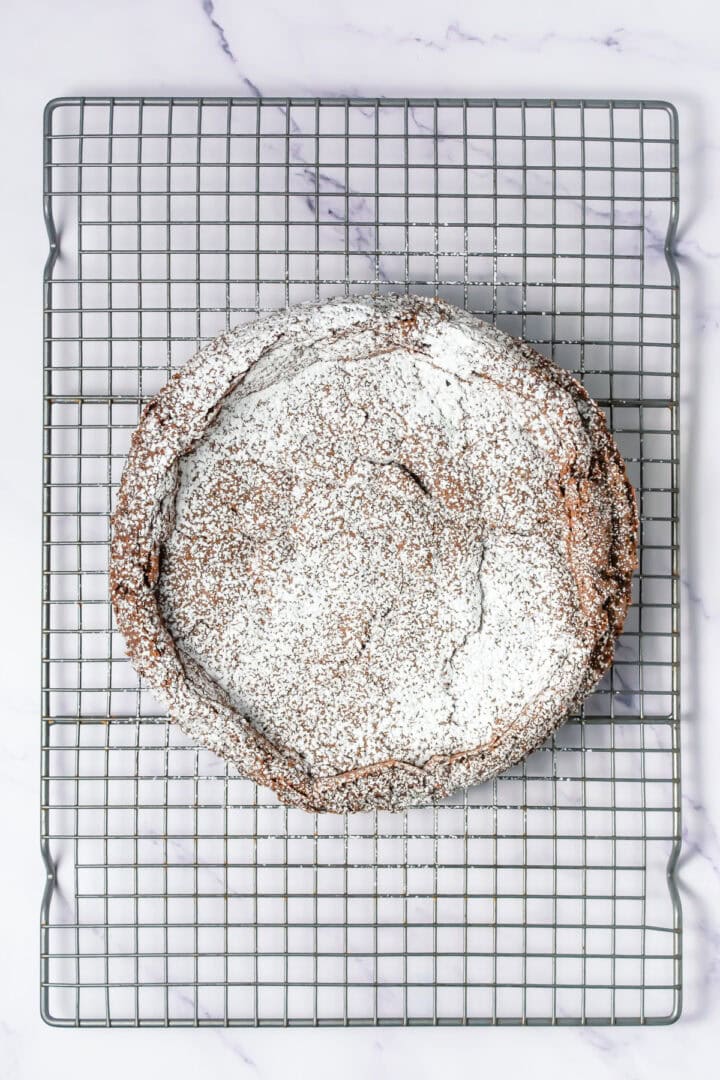
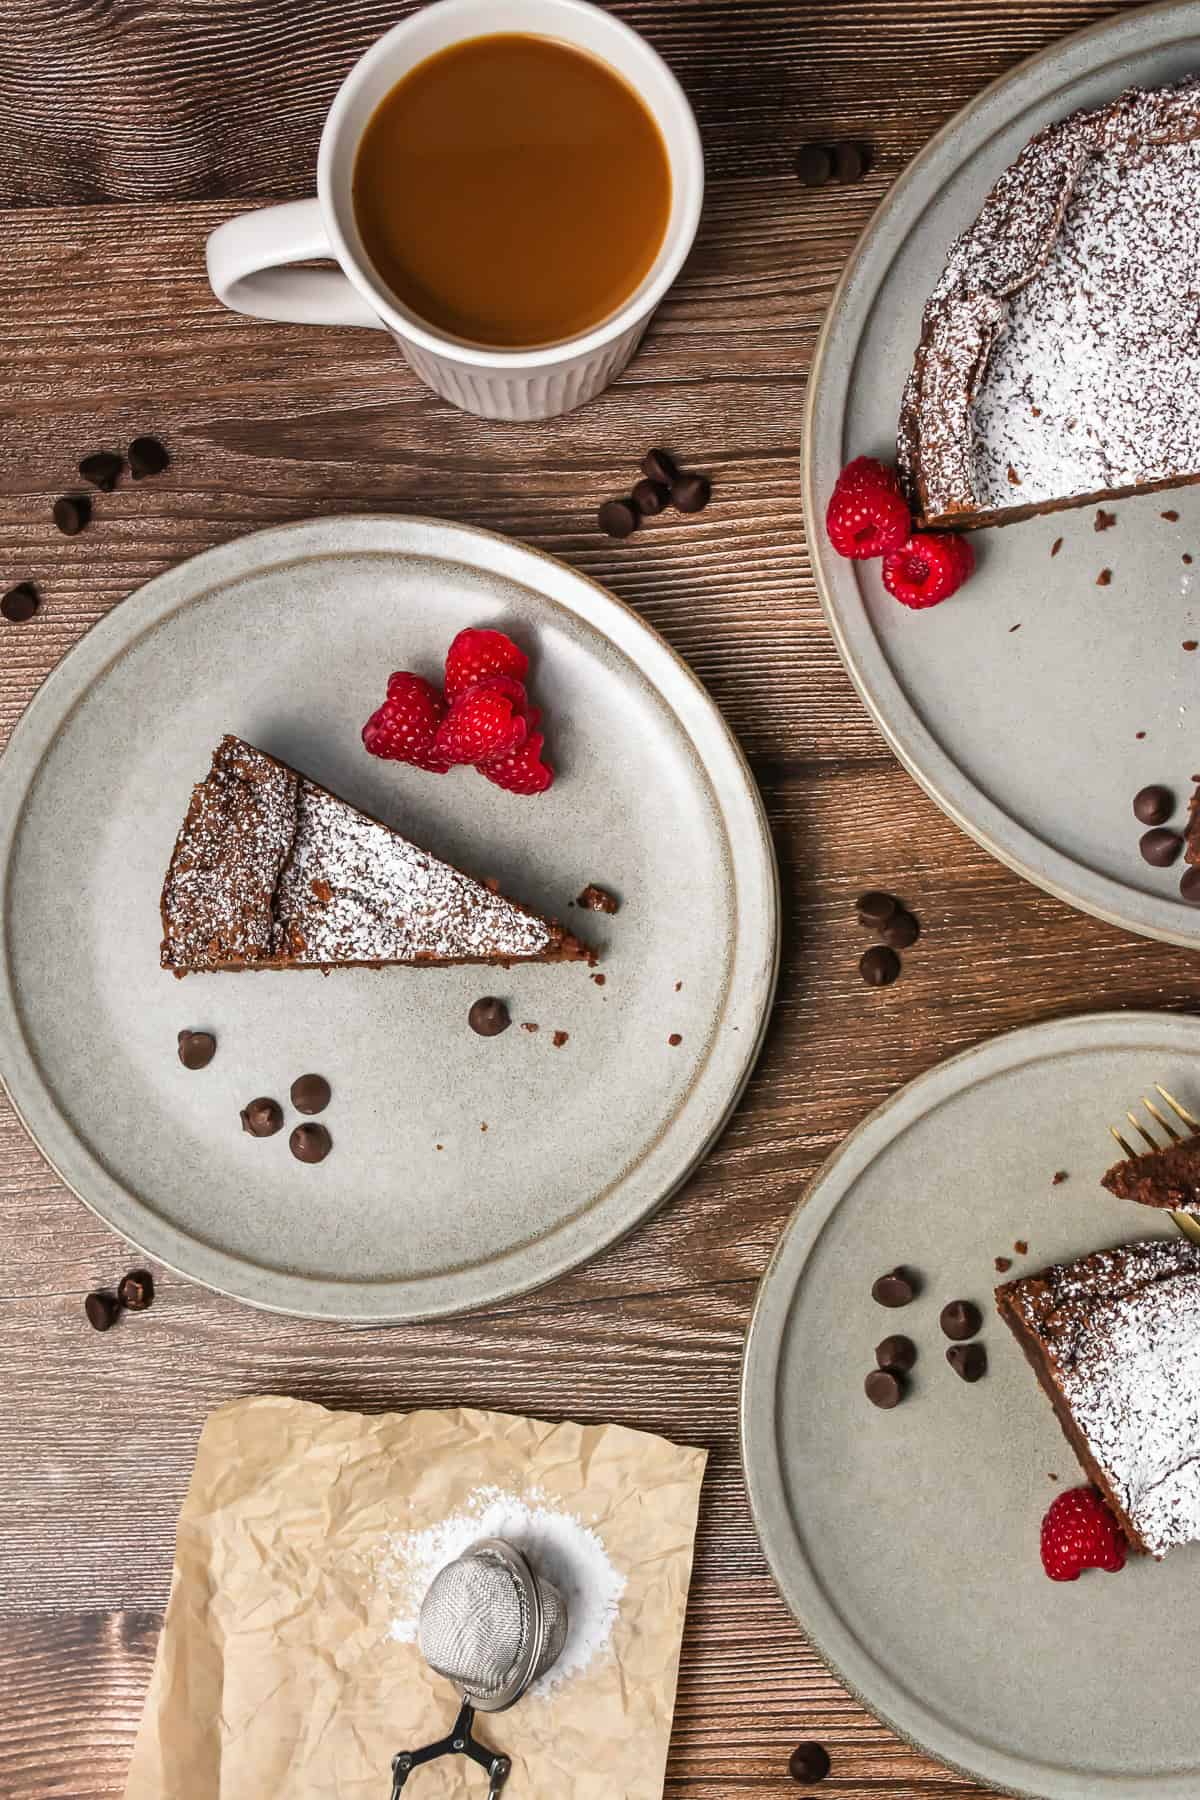
As it bakes, the torte rises confidently, cracks across the top, and then sinks back as it cools. I dusted it with powdered sugar, tucked berries around the edges, and set it down without comment. Nobody asked questions until the second slice. That is still my favorite kind of hosting.
Now this torte is my standing Valentine's dessert for friends. It looks dramatic without extra work, slices neatly, and happens to work for the gluten free crowd. It also fits neatly into a life where dishes wait until morning and the kitchen has already seen enough.
Ingredients
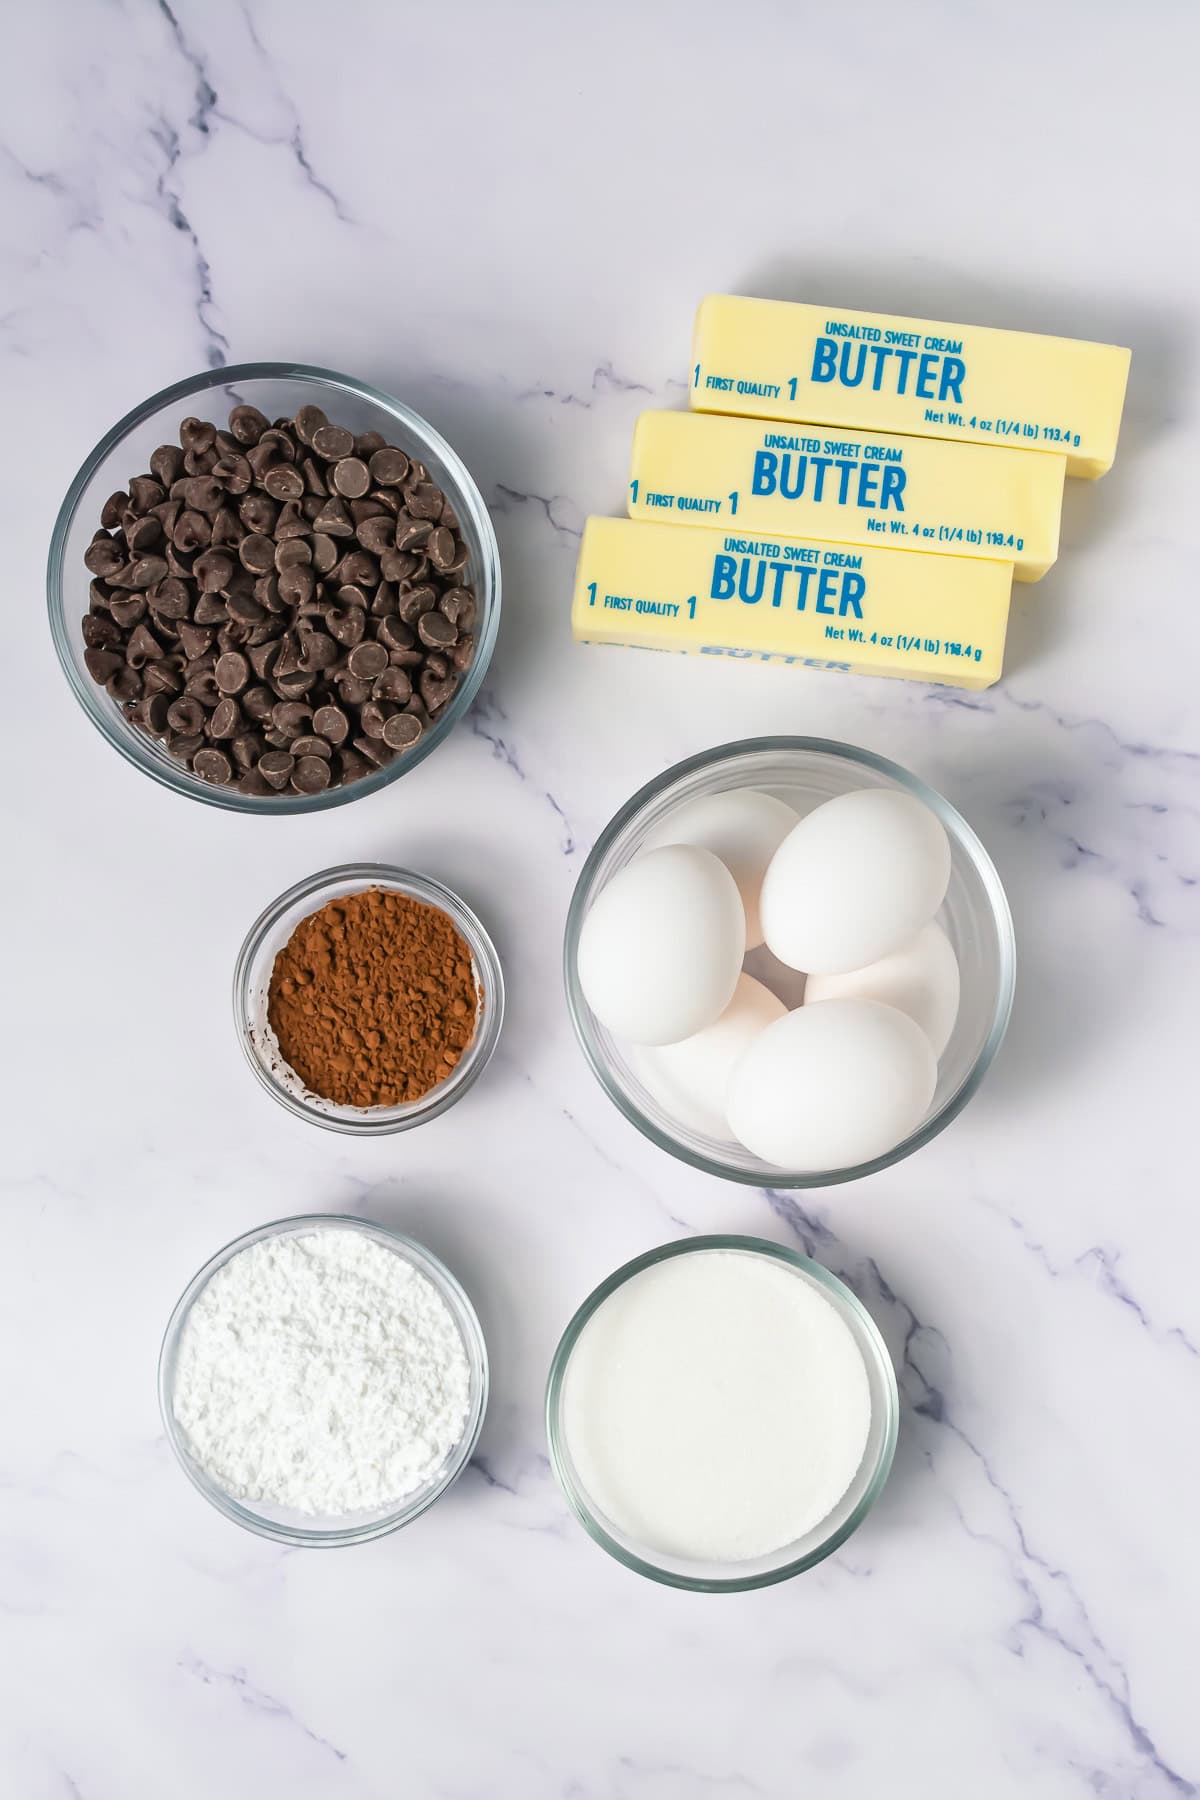
- Semi-sweet chocolate - Chocolate is the backbone of this torte. It carries the structure and flavor once flour steps out of the way. I use semi-sweet because it stays balanced after baking and does not turn flat when mixed with eggs and butter. Very dark chocolate can make the center feel heavy, while milk chocolate tends to soften the structure. If needed, a mix of semi-sweet and bittersweet works, but I avoid anything labeled extra dark for this one.
- Unsalted butter - Butter gives the torte its smooth interior and that thin, crackled top. Non-dairy butter substitutes soften too much and blur the edges. If you must swap, a high-fat plant butter designed for baking works better than margarine, though the texture will be looser.
- Cocoa powder - Cocoa powder deepens the chocolate profile without adding weight. It tightens the crumb slightly and helps the center set while staying dense. I use natural cocoa powder rather than Dutch-processed, which can dull the chocolate note in a recipe without leavening. If all you have is Dutch-processed, it'll still work, but the flavor lands softer.
See the recipe card for full list and exact quantities.
How to Make this Flourless Chocolate Torte Dessert
To make this fudgy recipe, focus on how the ingredients move and change as you work. Melted chocolate chips should turn smooth and glossy, egg whites should build lift, and the batter should feel light as it's folded together. The result is a chocolate dessert that sets into a rich center with a crackled top, finished simply with berries for contrast. Here's how to make this recipe:
Prepare the Pan and Oven
- Start by heating the oven to 325°F and lining a 9-inch springform pan with foil or parchment paper. The lining should sit flush against the base and sides, with no loose folds. Any gaps can let butter seep out as the torte bakes. A light spray helps with release later, especially along the rim, where the crust likes to cling once it cools.
Melt the Chocolate and Butter
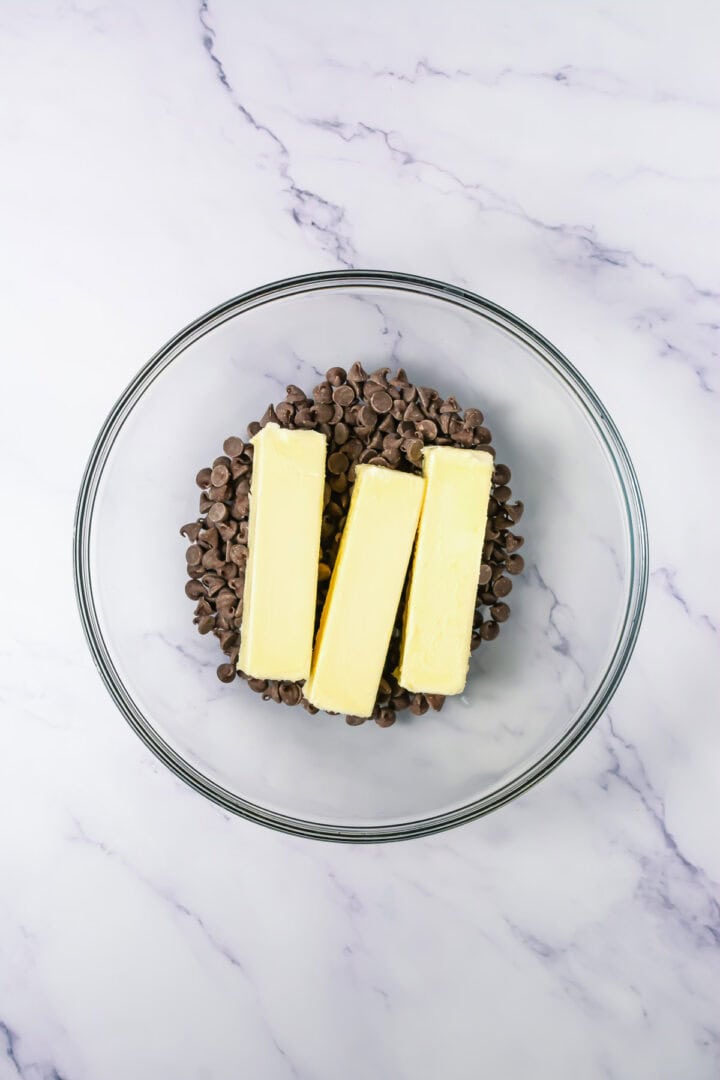
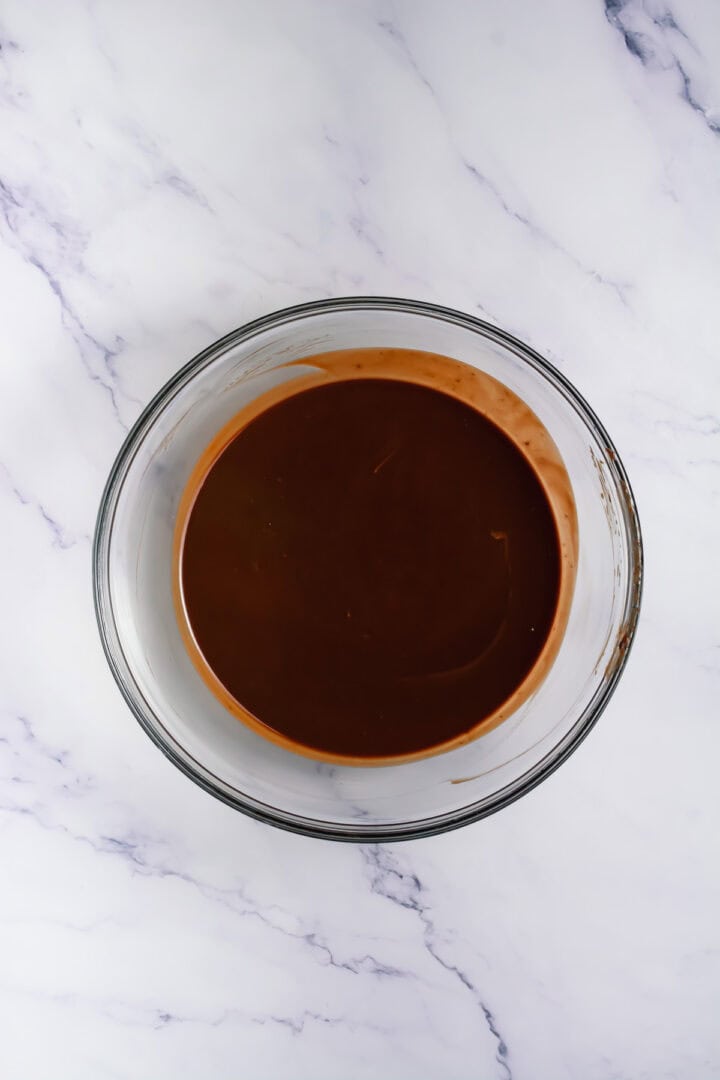
- At first, the mixture will look grainy and stubborn. Keep stirring. Set it aside and let it cool until it feels neutral to the touch. If it is still hot, it will seize the eggs later and leave visible curds.
Separate the Eggs Carefully
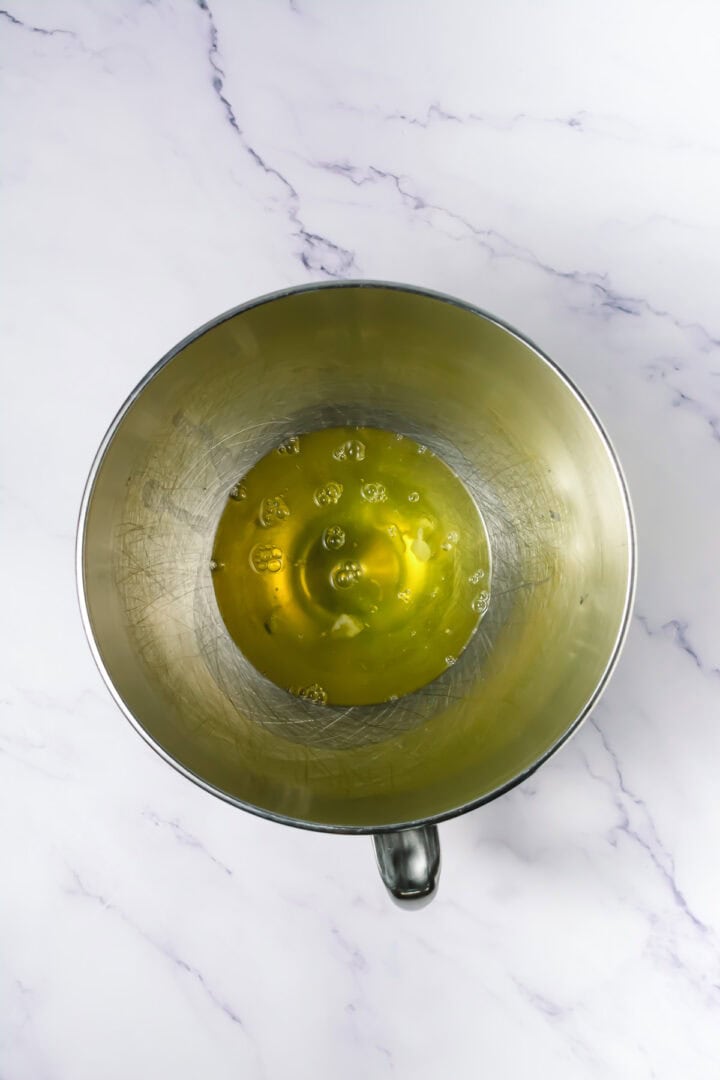
- Even a trace of yolk in the whites can prevent them from whipping properly. The whites should look clear and loose, the yolks intact and deep yellow.
Whip the Egg Whites
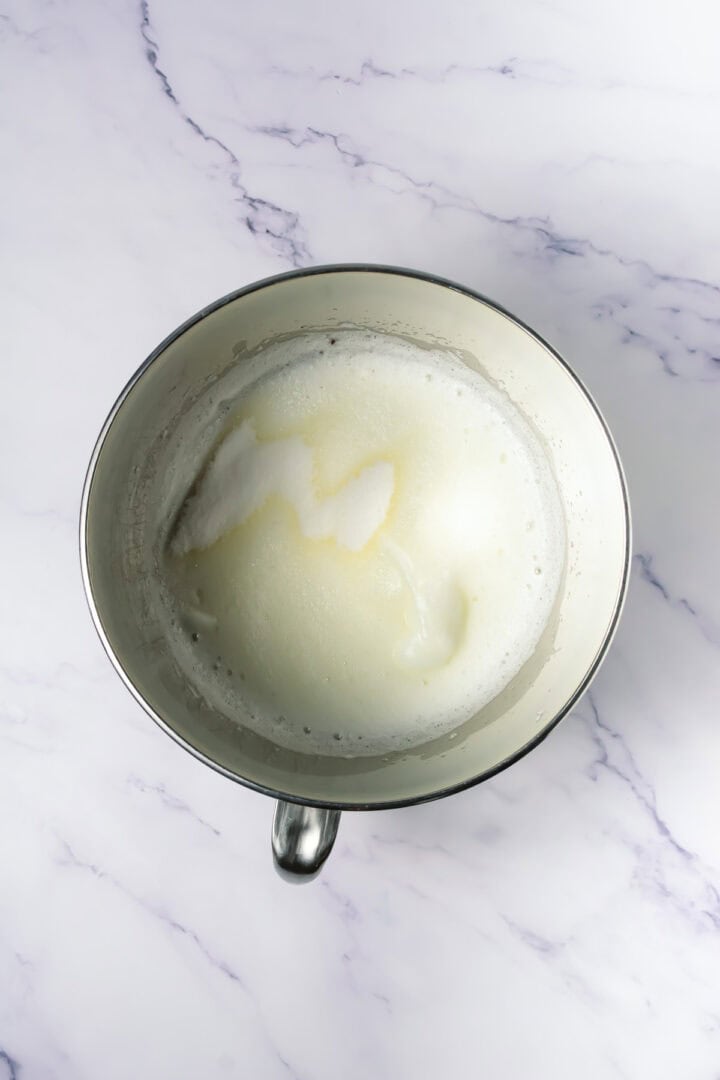
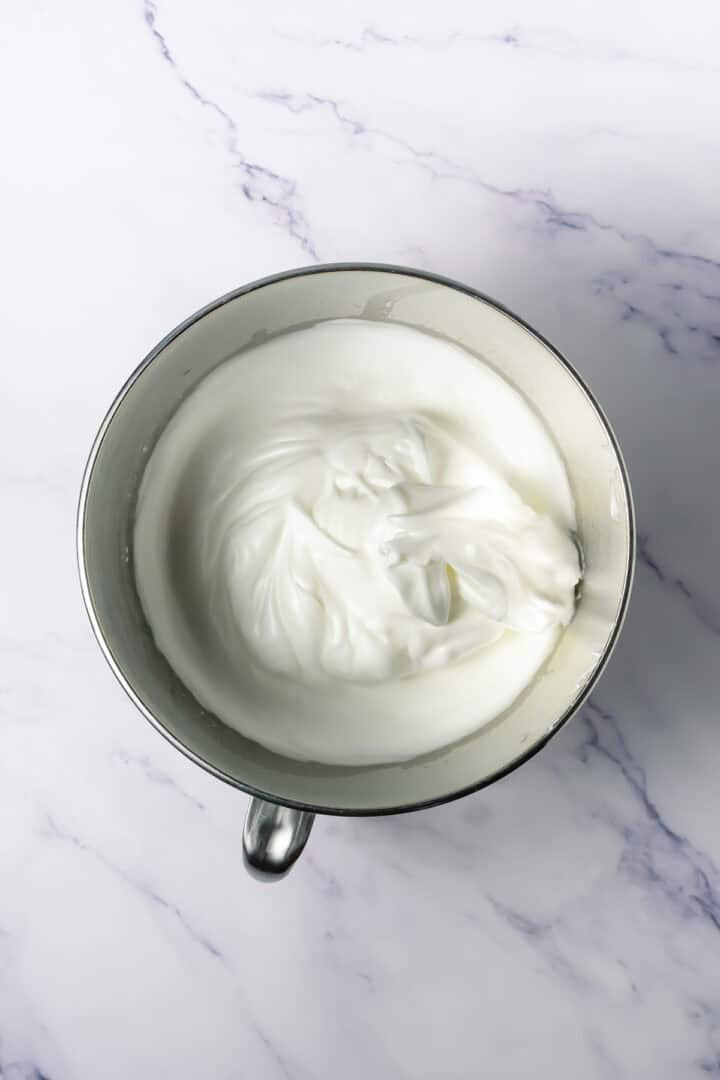
- The whites should hold their shape without looking dry or clumpy. If they look grainy, they have gone too far and will be harder to fold in smoothly.
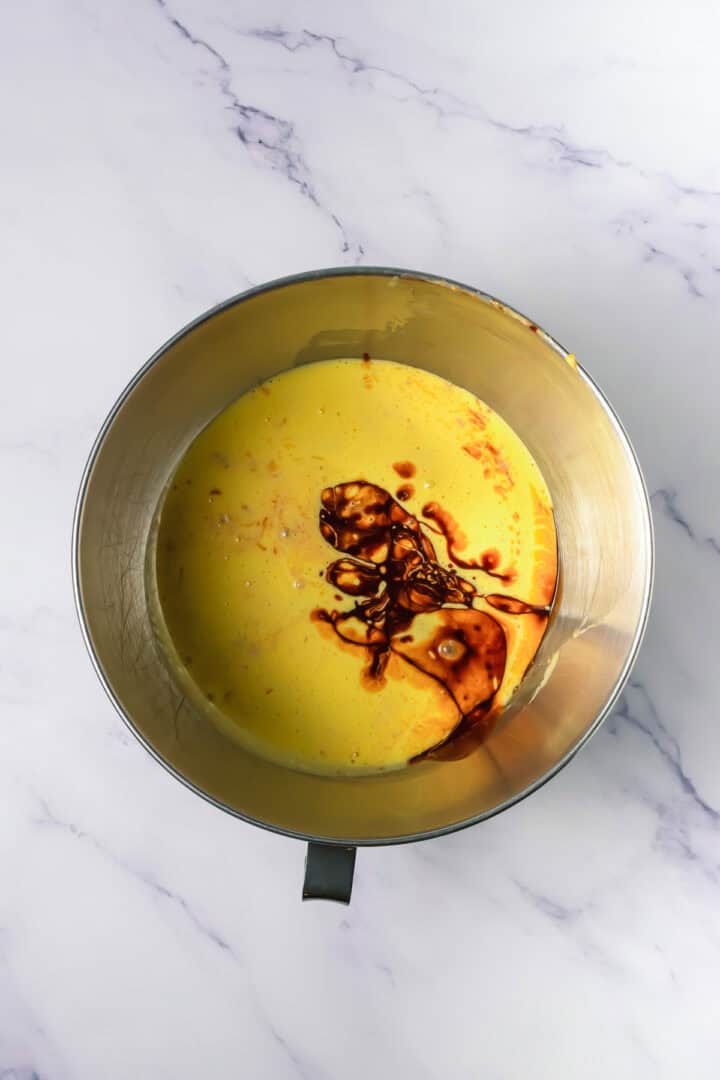
Mix the Egg Yolks and Sugar
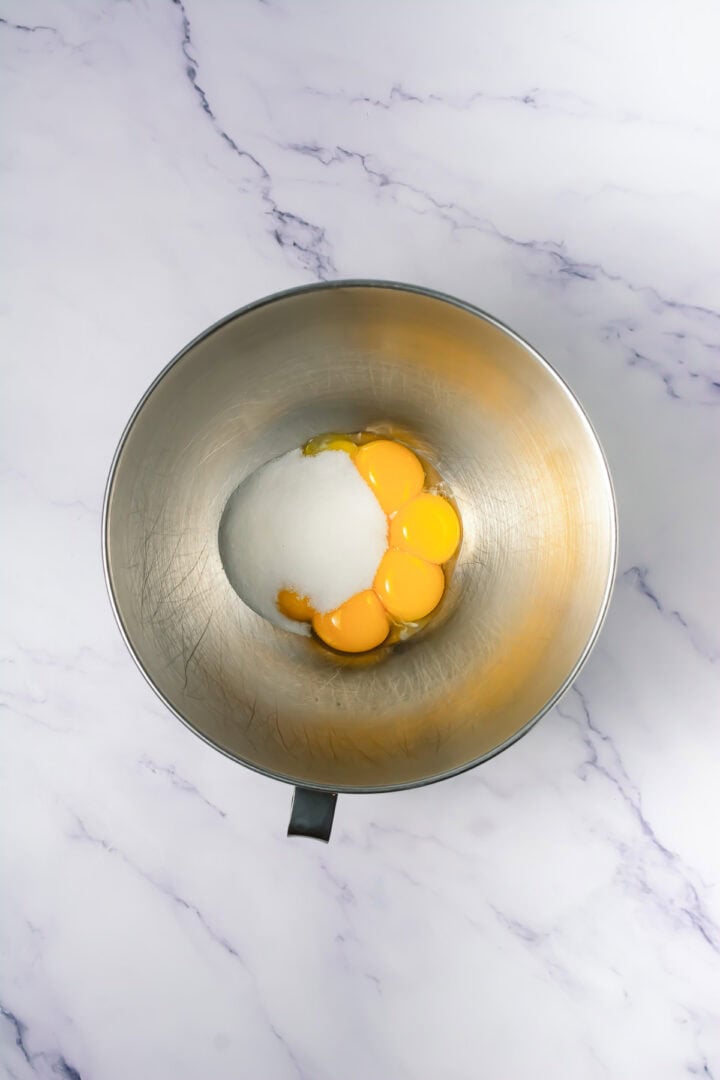
- You are looking for a texture that falls back into the bowl in slow ribbons. If it stays thin and bright yellow, it needs more mixing.
Combine Chocolate and Yolks
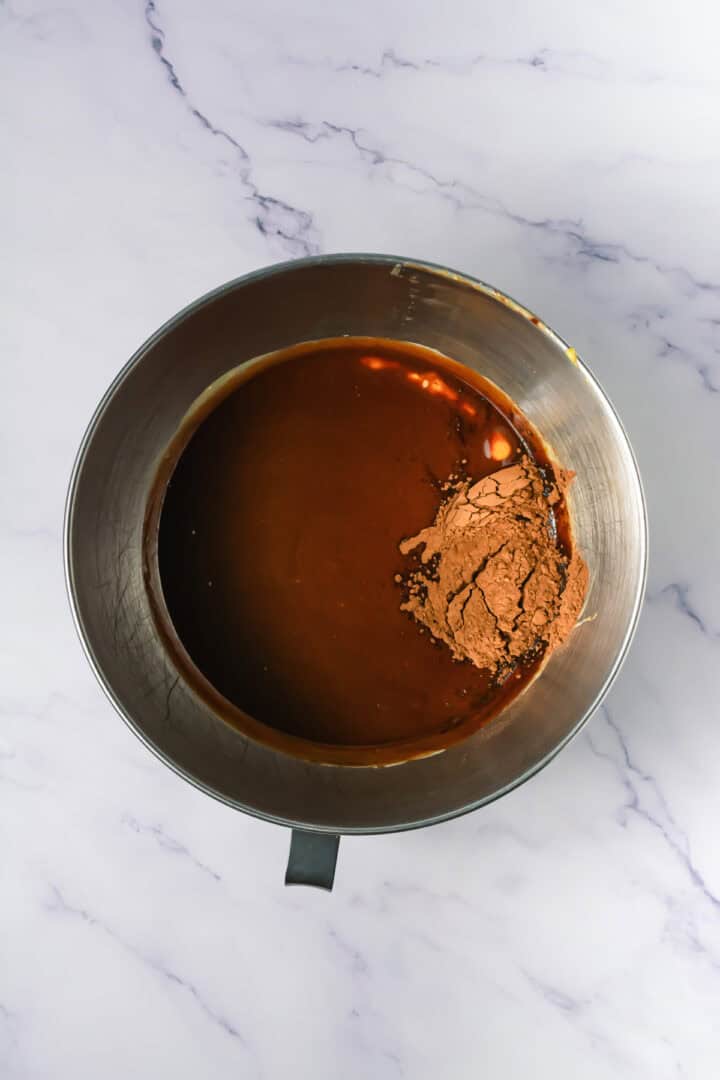
- The batter should turn smooth and uniform, thick but pourable. Any streaks at this stage will stay visible later.
Fold in the Egg Whites
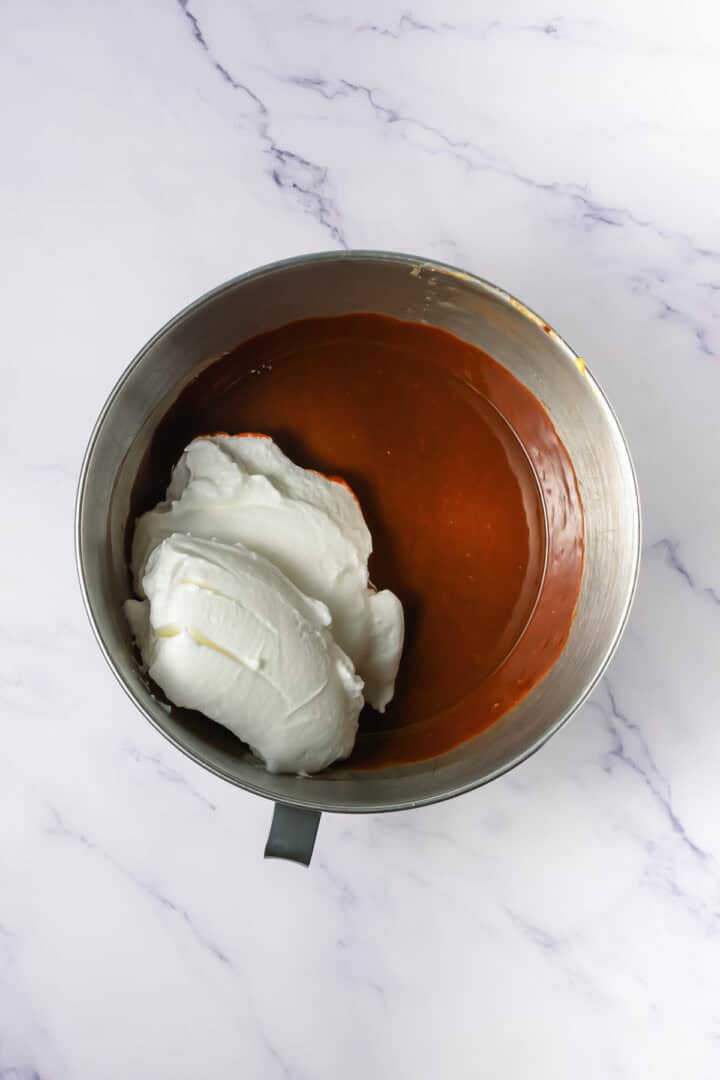
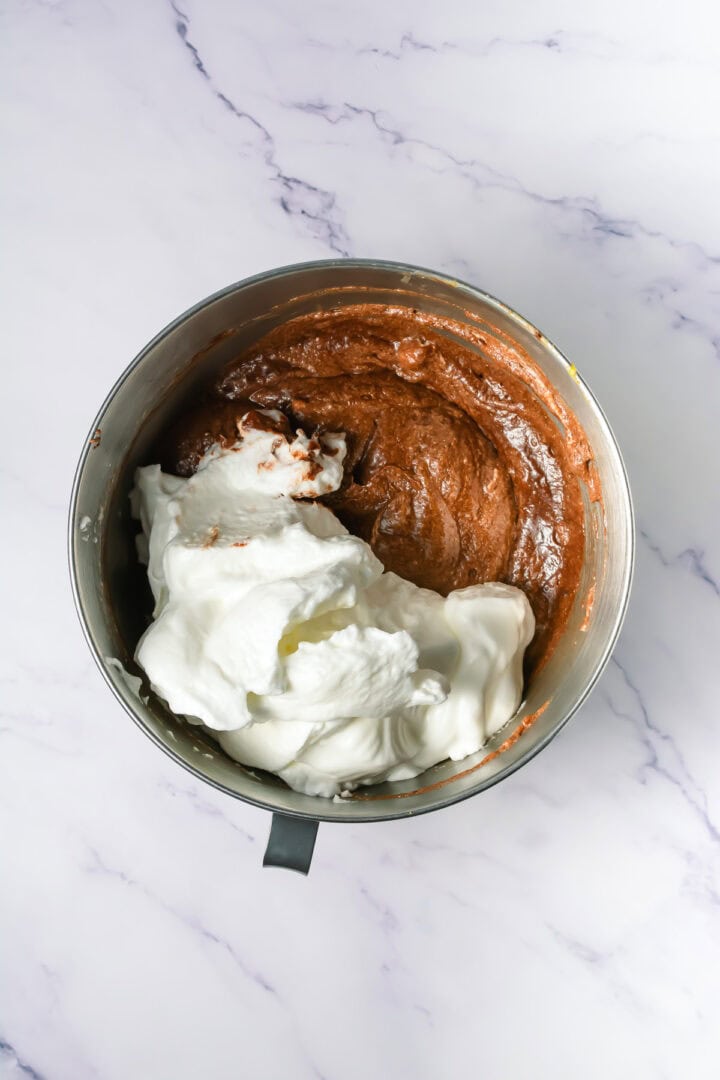
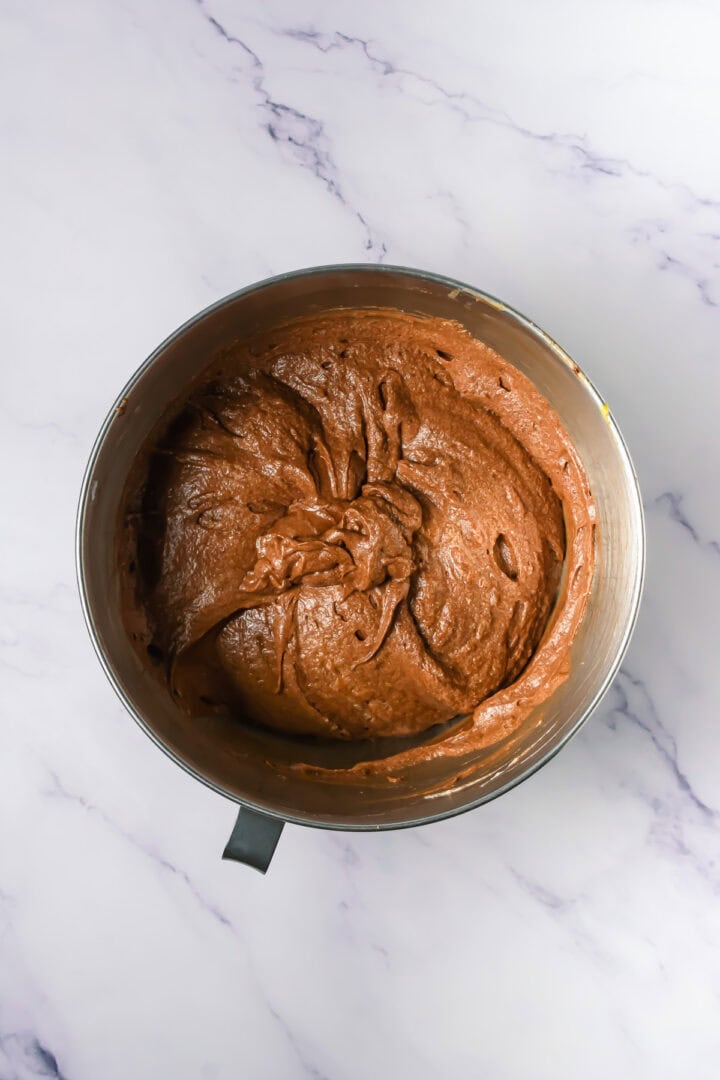
- Stop as soon as the batter looks even. Overmixing knocks out the air that gives the torte its lift.
Fill the Pan
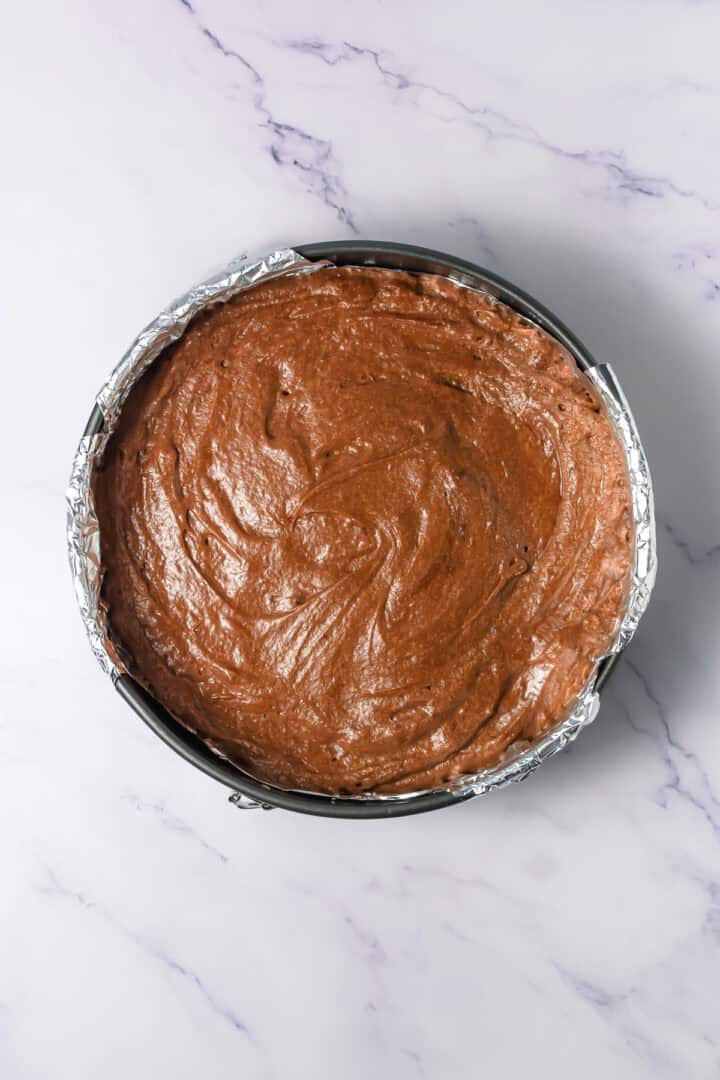
- The surface should look glossy and level, not bubbly. Tap the pan once on the counter to release any large air pockets.
Bake the Torte
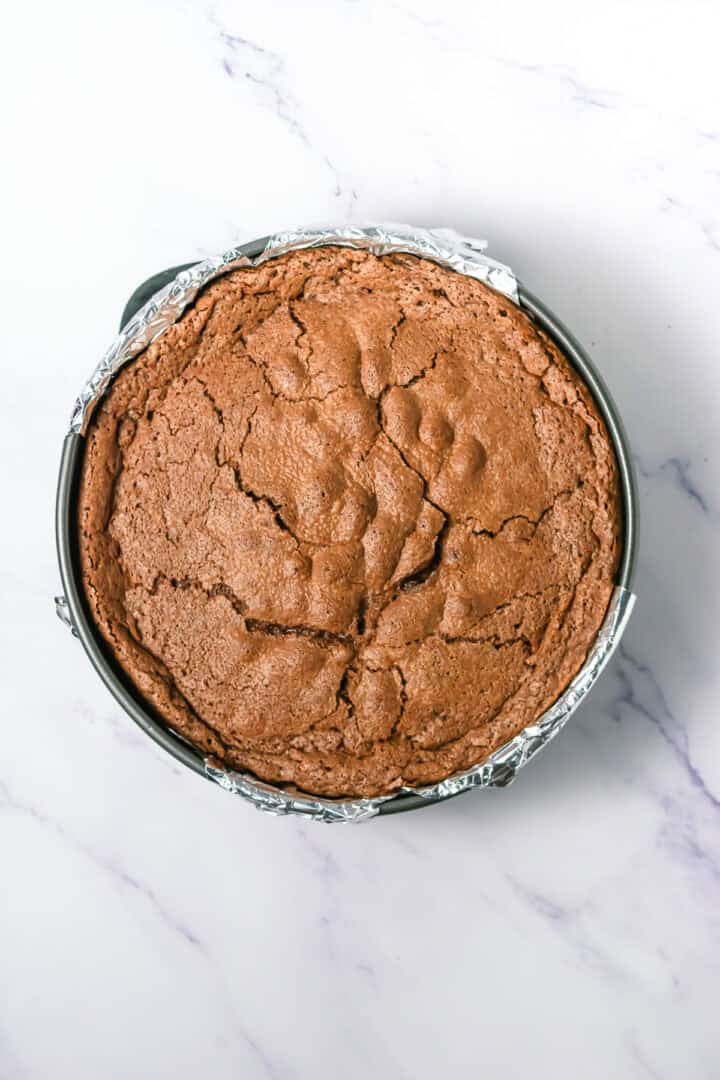
- The center should look set but still soft beneath the surface. Overbaking leads to a dry interior, while pulling it too early leaves it loose and fragile.
Cool the Torte
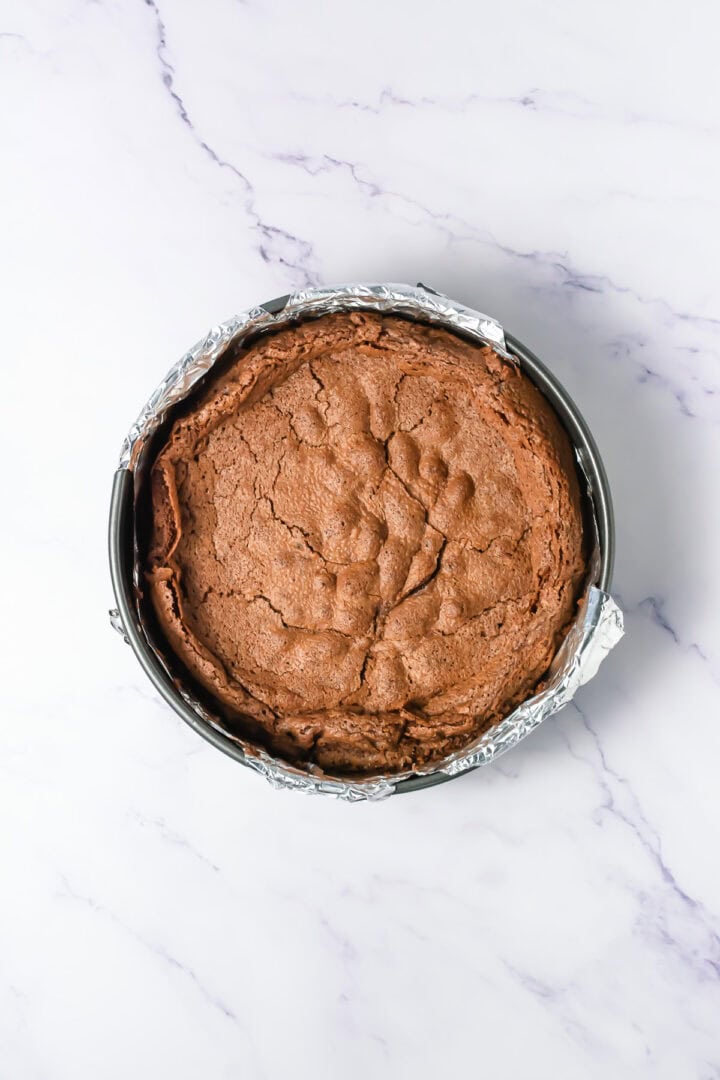
- As it cools, it will sink and tighten, forming its final shape. This is expected. Once completely cool, release the pan carefully.
Dust, Cut, and Serve
- Cut into clean slices with a sharp knife, wiping the blade between cuts, and serve with fresh berries alongside or scattered around the plate.
Storage
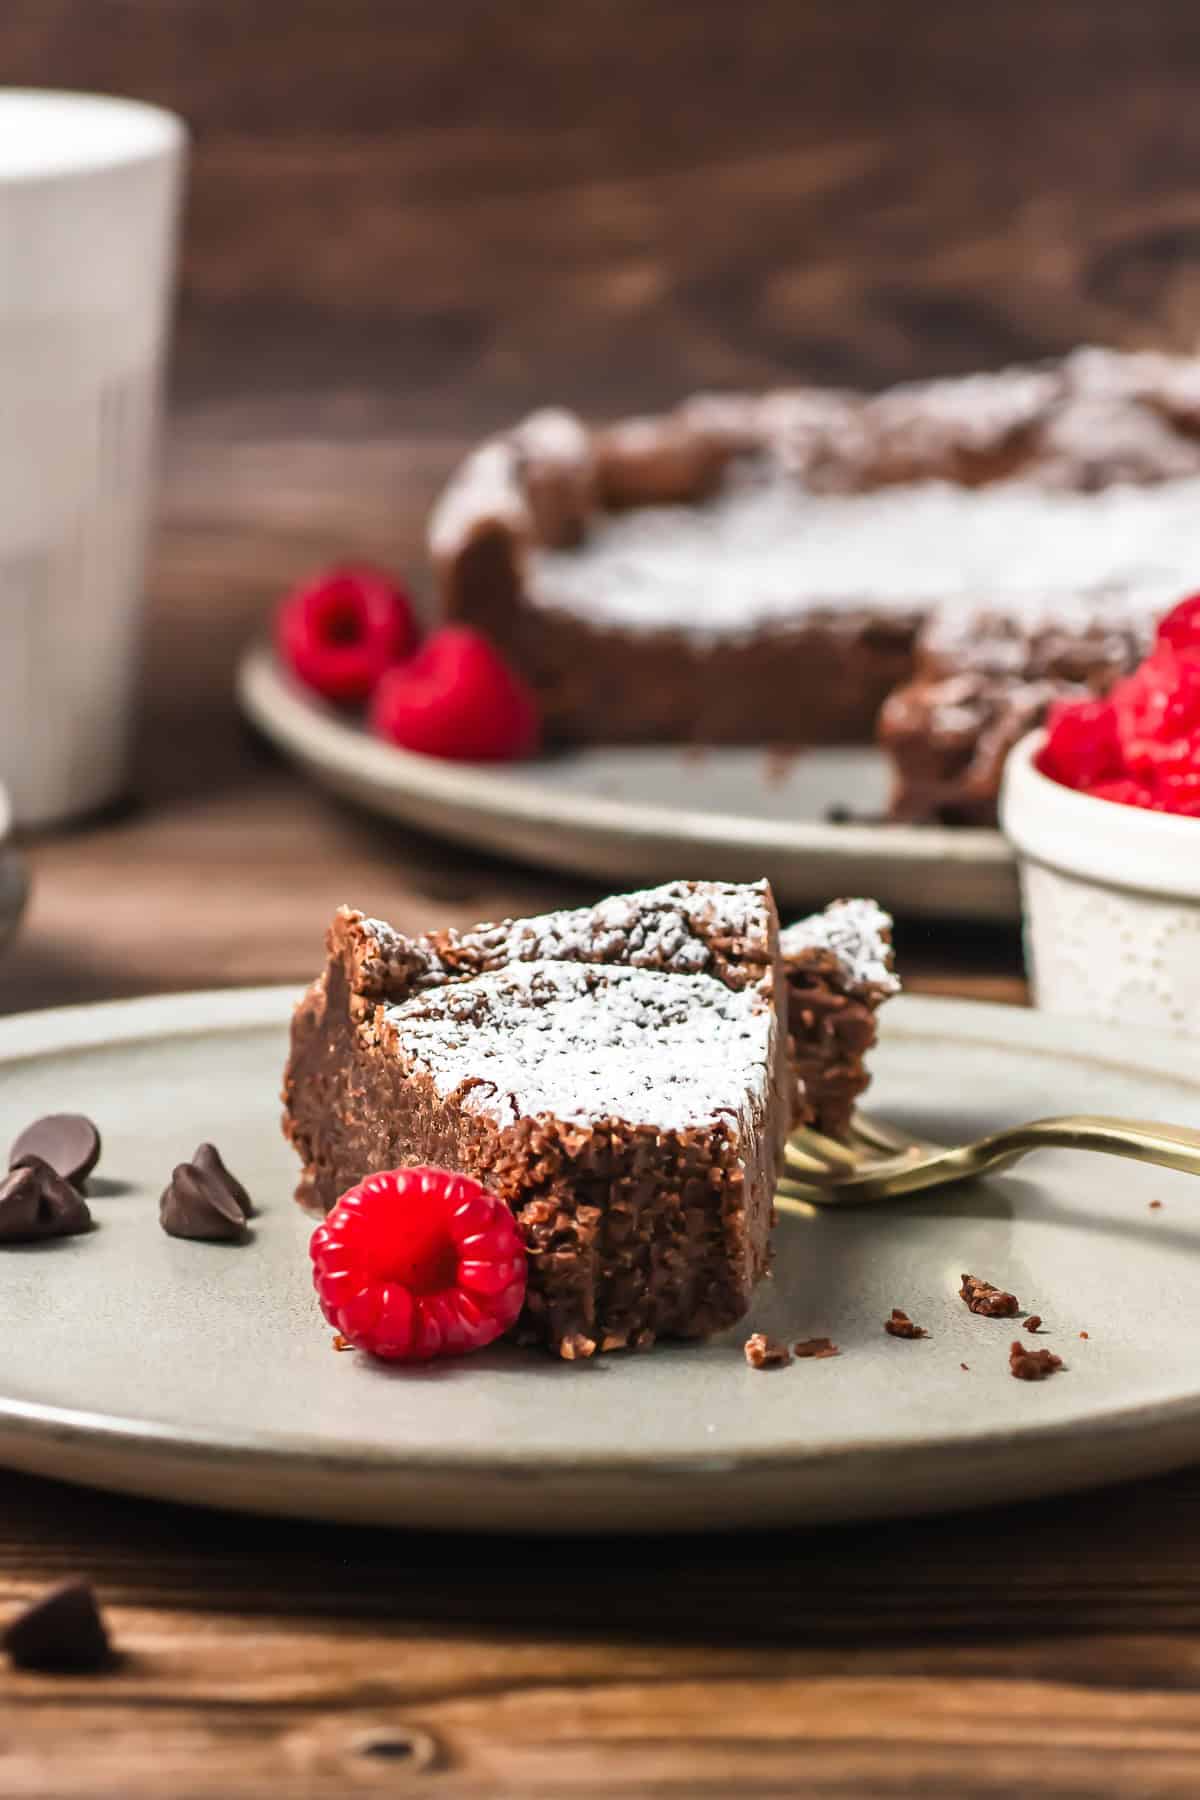
Once completely cooled, store the flourless chocolate torte in an airtight container in the refrigerator for up to 3 days. Chilling firms the torte and makes slicing easier. For serving, let it stand at room temperature for about 20 minutes. Add berries after storage, not before, to avoid excess moisture.
The torte can be frozen for longer storage. Wrap the whole cake or individual slices tightly in plastic wrap, then place in a freezer-safe container. Freeze for up to 1 month. Thaw in the refrigerator overnight, then bring to room temperature before serving.
Top Tips
Cool the decadent chocolate longer than you think you need - chocolate that feels barely warm can still scramble yolks on contact. I wait until the bowl feels completely neutral against my wrist. When rushed, the batter looks grainy instead of smooth, and that texture never fixes itself later.
Stop whipping egg whites slightly earlier than instinct says - egg whites should stand tall but still look supple. If they appear dry or start breaking into clumps, they will fight the fold and leave streaks in the batter. Slightly softer whites fold more evenly and give a cleaner rise.
Judge doneness by the center, not the cracks - cracks appear early and can be misleading. The edges should feel set while the center still yields gently under light pressure. If the center feels firm in the oven, the torte will tighten too much as it cools.
Recipe
Tried and loved this recipe? Please leave a 5-star review below! Your reviews mean a lot to me, so if you've got any questions, please let me know in a comment.

Flourless Chocolate Torte
Equipment
- 9-inch springform pan
- Parchment or foil
- Stand mixer or hand mixer
- Microwave safe bowl
- Measuring Cups & Spoons
Ingredients
- 1 ½ cup semi-sweet chocolate chips
- 1 ½ cup unsalted butter
- 6 eggs
- ¾ cup sugar
- ¼ cup cocoa powder
- ¼ cup powdered sugar plus additional to dust as decoration
- Berries to serve
Instructions
Prep the pan
- Line a 9-inch springform pan with foil or parchment so it sits flat against the bottom and sides. Lightly spray so the torte releases cleanly after cooling.
Melt chocolate and butter
- Microwave in short bursts, stirring each time, until glossy and smooth. Let it cool until it feels neutral to the touch so it won't scramble the eggs.
Separate eggs
- Whites in the mixer bowl, yolks in a separate bowl. Keep whites free from any yolk so they whip properly.
Whip egg whites
- Beat to soft peaks, then slowly add about half the sugar. Continue until the whites look glossy and hold stiff peaks.
Whip yolks and sugar
- Beat remaining sugar into yolks until pale and slightly thick, like it falls back in slow ribbons.
Combine chocolate and yolks
- Mix cooled chocolate-butter into yolks until uniform and silky.
Fold in whites
- Fold in half the whites to lighten, then fold in the rest gently until no white streaks remain.
Bake
- Spread batter evenly. Bake until the top rises and cracks and the center still gives slightly under light touch.
Cool and finish
- Cool fully in the pan (it will sink). Remove ring, dust with powdered sugar, serve with berries.