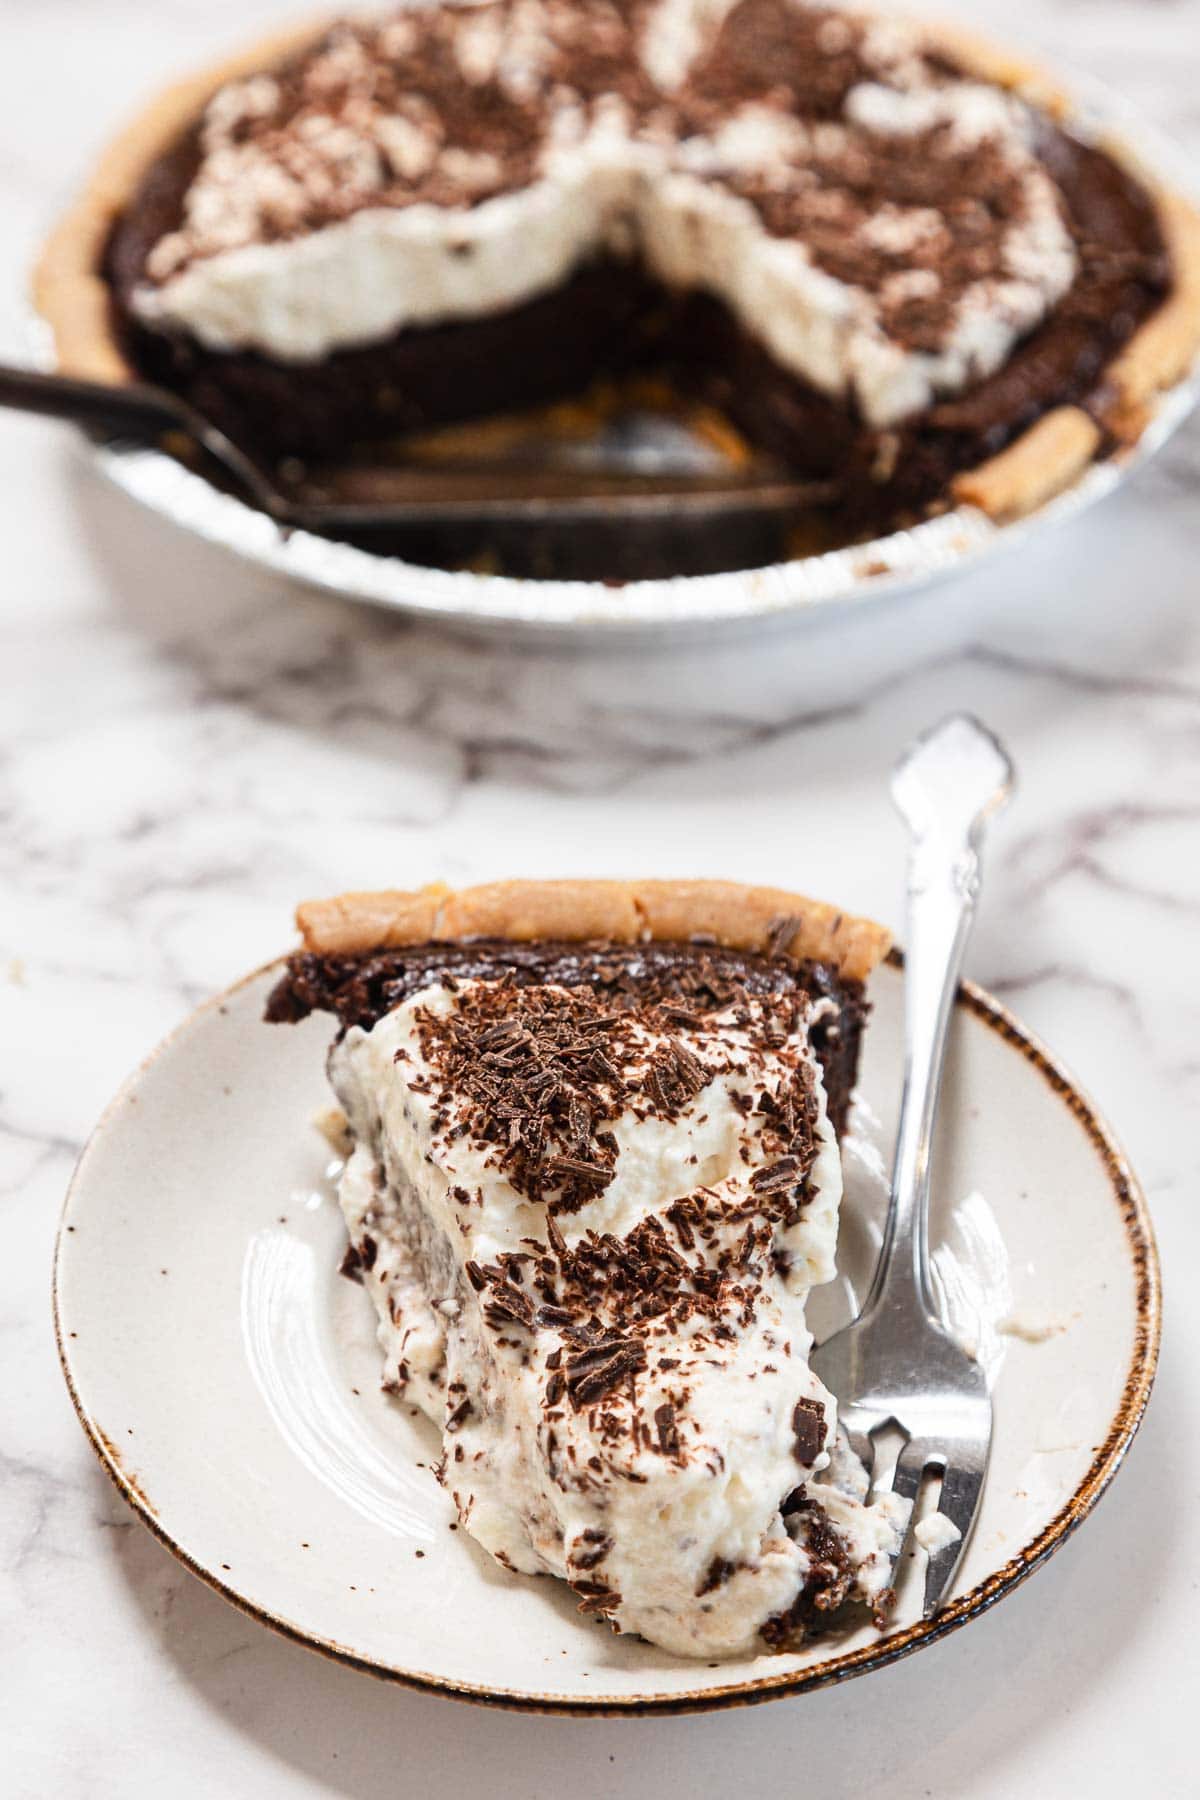
When in doubt? Chocolate. This gluten-free chocolate pie has a creamy chocolate custard filling, and a sweet whipped cream topping. Bittersweet and perfectly balanced!

Jump to:
I make desserts all the time. Cakes for birthdays, cookies with the kids, fruit bars packed for school snacks. But when the cooking club picked "Kentucky Derby" as our monthly theme and I pulled the dessert card, I blanked completely. It wasn't that I didn't know how to bake. It's that I had no idea what dessert fit that theme.
Mint juleps? Pecan pie? Something served in a silver cup?
I felt like I'd wandered into a party I didn't belong at. Most of my baking has roots in something personal: soft cottage cheese blintzes my grandmother made on weekends, vegan lemon mango cheesecake I once served at a Shavuot gathering in the Tel Aviv heat, or pear chocolate granola bars I keep in the fridge for snack attacks from Leo and Lin. But horses, hats, and Southern charm? That wasn't my world.
I thought of backing out. But I also didn't want to show up empty-handed. So I decided to make a dessert that I would want to eat. One that felt like me, even if it didn't exactly scream Kentucky Derby.
A Custard Slice of Courage and Comfort

I turned to chocolate, the one ingredient I trust without fail. My mother always had a baking bar tucked away in the kitchen drawer, and my sister and I would sneak squares after school. My husband F grew up in Colombia with creamy postres and flan, always topped with whipped cream on top. And my kids? They eat chocolate in any form, preferably with spoons.
I'd been experimenting with gluten-free crusts ever since a friend in the club mentioned she had celiac. Some turned out sandy, others too gummy.
But I had just nailed a crust for pear chocolate granola bar crust that Leo loved, and even a carrot soufflé that held its shape, so I felt ready-almost-to take on this pie. I went with a store-bought gluten-free crust, something buttery and firm, and decided to focus all my attention on the chocolate filling.
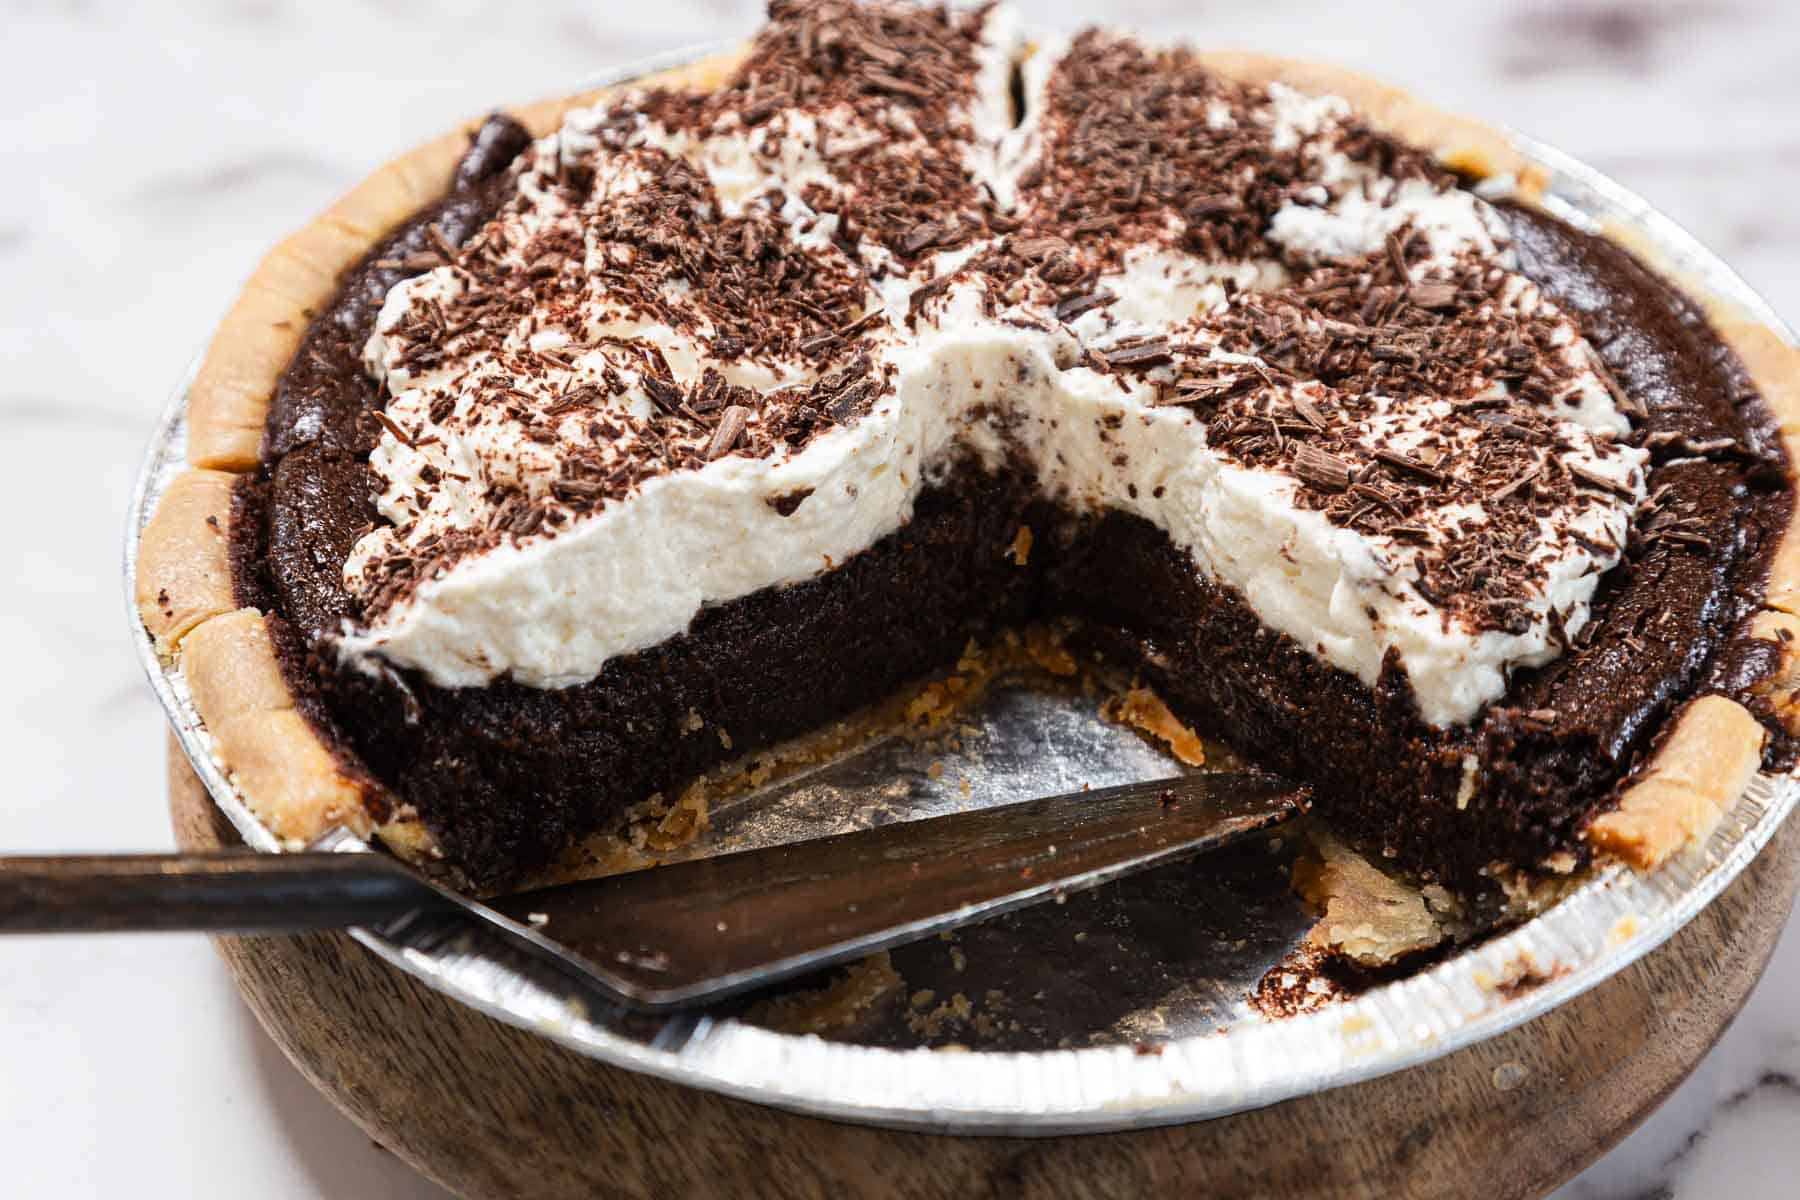
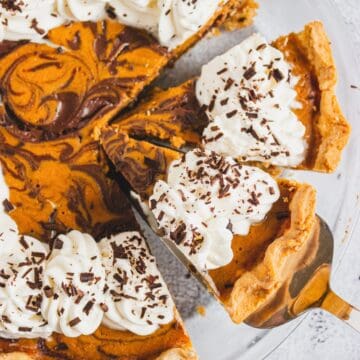
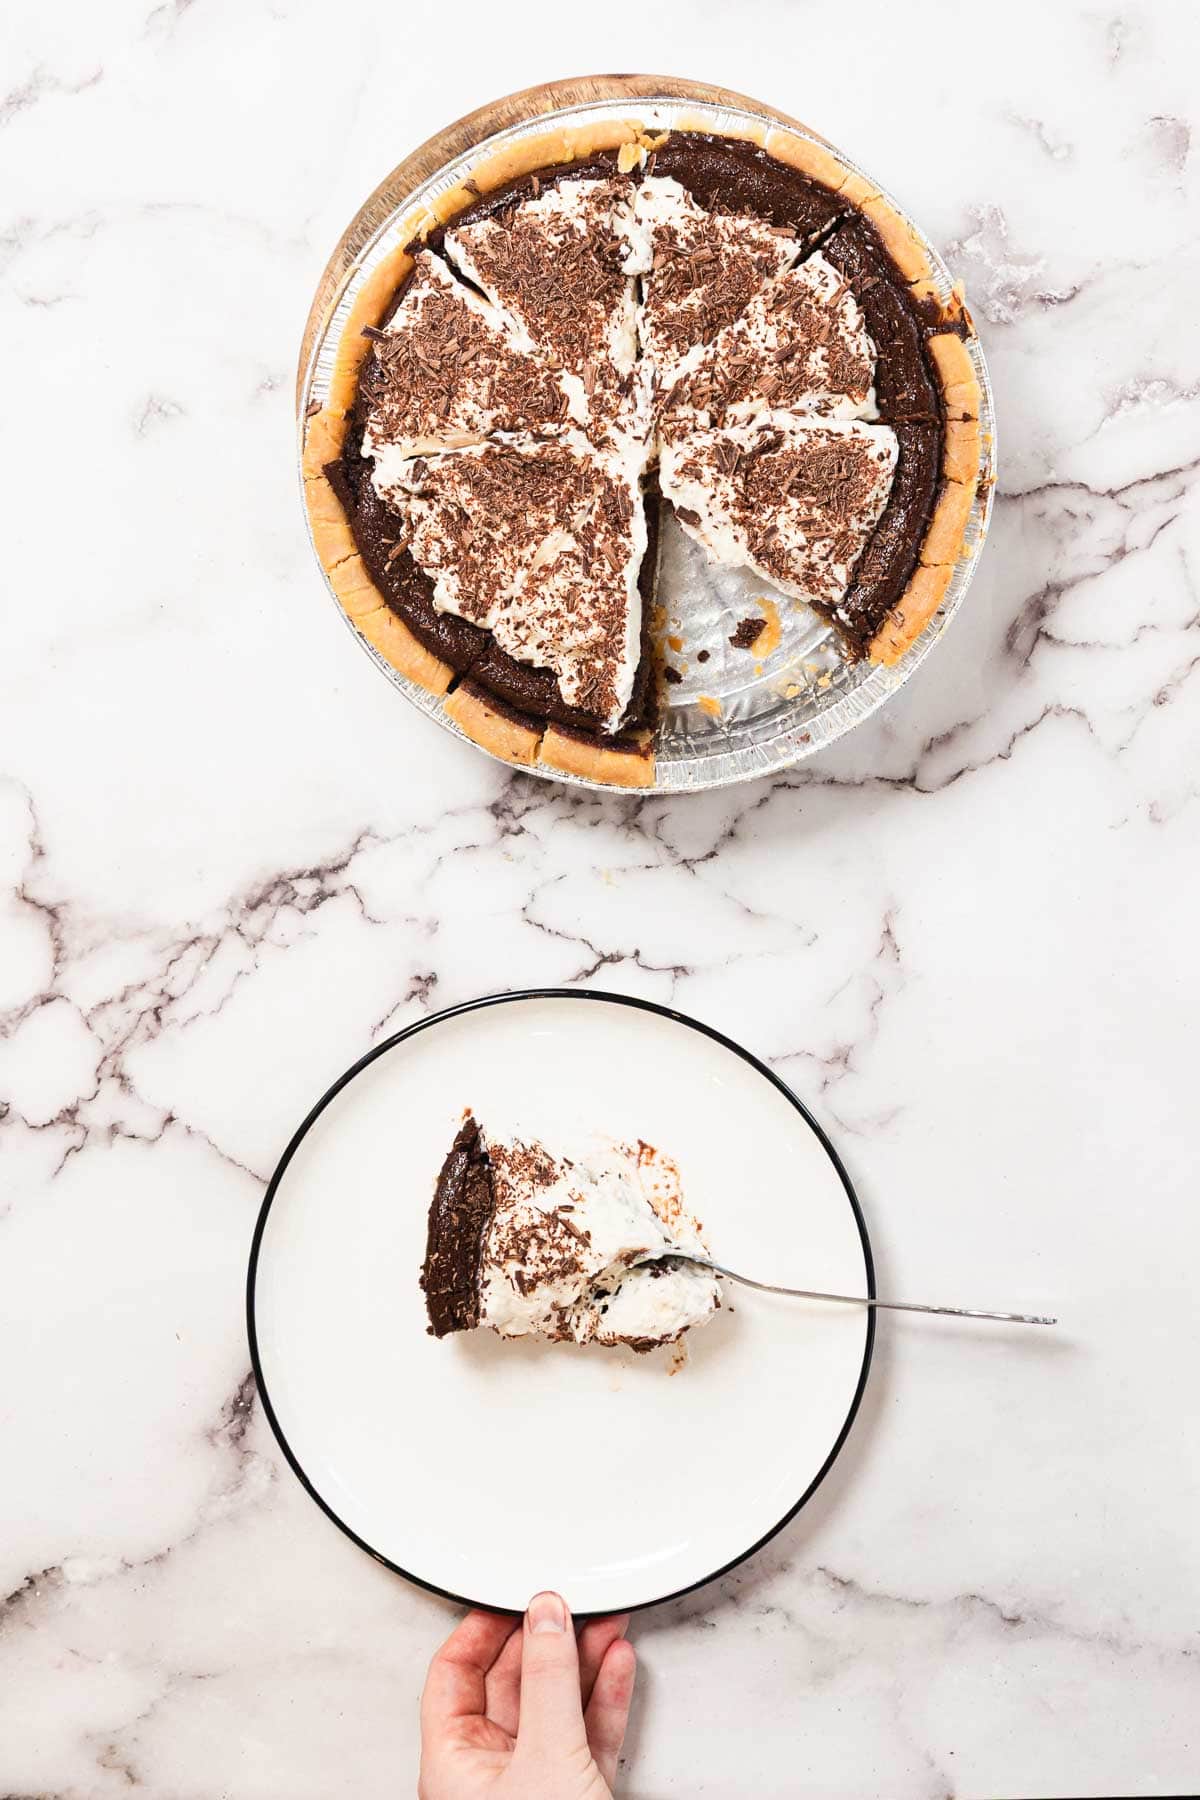
What came out of the oven was rich, dark, and just barely set, more custard than cake, with a whisper of espresso for depth. I let it chill overnight until the center firmed into that sliceable, spoonable texture that makes you pause between bites. Just before serving, I topped it with softly whipped cream and finished it with loose curls of chocolate shavings, the kind that melt ever so slightly against the cool topping.
It went perfectly with the Seafood Gumbo served as the main, which has since became another favorite. It wasn't flashy, but it didn't need to be. No one asked how it fit the Kentucky Derby theme. They just asked for seconds.
How to Make Gluten-Free Chocolate Pie Recipe
This chocolate custard pie is simple in technique but rich in result. It's one of those quiet showstoppers. No frills, just deep chocolate flavor, silky texture, and a clean slice every time. Here's how to make this recipe:
Blind Bake the Crust
Preheat your oven to 375°F. Place your store-bought gluten-free pie crust on a baking sheet and blind bake it according to the package directions. This step is key to prevent a soggy base once the custard is poured in. Let it cool completely before filling. Here are more details to bake gluten free pie crust.
Melt the Chocolate and Butter
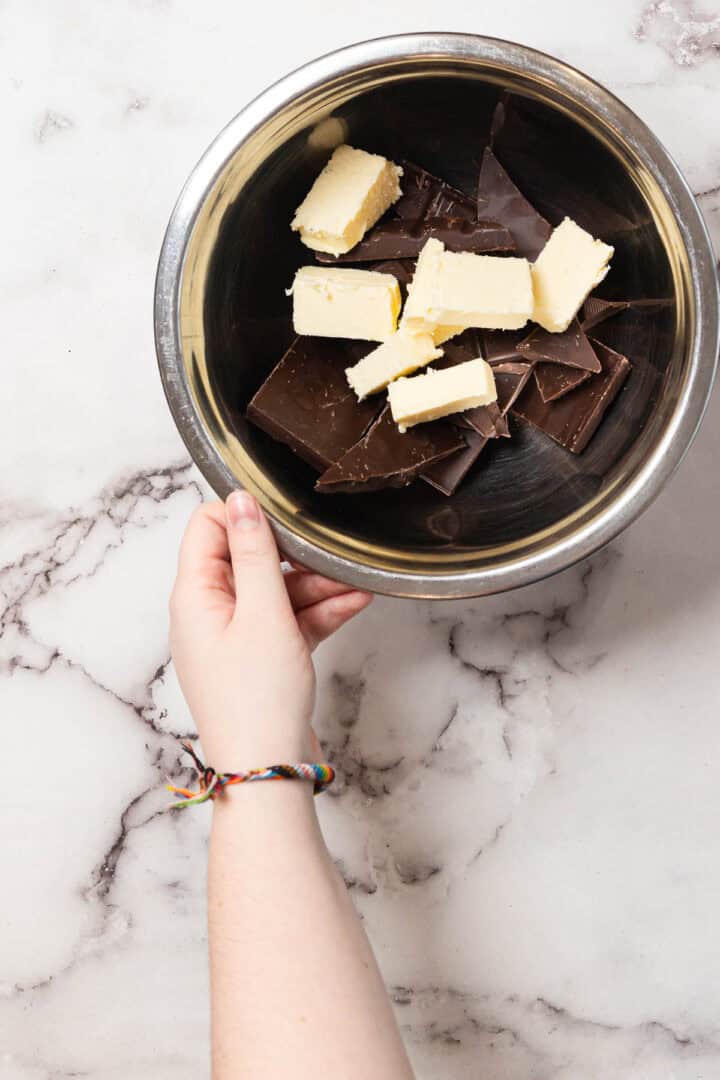
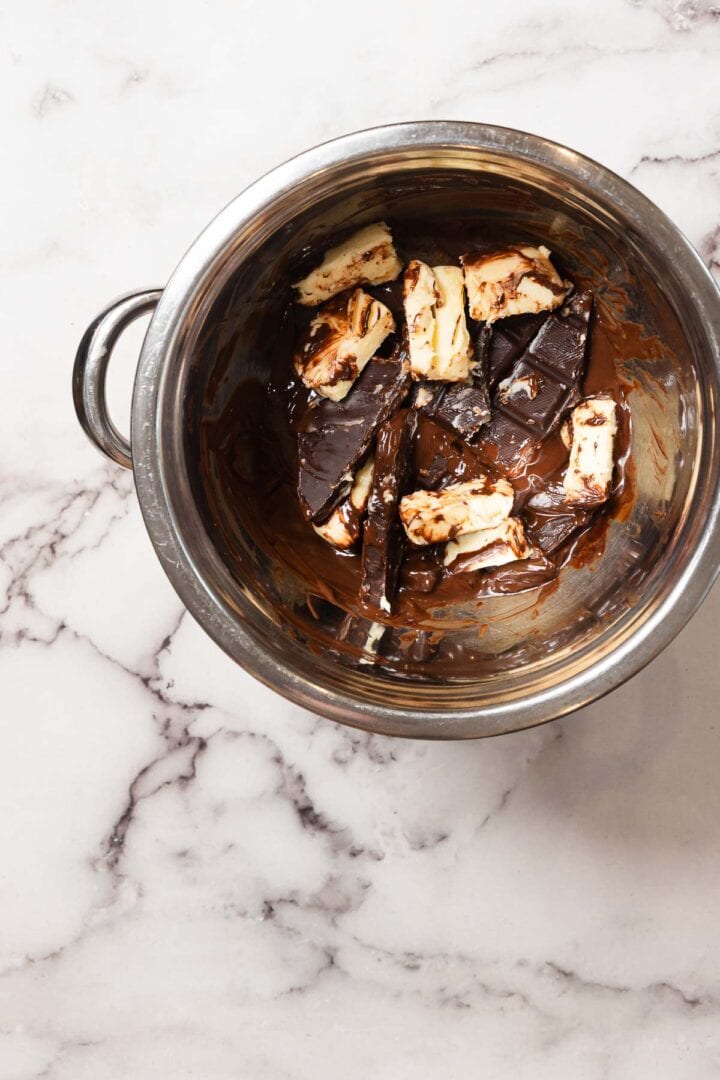
Finely chop the bittersweet chocolate and place it in a heatproof bowl with the butter. Set the bowl over a pan of gently simmering water (make sure the bowl doesn't touch the water). Stir until smooth and glossy, then remove from heat. This is the moment the kitchen starts to smell like something serious is happening.
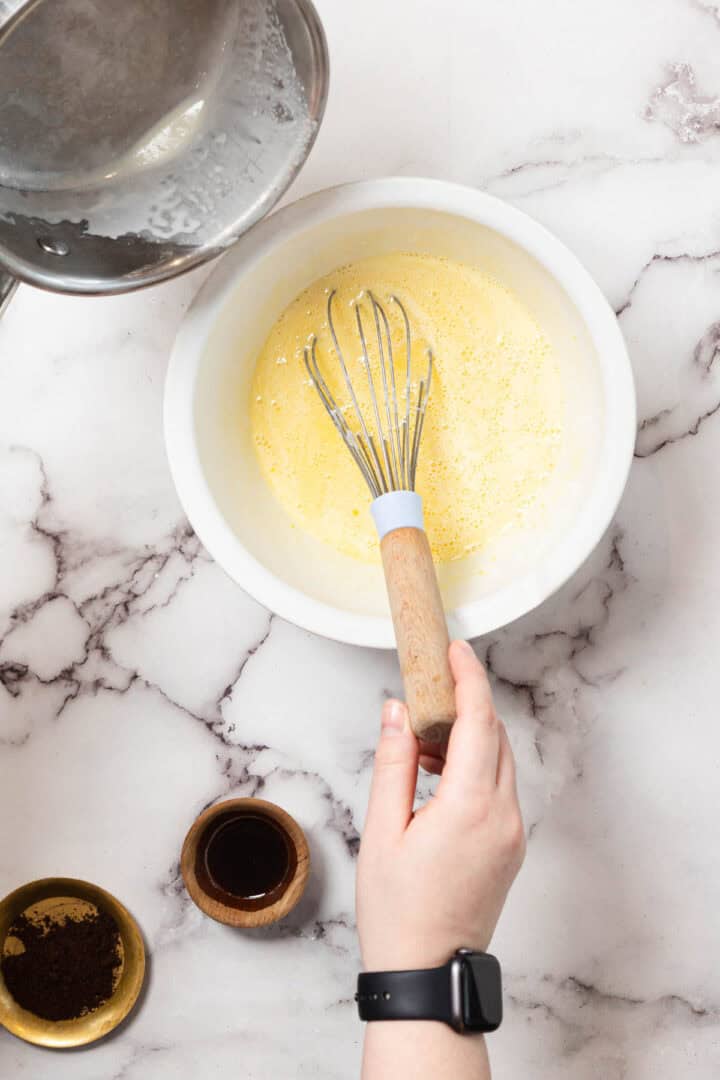
Whisk the Eggs and Sugars
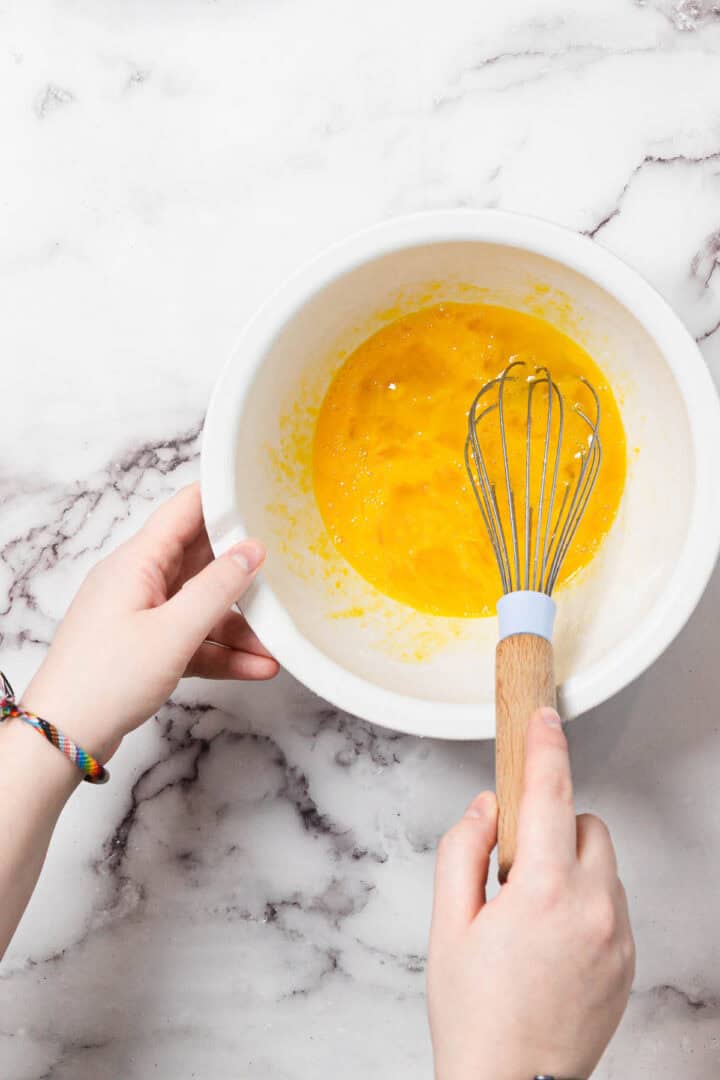
In a large bowl, whisk together the eggs, granulated sugar, light brown sugar, and salt until well blended. I like using both sugars here for depth.
Heat the Cream
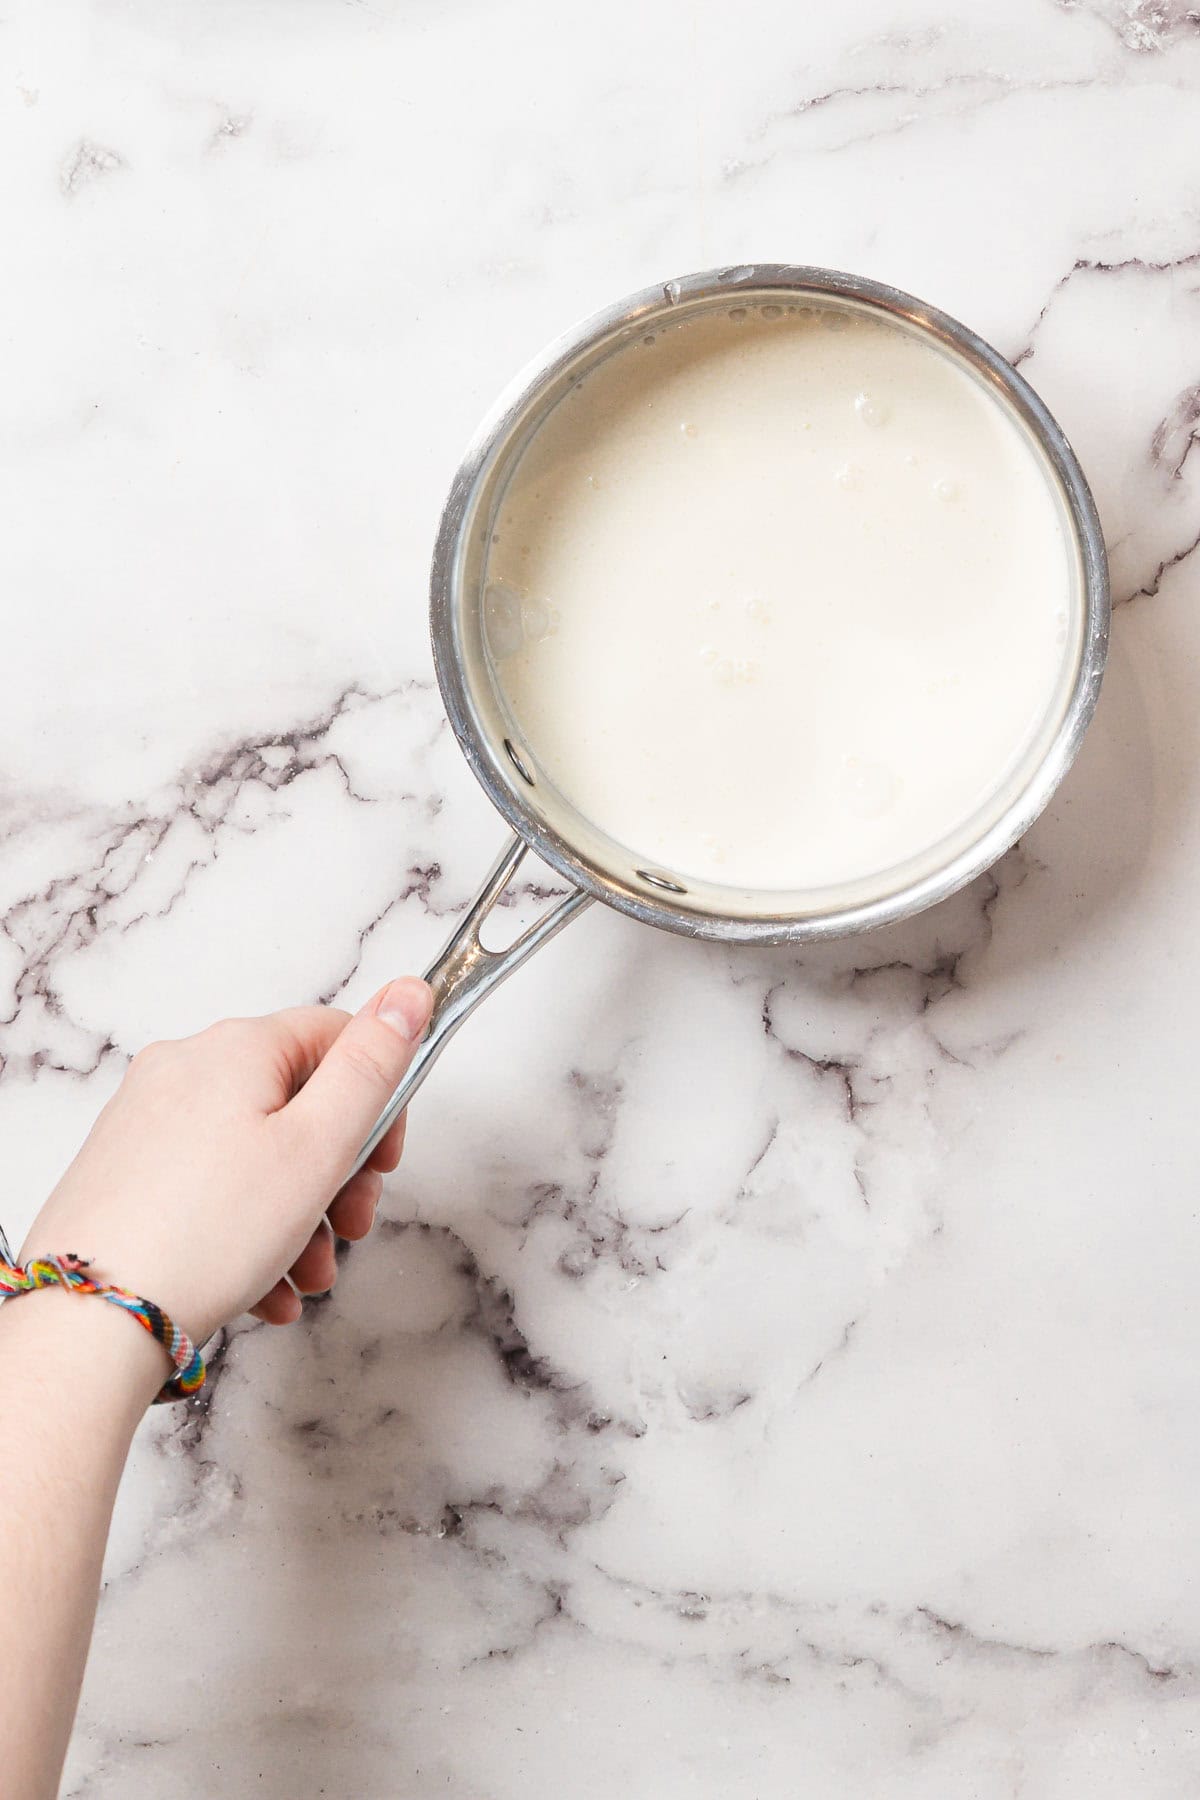
In a small saucepan, heat the heavy cream over medium heat until it just begins to simmer. You don't want it to boil, just enough to warm through. Take it off the heat immediately.
Combine the Custard
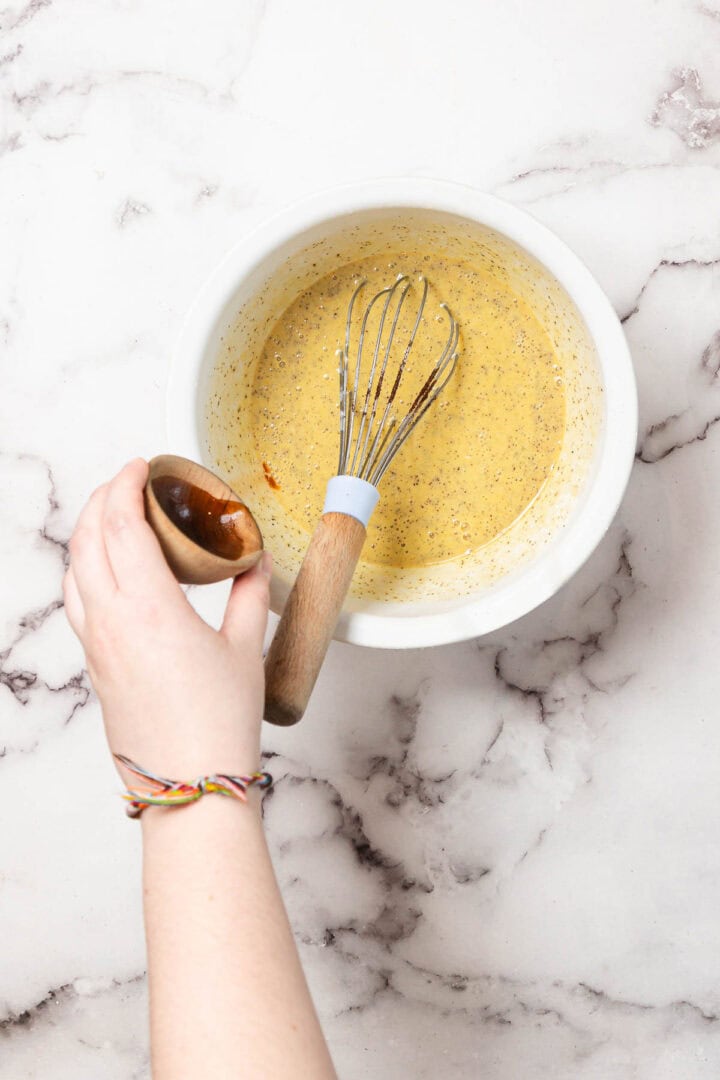
Slowly pour the warm cream into the egg mixture, whisking constantly to temper the eggs (this keeps them from scrambling). Stir in the vanilla extract and espresso powder.
Add the Melted Chocolate
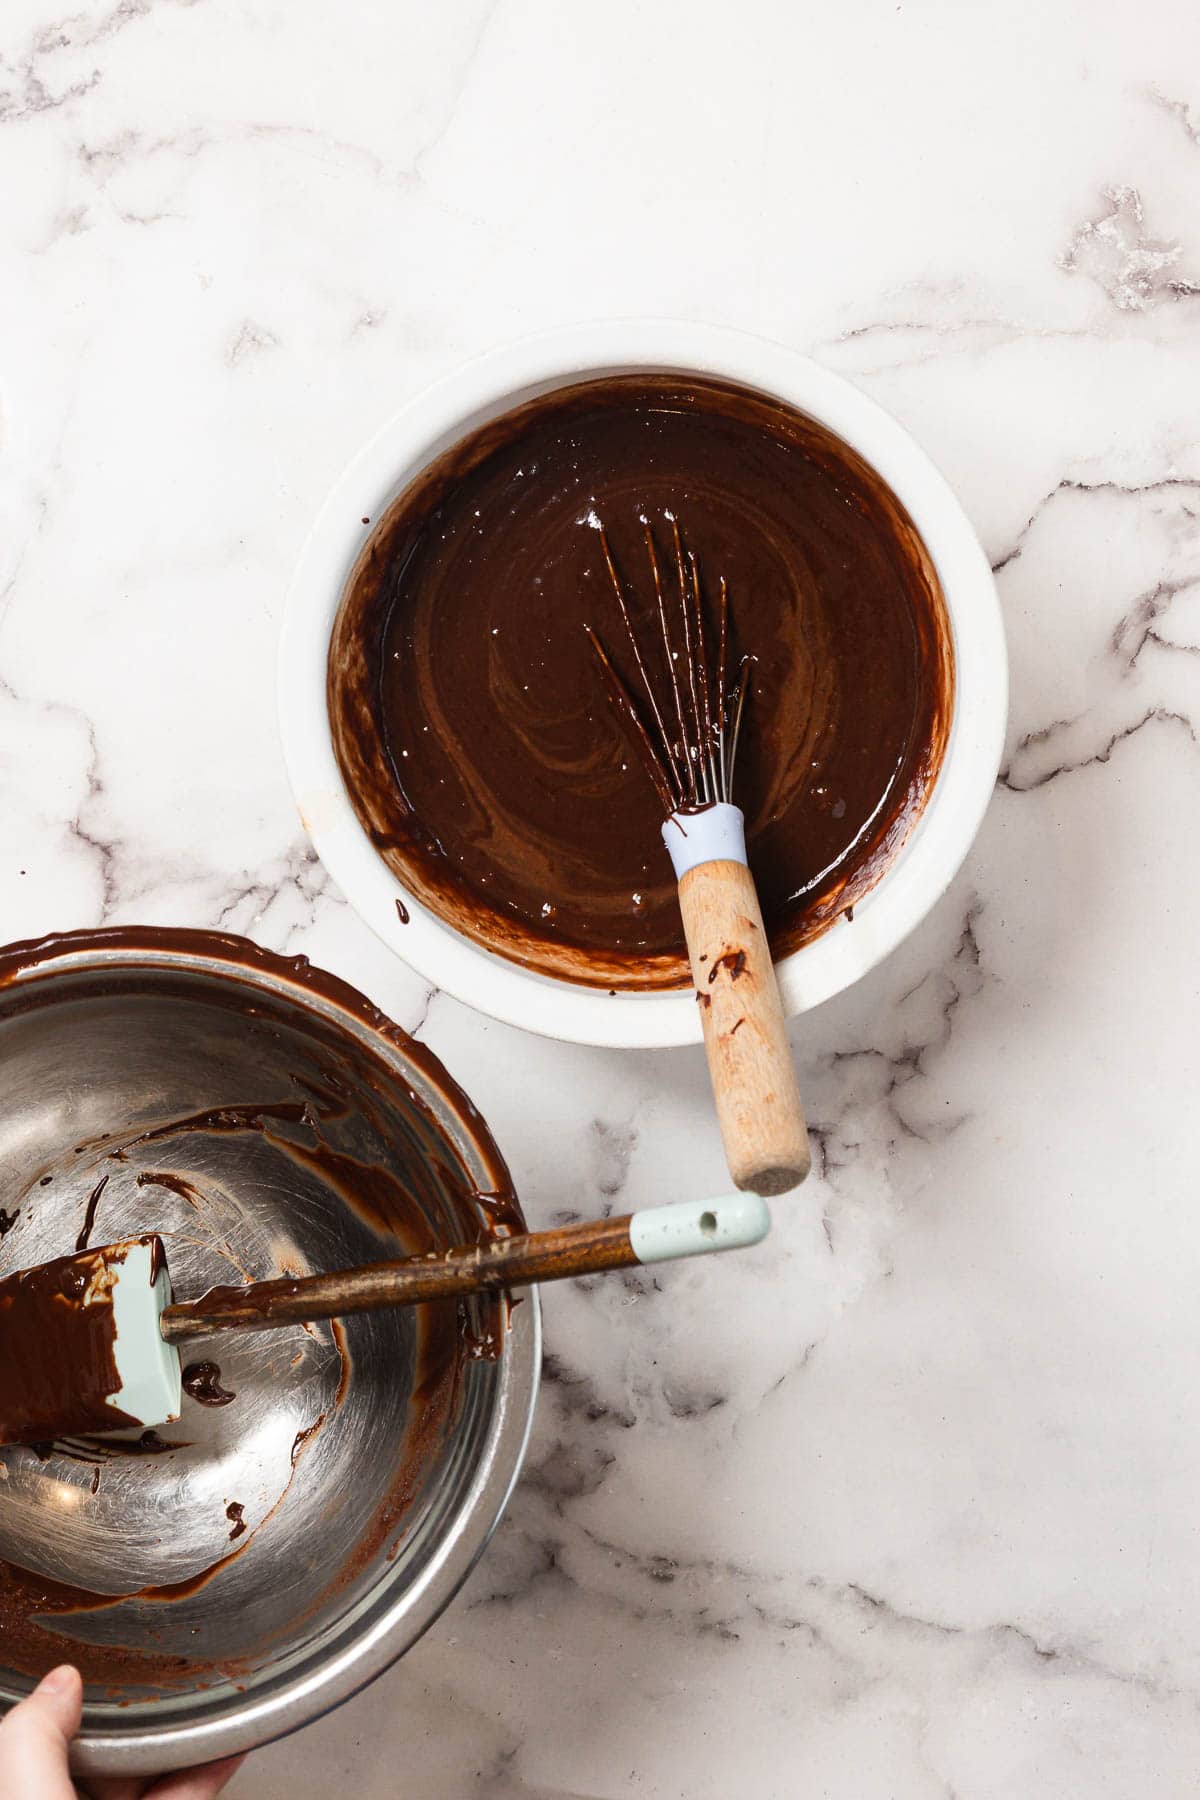
Gradually add the melted chocolate mixture into the custard base, whisking steadily until smooth and fully combined. The texture should be thick, glossy, and pourable.
Strain and Fill
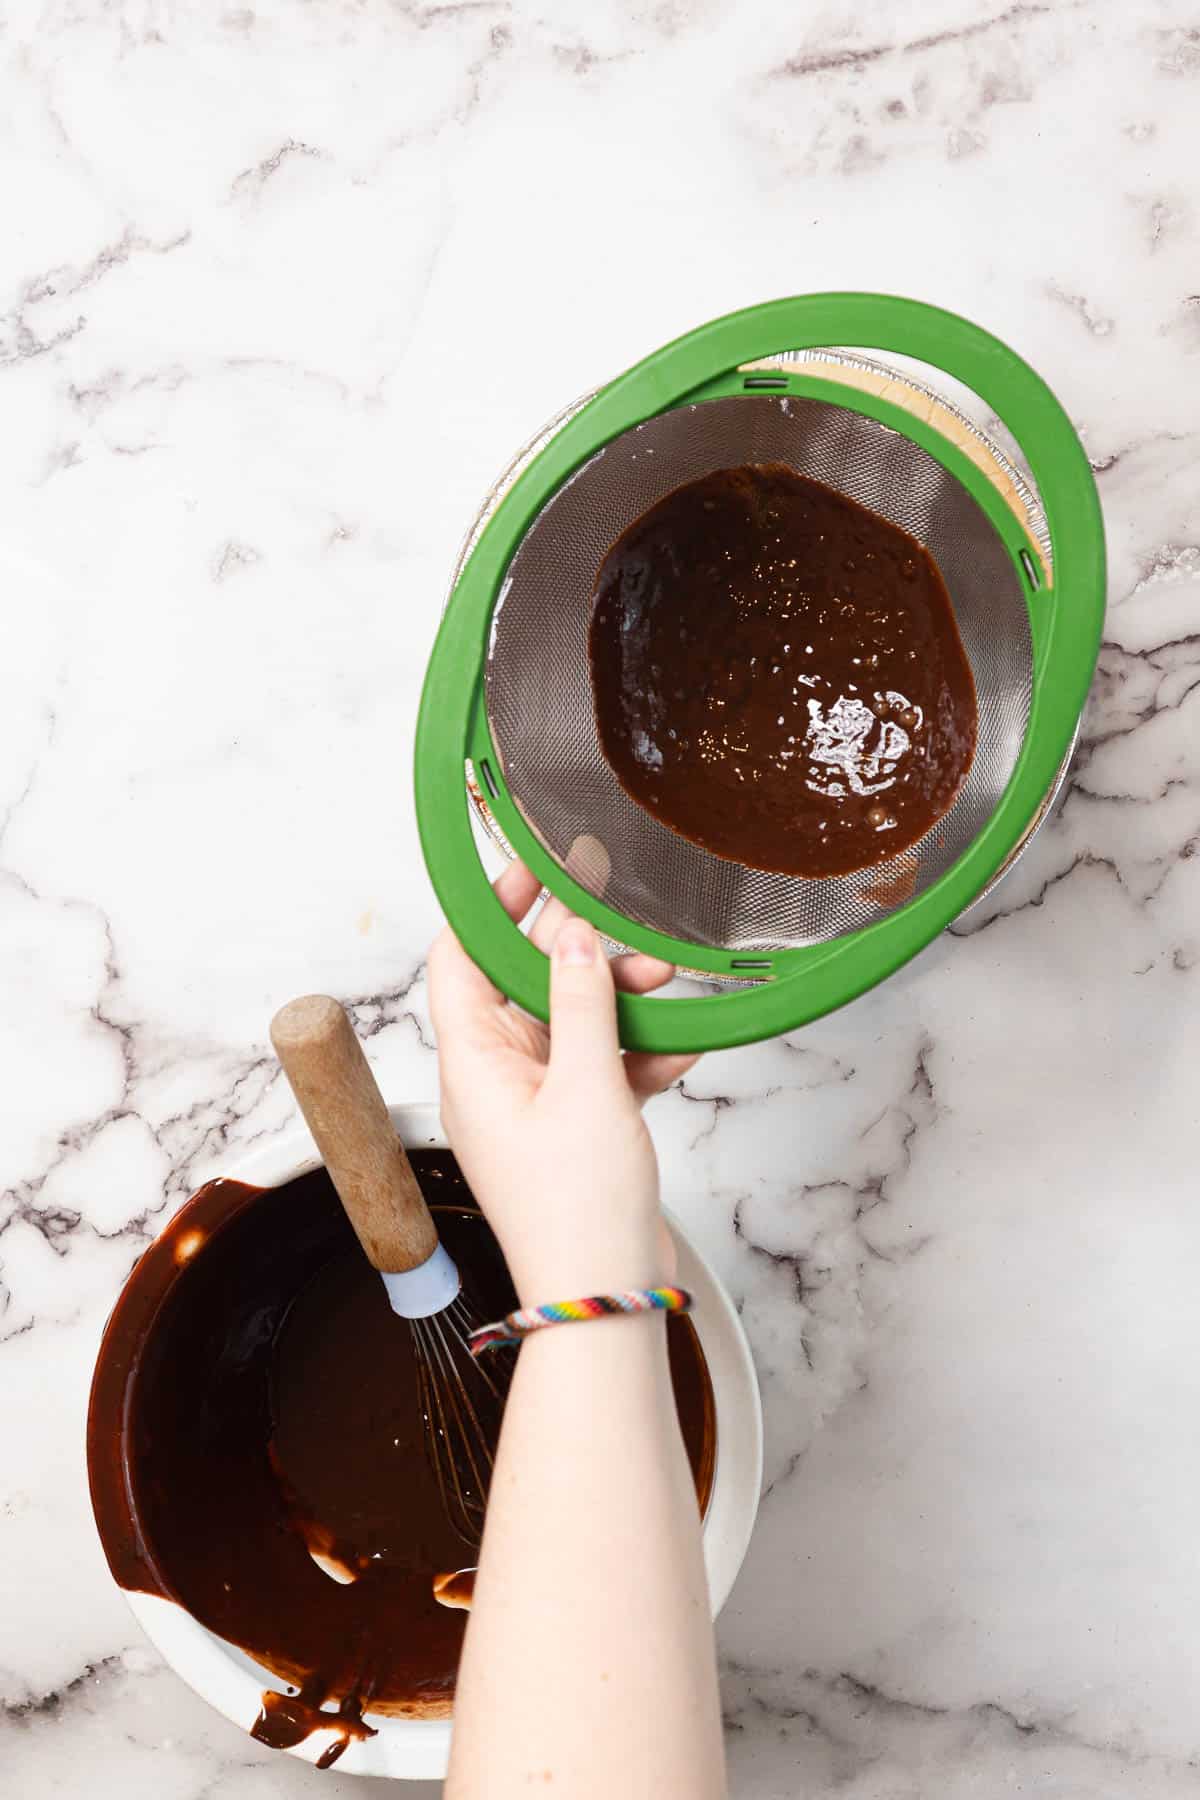
Set a fine-mesh sieve over a clean bowl or large measuring cup and strain the custard to remove any curdled bits. Then, pour the custard into the cooled crust. This extra step guarantees that signature silky texture, especially worth it if you're serving guests.
Bake the Pie
Reduce the oven temperature to 325°F. Bake the pie for 25 to 30 minutes, until the edges are set but the center still wobbles slightly when gently shaken. A thermometer inserted should read around 165°F. It'll continue to set as it cools.
Cool and Chill
Transfer the pie to a wire rack and let it cool to room temperature. Once cool, refrigerate for at least 4 hours or overnight. This helps the custard fully set and allows the flavors to develop.
Whip and Add the Cream

Right before serving, whip the heavy cream with confectioners' sugar and vanilla until medium peaks form. You can spoon it over or pipe it on top.
Garnish and Serve
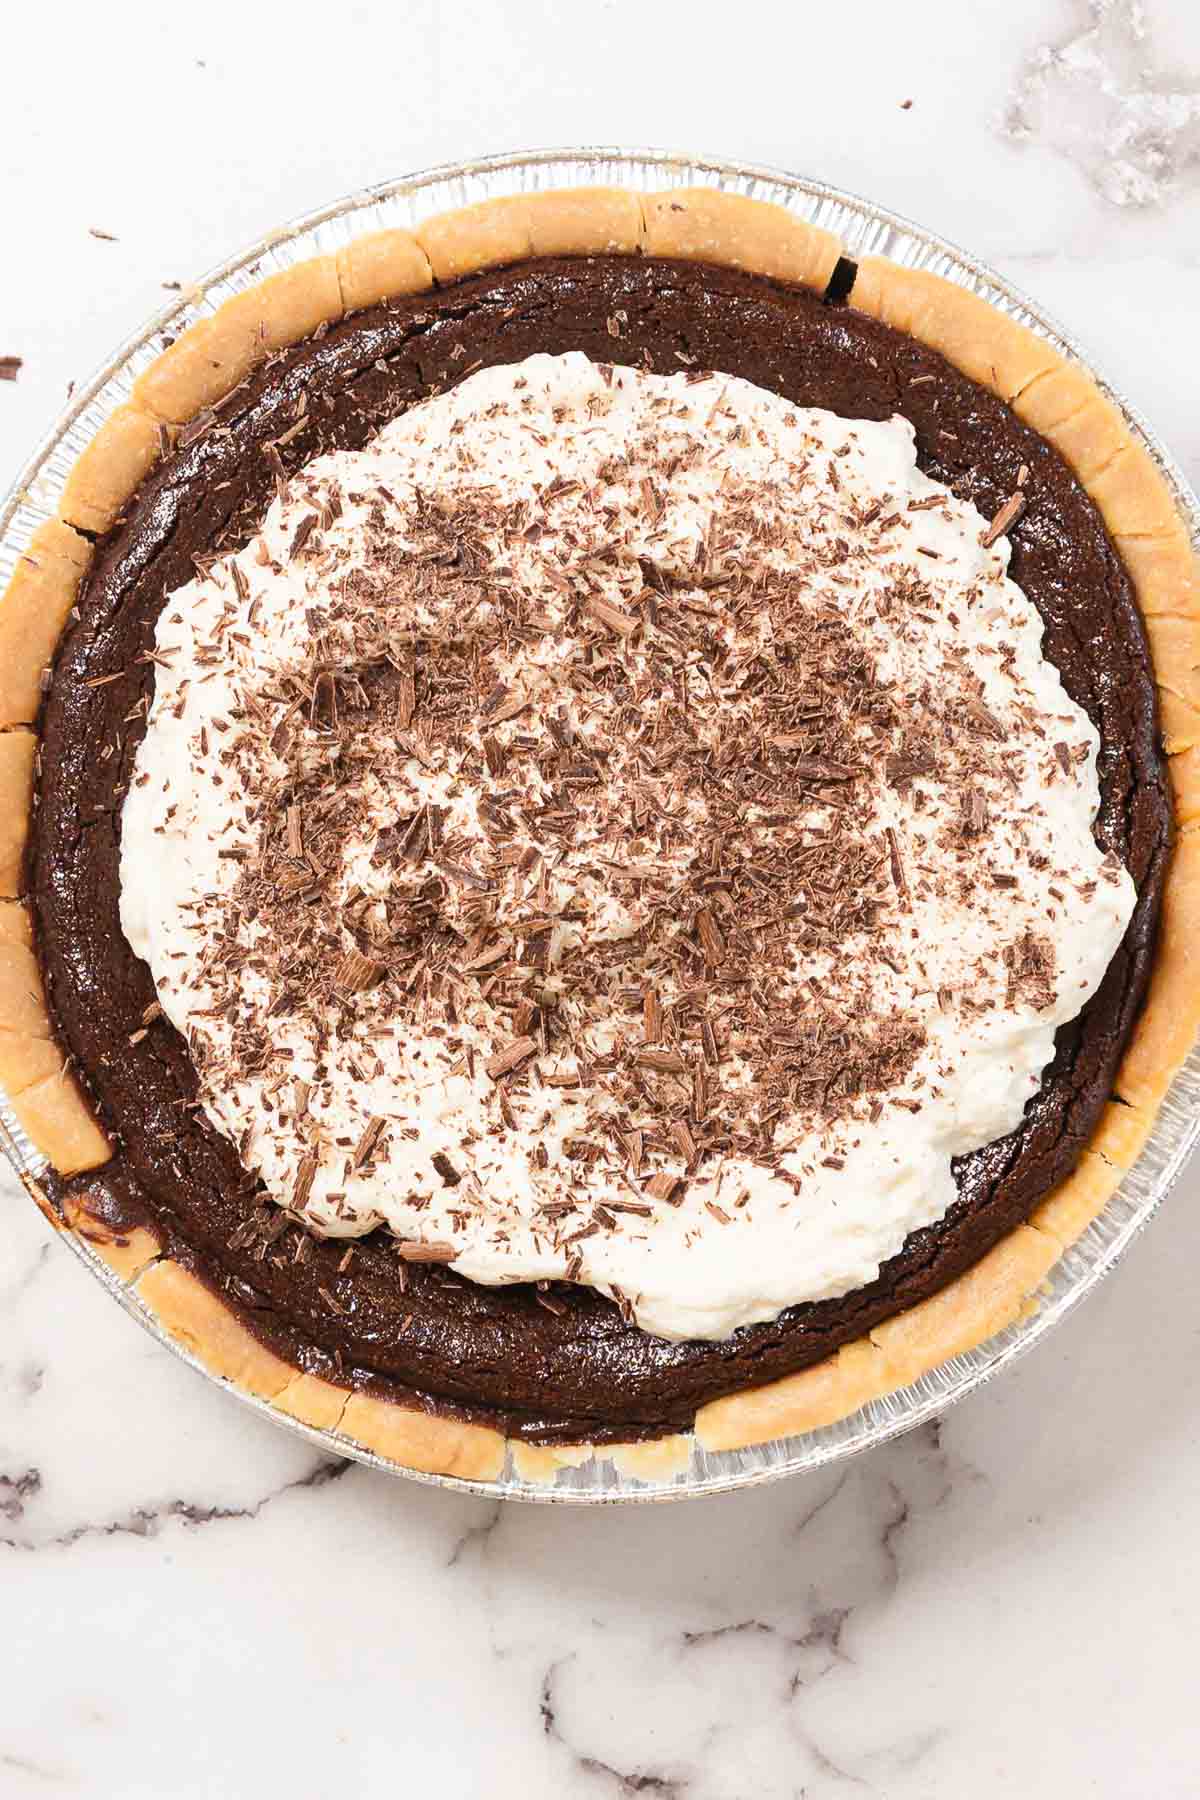
Top the pie with chocolate shavings just before serving. I make mine by running a vegetable peeler along the edge of a bar of dark chocolate.
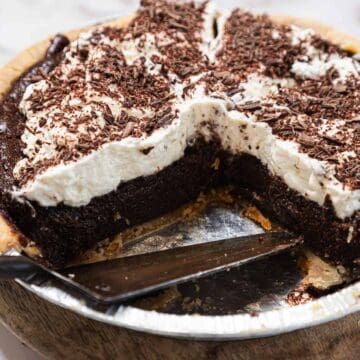
Storage
Once the pie has fully set and you've served that first perfect slice, any leftovers should be stored in the refrigerator. Keep it in an airtight container or lightly covered with foil. It'll stay fresh for up to 3 days. If you've already added the whipped cream topping, it's still fridge-friendly, though the cream may lose some of its shape after a day or so.
I wouldn't recommend freezing this pie. The custard texture changes too much once thawed, becoming slightly grainy and less cohesive. But honestly, with the way slices quietly disappear in our house, putting it in the freezer has never been a real option.
Top Tips
Strain the Custard, Always - it's tempting to skip the sieve, especially when you're in a rush, but don't. Straining the custard before baking ensures a silky texture, free from any tiny scrambled bits.
Mind the Jiggle - don't wait for the center to fully set in the oven. Pull it when the edges are firm but the middle still wobbles gently, it'll finish setting as it cools. I once overbaked it by five minutes, and while it still tasted fine, the custard lost that luscious, pudding-like softness.
Recipe
Tried and loved this recipe? Please leave a 5-star review below! Your reviews mean a lot to me, so if you've got any questions, please let me know in a comment.
Gluten-Free Chocolate Pie
Equipment
- Fine mesh strainer
- Wire rack
- Vegetable peeler for chocolate shavings
Ingredients
For the base
- 1 store-bought gluten-free pie crust 9-inch, pre-baked
For the chocolate custard filling
- 12 oz bittersweet chocolate 70%, finely chopped
- 6 tablespoon unsalted butter
- 4 large eggs room temperature
- ¼ cup granulated sugar
- 2 tablespoon light brown sugar
- ¼ teaspoon kosher salt
- 1½ cups heavy cream
- 2 teaspoon vanilla extract
- 1 teaspoon espresso powder
For the finish
- ¾ cup heavy cream
- 1 tablespoon confectioners' sugar
- ½ teaspoon vanilla extract
- Chocolate shavings for garnish
Instructions
- Preheat oven to 375°F. Place your gluten-free pie crust on a baking sheet and blind bake it according to package instructions. Let it cool completely. This prevents a soggy bottom once the custard is added.
- Place chopped chocolate and butter in a heatproof bowl over a saucepan of gently simmering water (double boiler method). Stir until melted and smooth. Remove from heat and set aside.
- In a large bowl, whisk together the eggs, granulated sugar, light brown sugar, and salt until smooth and well combined.
- In a small saucepan, heat the heavy cream just until it begins to simmer. Remove immediately, don't let it boil.
- Slowly whisk the hot cream into the egg mixture to temper. Stir in vanilla extract and espresso powder. Then, gradually whisk in the melted chocolate mixture until smooth and glossy.
- Strain the custard through a fine-mesh sieve into a clean bowl to catch any lumps. Pour the strained custard into the cooled pie crust.
- Lower the oven temperature to 325°F. Bake for 25-30 minutes, or until edges are set and the center still has a slight jiggle. Internal temp should reach 165°F.
- Let the pie cool on a wire rack to room temperature, then refrigerate for at least 4 hours or overnight for best texture.
- Before serving, whip the heavy cream with confectioners' sugar and vanilla until medium peaks form. This adds contrast and creaminess to the rich chocolate base.
- Spoon or pipe the whipped cream on top of the pie and finish with chocolate shavings. Slice and serve chilled.