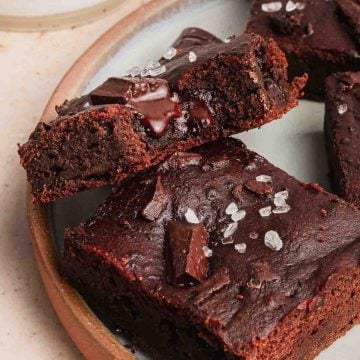
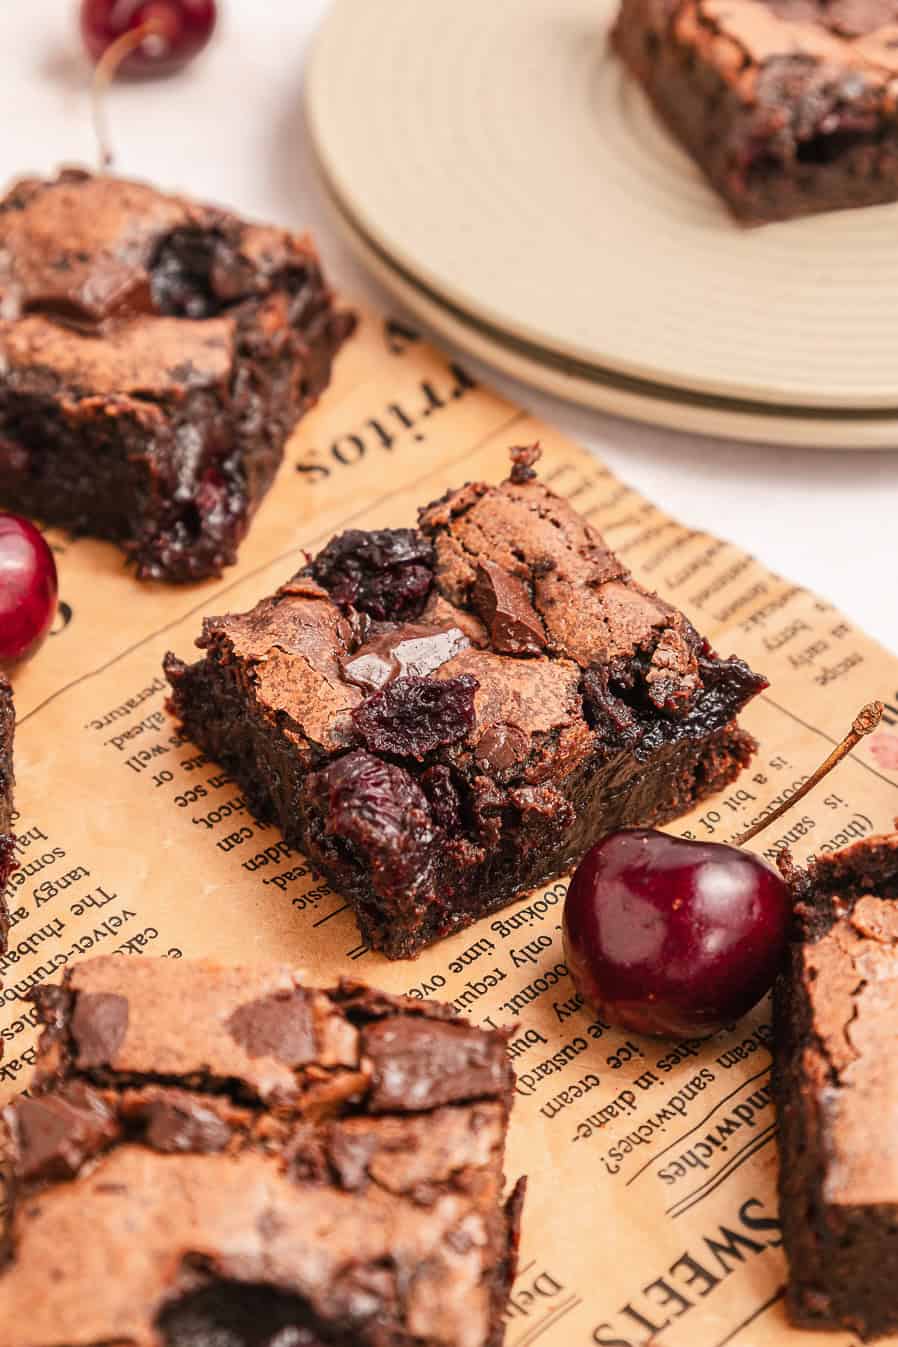
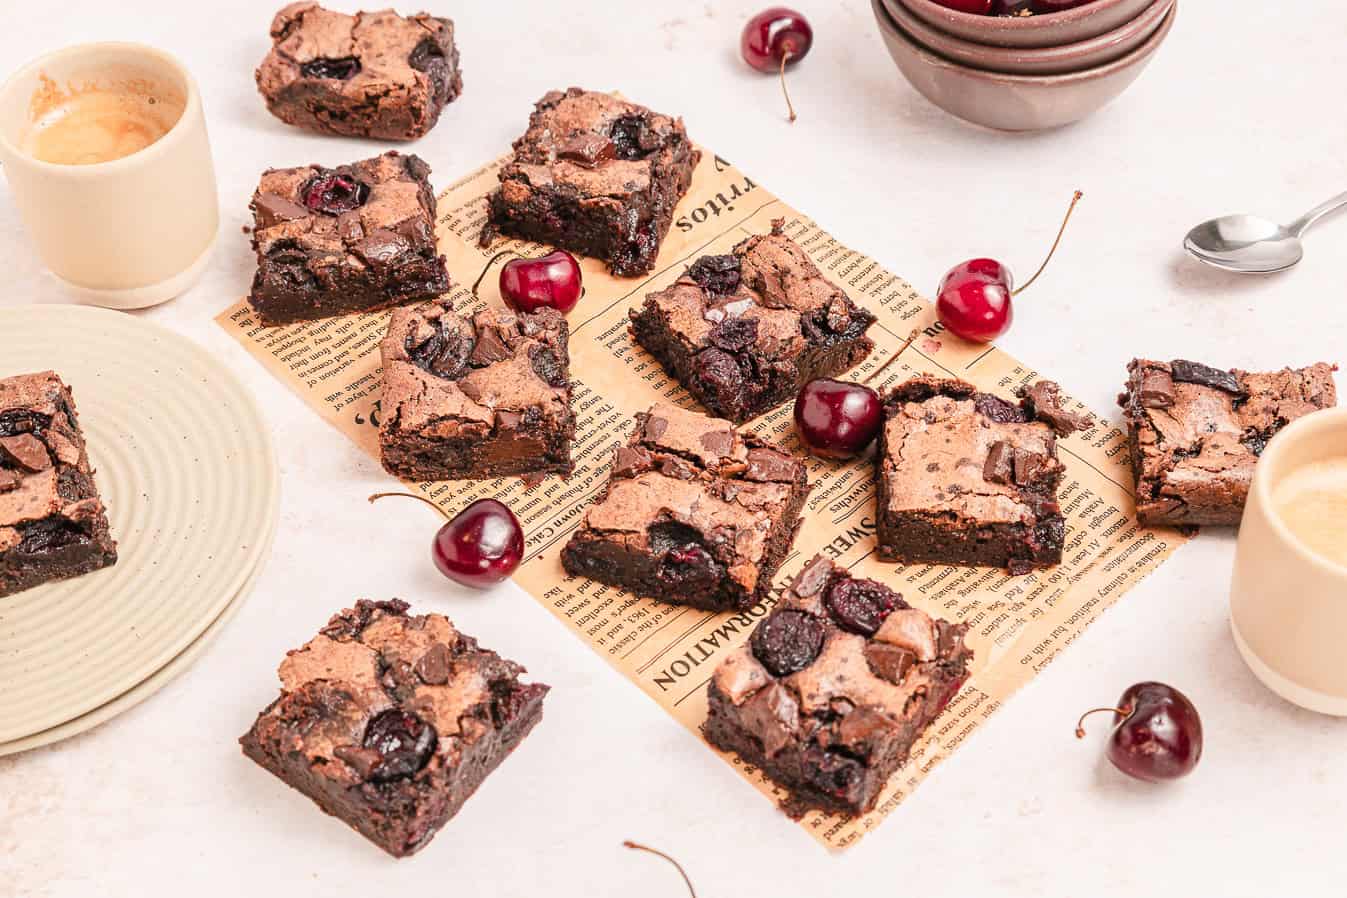
These chocolate cherry brownies are deeply fudgy, layered with cherries, and built for slow evenings and serious chocolate lovers.
I don't believe in simple brownies for Valentine's Day. If I wanted simple, I would buy a box and call it done.
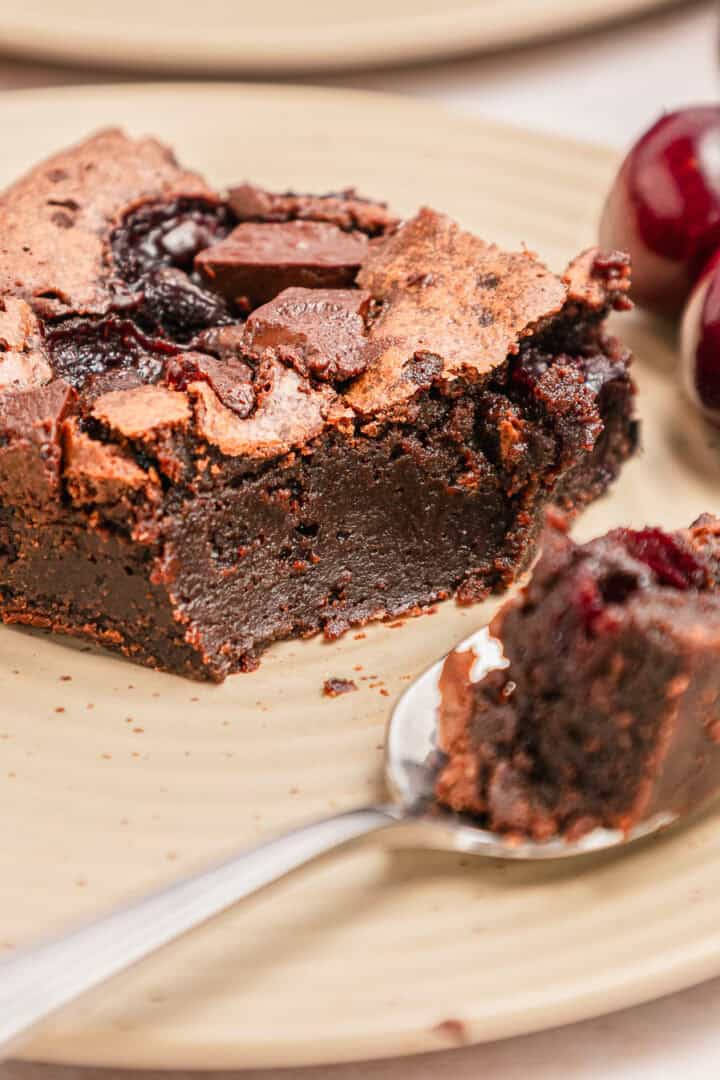
What I want is a brownie with the density of a Victorian novel, something you commit to. A square that stains your fingertips dark and leaves cocoa at the corner of your mouth while you stand at the counter long after the kids are asleep.
February carries a certain mood in our house. The windows fog while Leo drags a chair across the kitchen to watch, and Lin asks whether these are meant for her or for grownups. My husband pretends he is not paying attention, though he always appears when dark chocolate melts. Outside, the air bites. Inside, the oven hums and I measure, whisk, and focus.
My understanding of emulsification, especially the room temperature egg rule, keeps this ten ounce dark chocolate batter from turning greasy. I learned through split mixtures and dull, oily tops that cold eggs shock melted chocolate and butter. When eggs are brought to room temperature, they slip in smoothly, holding fat and sugar together into a glossy batter that bakes into a tight, fudgy crumb.
I tested this ratio against classic pastry formulas, adjusting sugar and flour until the structure held without drifting into cake territory. Adding unsweetened cocoa powder on top of melted chocolate strengthens the bloom and deepens the base.
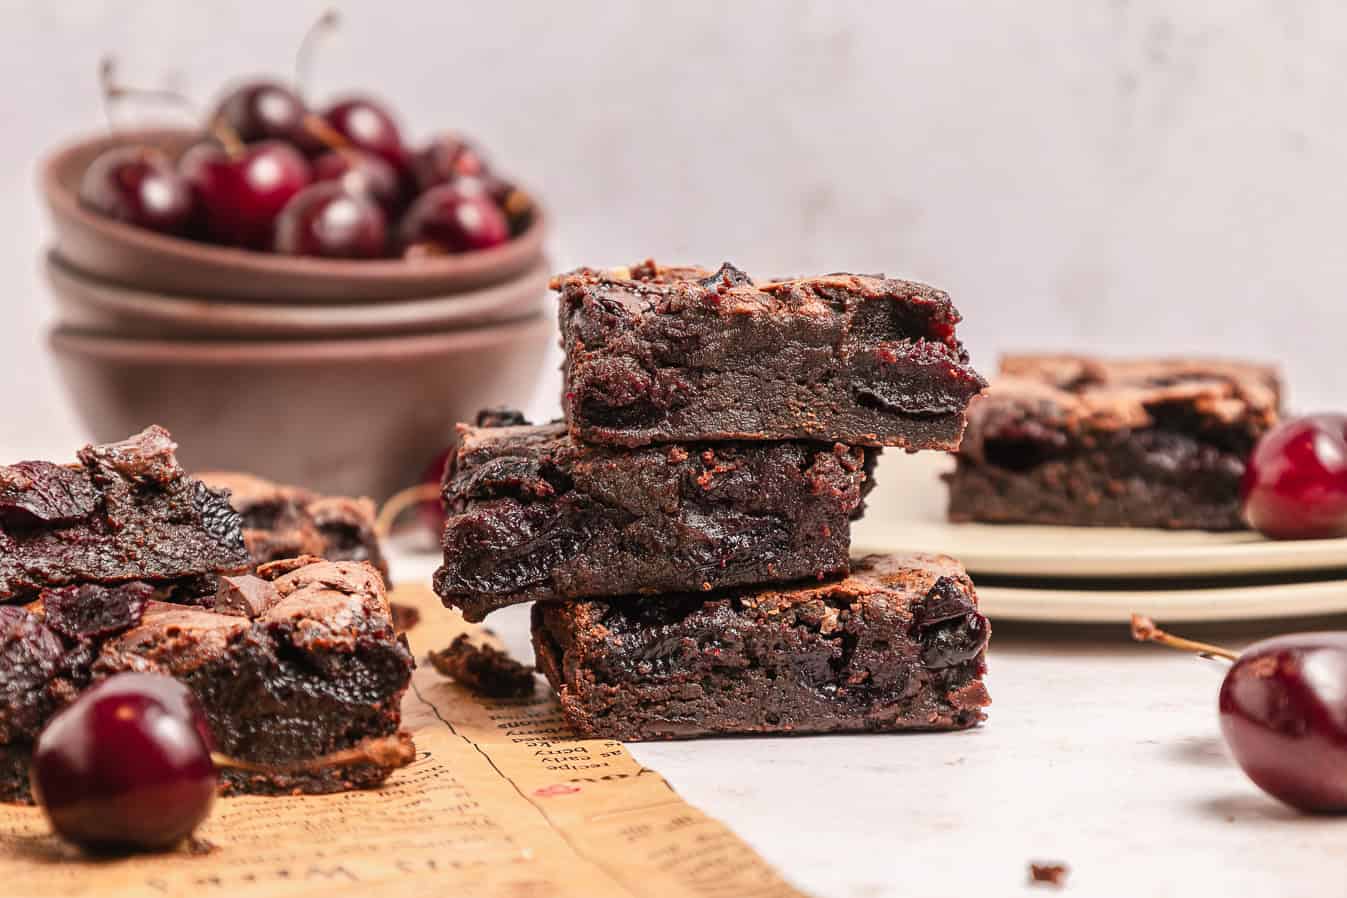
After baking this in humid kitchens and drafty February weather, I stand by the thirty five minute mark. We are looking for a slight jiggle, caramelized edges with a center that remains softly under committed.
Chocolate and cherries carry history. In Ukraine and Russia, sour cherries folded into chocolate cakes appear in winter kitchens. In Israel, chocolate cake anchors birthdays, sometimes dressed with fruit. These chocolate cherry brownies gather those influences into one pan. They sit alongside my vegan chocolate chilli brownies, where heat lingers behind cocoa, my halva brownies rich with tahini, and even my stacked slutty brownies.
These chocolate cherry brownies is quieter, grounded in fruit and dark cocoa, yet its still precise. This is a dessert for people who take comfort food seriously. For those who see baking as both care and craft.
Ingredients
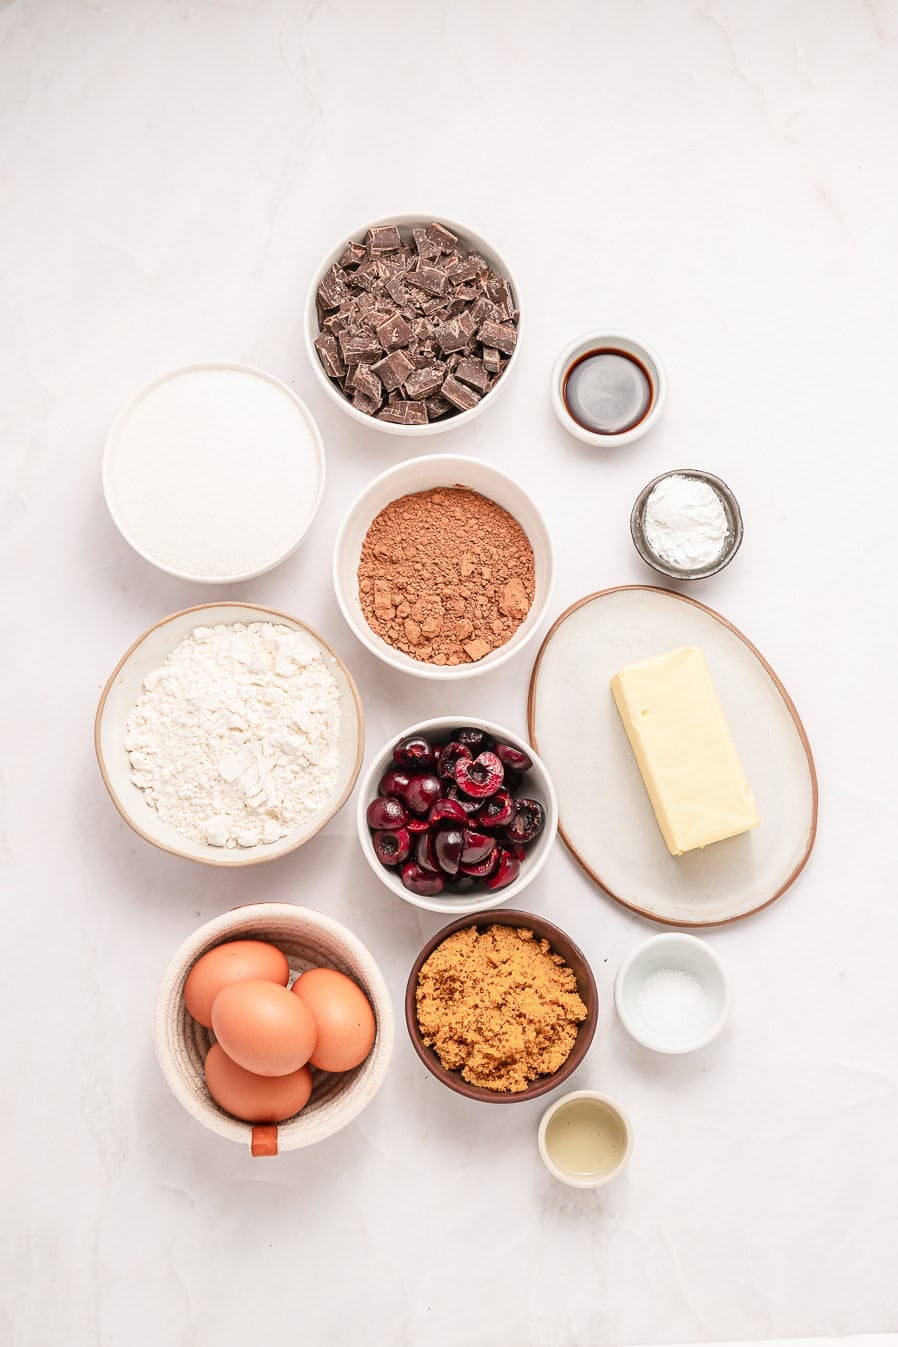
- Dark Chocolate - This is the backbone of these chocolate cherry brownies. I use good quality dark chocolate because it determines the depth, texture, and finish. A lower percentage makes the brownies overly sweet and softer. Anything above 75% can turn them dense and slightly dry. Choose a bar you enjoy eating on its own. In a pinch, high quality chocolate chips work, though they often contain stabilizers that slightly change the texture.
- Unsweetened Cocoa Powder - This is what gives that dark, almost dramatic crumb. Natural cocoa works well here. Dutch process cocoa can be used for a smoother, darker finish, though the flavor will be less sharp. I avoid skipping this ingredient because it is what takes these from basic brownies to deeply layered chocolate cherry brownies.
- Cherries - Cherries bring brightness and balance to the dense chocolate base. I use fresh when in season, though frozen cherries work beautifully if thawed and drained thoroughly. Sour cherries give a more traditional Eastern European flavor, while sweet cherries create a softer contrast. If cherries are unavailable, chopped raspberries or sour plums can stand in, though note that the flavor profile shifts.
See the recipe card for full list and exact quantities.
How to Make this Chocolate Cherry Brownies Recipe
These decadent chocolate brownie combine a rich, fudgy chocolate base with bursts of jammy cherries throughout. Each step plays a role in achieving the right balance between dense and gooey without becoming dry or soggy. Here's how to make this recipe:
Prepare the Pan and Preheat the Oven
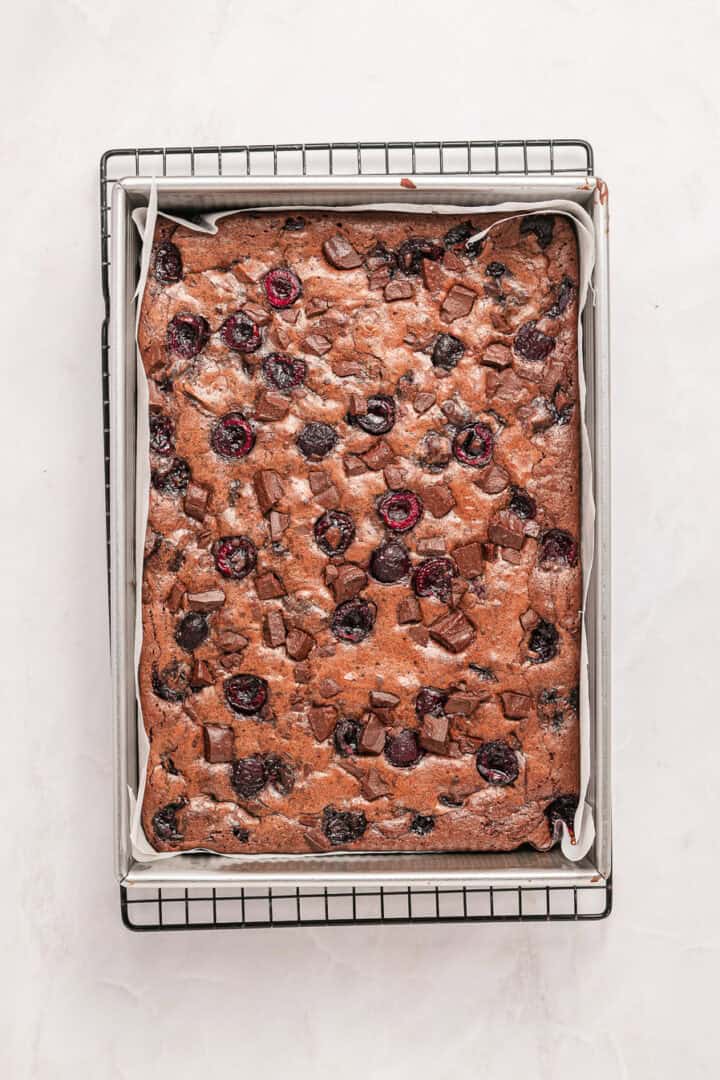
- Start by preheating your oven to 350°F. Line a 9 x 13-inch pan with parchment paper, leaving an overhang on the long sides for easy removal later.
- The parchment should sit mostly flat against the pan. A few small creases are fine, but large folds can create uneven edges in the brownies.
- Make sure the oven is fully preheated before baking. Placing brownies into an underheated oven can affect their rise and texture.
Prepare the Cherry Mixture
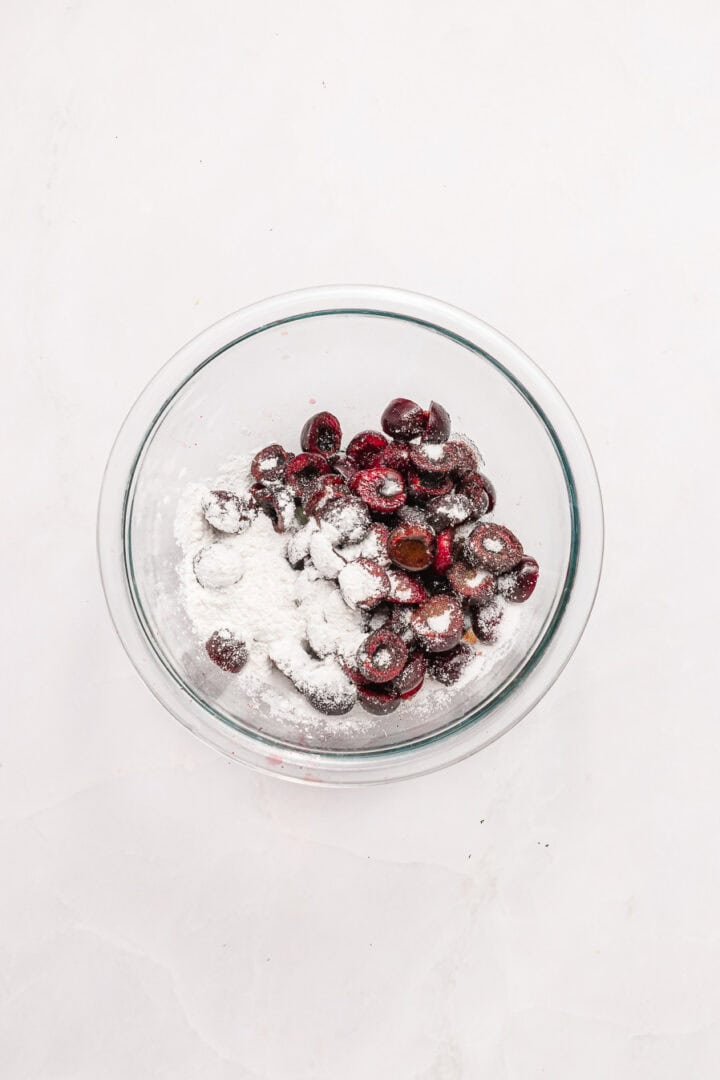

- The cornstarch should fully disappear into the mixture without visible white clumps. If you see excess juice pooling at the bottom of the bowl, give it another gentle toss before layering to prevent a soggy center later.
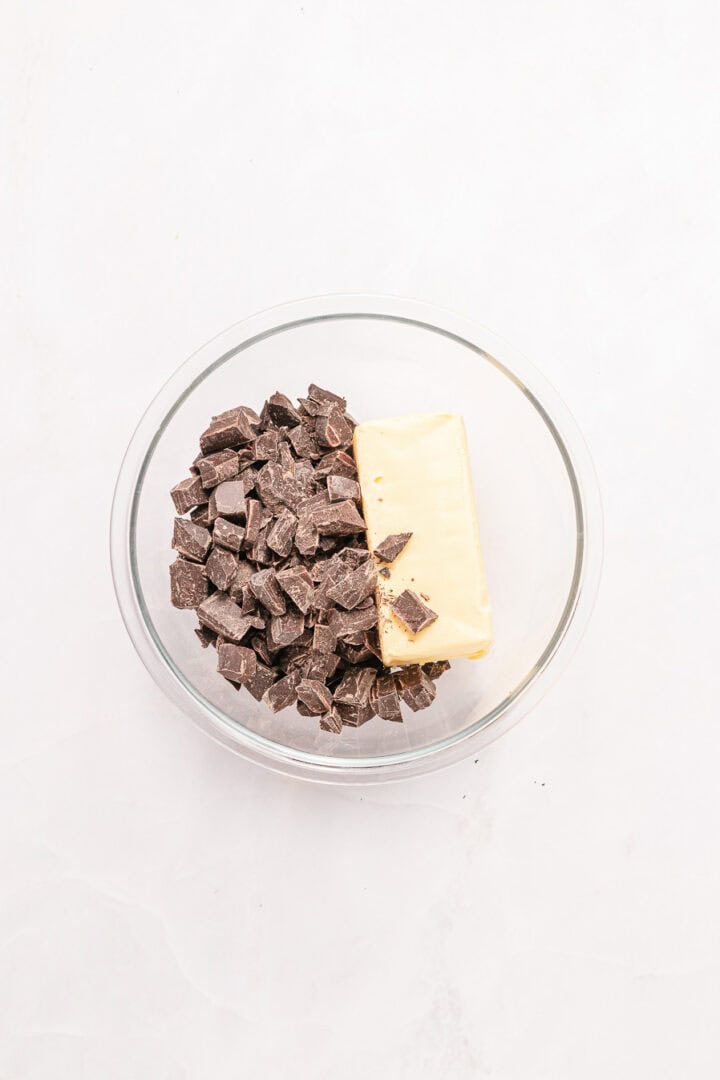
Melt the Butter and Chocolate
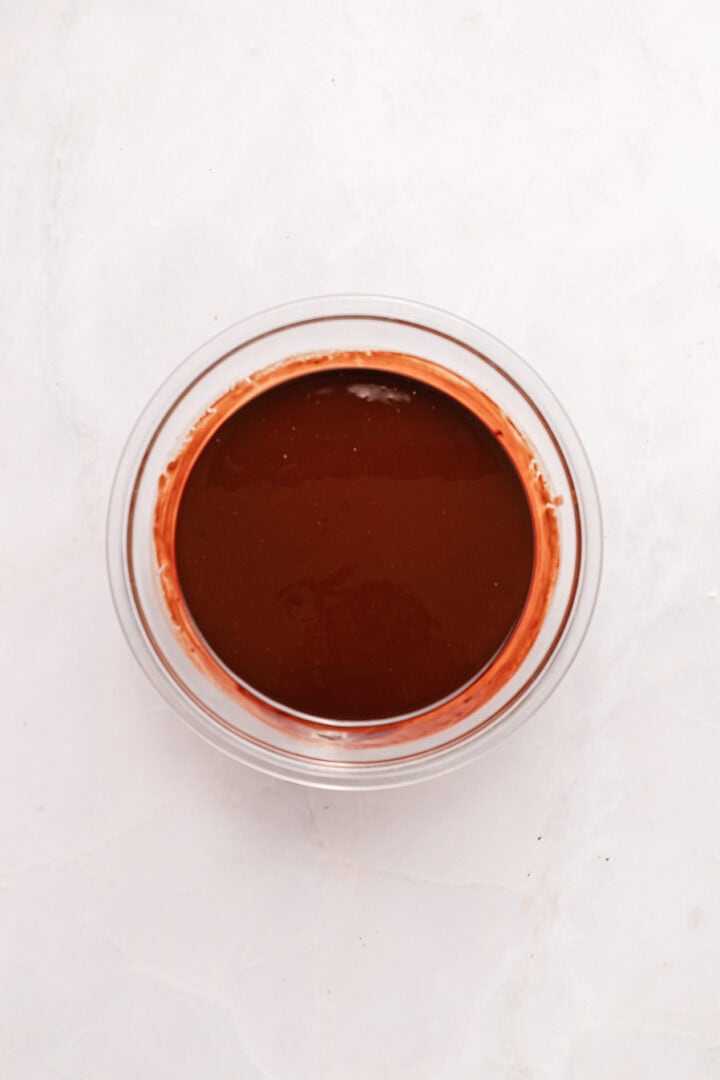
- The mixture should be silky and shiny with no lumps. If it looks grainy or separated, it may have overheated. It should feel warm but not hot before moving to the next step. Too much heat can affect the eggs when added.
Add the Sugars and Eggs
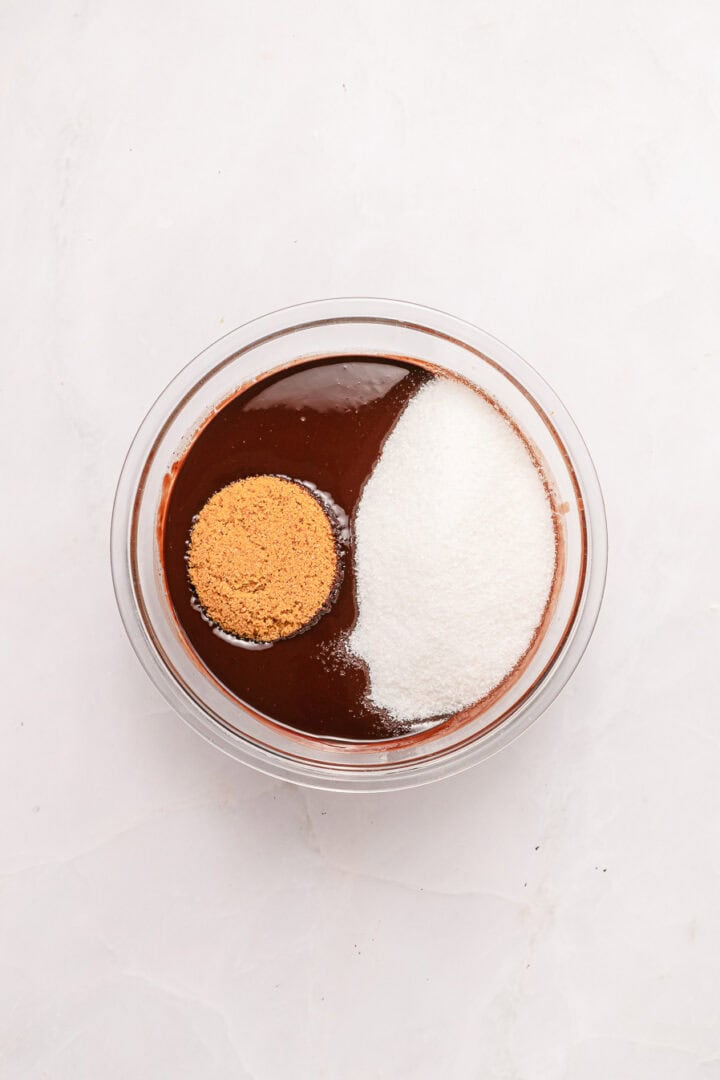
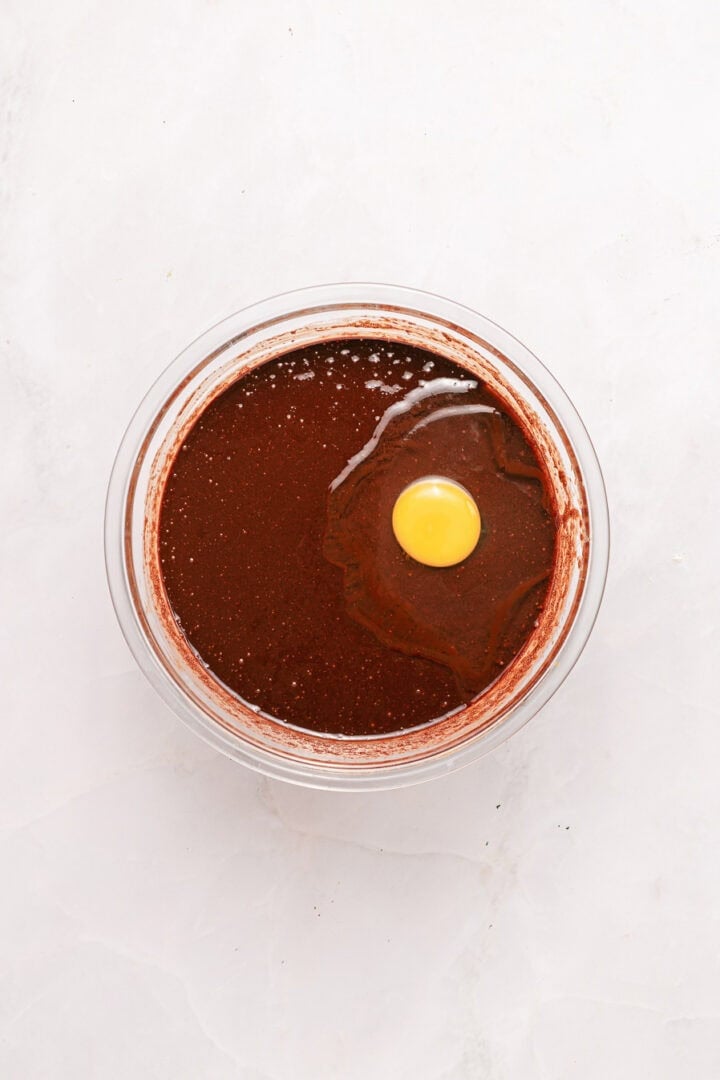
- As you whisk, the batter should become thicker and slightly glossy. Each egg should fully incorporate before adding the next. If the mixture looks oily or separated, it may have been too warm when the eggs were added.
Fold in the Dry Ingredients


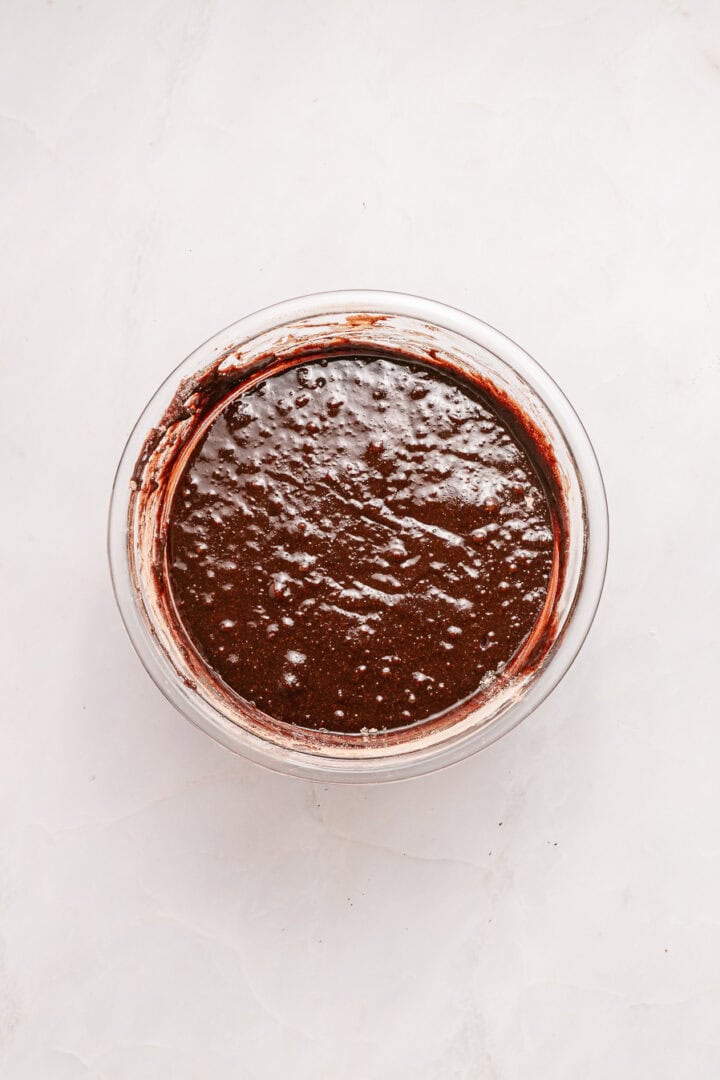
- Stop mixing as soon as the flour disappears. Overmixing can lead to tougher, more cakey brownies instead of a fudgy texture. Scrape the bottom of the bowl to ensure no hidden flour pockets remain.
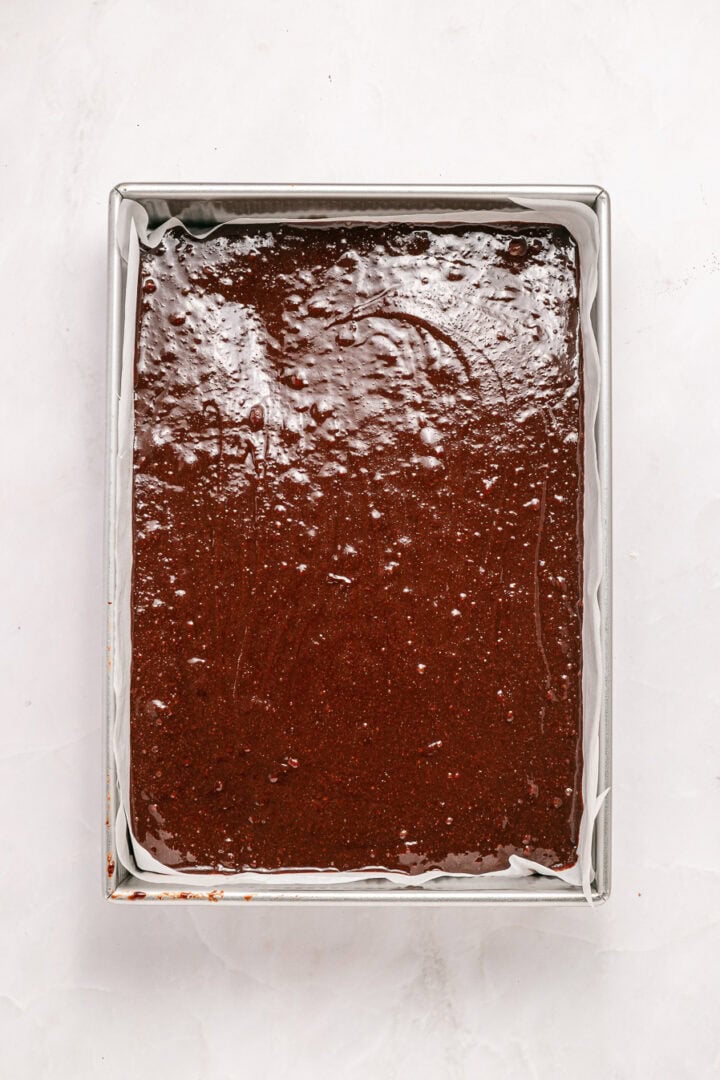
Layer the Batter and Cherries

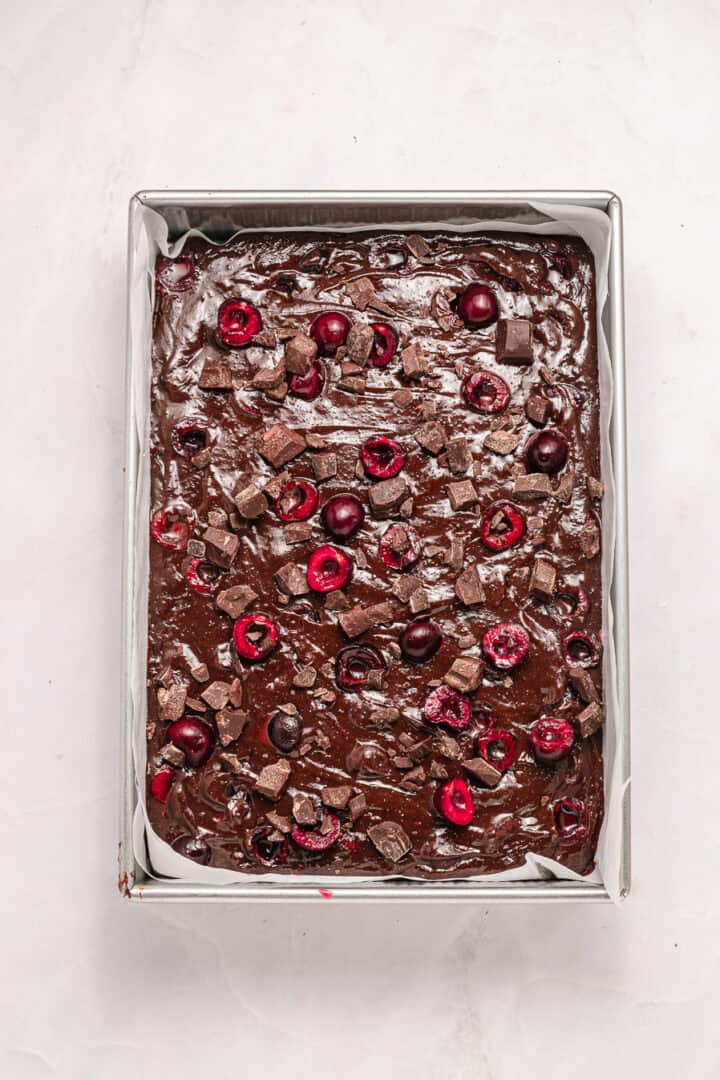
- Use light motions, just enough to create ribbons without fully blending the layers. If desired, press a few extra cherries on top for visual appeal.
- Avoid over-swirling, as this can muddy the layers and distribute too much moisture into one area.
Bake the Brownies
- Bake for 35 to 40 minutes, until the edges are set and the center looks just set.
- The edges should appear firm and slightly pulled away from the pan, while the center should no longer look wet or glossy. A toothpick inserted into the center should come out with moist crumbs for fudgy brownies.
- If you prefer a cakier texture, bake an additional 5 to 10 minutes, until a toothpick comes out clean. Be careful not to overbake, as the brownies will continue to set as they cool.
Cool Completely Before Slicing
- As they cool, the cherry layer will thicken and the crumb will firm up. Cutting too soon can cause the center to collapse or smear.
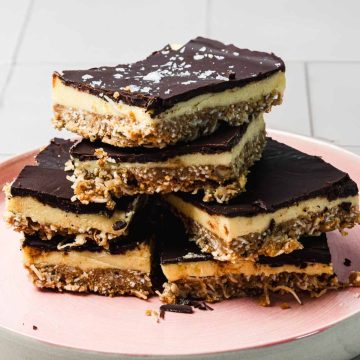
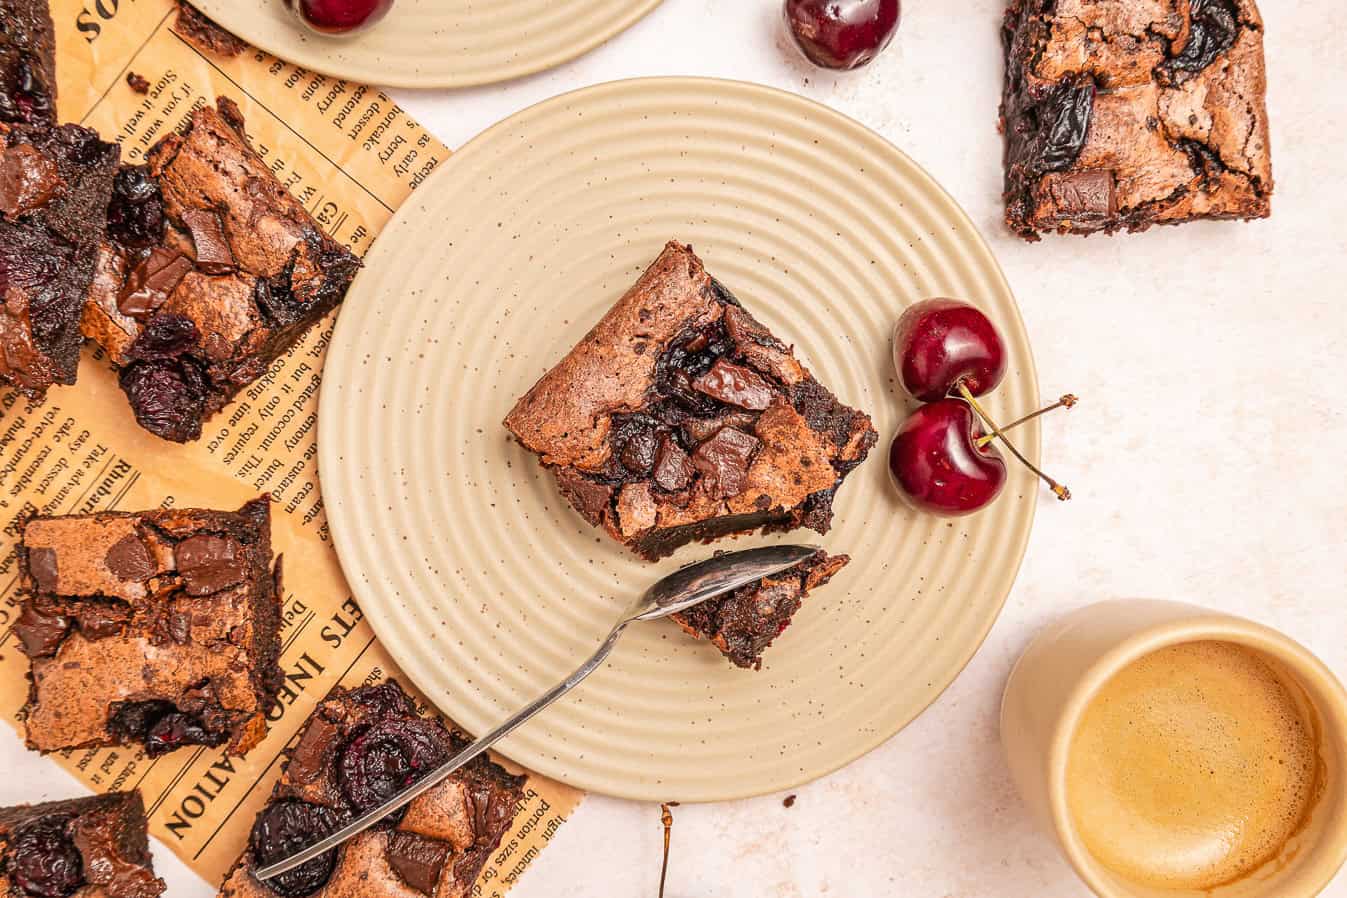
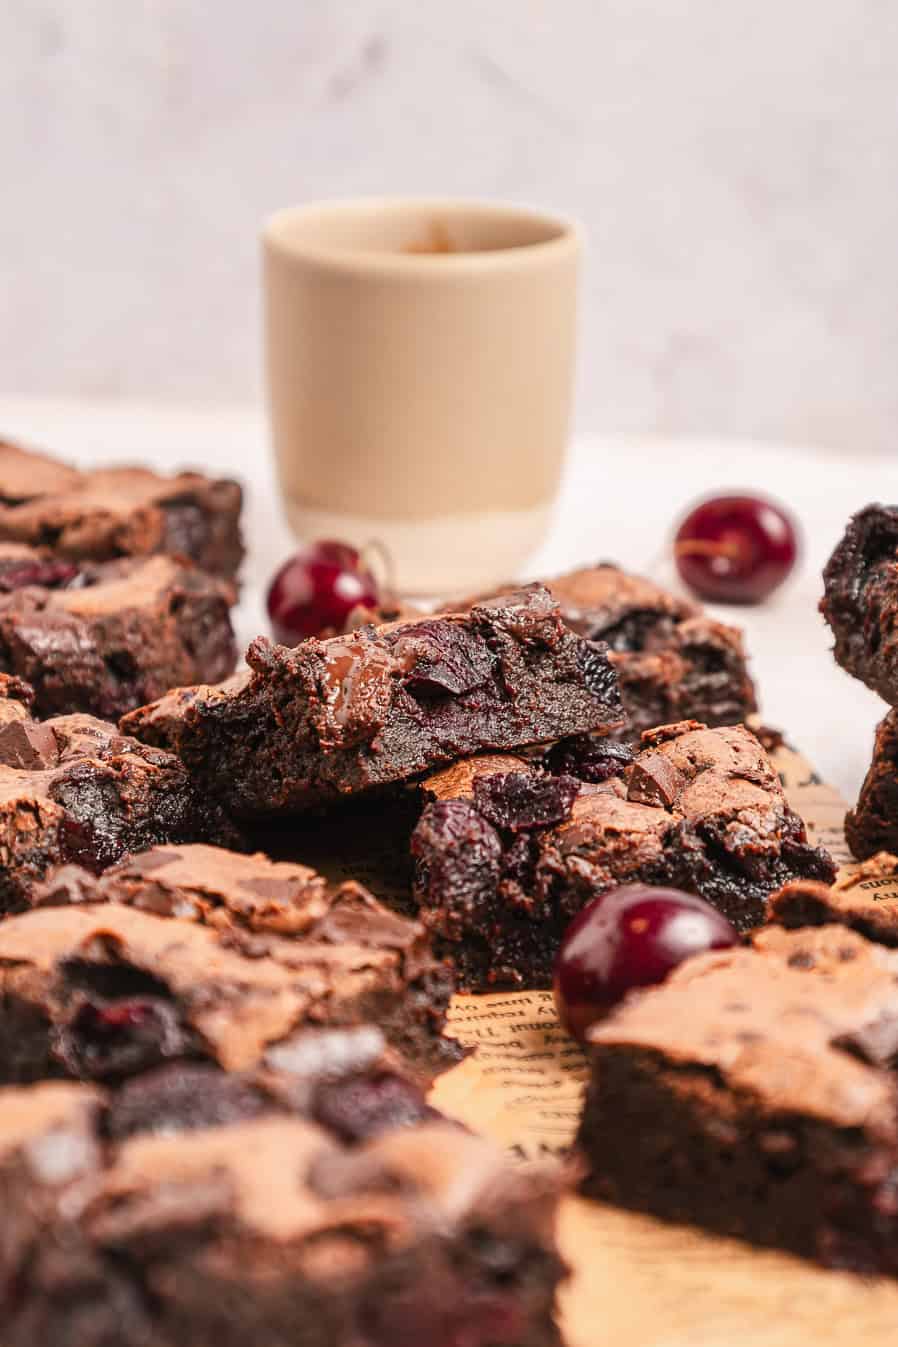
Slice and Enjoy!
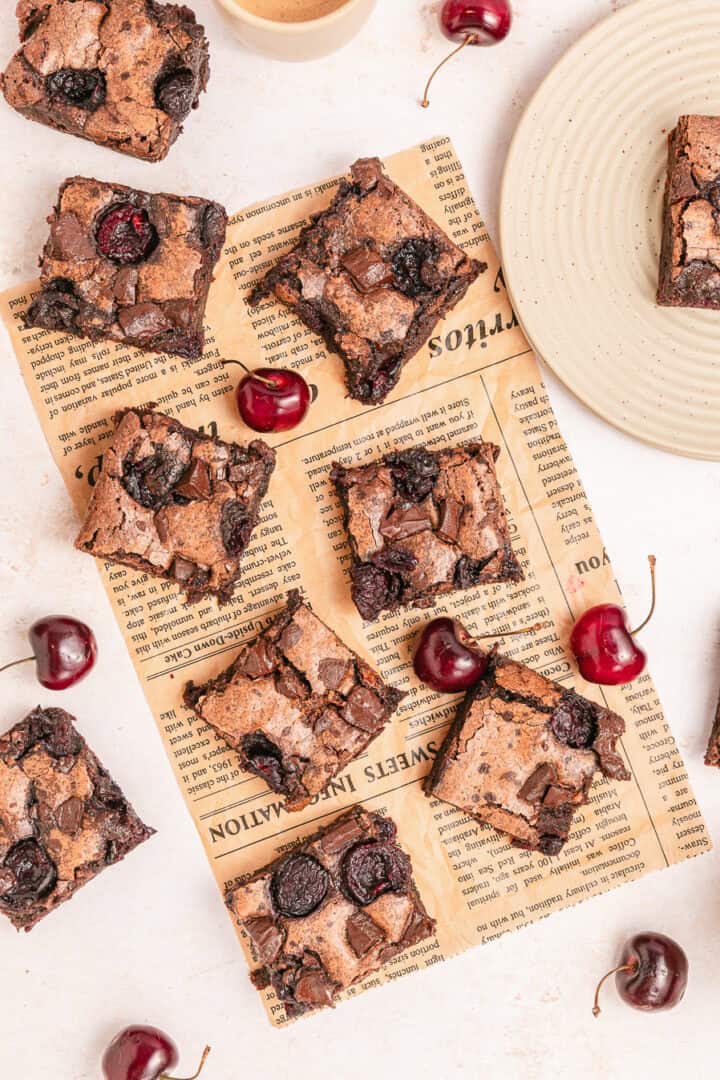
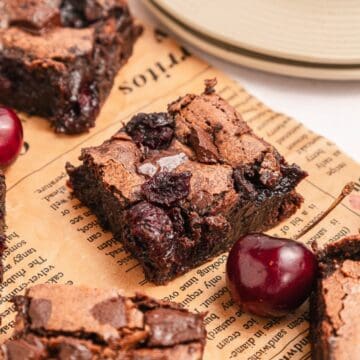
- You should see a dense, fudgy interior with pockets of thickened cherries and slightly chewy edges.
Storage

Once cooled completely, store the cherry brownies in an airtight container at room temperature for up to 3 days. Keep them in a cool, dry place. If stacking, separate layers with parchment paper. If your kitchen is warm, refrigerate instead. Store in an airtight container for up to 5 days. Let brownies sit at room temperature before serving for a softer texture.
For longer storage, freeze the brownies. Slice, wrap each piece tightly in plastic wrap, and place in a freezer-safe container or bag. Freeze for up to 2 months. Thaw at room temperature before serving. The cherry layer may release slight moisture after thawing.
Top Tips
Drain Excess Cherry Juice Before Layering - after the cherries sit with sugar and cornstarch, they'll release juice. Spoon the fruit over the batter and leave excess liquid behind in the bowl. Too much added liquid is the main reason cherry brownies turn gummy in the center.
Slightly Underbake for Fudgy Texture - pull the brownies when the center looks just set and a toothpick shows moist crumbs, not clean. They will continue to firm up as they cool in the pan. Waiting for a completely clean toothpick often results in dry brownies the next day.
Recipe
Tried and loved this recipe? Please leave a 5-star review below! Your reviews mean a lot to me, so if you've got any questions, please let me know in a comment.
Chocolate Cherry Brownies
Equipment
- 9x13 inch baking pan
- Heatproof bowl
- Knife
Ingredients
- Brownie Batter
- 1 cup unsalted butter
- 10 oz dark chocolate 60 - 70%, chopped
- 1½ cups granulated sugar
- ½ cup light brown sugar
- 4 large eggs room temperature
- 1 tablespoon vanilla extract
- 1 cup gluten-free flour Can use all-purpose flour as well
- ¾ cup unsweetened cocoa powder
- 1 teaspoon salt
Cherry Layer
- 2 cups cherries fresh, pitted and halved, or frozen, thawed and very well drained
- 2 tablespoon granulated sugar
- 1 tablespoon cornstarch
- 1 teaspoon lemon juice
- ½ teaspoon vanilla extract
- ½ cup dark chocolate chunks
Instructions
Preheat Oven and Prepare Pan
- Preheat oven to 350°F. Line a 9×13-inch pan with parchment paper, leaving overhang for easy removal. The parchment should lie mostly flat; small creases are fine.
Prepare the Cherry Mixture
- In a bowl, toss cherries with sugar, cornstarch, lemon juice, and vanilla. The cherries should be evenly coated with no visible clumps of cornstarch, and excess liquid should stay in the bowl. Set aside while preparing the batter.
Melt Butter and Chocolate
- In a heatproof bowl, melt butter and chopped chocolate together in 30-second microwave bursts or over a double boiler. Stir until smooth and glossy, then let cool slightly so it's warm but not hot.
Combine Sugars and Eggs
- Whisk granulated sugar and brown sugar into the chocolate mixture. Add eggs one at a time, whisking until fully incorporated. Stir in vanilla. The batter should be glossy, thick, and smooth.
Fold in Dry Ingredients
- Sift together flour, cocoa powder, and salt. Gently fold into the batter until no dry streaks remain. Fold in chocolate chunks if using. Do not overmix-this keeps the brownies fudgy instead of cakey.
Layer Batter and Cherries
- Spread about ⅔ of the brownie batter into the prepared pan. Spoon the cherry mixture evenly on top, leaving excess juice in the bowl. Dollop the remaining brownie batter over cherries and swirl gently with a knife. Add a few extra cherries on top for visual appeal.
Bake the Brownies
- Bake 35-40 minutes until edges are set and center looks just set. Toothpick inserted in the center should come out with moist crumbs for fudgy brownies. For a firmer, more cake-like texture, bake 5-10 minutes longer.
Cool Completely Before Slicing
- Let brownies cool fully in the pan. Use the parchment overhang to lift and slice. Cooling ensures a clean cut and firm cherry layer.
Nutrition