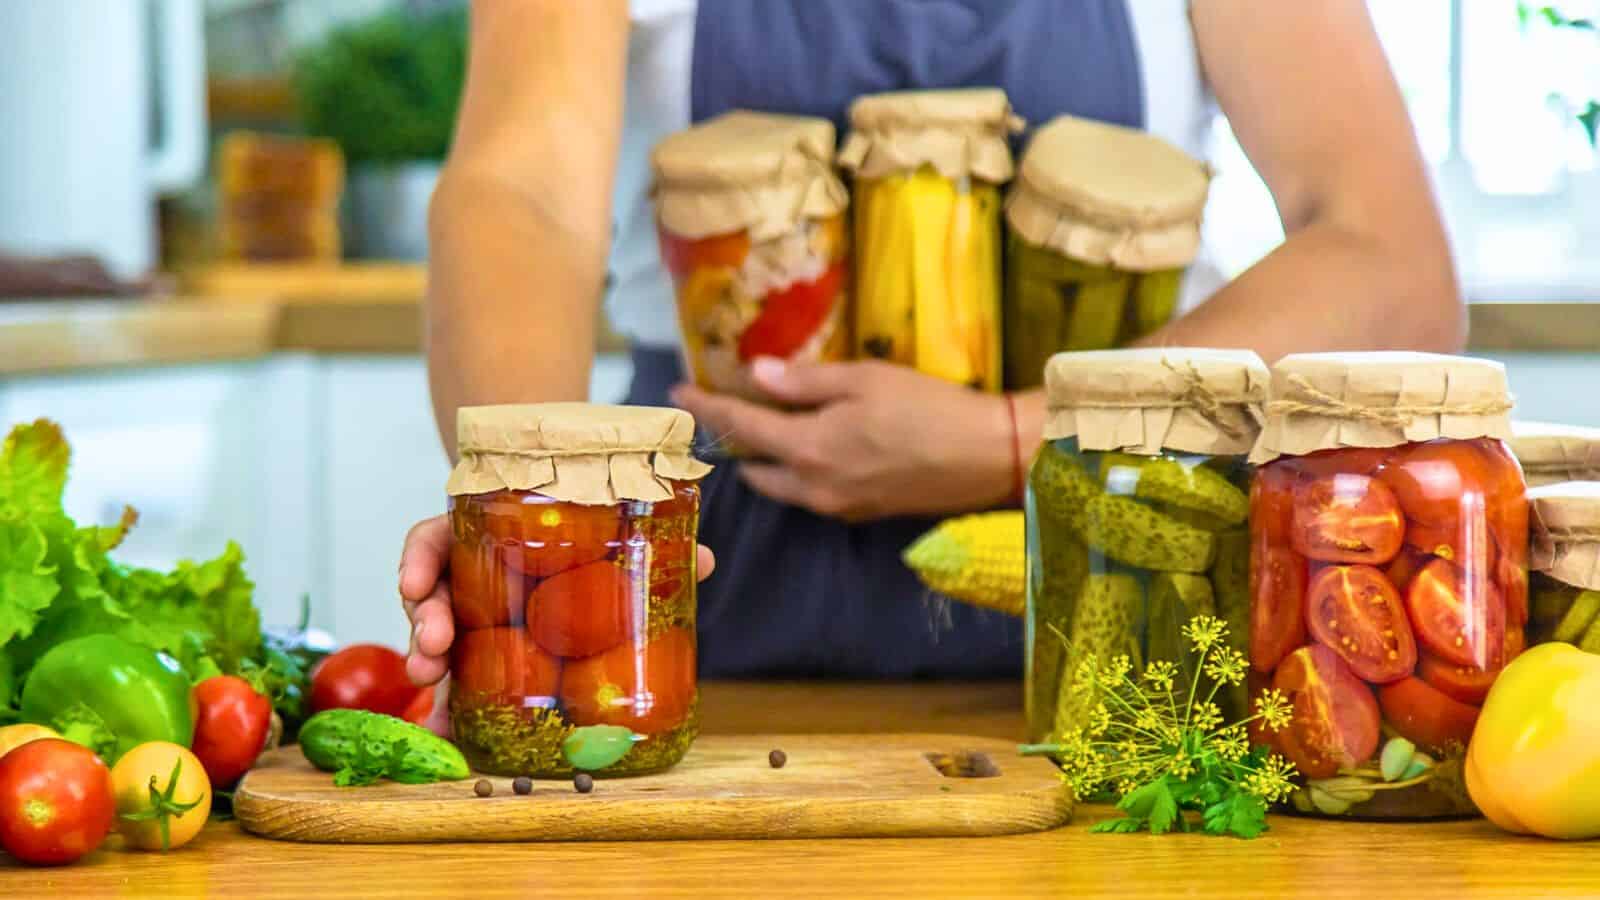
Water-bath canning is a great way to save the season's bounty and enjoy fresh flavors all year long. This method is simple yet effective, perfect for anyone wanting to do some home preservation. With just a few pieces of basic equipment, some fresh ingredients, and this handy guide to water bath canning, you can start filling your pantry with homemade jams, jellies, and pickles!
The process might seem a bit daunting at first, but with some practice, it becomes second nature. The satisfaction of hearing that pop as each jar seals is unbeatable, knowing that you've created something delicious and safe for your family to enjoy. Plus, there's something incredibly rewarding about seeing rows of colorful jars lining your shelves, each one a testament to your efforts.
For those new to canning, starting with simple projects builds confidence and skills. As you get more comfortable, the process becomes more fun and less intimidating. Water-bath canning is not just about preserving food; it's about creating a sustainable practice that brings a sense of accomplishment and joy!
Equipment and Supplies
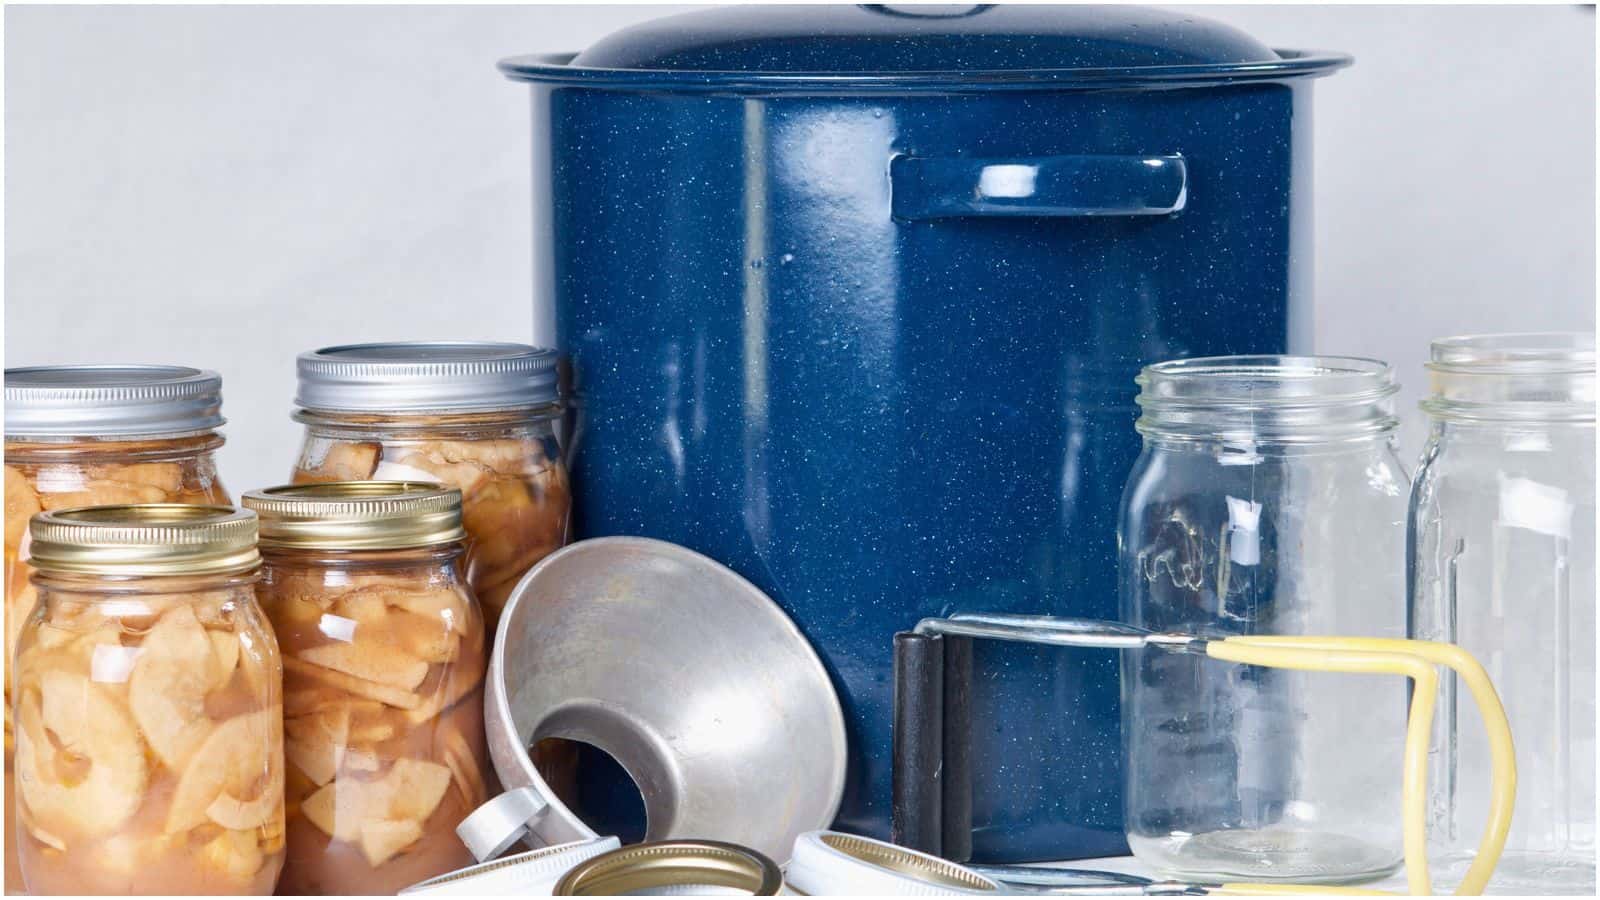
For water bath canning, specific equipment and supplies are essential to achieve safe and successful preservation. You'll need a water bath canner or a large pot with a lid to hold the jars and a canning rack to keep them off the bottom of the pot, preventing breakage. Mason jars, available in various sizes, are used to store the food, with new lids recommended for each session to guarantee a proper seal. Other necessary items include a jar lifter for handling hot jars, a funnel to fill jars without spilling, a bubble remover tool or non-metallic spatula to remove air bubbles, a magnetic lid lifter for safely handling lids, and clean cloths or paper towels for wiping jar rims before sealing.
Preparation
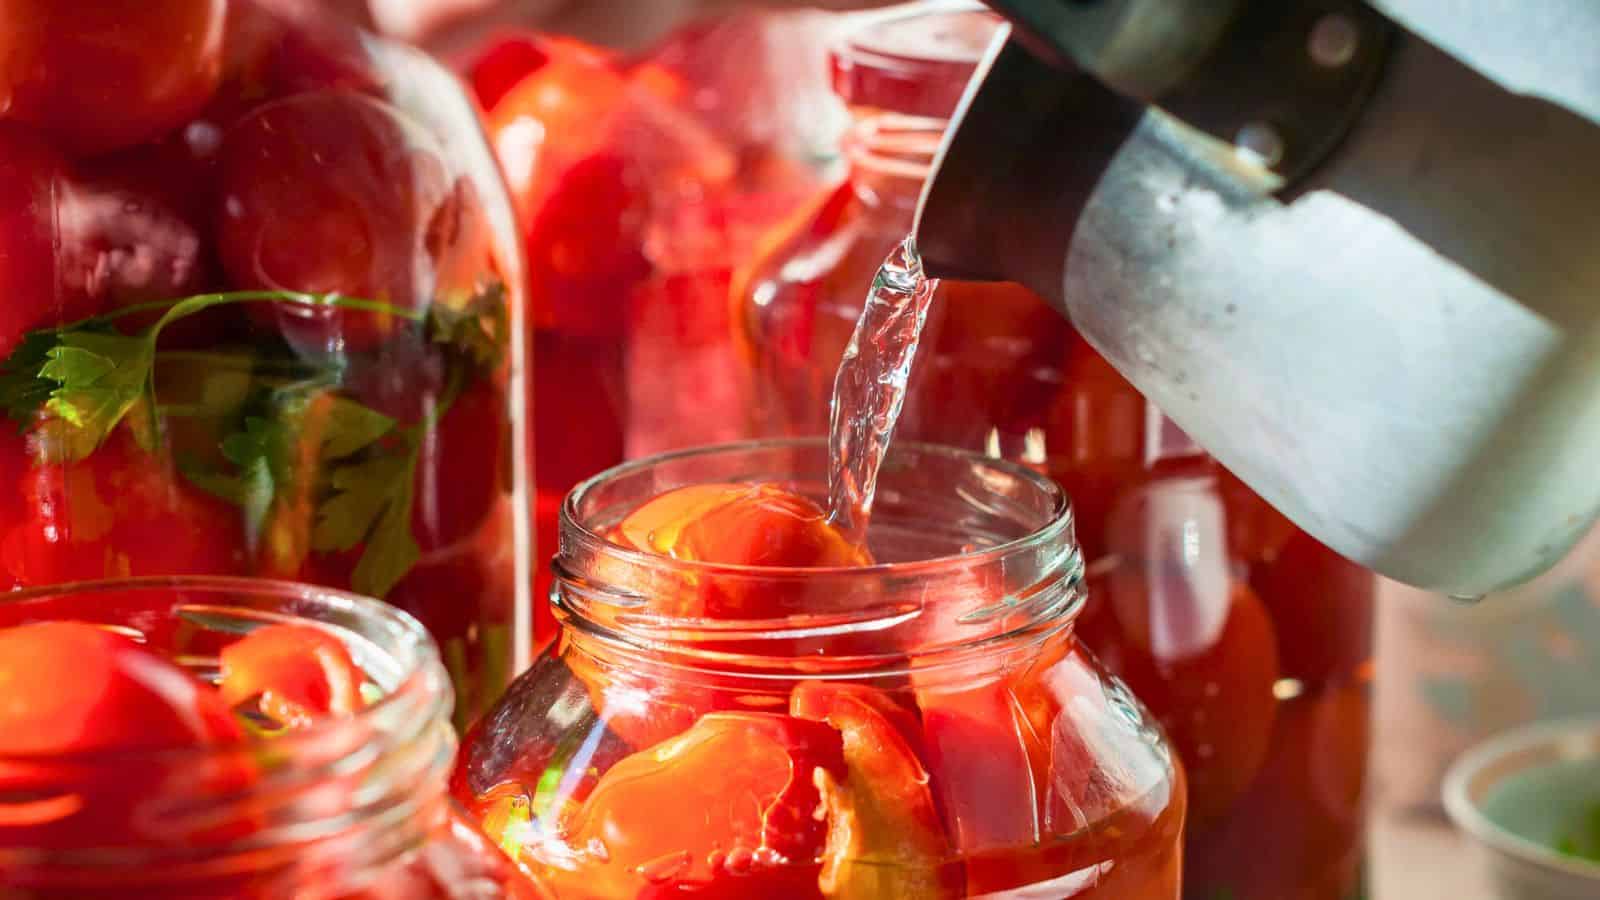
Preparation is a critical step in water bath canning that involves getting your jars, food, and workspace ready. Start by sterilizing jars and lids to prevent contamination. Prepare the food for canning by washing, peeling, cutting, and cooking it according to the recipe. The canning liquid, which can be syrup, juice, or brine, should also be prepared at this stage. When filling the jars, it's important to follow headspace guidelines, which dictate the amount of space between the food and the rim of the jar. Proper headspace is crucial for creating a strong vacuum seal during processing.
Canning Process
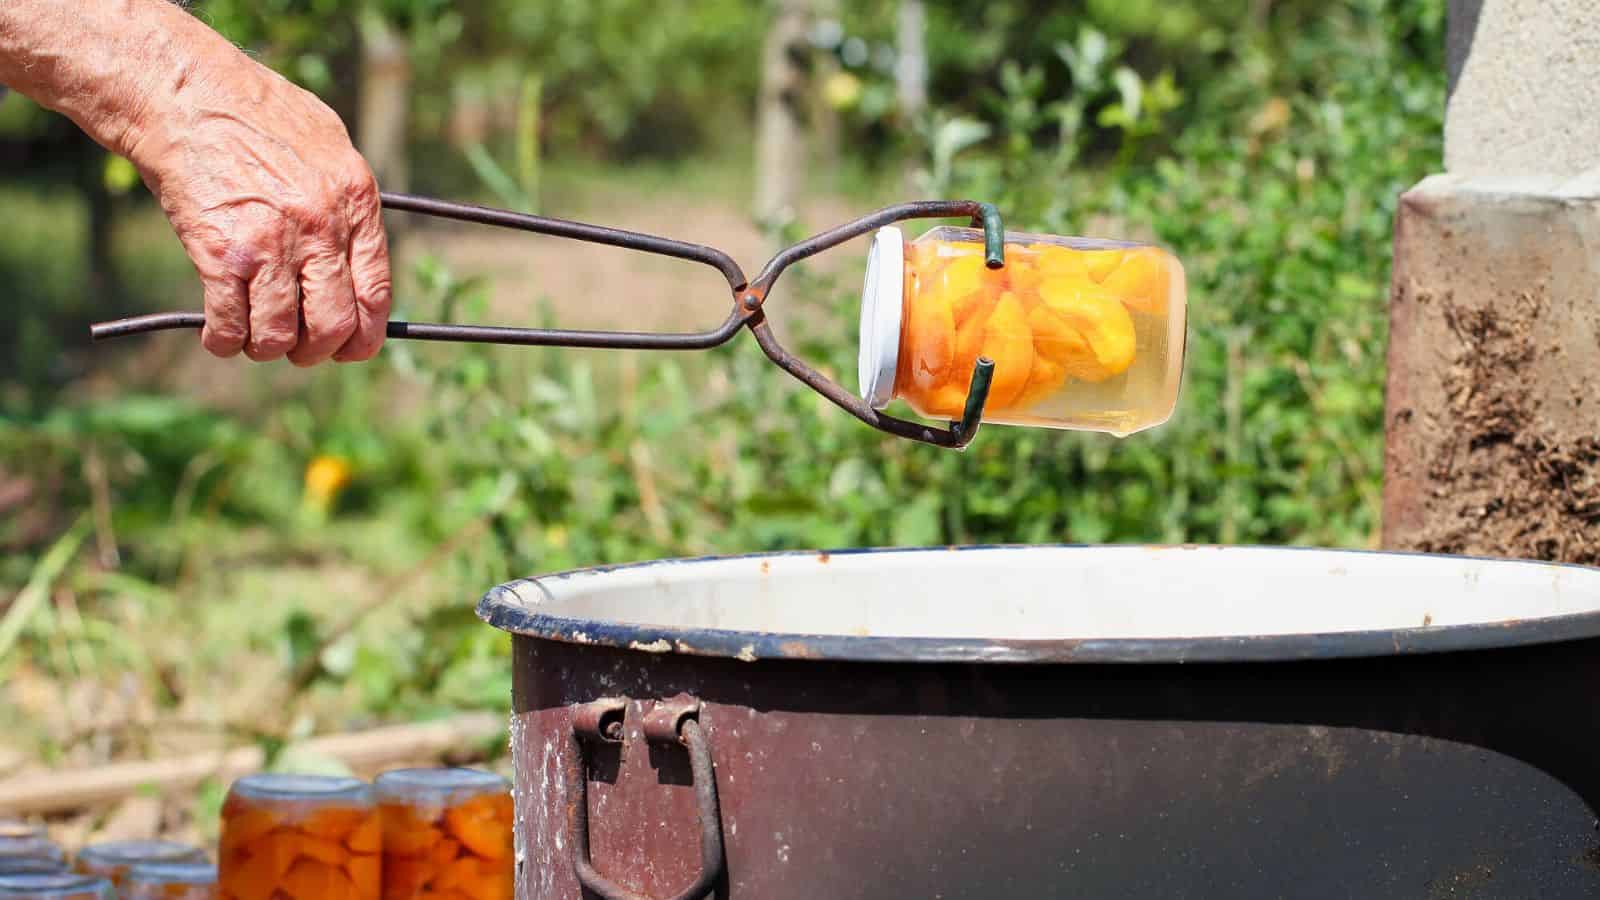
The actual canning process involves a series of steps designed to safely preserve the food in jars. Begin by filling the canner with enough water to cover the jars by at least 1-2 inches. Place the filled jars in the canner, making sure they are upright and not touching each other. Bring the water to a boil, then process the jars for the time specified in the recipe, which varies based on the type of food and your local altitude. Adjusting processing times for altitude is important as higher elevations require longer processing times to achieve the same level of preservation.
Post-Processing

After the jars have been processed, they need to be cooled properly to complete the sealing process. Remove the jars from the canner using a jar lifter and place them on a towel or cooling rack, away from drafts. Allow the jars to cool undisturbed for 12-24 hours. Once cooled, check the seals by pressing the center of each lid. If the lid is concave and does not flex, the jar is sealed. Store the sealed jars in a cool, dark place, labeled with the contents and date. If any jars do not seal, they should be reprocessed within 24 hours or refrigerated and used promptly.
Safety and Troubleshooting

Safety is paramount in water bath canning to prevent foodborne illnesses, making sure that the food you preserve is both safe to consume. One of the critical aspects of safety is recognizing signs of spoilage. Indicators such as bulging lids, leaking, off-odors, or mold should not be ignored, as they often signify that the food inside has been compromised. These signs can result from improper sealing, insufficient processing times, or contamination during the canning process.
If a jar did not seal properly, it's important to address the issue promptly. A jar that hasn't sealed can either be reprocessed within 24 hours or refrigerated for immediate use. Reprocessing involves reheating the contents and guaranteeing that the jars are correctly sealed this time around. However, it's important to note that reprocessing can sometimes affect the texture and flavor of the food.
Common problems in water bath canning, such as siphoning (loss of liquid from the jars), cloudy liquid, or floating fruit, can usually be resolved with minor adjustments. Siphoning can occur if there is rapid temperature change or overfilling of jars. Maintaining correct headspace and gradual cooling can mitigate this issue. Cloudy liquid might indicate the use of table salt instead of canning salt or impurities in the water used for the canning liquid. Floating fruit is often due to overripe fruit or packing the jars too loosely. By using firm, ripe fruit and packing the jars tightly, this can be avoided.
Always follow tested recipes and guidelines from reliable sources, such as the USDA or the National Center for Home Food Preservation. These sources have conducted extensive research to develop processes that guarantee safety and quality. Deviating from these recipes, especially in terms of acid levels or processing times, can result in unsafe food.
Recipes and Ideas

Water bath canning opens up a world of preserving possibilities. Classic recipes include jams, jellies, pickles, and tomato-based sauces. Try out different fruit combinations for unique jams or try various spice blends in your pickles. Homemade tomato sauces and salsas can be tailored to your taste preferences and used throughout the year. These recipes not only preserve seasonal produce but also create flavorful additions to your pantry.
Additional Tips and Tricks

When engaging in water bath canning, meticulous attention to detail and adherence to best practices are crucial for achieving both safety and high-quality results. Every step of the process, from selecting ingredients to sealing jars, requires careful consideration to make sure the preservation of food is done correctly.
Starting with high-quality, fresh ingredients is fundamental, as the quality of the produce directly affects the flavor and longevity of the preserved food. Fresh, ripe fruits and vegetables will yield the best texture and taste, making your efforts worthwhile.
Maintaining a clean workspace is equally important to prevent contamination. This includes sterilizing jars, lids, and utensils, as well as making sure that your hands and surfaces are clean throughout the process. Contamination can introduce harmful bacteria into your preserved food, compromising both safety and quality. It's essential to follow the proper sanitation procedures recommended for water bath canning.
For those new to water bath canning, starting with simpler recipes is a wise approach. Basic recipes for jams, jellies, and pickles are good entry points as they help build your understanding of the canning process without being overwhelming. These simpler projects allow you to get familiar with the techniques and equipment involved. As you gain confidence and experience, you can gradually tackle more complex recipes, such as sauces or mixed fruit preserves.
Save the Flavors for Later

Water-bath canning is a perfect way to preserve the flavors of the season and enjoy them year-round. It's more than just a method of food preservation; it's a gratifying process that brings a sense of accomplishment. Each jar you fill is a testament to your efforts and care, giving you a tangible reward that you and your family can enjoy for months to come.
When you become more familiar with water-bath canning, you'll find that it becomes a cherished part of your routine. The process might seem detailed at first, but with practice, it becomes second nature. The satisfaction of seeing your pantry filled with jars of homemade preserves is unmatched, giving you a deeper connection to your food and the seasons.
As we've tackled, water-bath canning is a home preservation method worth trying. It brings a sense of pride and joy to your kitchen. So grab your jars and start preserving the best of each season - your future self will thank you!