I didn't expect sweet potatoes to become the secret behind one of my favorite brownies. After years of baking chocolate desserts, I found that roasting them whole creates a dense, fudgy texture and deep chocolate flavor. It's the brownie recipe I reach for when I want maximum chocolate flavor with surprisingly little effort.
There was a period before our family immigrated when every surface in the apartment seemed covered in paperwork. Passports sat beside birth certificates. Medical forms were tucked into folders that moved from room to room. Photographs had to be printed, records had to be found, and every day seemed to bring another item that needed a signature or stamp.
The immigration medical exam was one of those milestones that felt larger than it probably was. We spent days gathering everything we might need, checking lists, rechecking them, and trying to keep life moving forward at the same time. The adults carried the stress quietly. The children felt it anyway.
During those weeks, the one thing that remained steady was tea. In my Russian and Jewish family, tea has always appeared during uncertain stretches of life. It sits beside conversations, accompanies paperwork, and fills the space when people do not quite know what to say next. And beside the tea, there was always something sweet.
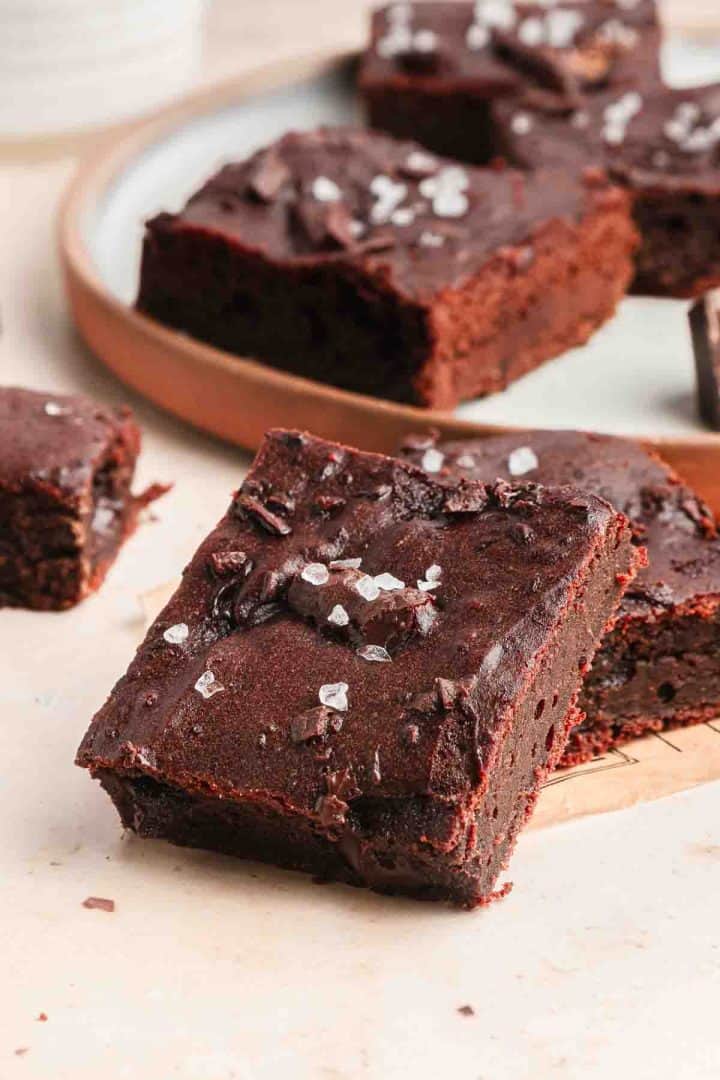
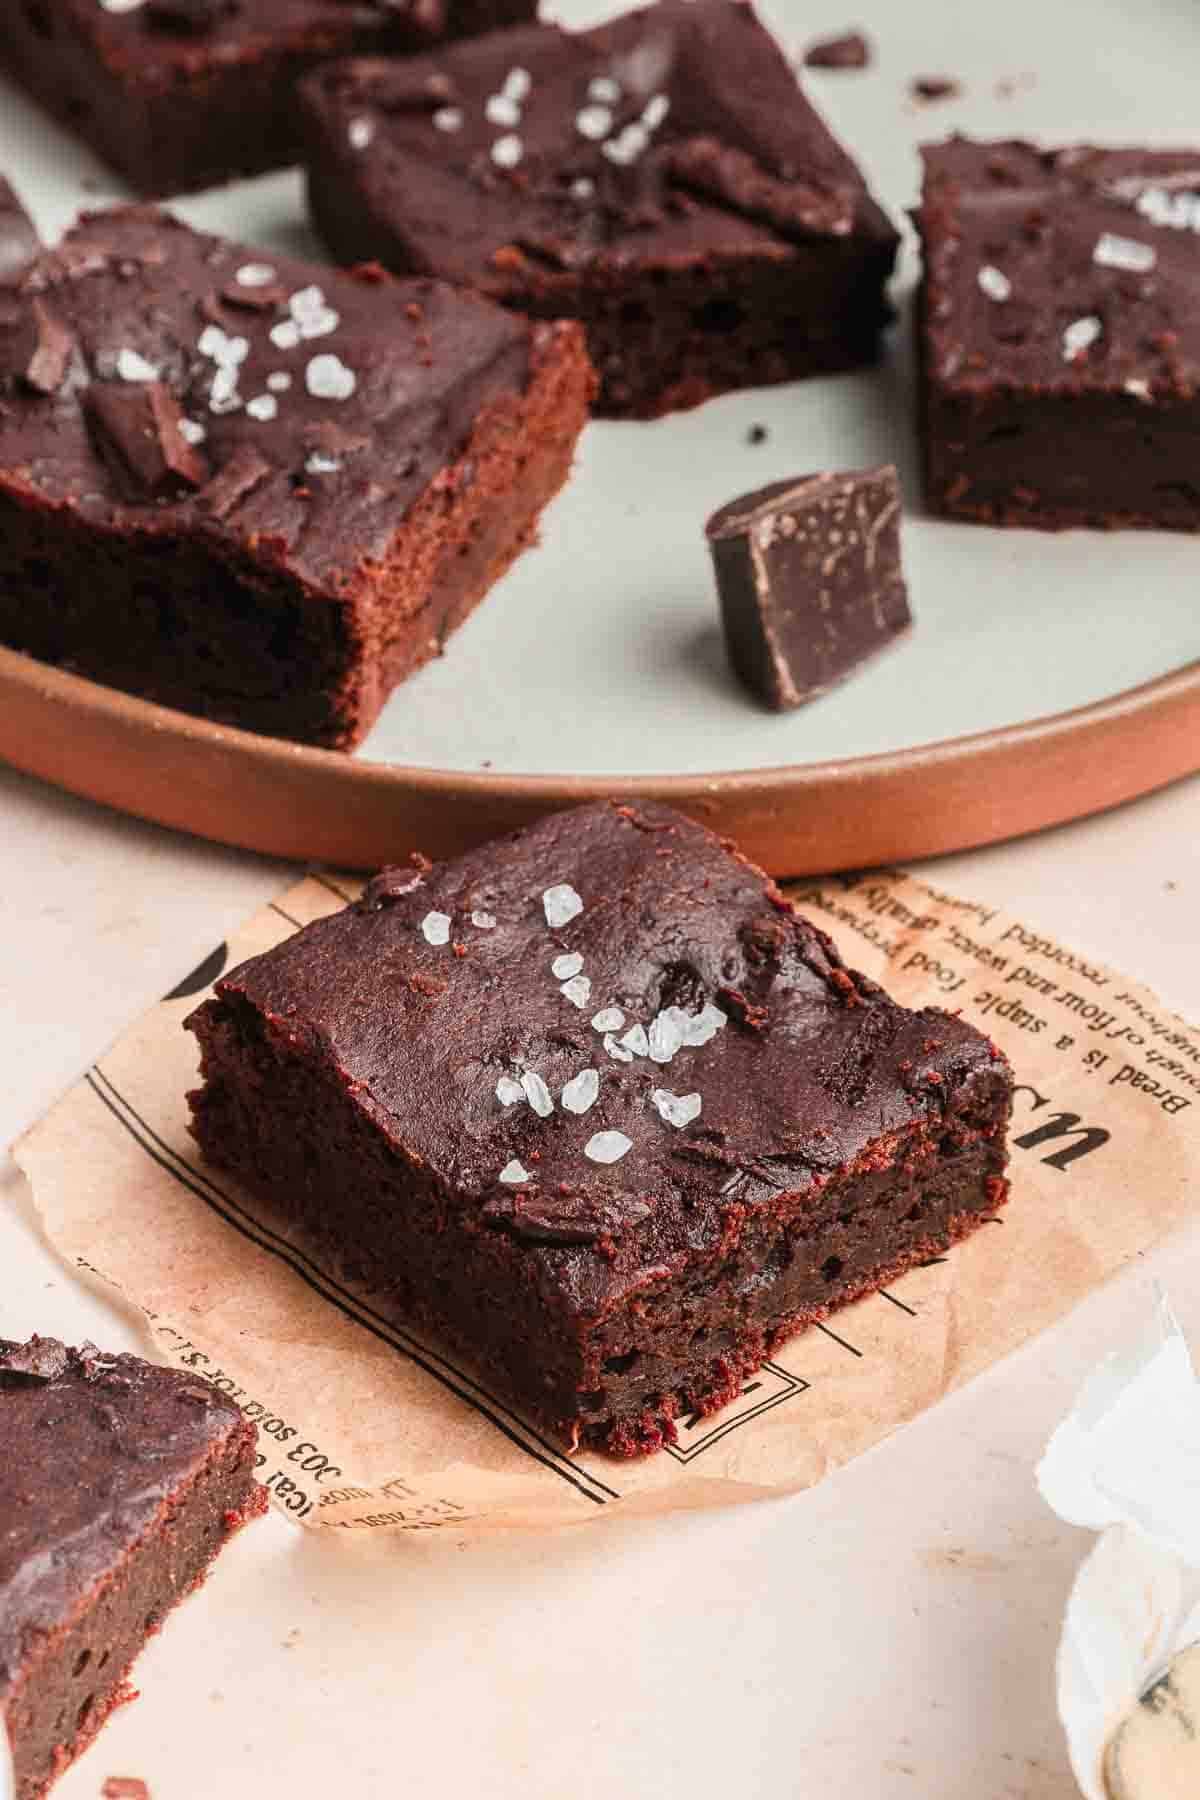
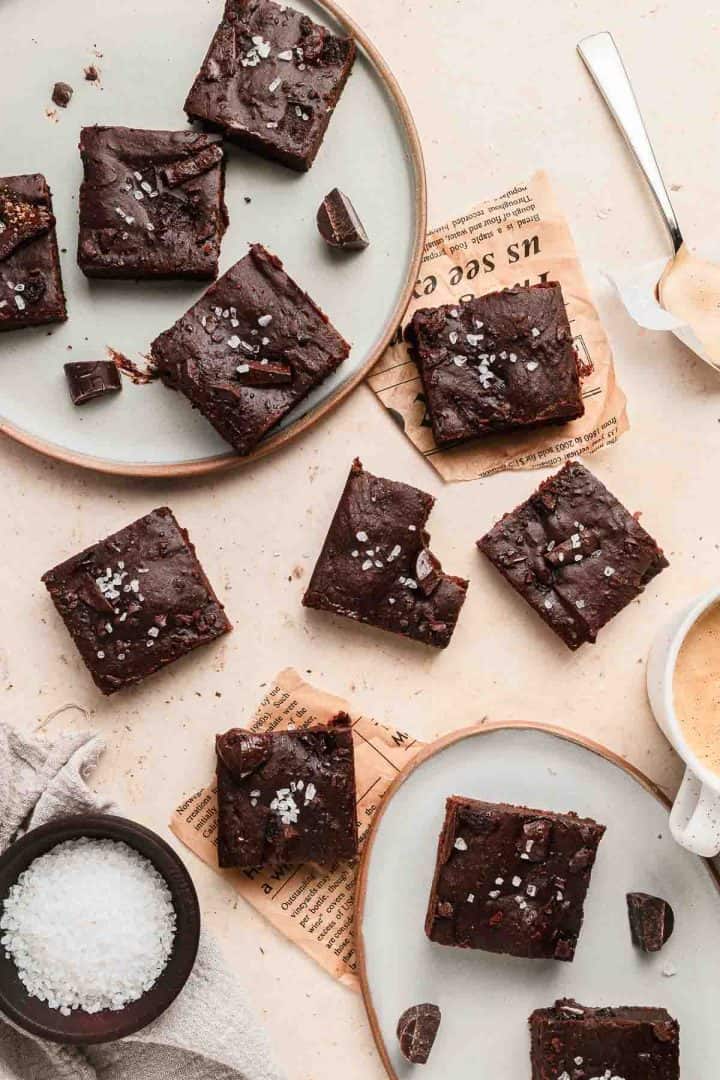
These sweet potato brownies bring me back to that season. They are deeply chocolatey, soft in the center, and made from ingredients that often sit unnoticed in the pantry. You'll think that sweet potatoes may seem like an unlikely starting point for brownies, yet they create a rich texture that feels substantial and comforting.
I began working on this recipe after making countless chocolate desserts over the years. Recipes like my halva brownies have long been favorites when I want something rooted in Middle Eastern flavors. My vegan chocolate chilli brownies bring a gentle heat that lingers after each bite. And when I need something elegant for guests, I often turn to my healthy dark chocolate tart, with its silky filling and deep chocolate flavor.
This recipe has the richness I look for in a brownie, along with the practicality that comes from using ingredients already in the kitchen.
Sweet potato brownies have become one of those recipes I return to during busy seasons. They remind me of those immigration waiting rooms, stacks of documents, cups of tea, and the quiet hope that carried us forward one step at a time.
Ingredients
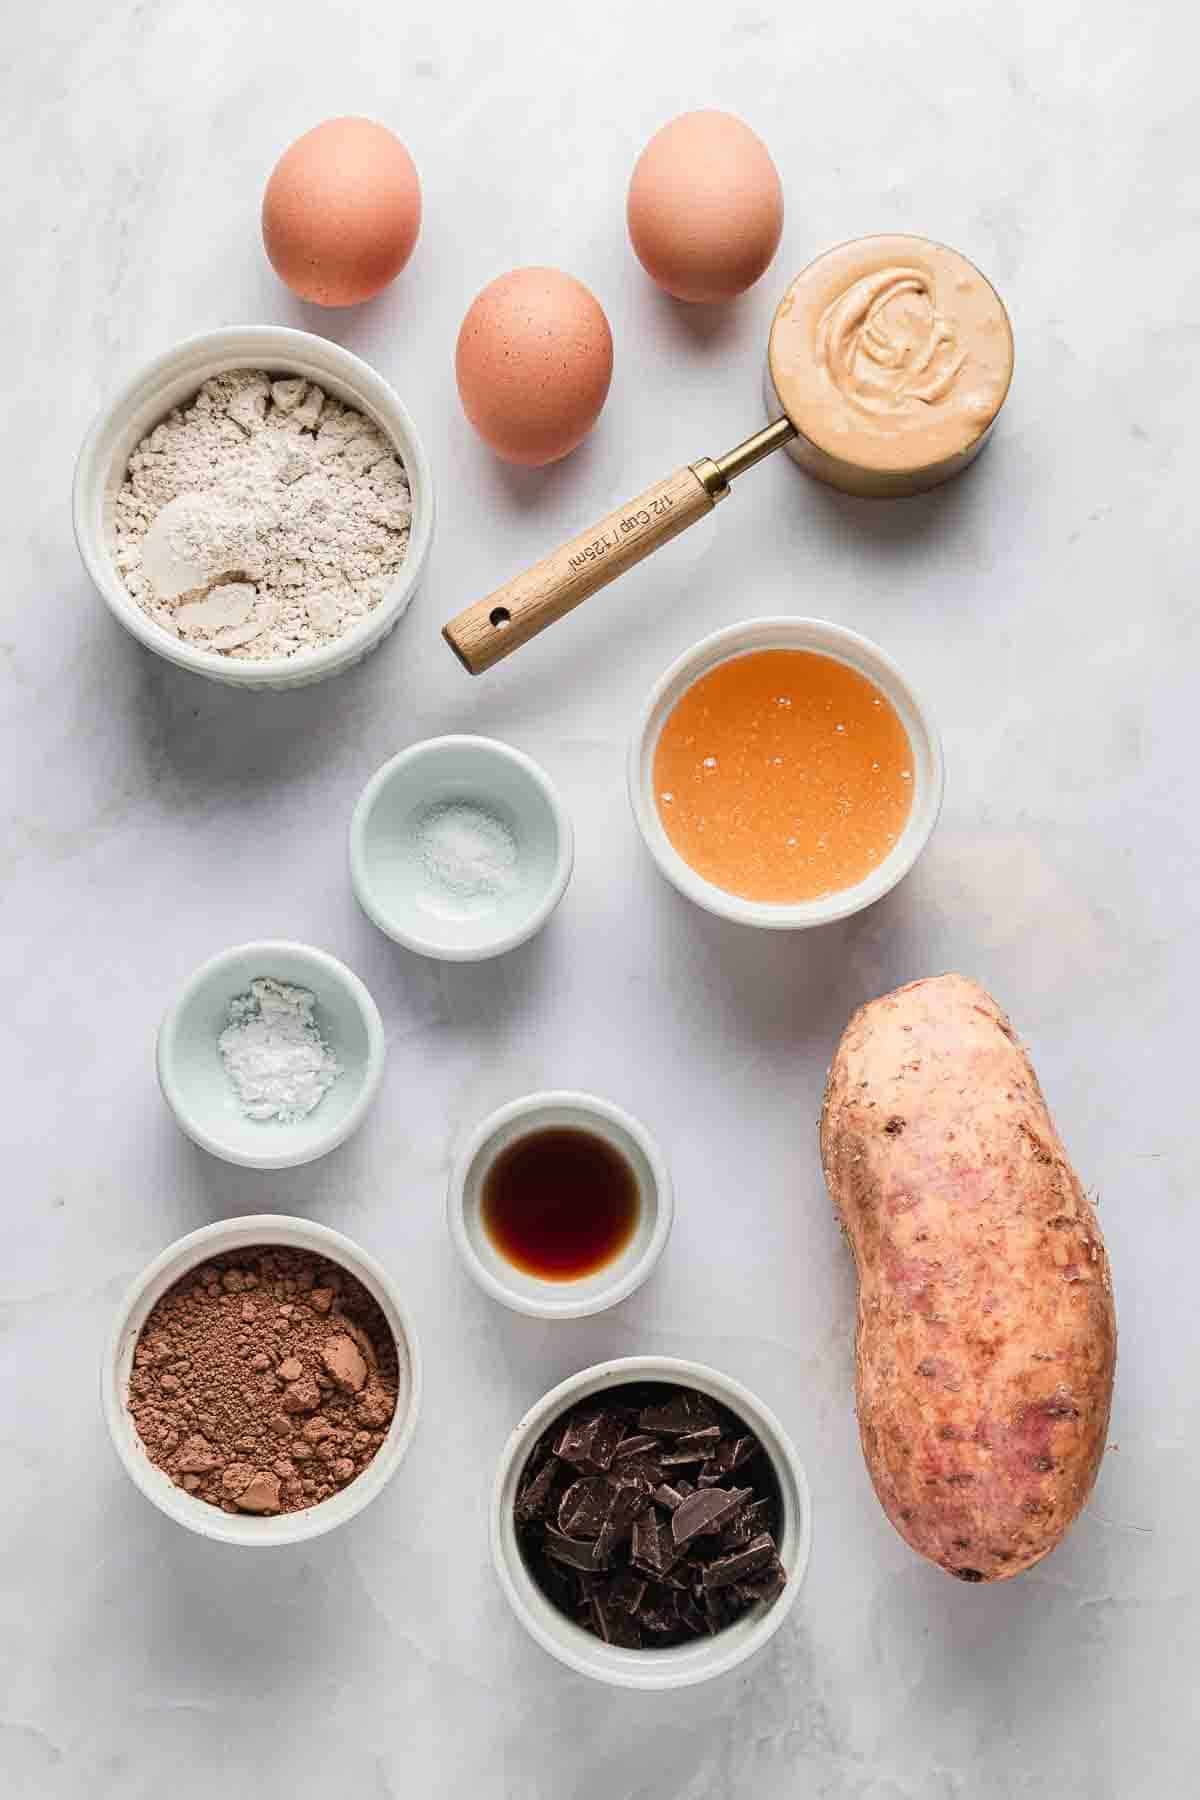
The sweet potatoes are what make these gluten-free brownies special. I always bake them whole with the skins on rather than boiling them. Baking draws out their natural sweetness and keeps the flesh thick and creamy, which creates that dense, fudgy texture I wanted when making this recipe. I tested boiled sweet potatoes once, and the brownies turned out much softer and almost too wet. Japanese sweet potatoes can work if that's what you have, though they produce a slightly drier brownie with a nuttier finish.
Almond butter gives the brownies richness and helps hold everything together without relying on traditional flour. I usually reach for almond butter because its flavor stays in the background and lets the chocolate shine. Peanut butter works well if that's already in the pantry, though it brings a stronger flavor. When I want something that reminds me of desserts I first tasted in Israel, I use tahini. Its slight bitterness pairs beautifully with dark chocolate.
Dutch-process cocoa powder is responsible for the deep chocolate flavor and dark color. I tested these brownies with regular cocoa powder, but Dutch-process created a richer result and a smoother finish. If regular unsweetened cocoa is all you have, the brownies will still bake well, though the flavor won't be quite as deep.
Certified gluten-free oat flour keeps these brownies tender without making them heavy. I like oat flour because it gives structure while preserving that soft center. If gluten isn't a concern, regular oat flour works the same way. Finely ground almond flour can also be used, though the brownies become slightly more delicate.
See the recipe card for the full list and exact quantities.
Top Tips
Measure the Sweet Potato After Mashing - sweet potatoes vary more than you'd think. I always measure the puree after mashing rather than relying on the size of the potatoes. Too much puree makes the brownies softer, while too little can make them more cake-like.
Chill Them for an Hour if You Like Extra-Fudgy Brownies - these brownies become even richer after spending some time in the refrigerator. My husband actually prefers them cold, and I've found that an hour in the fridge creates cleaner slices and a texture that reminds me of those bakery brownies with slightly firm edges and soft centers.
Choose Natural Almond Butter Carefully - not all nut butters behave the same way. Very runny almond butter can make the batter looser, while thick varieties straight from the refrigerator are harder to mix evenly. I stir the jar thoroughly before measuring. Tahini also works beautifully and gives the brownies a flavor that brings me back to many Middle Eastern desserts I first tasted in Israel.
How to Make Sweet Potato Brownies Recipe
These gluten-free sweet potato brownies come together in one bowl, though a few small details make the difference between brownies that are dense and fudgy and brownies that feel heavy or underbaked. Pay attention to how the batter looks and feels rather than relying only on the clock.
Bake the Sweet Potatoes Until Completely Tender
- Start by heating the oven and lining a 9x13-inch pan with parchment paper. Bake the sweet potatoes whole and unpeeled until they are completely soft.
- You should be able to slide a knife through them with almost no resistance. The skins will wrinkle slightly, and some sugary juices may seep out onto the baking sheet. That's a good sign.
- Allow the potatoes to cool before handling them. Hot sweet potatoes trap steam inside, and adding them too early can affect the texture of the batter.
Mash the Sweet Potatoes Until Smooth
- Scoop out the flesh and mash it thoroughly before measuring.
- Take an extra minute here. Any larger pieces left behind will remain visible in the finished brownies and create uneven spots throughout the batter.
- I usually mash with a fork first and then stir vigorously until the mixture becomes almost silky.
- The puree should be thick and spoonable, not watery. If it looks loose or glossy with liquid pooling around the edges, the sweet potatoes may have held onto too much moisture.
Mix the Wet Ingredients Until Glossy
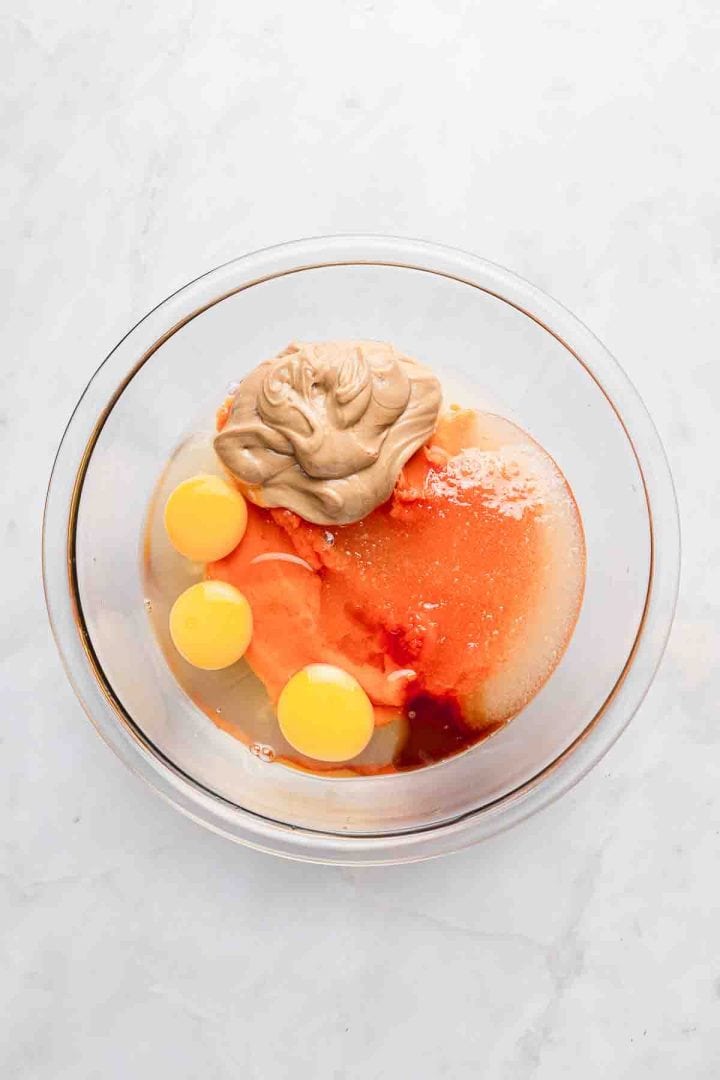
- At first, the mixture can look streaky, especially if your almond butter has separated in the jar. Keep whisking until everything comes together into a smooth batter with an even golden-orange color.
- Room-temperature eggs help everything blend more smoothly. Cold eggs can cause the mixture to look grainy at first.
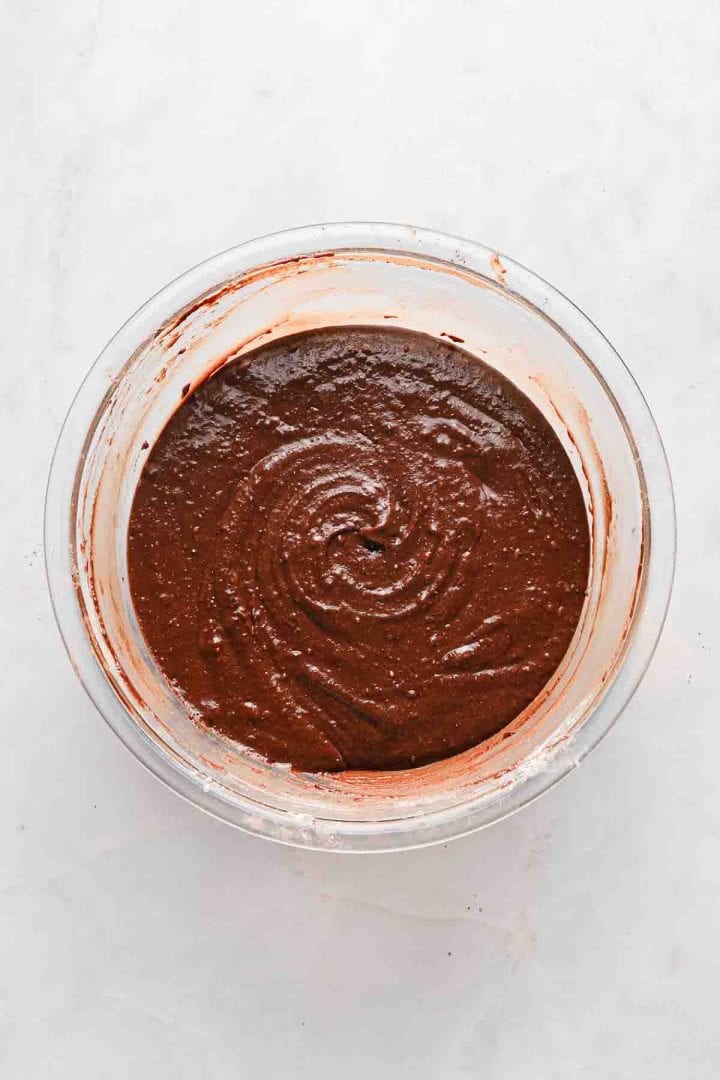
Add the Dry Ingredients Without Overmixing
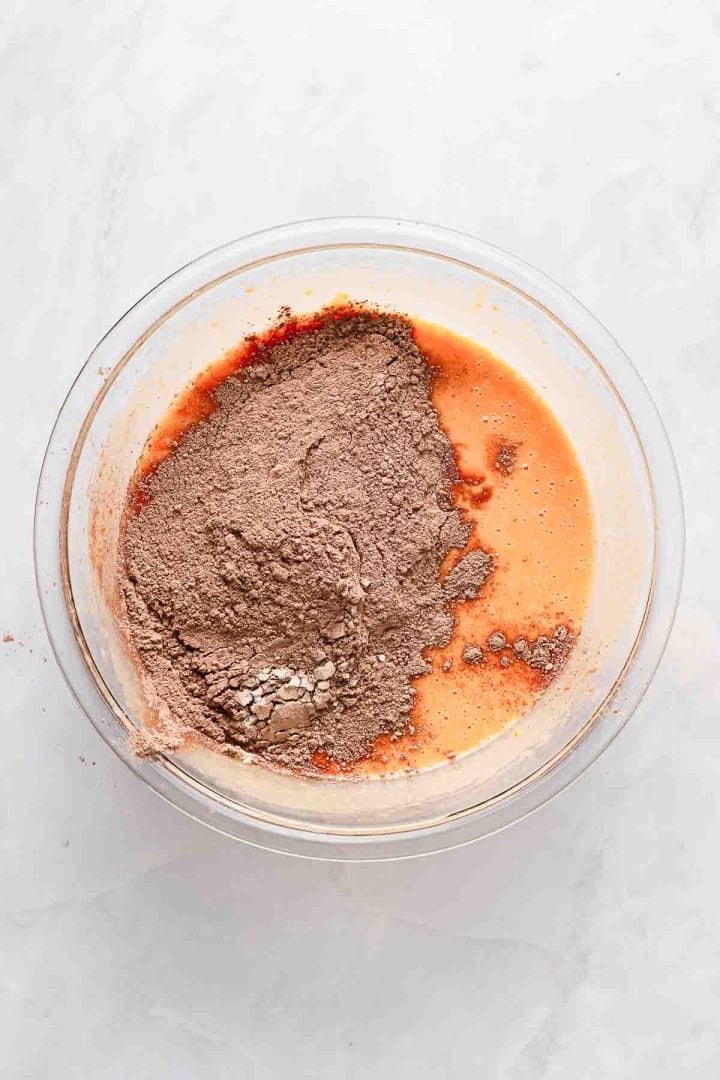
- The batter should be thick and spreadable, somewhere between cake batter and cookie dough. If you continue mixing for too long, the brownies can bake up heavier than intended.
- Don't worry if the batter feels thicker than traditional brownie batter. That's exactly what gives these brownies their dense texture.
Fold in the Chocolate
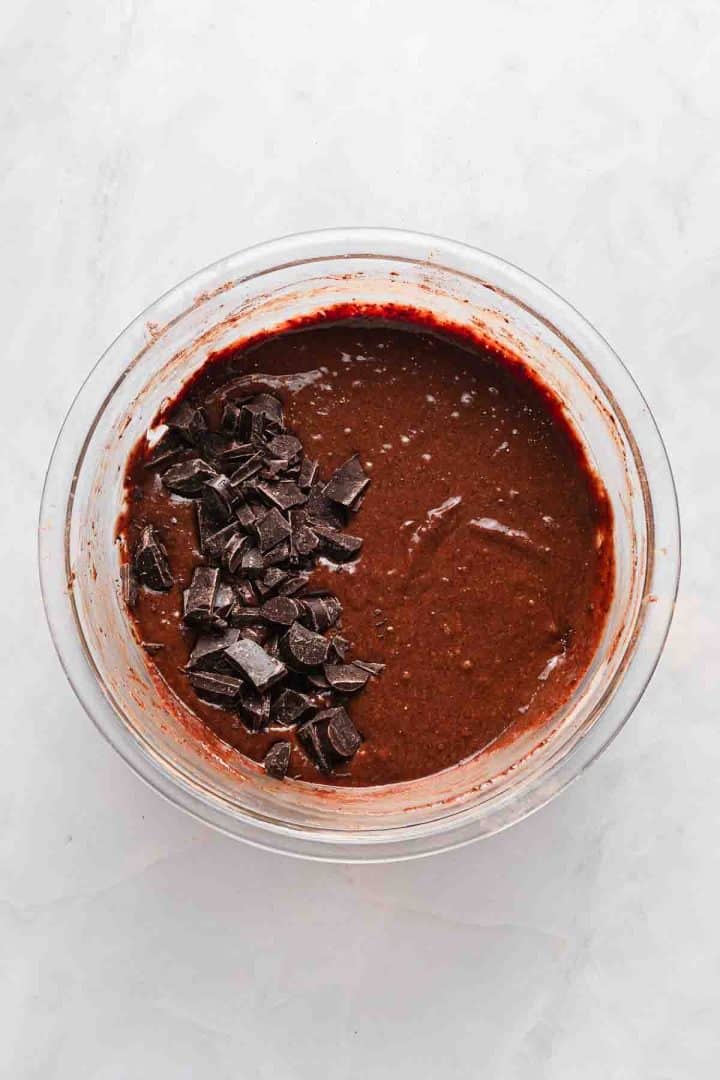
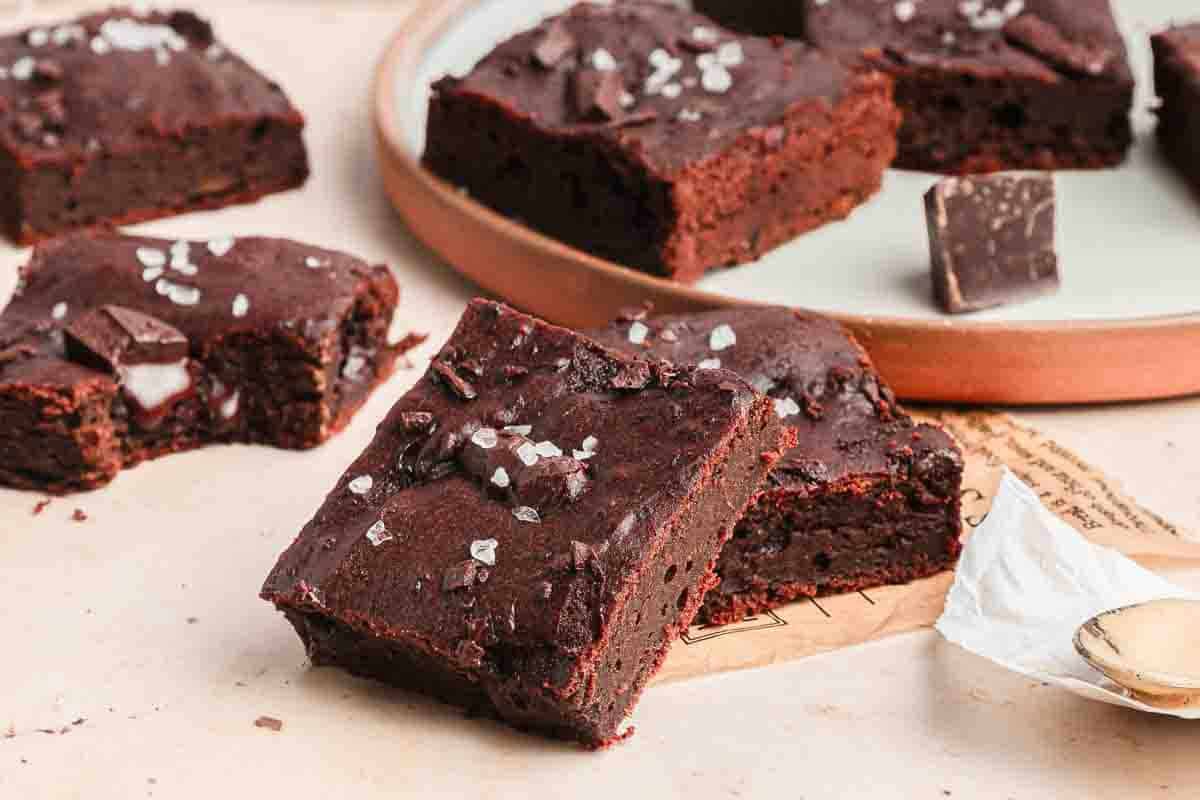
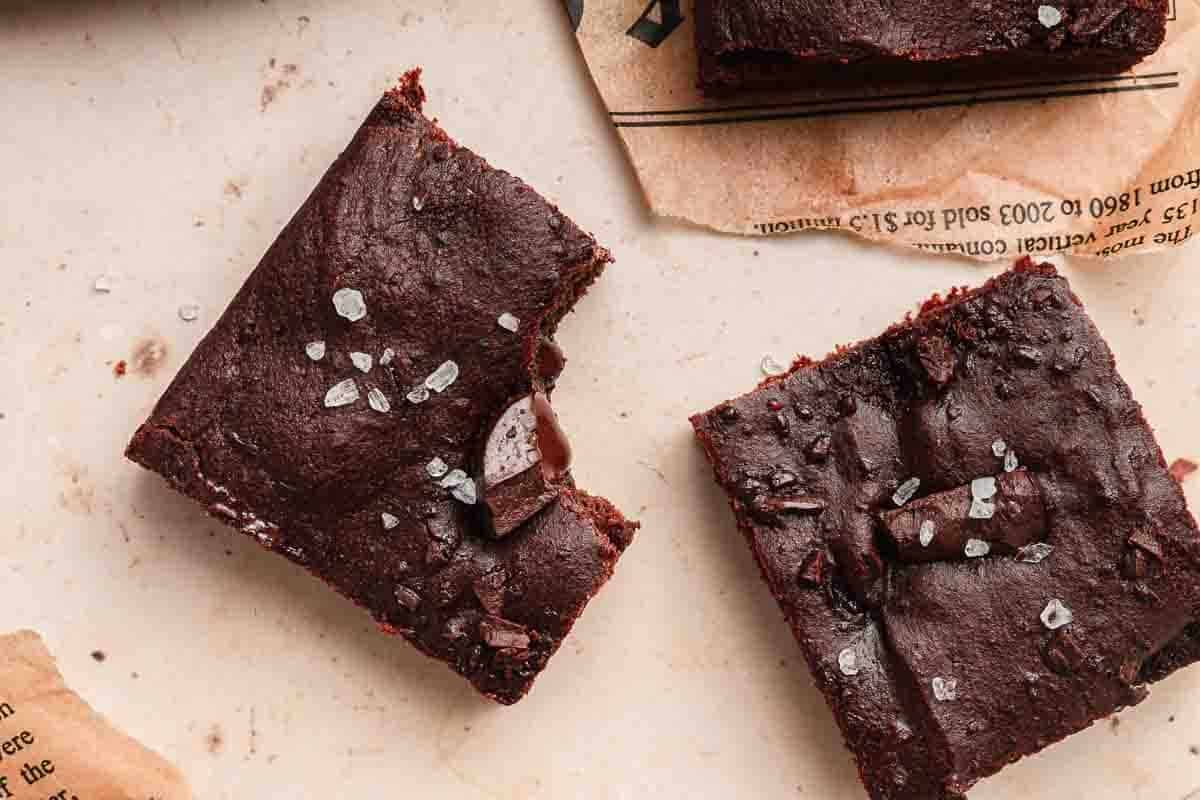
- Chopped chocolate melts into uneven ribbons throughout the brownies, while chips stay more distinct. Either works well, though I usually reach for chopped dark chocolate.
Spread the Batter Evenly
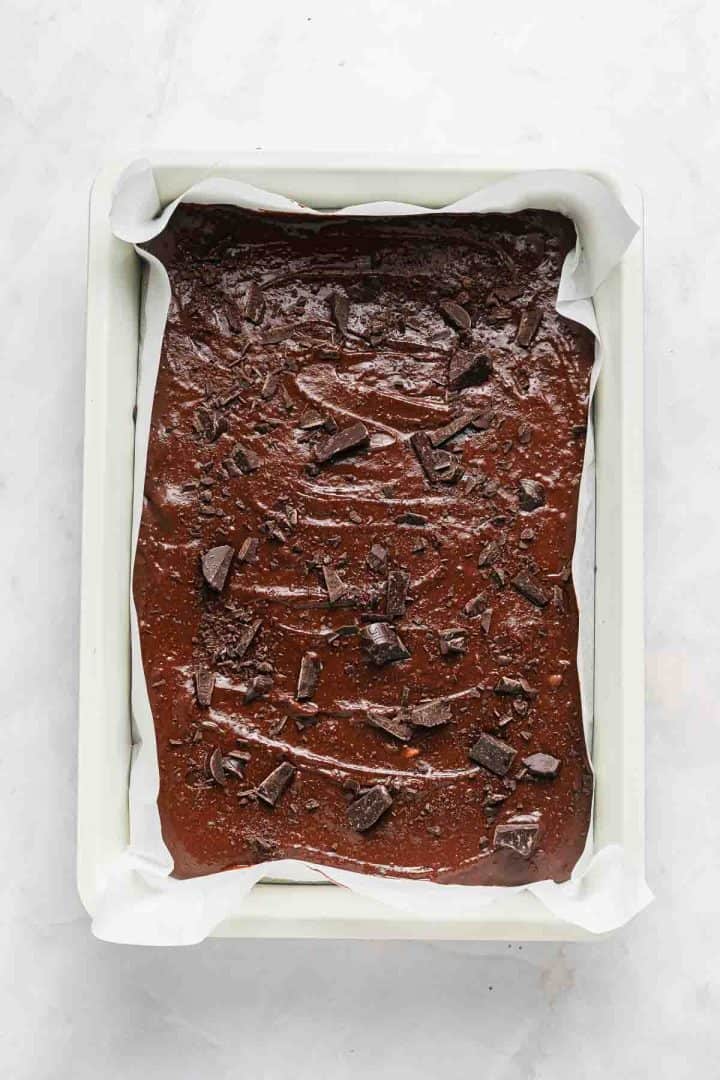
- Because the batter is thick, it doesn't flow naturally like cake batter. Use the back of a spoon or an offset spatula to gently push it into the corners.
- The surface doesn't need to look perfectly smooth. Minor swirls and uneven spots disappear during baking.
Bake Until the Center Is Barely Set
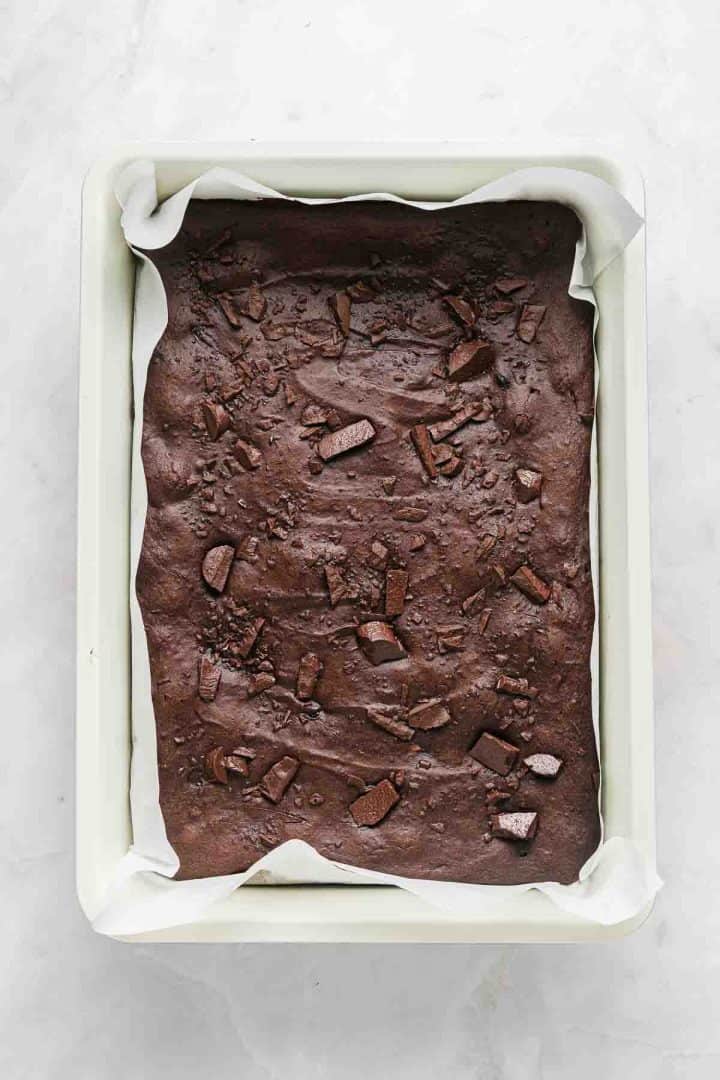
- This is the stage where many people accidentally overbake them. A toothpick inserted into the middle should come out with moist crumbs attached, not completely clean.
- The top will appear matte rather than shiny, and the edges may pull away from the pan slightly. The center should still feel soft when lightly touched.
- If the toothpick comes out with raw batter, they need more time. If it comes out completely dry, they have likely baked too long.
- These brownies continue setting as they cool, so it's better to remove them slightly early than leave them in the oven too long.
Cool Completely Before Slicing
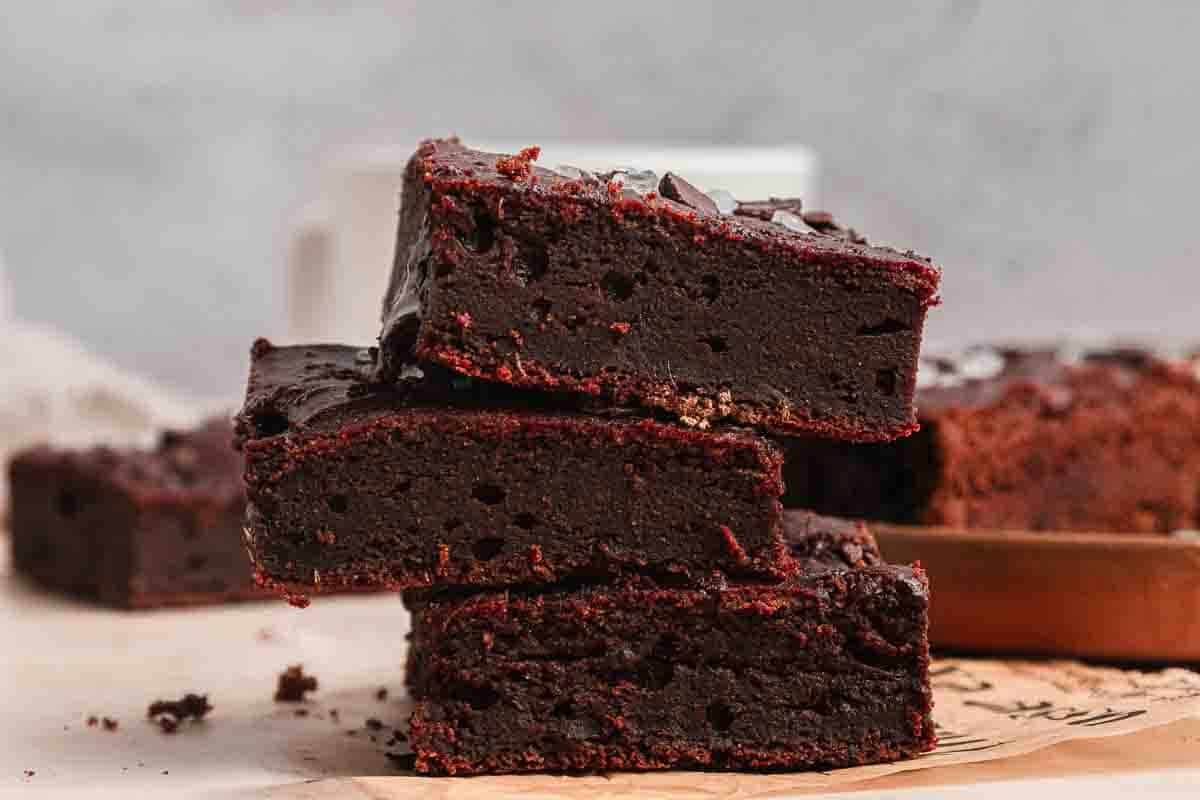
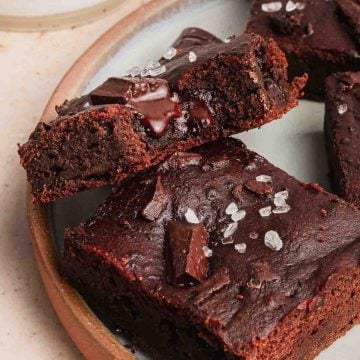
- Fresh from the oven, they may seem underdone. Give them time. As they cool, the center firms up and develops that rich, fudgy texture.
- If you cut into them too soon, they will collapse into soft chocolate crumbs. Waiting at least 30 minutes creates cleaner slices, and an hour of cooling produces even better results.
- Waiting at least 30 minutes creates cleaner slices, and an hour of cooling produces even better results.
Storage

Because they contain more moisture than traditional brownies, these sweet potato brownies are best stored in an airtight container at room temperature for up to 2 days. In warmer or humid kitchens, refrigerate them sooner. They keep well in the refrigerator for up to 5 days, and I actually prefer them cold, when the texture becomes even denser. Place parchment between layers if stacking.
For longer storage, freeze fully cooled brownies in a freezer-safe container for up to 2 months. Thaw overnight in the refrigerator or let them sit at room temperature before serving.
FAQs
Sweet potato brownies become cakier when the batter is overmixed or baked too long. The batter should stay thick and only be stirred until the dry ingredients disappear. Pulling the brownies from the oven when a toothpick still has moist crumbs attached helps keep the center dense and rich.
Yes, though freshly roasted sweet potatoes give the best texture. Canned puree tends to contain more moisture, which can make the batter softer. If using canned puree, choose plain sweet potato puree rather than sweet potato pie filling and avoid anything with added sugar or spices.
These brownies are made with oat flour, sweet potatoes, honey, and almond butter, making them naturally gluten-free and less dependent on refined ingredients than many traditional brownie recipes. They're still a dessert, though one with a rich texture and ingredients that add more substance than a standard brownie.
Recipe
Tried and loved this recipe? Please leave a 5-star review below! Your reviews mean a lot to me, so if you've got any questions, please let me know in a comment.
Sweet Potato Brownies
Equipment
- 9x13 inch baking pan
- rubber spatula
- Fork or potato masher
- Measuring Cups and Spoons
Ingredients
- 1¾ cups mashed sweet potato from about 2 medium sweet potatoes
- 3 large eggs
- 1 large egg yolk
- ½ cup honey
- ½ cup plus 2 tablespoons almond butter
- 1½ teaspoons vanilla extract
- 6 tablespoons Dutch-process cocoa powder
- ¾ cup certified gluten-free oat flour
- ¾ teaspoon baking soda
- ⅓ teaspoon kosher salt
- ½ cup dark chocolate chips or chopped dark chocolate
Instructions
Prepare the Sweet Potatoes
- Preheat the oven to 400°F. Bake the sweet potatoes whole and unpeeled until completely tender, about 45 minutes. A knife should slide through easily. Let them cool enough to handle, then scoop out the flesh and mash until smooth. Measure out 1¾ cups.
Prepare the Pan
- Lower the oven temperature to 350°F. Line a 9x13-inch baking pan with parchment paper so the brownies lift out easily after baking.
Mix the Wet Ingredients
- In a large bowl, whisk together the mashed sweet potato, eggs, egg yolk, honey, almond butter, and vanilla. Continue whisking until the mixture becomes smooth and evenly colored.
Add the Dry Ingredients
- Add the cocoa powder, oat flour, baking soda, and salt. Stir gently until no dry streaks remain. The batter will be thick, similar to a soft cookie dough.
Fold in the Chocolate
- Add the dark chocolate chips or chopped chocolate and fold them into the batter with a spatula. Try not to overmix.
Transfer to the Pan
- Spread the batter evenly into the prepared baking dish. Because the batter is thick, use the back of a spoon or spatula to smooth the surface.
Bake the Brownies
- Bake for 25 to 30 minutes. The edges should look set, while the center remains slightly soft. A toothpick inserted into the middle should come out with moist crumbs attached rather than wet batter.
Cool Before Slicing
- Allow the brownies to cool in the pan for at least 30 minutes. They continue to set as they cool. Cutting them too early can cause them to crumble, while cooling gives them their rich, fudgy texture.
Nutrition