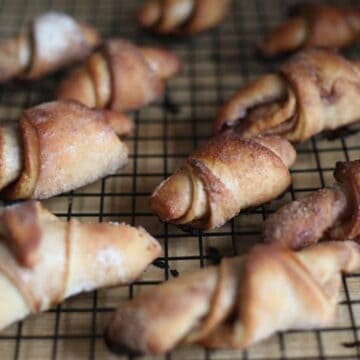
Traditional Israeli chocolate rugelach have layers of deep, unforgettable, crinkly dough with a rich chocolate flavour guaranteed to blow your mind.
Remember how I shared those quick and easy gluten-free rugelach with you guys a while ago? To kickstart the busy season of holiday baking, today I'd like to present to you the much more-involved, but also much more traditional Israeli yeasted rugelach. So if you're looking for a project for these days of dropping temperatures and days under the blankets, you've come to the right place.

Gone are the cream cheese, food processor and zero work policy. Here you have messy, involved, layered beauties that require a whole lot of love to get to where you want them to be... But that deliver in payback something no quick cream cheese rugelach ever could: layers of deep, unforgettable, crinkly dough that hide among them so much chocolate flavour, it'll blow your mind.
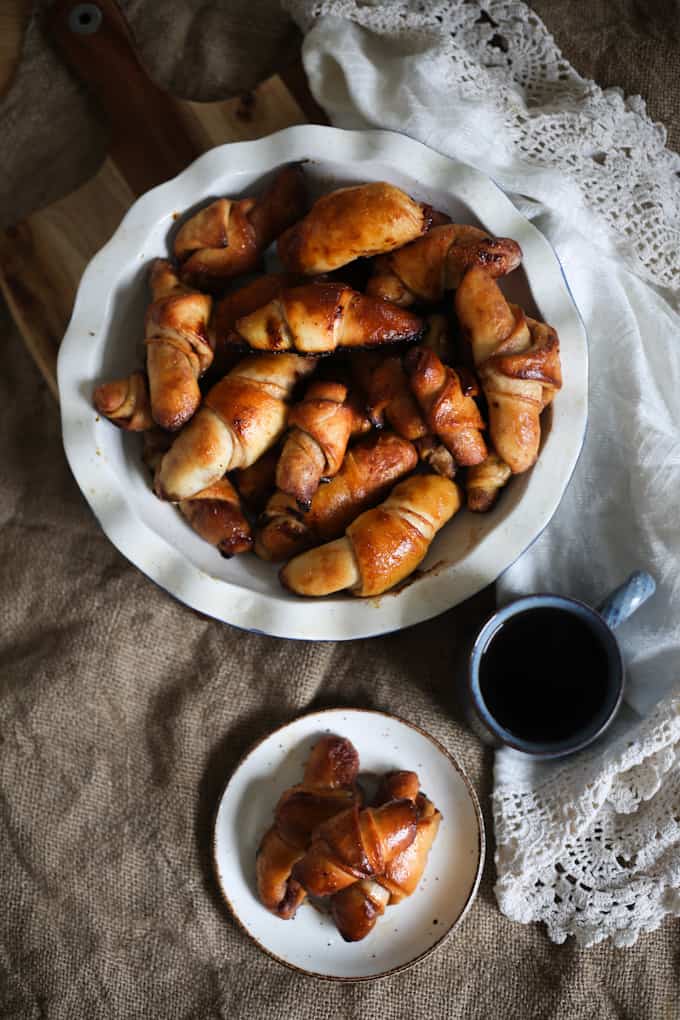
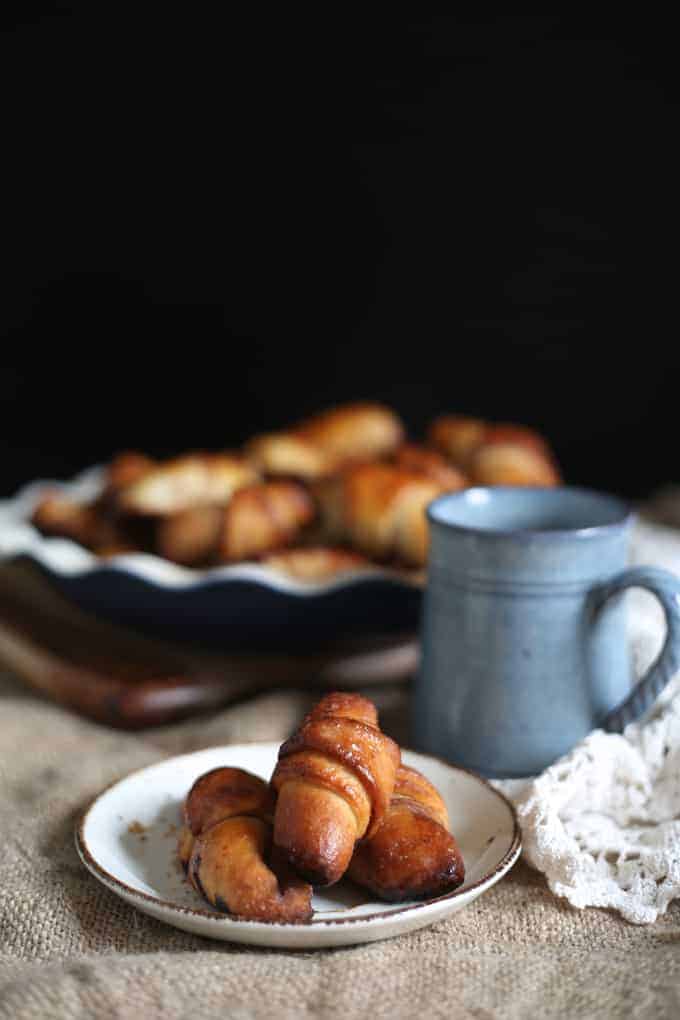
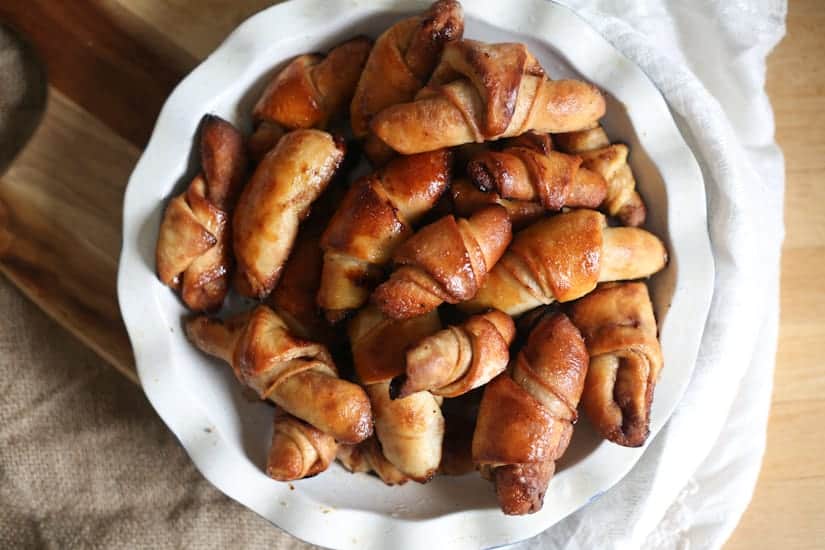
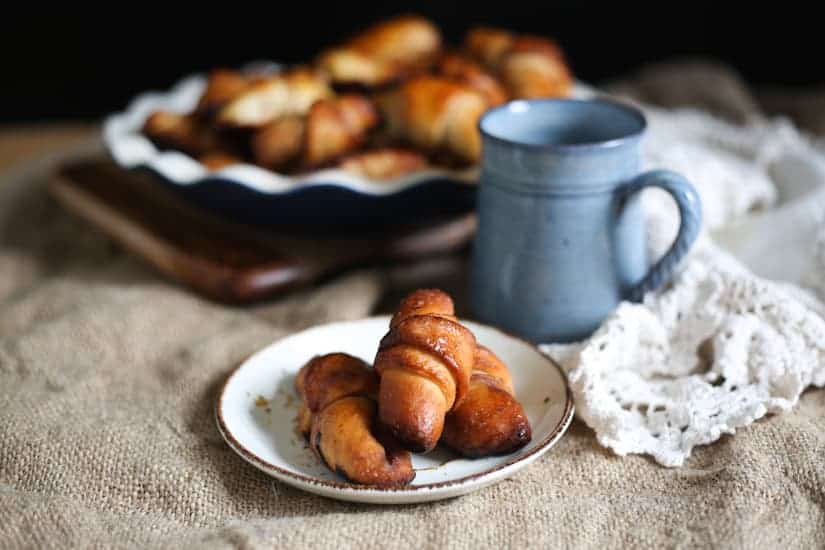
For anyone who has traveled in Israel, the mounds of traditional Israeli yeasted rugelach you see at the markets become one of the most vivid memories we are left with long after the scent of roasting pumpkin seeds and frying falafels has evaporated. Their forms taut and skin glistening with a sticky syrup, traditional Israeli yeasted rugelach hide within them a promise of chocolate, cinnamon and joy for days. For when you bite into these crinkly layered babies, you may forget any other pastry ever existed.
Making traditional Israeli yeasted rugelach is a complicated process that takes hours and requires some experience and delicacy. I would save it for a lazy and cool Sunday, when all you want to do is binge-watch on black-and-white movies on Netflix and hibernate on the couch. Well, these are exactly the days you need the smell of rising dough, melting chocolate and rising, gorgeous Israeli yeasted rugelach.
The beautiful blue cup used in this photoshoot is a handmade piece by Montreal-based Sheila Caplan. To learn more of Sheila's work or to inquire about ceramic classes in Montreal, get in touch with her. I had the privelege of collaborating with Sheila for Tu B'Shevat Under the Trees, and I received no monetary compensation for using her work in my post - I am proud to support local producers and brands whose products I truly love.
Recipe
Tried and loved this recipe? Please leave a 5-star review below! Your reviews mean a lot to me, so if you've got any questions, please let me know in a comment.
Traditional Israeli yeasted rugelach
Ingredients
For dough:
- ½ KG 1.1lb, or 4 cups all-purpose flour
- 1 tablespoon dry yeast
- 1 teaspoon salt
- ½ cup sugar
- 1 teaspoon vanilla extract
- 1 egg
- ¼ cup oil
- ½ cup water then up to another ½ cup if needed
For filling:
- 3 heaping tablespoons of very fine cocoa
- 1 cup sugar
- Spoonful of instant coffee optional
- ⅓ cup oil
For syrup:
- 1 cup sugar
- 2.5 cups water
- Juice of half a lemon
Instructions
- Combine all dough ingredients in the bowl of a standing mixer (starting with only half a cup of water). Mix for about 10 minutes - dough should be very soft and very sticky. Cover and let rise for about 40 minutes until doubled in volume.
- In a medium bowl, combine all filling ingredients. Mix well. If needed, add more oil to dilute the filling into a more easily spreadable paste.
- Gently flour your working area to prevent dough from sticking.
- When dough has risen, cut it into 2 equal parts. Roll each half into a ball and press to flatten slightly into a round about an inch thick.
- Spread cocoa filling on top of both rounds, dividing it equally between the two. Spread filling nicely on each circle, leaving a blank margin of half a centimeter around the diameter.
- Taking the dough carefully by its edges, begin to pull the edges towards the centre, turning your round into a ball filled with cocoa mixture. Pinch and pat to close. Make sure there are no leaks and turn seam-side down on a slightly floured surface. Repeat with second half of dough.
- Let stuffed dough rest for 30 minutes.
- Once dough has rested a second time, with a rolling pin begin to gently roll out each chocolate-filled round, making it as thin as possible. If some liquid comes out, don't worry - just roll it out as thin as it gets without sticking to your surface.
- Cover a large baking sheet with parchment paper.
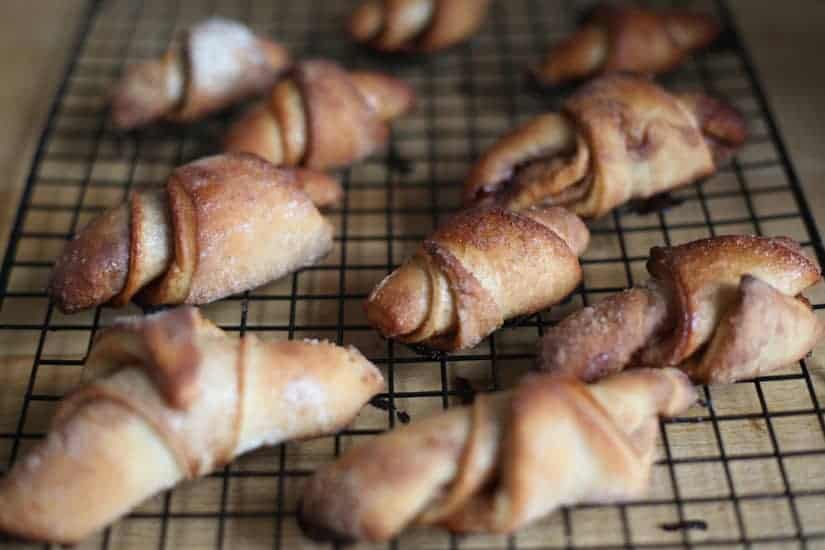
- Using a pizza roller, cut the circle into quarters. Then cut each quarter to five or six long, thin triangles. Shape rugelach by rolling the outer edge inward. Arrange rugelach, pointed side down, on baking sheet with a couple of inches in between, leaving room to expand.
- Leave rugelach on baking sheet to rise for about 30 mins.
- Preheat oven to 400F/200C.
- Prepare syrup. Combine all syrup ingredients in a small saucepan over low heat, and cook until the syrup thickens but doesn't come to a boil.
- If the syrup is ready before the rugelach are baked, reheat it for a few minutes. Syrup should be spread on rugelach immediately once they are taken out of the oven.
- Once ready to bake, bush rugelach lightly with egg, bake at 400F/200C for 20 minutes. Remove immediately, and spread with syrup.
- Let cool for just a couple of minutes, and serve. Rugelach will keep best if frozen and reheated briefly in the oven right before serving.


Valya @ Valya's Taste of Home says
I absolutely love rogaliki. I make theme pretty often 😉
DebinTX says
Can you make these with store bought canned flaky rolled dough? Just spead the goodness inside?
kseniaprints says
Absolutely! The texture will be a bit different but not a huge loss.