You've just spent hours browsing Pinterest, and you've finally bookmarked a great salad to make for dinner. It's Saturday, the one day a week you really have to put together something you can feel good about. The rest of the week is harried, you're running from work to the gym, grabbing cold pizza for lunch, and by the time dinner comes, you're bloated, and lucky if anyone but the cat shows up at the table. But at least tonight, you can put together a beautiful, vibrant salad with all the fixings. So you run to the store and get all the missing ingredients for your upcoming work of art.
But then evening comes, and your kid spills paint on the couch. Or there's something really good to watch on television (Dane Academy on Netflix, in my case). And Saturday comes to an end, and dinner was once again a stir fry. The beautiful vegetables you bought are languishing in the fridge, while fruit flies are attacking the tomatoes on the shelf.
Sunday dinner is already planned, and Monday is leftovers, so you don't get to that salad before Tuesday. But then, you spend 15 minutes putting it together, and it looks good, though the greens are a little wilted and the tomato had some brown spots. At the table, no one says anything, but your significant other doesn't ask for a second helping. One bite into that tomato, and you understand - it's old. Everything on your plate has seen better days, including the dressing. You just feel so defeated by it all, you make toast for dessert.
That scenario used to occur in my house at the regularity of once a week. On the weekend, I would go to the store with big plans and ideas, spend money on great, vibrant produce, and then not get around to using it on time. The problem is, as we all know, veggies don't like to sit off the vine for long (neither does meat, but with even more dire consequences). The other problem is that in our busy lives, we just don't have the time to process ingredients the moment we get them. Something's gotta give, and in my case, that's usually the produce.
So I've found ways to perk up soon-to-be-expired salads. Sometimes, all it takes is a bit of directly applied heat. Roasting works wonders on hardy vegetables that look bad when wilted, like cauliflower, broccoli, eggplant, and even tomatoes. It concentrates flavours, adds colour, and allows you to cut off unsightly blemishes. Other times, when the veggies still don't look good even after roasting, I puree them and add them to soup. This works great for potatoes, corn, peppers, and pretty much any other option. Herbs also get chopped finely and thrown into soups. The only things I didn't try roasting are cucumbers and lettuce, due to the high water content, though apparently grilling lettuce is also thing. Even radishes taste great grilled, though I prefer to saute them with a good amount of vegan margarine.

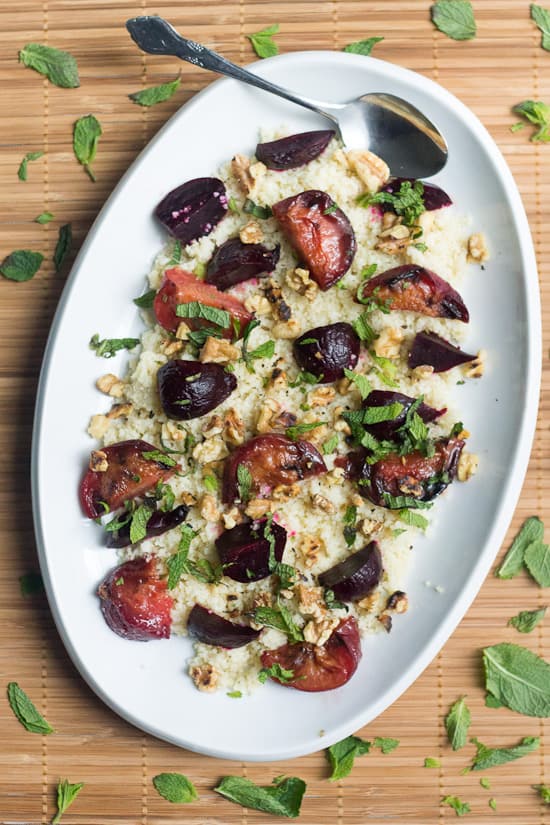
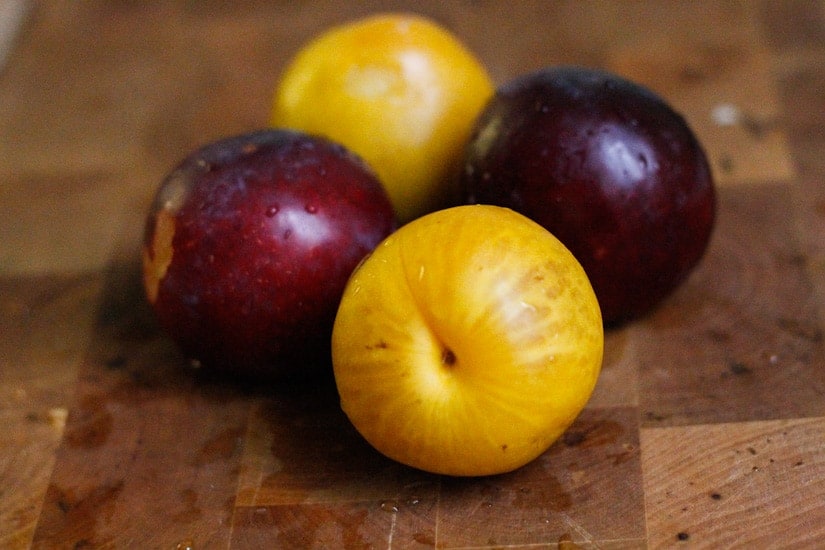
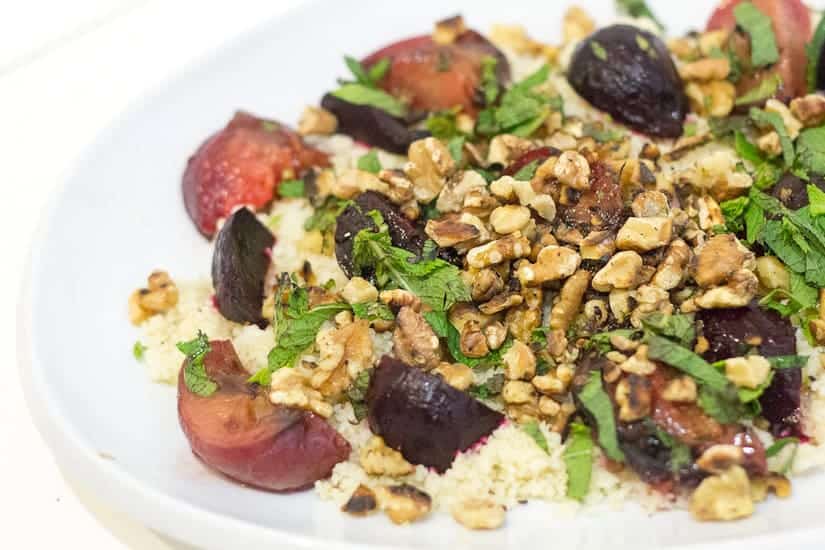
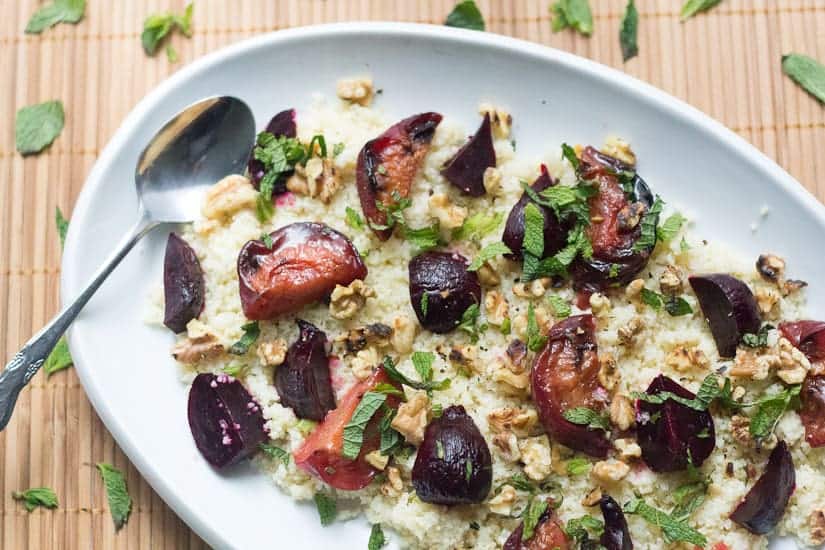
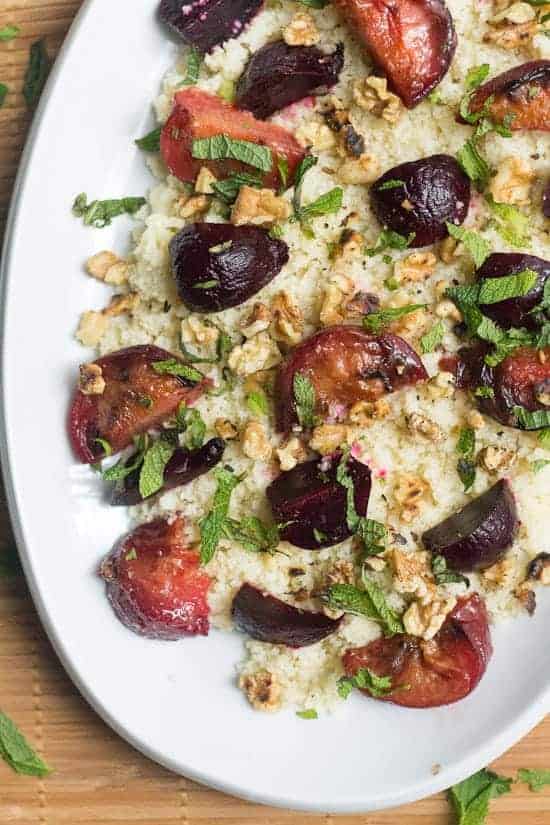
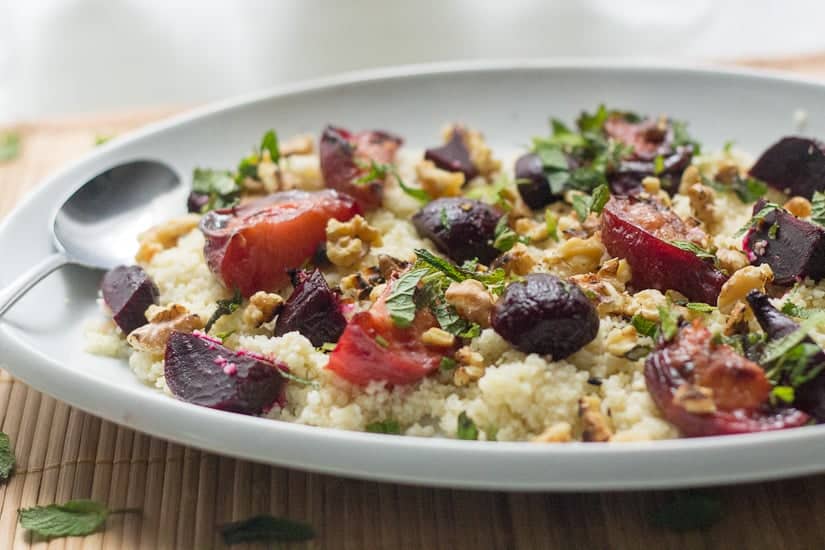
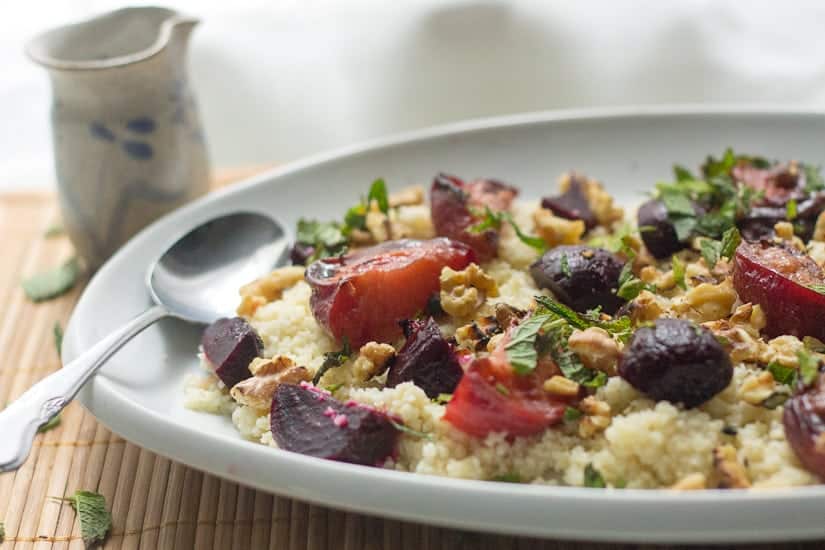
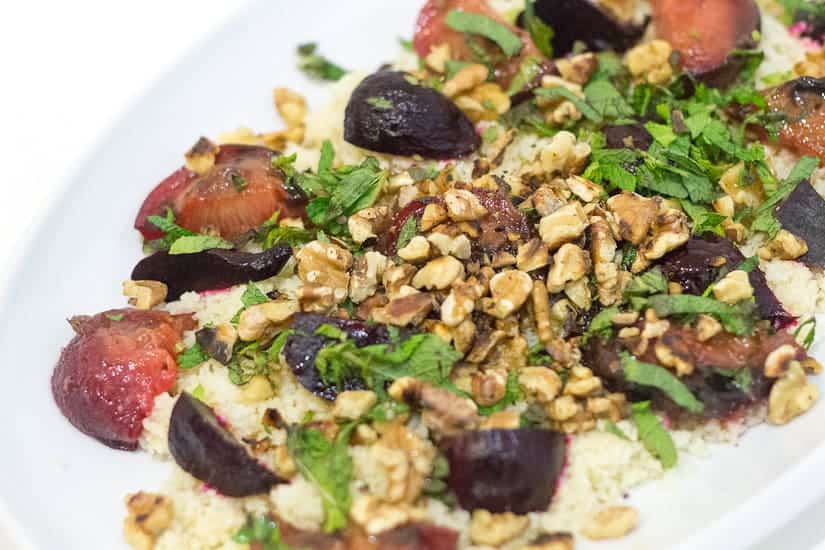
Today's roasted beet and plum salad came out of exactly such an attempt to preserve vegetables that were soon to expire. A huge bag of beets sat on the bottom shelf of my cupboard, slowly starting to sprout. Local plums were nearing their best-by date, judging by their increasing softness. A quick roll in tin foil and a douse of olive oil, salt, and pepper, some time in a hot oven, and these babies were as good as new. Except better - roasting emphasized the beets' natural sweetness, while the plums took on a languid, syrupy quality, that immediately inspired the idea of a sauce. Leftover bulgur in the fridge made a quick bed, and some toasted walnuts brought in a much-needed boost of good fats and protein. I used all the plums, but froze the rest of the roasted beets for making pickled beets, smoothies or future salads. Less than 10 minutes of assembly later, a beautiful, vibrant salad that is also a complete meal came together for dinner.
So next time you find yourself stuck with wilting vegetables, especially in winter time, just give them a quick roasting in the oven. Few veggies require as long to roast as beets, so with a quick drizzle of olive oil and lemon, most would produce a dinner in under 30 minutes. And I promise you, no one will complain about the lack of flavour.
Recipe
Tried and loved this recipe? Please leave a 5-star review below! Your reviews mean a lot to me, so if you've got any questions, please let me know in a comment.
Roasted beet and plum salad with toasted walnuts and fresh mint
Ingredients
- 4 small-medium beets
- 4 plums of any colour
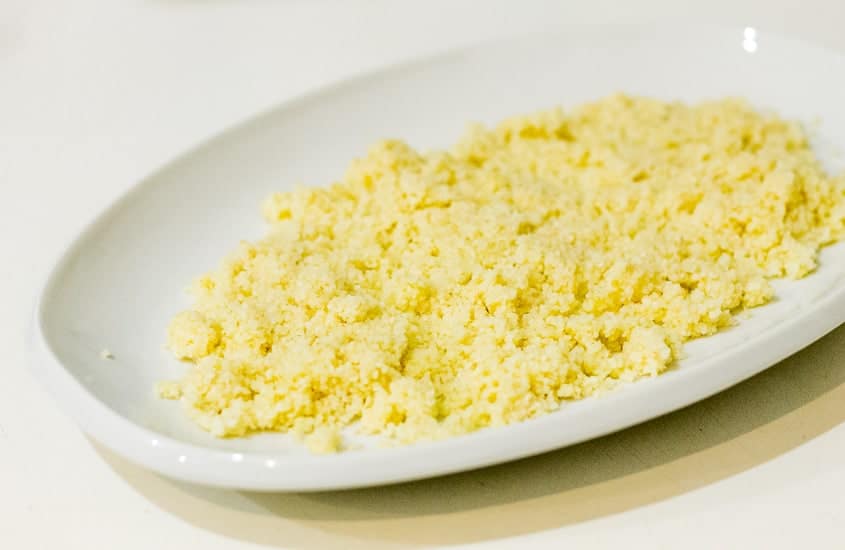
- 1 cup of cooked bulgur quinoa, couscous, or any other cooked grain you like (even whole grain rice will be fine, but then I suggest turning it into a warm salad by heating up the rice) - if you don't know how to cook bulgur, I will explain in the bottom of the recipe.
- ½ cup of walnuts
- a generous handful of fresh mint leaves basil and thyme will also do well here
- 3 Tbs of extra virgin olive oil
- the juice of half a lemon
- pepper to taste
Instructions
- Preheat oven to 375F. Cover a baking sheet with tin foil (trust me, this is necessary, the beets bleed).
- Wash your beets. Cut off the green tops and any tails in the bottom. Place beets on a piece of tinfoil large enough to cover them in groups of two or four, and drizzle them with olive oil, salt and pepper. Wrap tinfoil around beets tightly. (If you have more than just four beets, this is a good time to roast them all together and freeze the others, or even keep in the fridge for other salads during the week). Place in oven for 40 minutes to an hour, checking to see if beets are ready after 40 by prickling them with a fork (if fork slides in easily, the beets are ready).
- While beets are cooking, wash your plums and cut them in half, taking out the stones. If such a dish is available, arrange plums in a small oven-safe casserole dish, and add them to the oven with the beets for the last 20 minutes (I add mine after 30 minutes of the beets cooking, or after the whole 40 minutes if I know I have a lot of beets). If you don't have a small casserole dish, just add them to the same baking sheet as the beets. That way, if the beets are ready before the plums, I take their pouches out first and let the plums cook a bit more. If the plums cook extra, it will still be fine, just make sure they don't burn. They should still keep their shape - if they don't, don't worry about cutting them further.
- When the beets have cooked, let them cool a bit. Remove peel with a paper towel (or a knife, whatever is easier for you).
- Meanwhile, chop walnuts coarsely, and toast them on a medium hot pan shortly, for just five minutes, stirring them often to ensure they don't burn (do not leave the room or do something else while your nuts are toasting. Trust me on that, unless you want burnt coals that will stink up your kitchen for hours).
- Chop mint, coarsely or finely are both fine (it's really up to you).
- Arrange cooked bulgur on a large platter. Cut beets and cooked plums into quarters (if plums are too soft to cut, don't worry about it), and arrange on top of the bulgur. Sprinkle with toasted walnuts. Chop mint and sprinkle on top. Drizzle with extra virgin olive oil and the juice of half a lemon. Serve, and only mix at the table, once everyone has had a good look at the beauty of this dish.
- * Cooking bulgur couldn't be easier, just like couscous. The grains are already partially cooked, so all you need to do is rehydrate them. Pour one cup of uncooked bulgur into a large bowl. Boil water, and add two cups of boiling water atop the bulgur. Add one teaspoon of salt, and stir grains to make sure it spreads evenly. Cover bowl, and let bulgur steam for about 15 minutes, fluffing occasionally with a fork. And voila, your bulgur is ready!




Nur Costa says
Your blog is awesome! I discovered it from yesterday's online class in The Art of Blogging. The pictures are really delightful <3
Congrats and much luck in the future 🙂
kseniaprints says
Thank you, Nur! I love your photography as well.
Violet says
Plums AND beets AND I can make it gluten-free? PUT IT IN MY FACE NOW!!!
kseniaprints says
Haha, thanks! I always have some beets going in winter, because they help brighten up every plate.