These Gluten Free Ice Cream Cones add crisp, nostalgic sweetness to any treat, turning simple scoops into something special for family moments, summer gatherings, or effortless homemade desserts. You can enjoy these cones with any of my ice cream recipes, such as Corn Ice Cream, Pistachio Ice Cream, and Vegan Halva Tahini Ice Cream.

I have made gluten-free sugar cones so many times that the scent of warm vanilla feels stitched into my memory. What still amazes me is how this recipe even came to be. I took my grandma's old handwritten waffle cone recipe, the one smudged with years of batter and fingerprints, and I decided to turn it into a gluten-free version. I wasn't sure it would work. Gluten-free batters can be moody. Fragile. Completely unpredictable. But voila! I made it happen.
My commitment to gluten-free baking has grown through years of dedicated experimentation with gluten-free flours. I have always wanted to recreate comforting international dishes that are safe for everyone to enjoy. Over time, I mastered everything from Gluten-Free Gingerbread Muffins to Gluten-Free Carrot Soufflé. I can also make a killer Gluten-free Gingerbread Cake.
In many ways, these gluten-free ice cream cones remind me of my Traditional Russian Rolled Wafers; it's another one of my grandma's recipes that feels just like home. he technique is almost identical: a thin batter spread onto heat, lifted at just the right second, then shaped quickly before it cools and stiffens.
My love for homemade ice cream cones goes back to a single summer afternoon. I must have been seven. The sun felt heavy and sweet. My grandmother stood by the stove with a thin batter sizzling on her old waffle iron, the one that clicked every time she closed the lid. I sat cross-legged on the floor, waiting for the moment she would lift it and release a warm cloud of vanilla that drifted through her tiny kitchen. Sometimes the cones curled perfectly. Sometimes they cracked before they cooled. She never worried about it. Neither did we. We ate every last one.
I remember my sister tapping a cone against the counter just to hear its hollow echo bounce through the room. I remember how we all scrambled to fill them before they softened in the heat. Childhood felt simple then. Messy. Sticky. Perfect in the kind of way you only understand years later.
As an adult, I chase that feeling when I create my own homemade gluten free waffle cones. Especially because these were born from my grandmother's recipe. I took her handwritten card and adapted it into a gluten-free version that actually worked. Now I want the same crisp snap she created. The same warm scent. That same sense that something homemade can bring a memory back into your hands like it never left. At the same time, I focus on clarity because gluten-free baking deserves instructions that truly work.
Families deserve reliability. A recipe should never confuse you. It should guide you gently and consistently. So that is what this recipe aims to do. Bring that nostalgia into your own kitchen. Give you gluten free sugar cones that hold their shape, hold their sweetness, and taste a little like home every single time.
Ingredients
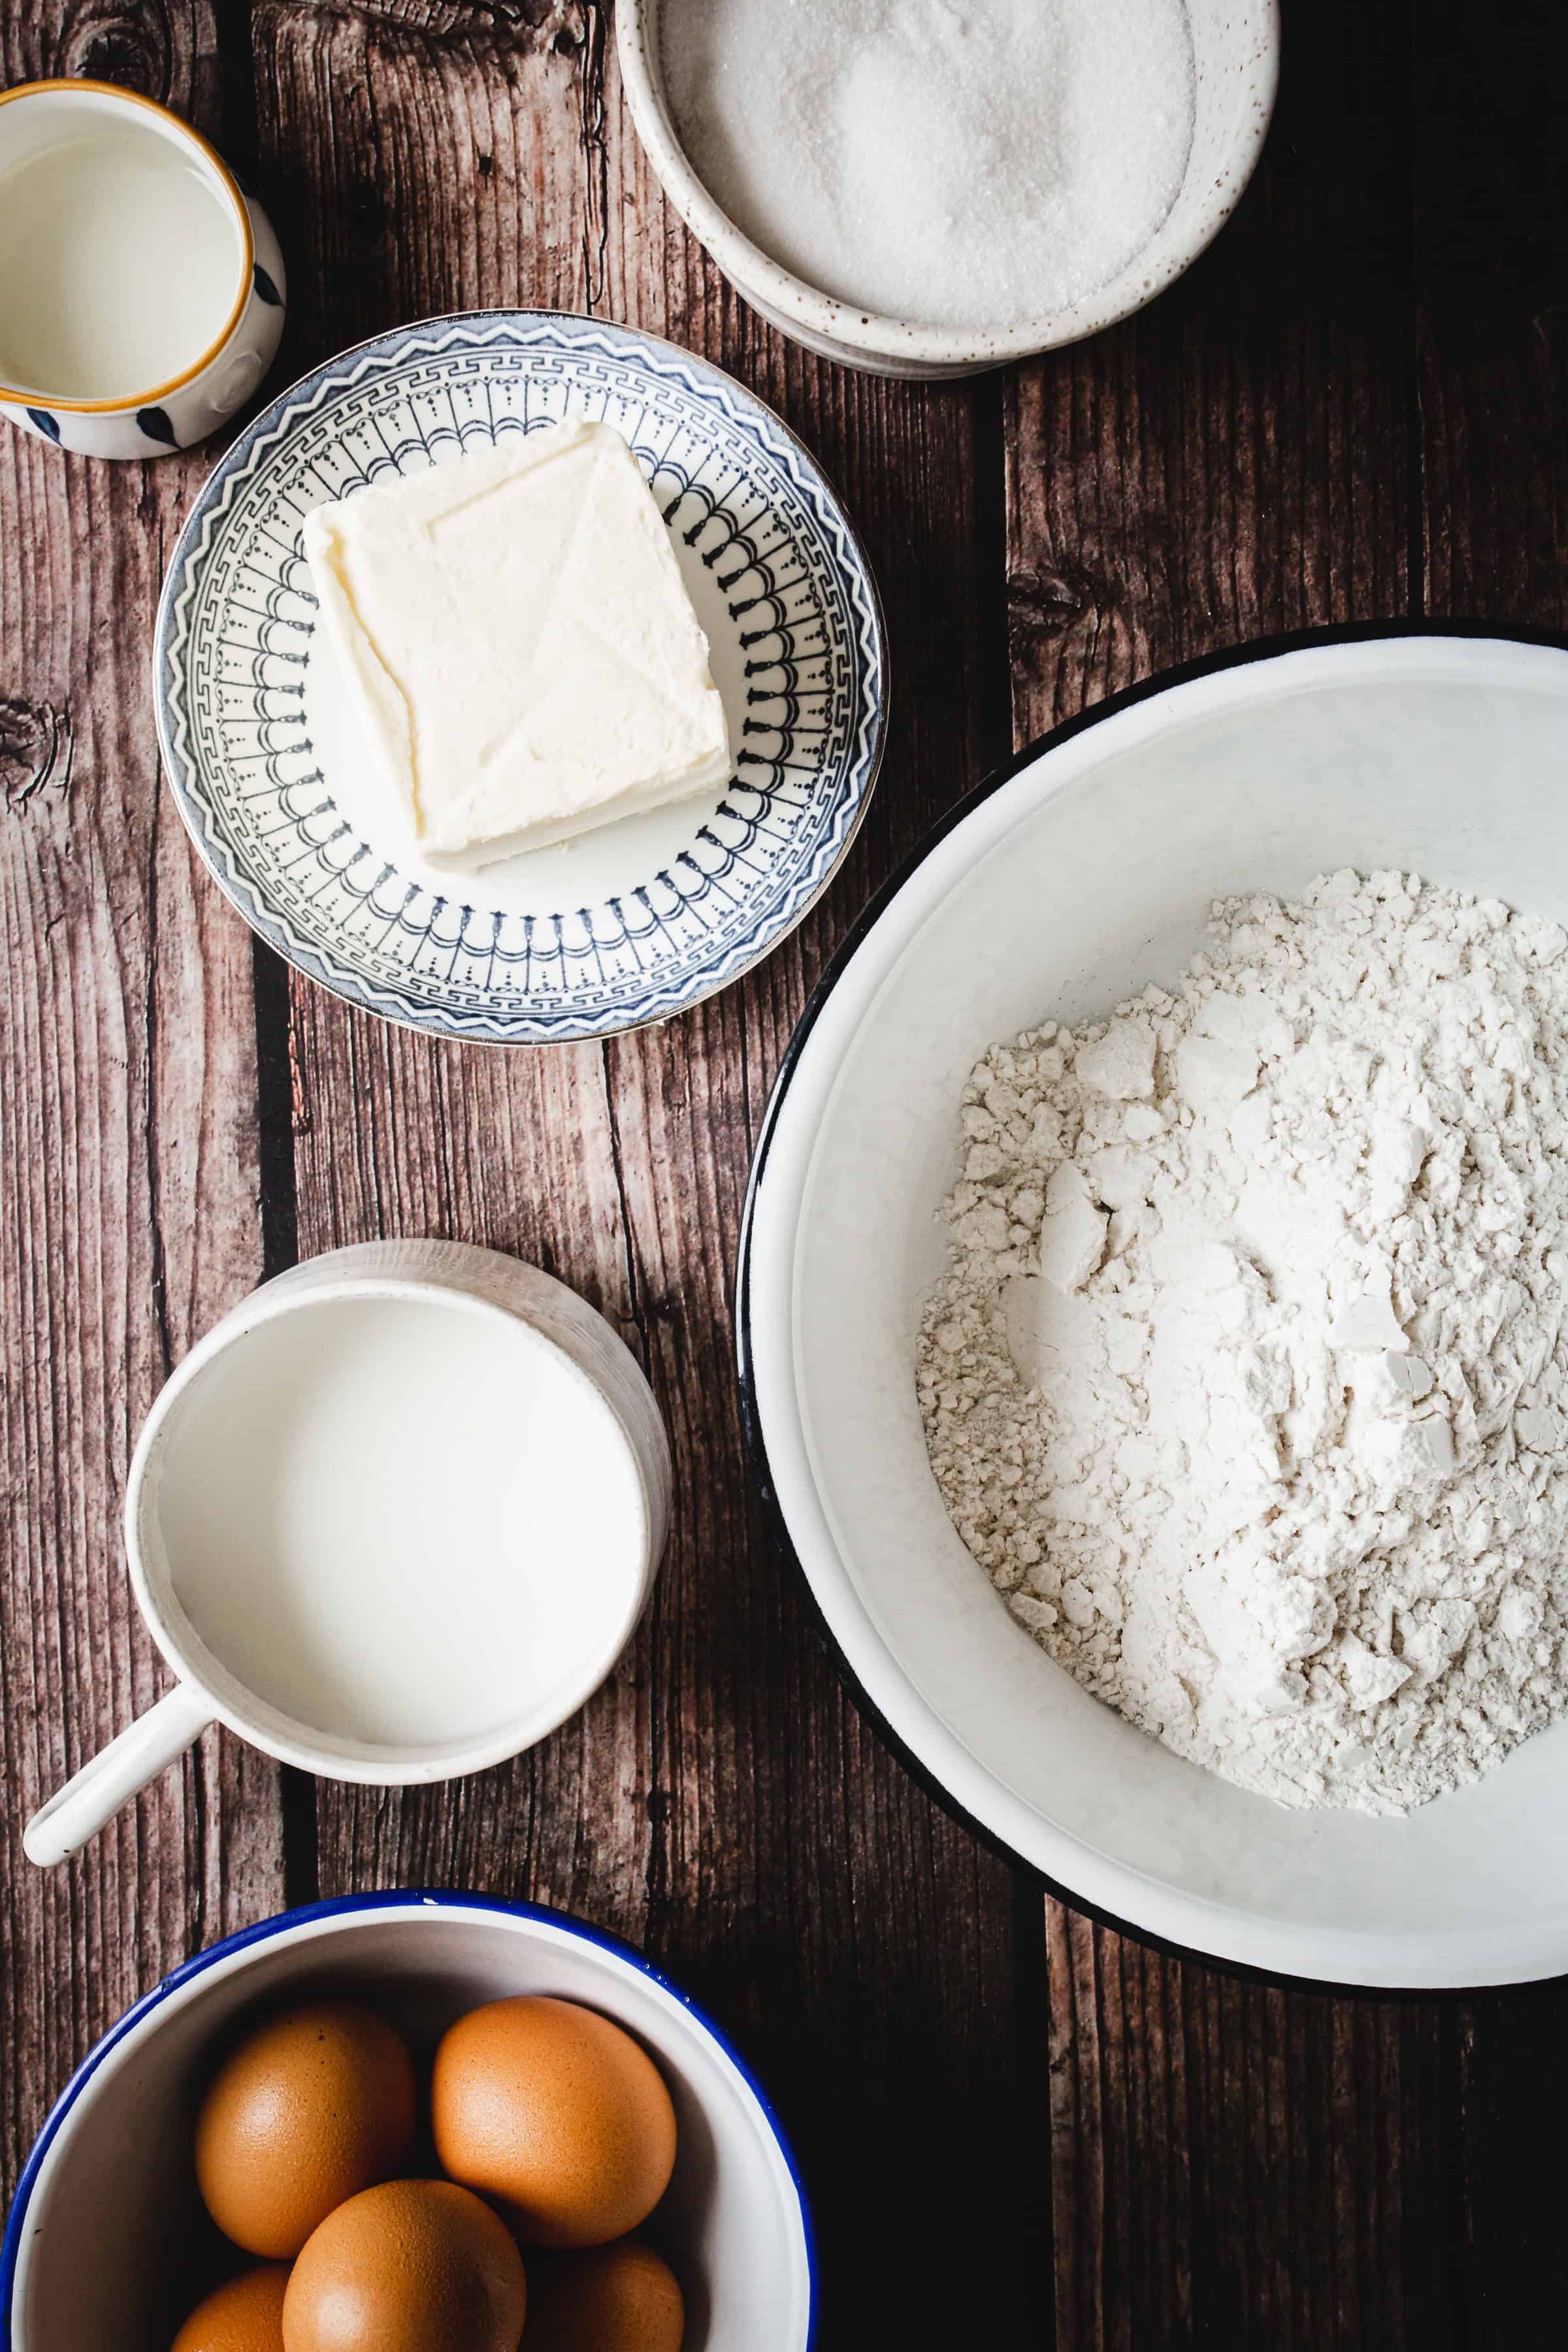
- Gluten-free all-purpose flour blend - I rely on a gluten free flour blend with xanthan gum because it gives me the closest texture to my grandmother's original cones. It helps the batter behave, hold its cone shape, and stay crisp without crumbling. I remember the first time I tried a gluten-free version, I was nervous it would crumble or fall apart, but the right flour blend made it possible to capture that same crisp, nostalgic bite I remembered from childhood. Without it, the cones just wouldn't have that familiar snap.
- Melted butter - Butter is the heart of this recipe for me. I use melted butter not just for flavor, but because it brings that warm, golden crispness. Every time I smell it sizzling in the pan, I'm transported back to that sunlit afternoon in my grandmother's kitchen. It's rich, comforting, and adds the depth that makes each cone taste homemade and special.
- Milk - I usually use whole milk for the best flavor, but I also often use dairy-free alternatives. Any plant-based milk works! Almond milk gives a gentle, slightly nutty flavor that complements the cones' sweetness. Oat milk adds creaminess and a hint of natural sweetness, while coconut milk brings a subtle tropical richness that pairs beautifully with ice cream.
- Vegetable oil - I add a bit of vegetable oil to the batter because it makes sure the cones don't stick and stay easy to roll. It also subtly contributes to a crisp texture without overpowering the buttery flavor.
- Chocolate Chips or Chopped Chocolate - I like to keep a mix of chocolate on hand (dark, milk, or white) so I can choose depending on the mood or the flavor of the ice cream I'm serving. I usually chop the chocolate myself if I want a smoother melt, and I love that moment when the chocolate softens, releasing that irresistible aroma.
See the recipe card for full list and exact quantities.
How to Make Ice Cream Cones (Gluten-free Version)
No more buying ice cream cones at the ice cream shop or supermarket when you can try making gluten free waffle cones at home using a simple batter and a pan, with no special equipment needed. Here's everything you need to know about how to make waffle cones that are oh so delicious:
Prepare the Batter
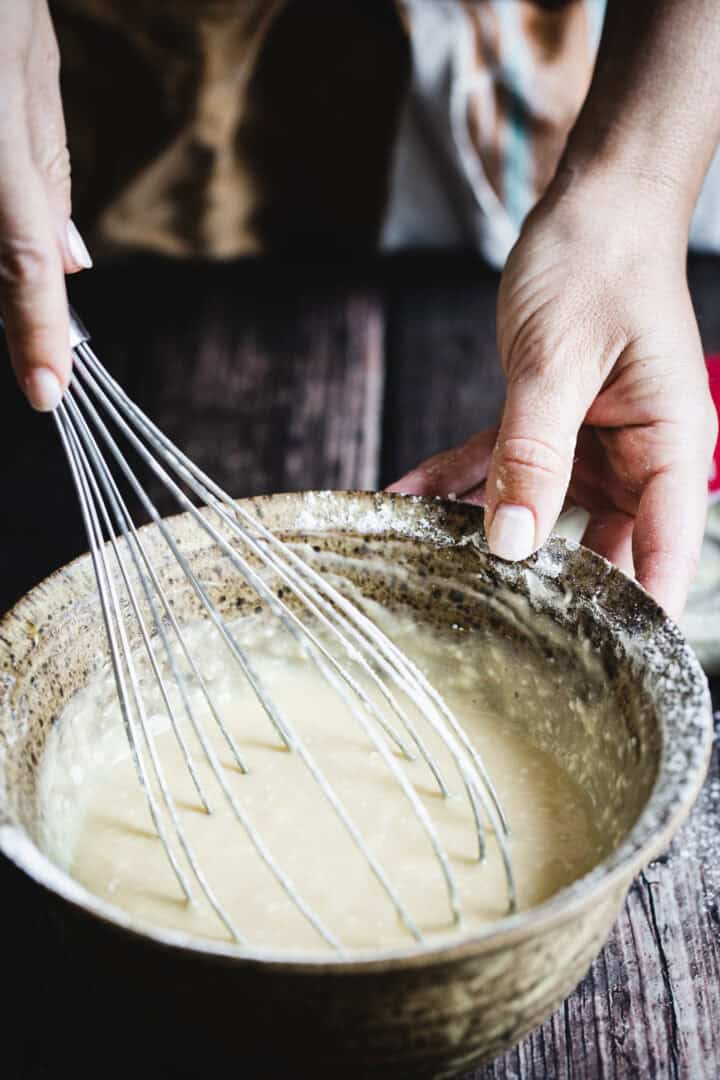
Make sure the mixture is well combined, with no streaks of egg or butter remaining. Gradually add the all purpose GF flour blend, folding and mixing gently until the batter is smooth and free of lumps.
The texture should be pourable but slightly thick, just enough to hold its shape on the waffle iron. Once mixed, let the batter rest for at least 5 minutes. This short resting period allows the all purpose gluten free flour to hydrate fully and makes sure the cones will have a tender yet crisp texture when baked.
Preheat Your Waffle Cone Maker or Iron
Heat your waffle cone maker or flat pizzelle or waffle cone iron according to the manufacturer's instructions. The surface should be hot and ready for the batter to sizzle immediately on contact. Proper preheating is crucial for achieving that golden brown color and crisp texture that makes these cones truly special.
Prepare the Iron
Before making each cone, lightly brush the iron with vegetable oil. This helps prevent sticking and ensures that the cones release easily. I like to use a small silicone brush for even coverage, just enough to coat the surface without excess oil.
Cook the Cones
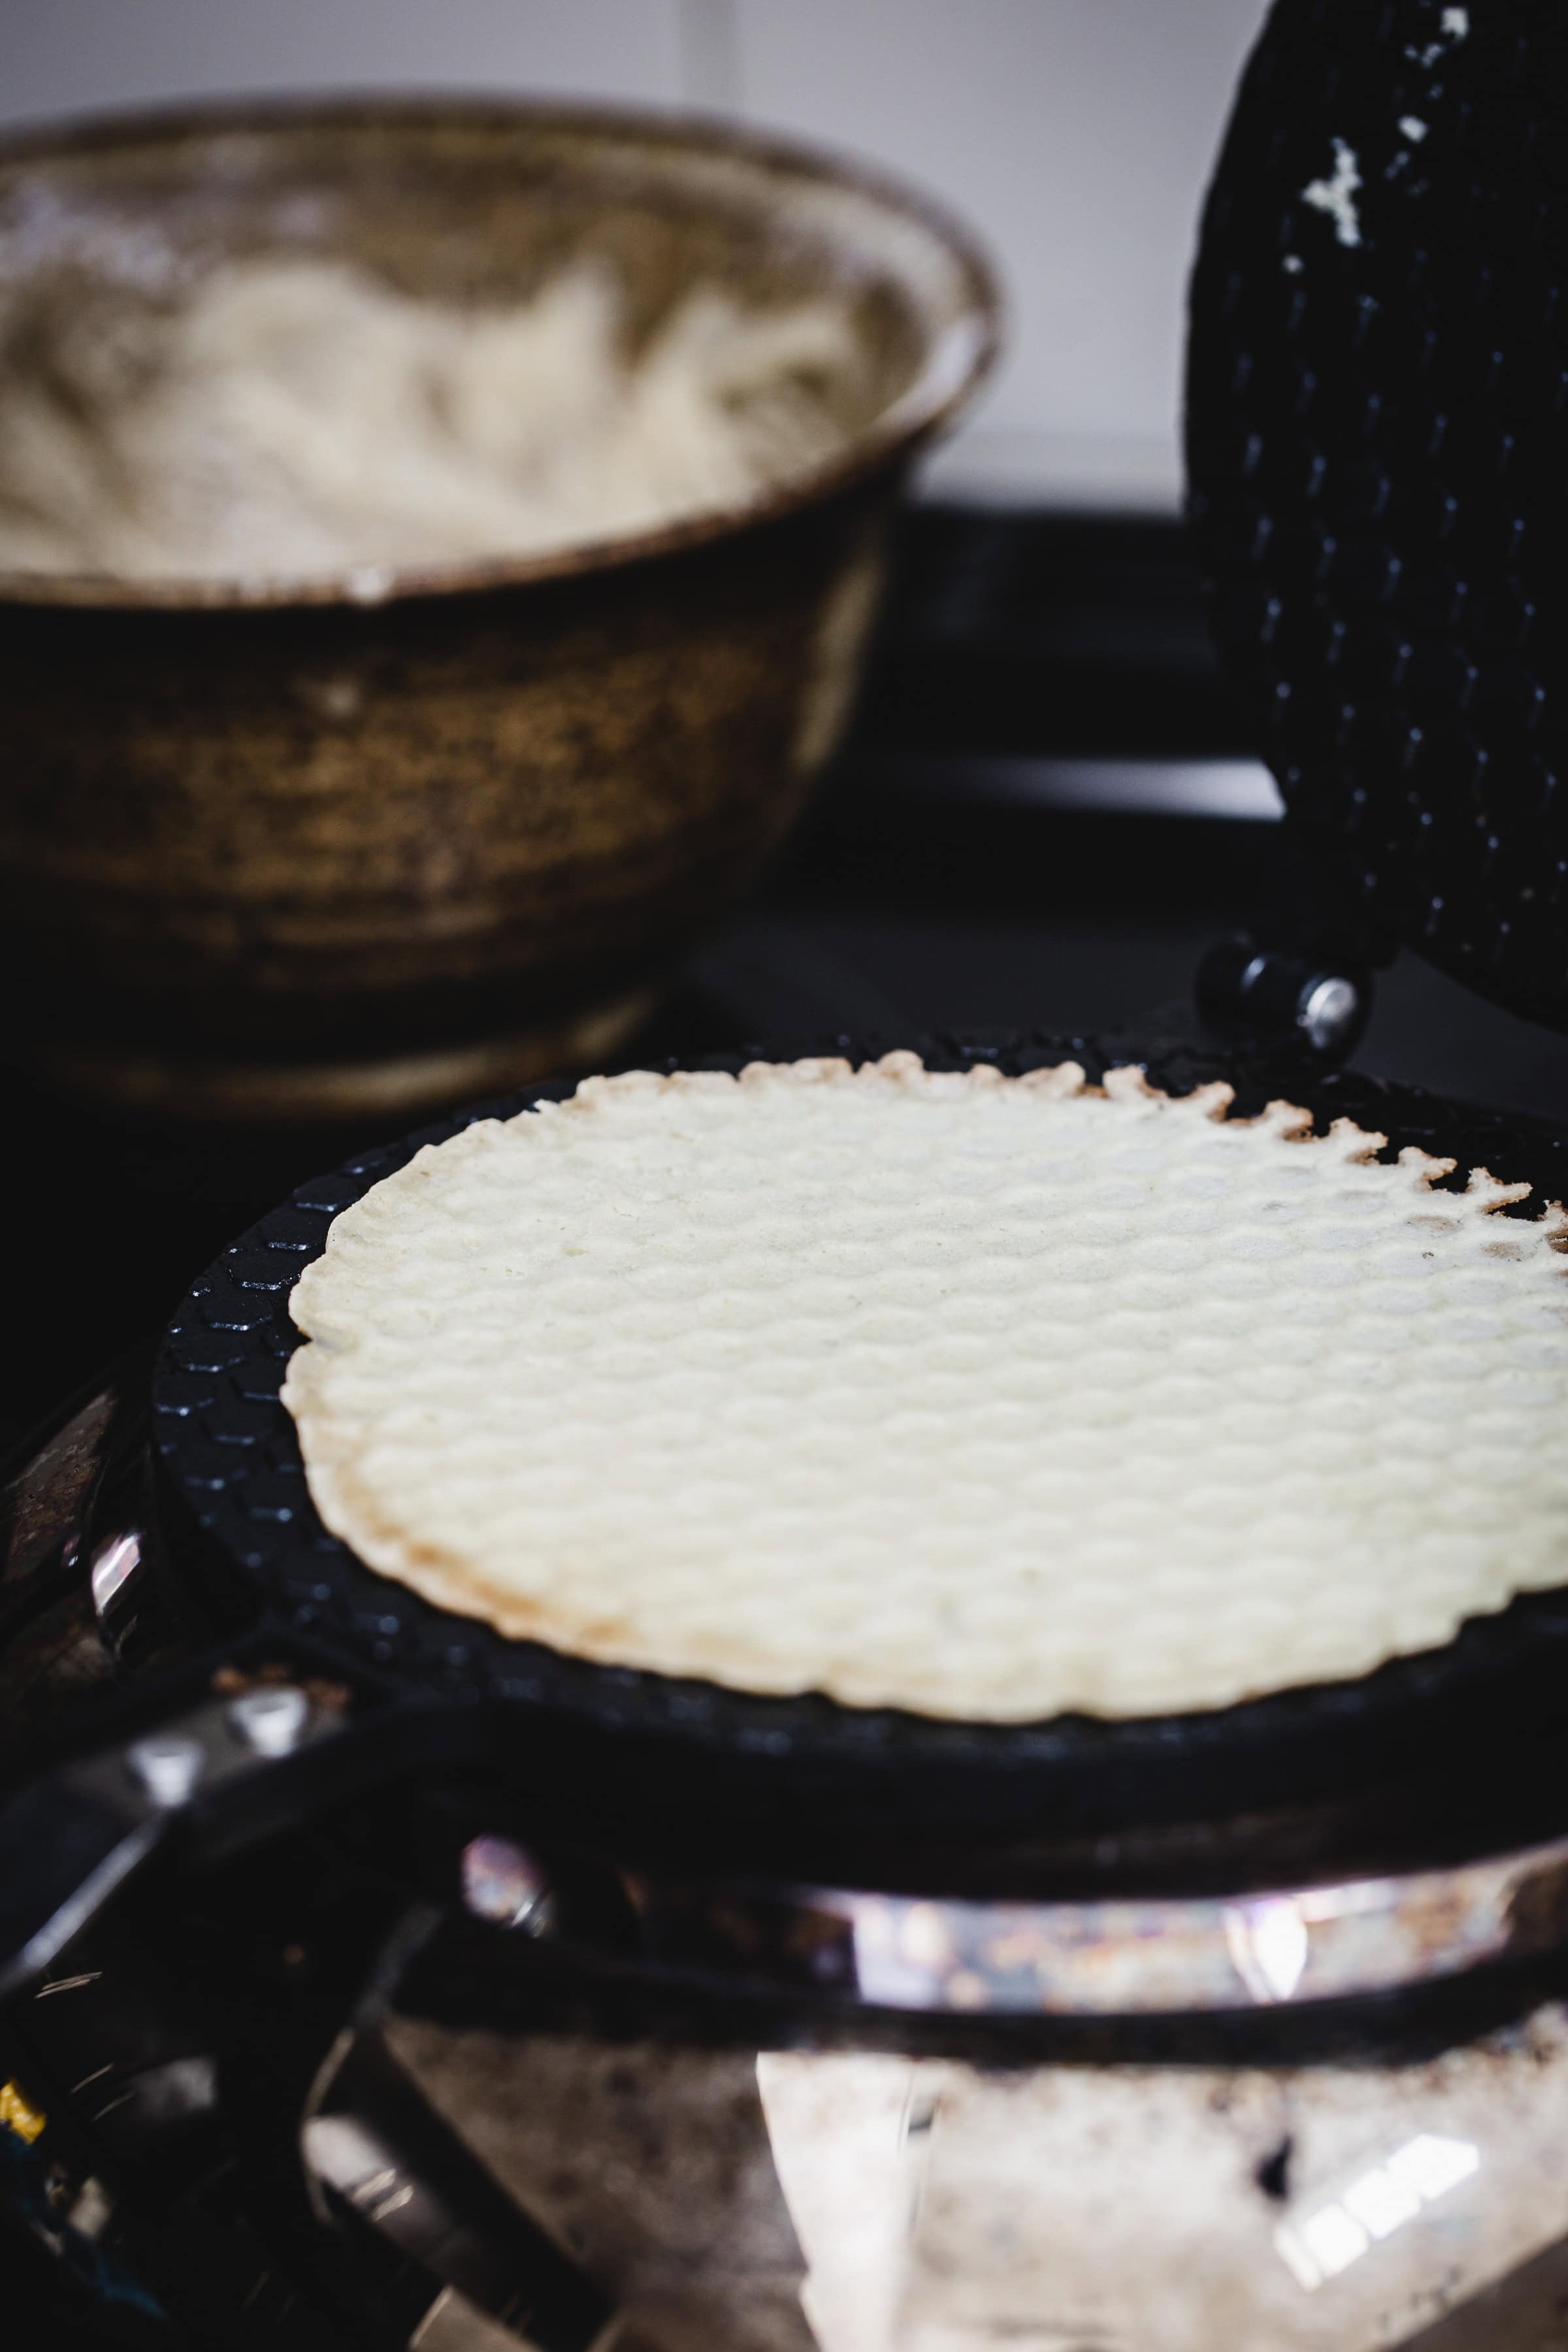
Adjust the amount depending on the size of your iron or mold. Close the iron and cook for 2-3 minutes, or until the cones are golden brown.
Keep in mind that gluten-free cones may take slightly longer than traditional ones, so check carefully. You want a golden, slightly firm surface but not burnt edges.
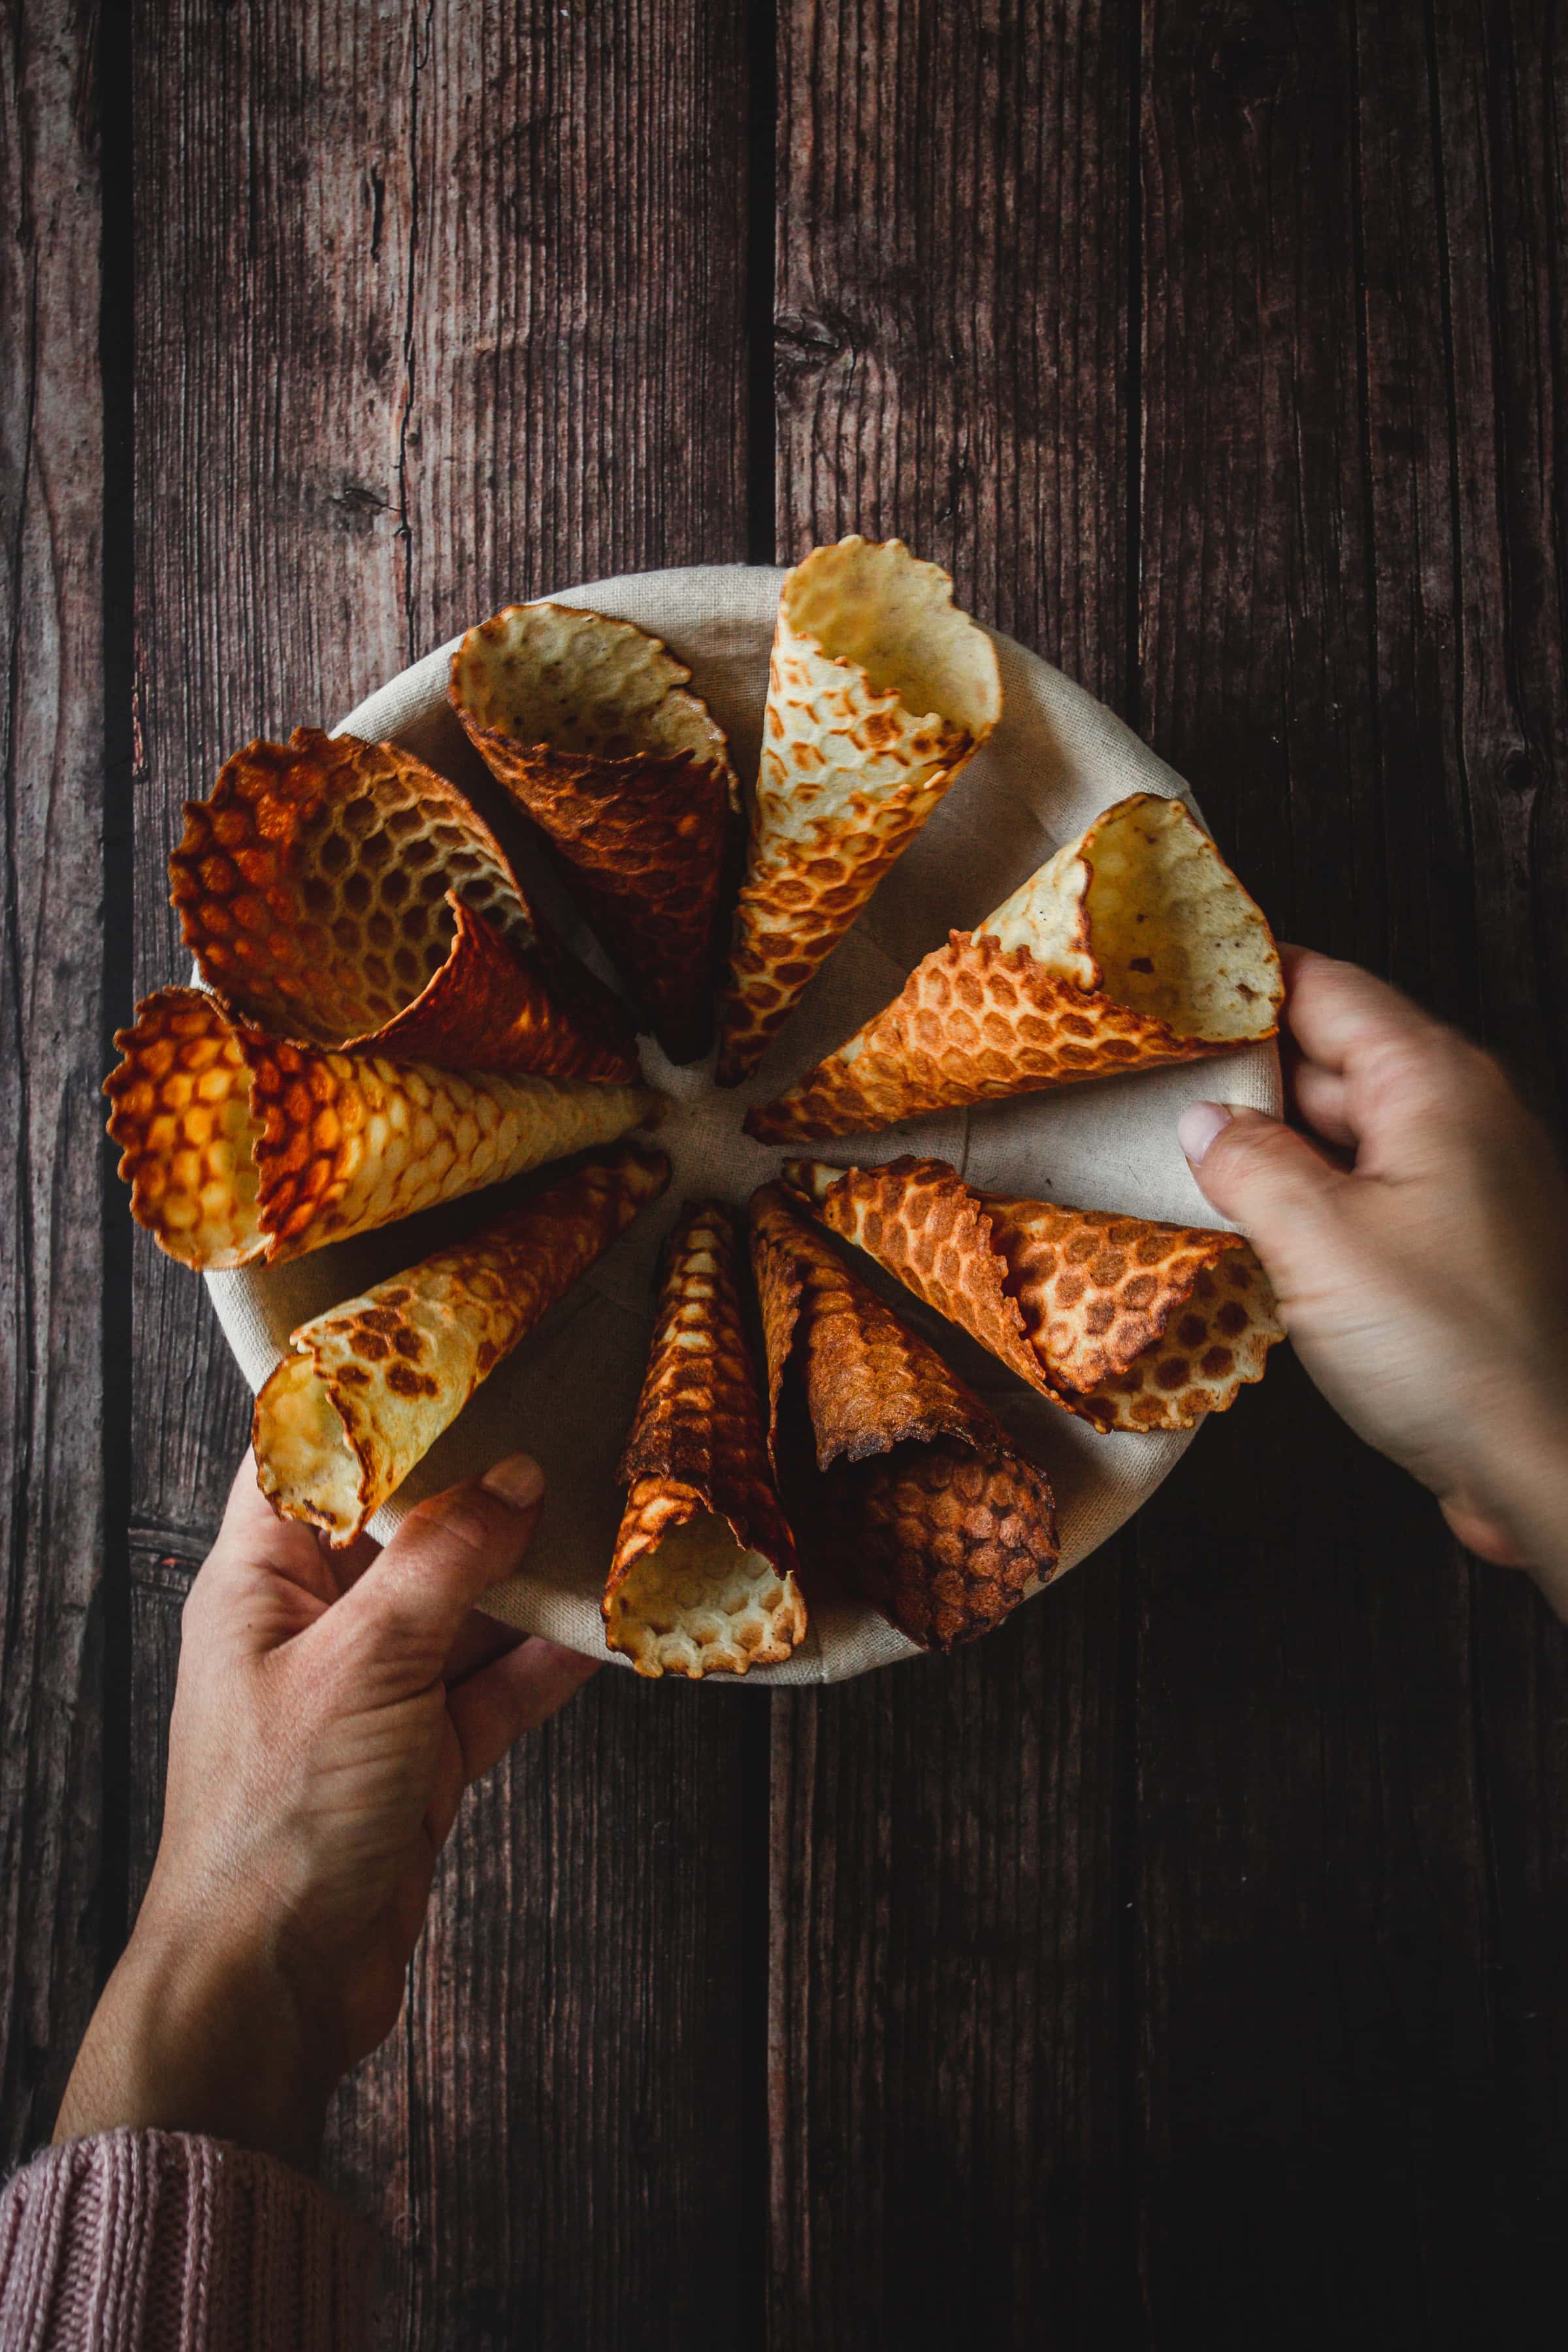
Shape the Cones
This step is crucial! As soon as you remove the waffle from the iron, quickly wrap it around a cone roller or mold while it is still hot and pliable. Hold the cone in place for 10-15 seconds until it begins to set. Timing is key: if the waffle cools too much, it will crack instead of forming a smooth, elegant cone.
Cool the Cones

This ensures that the cone maintains its shape while cooling completely. Repeat the process with the remaining batter, allowing all cones to cool fully before adding any decorations or toppings.
Prepare Chocolate and Toppings
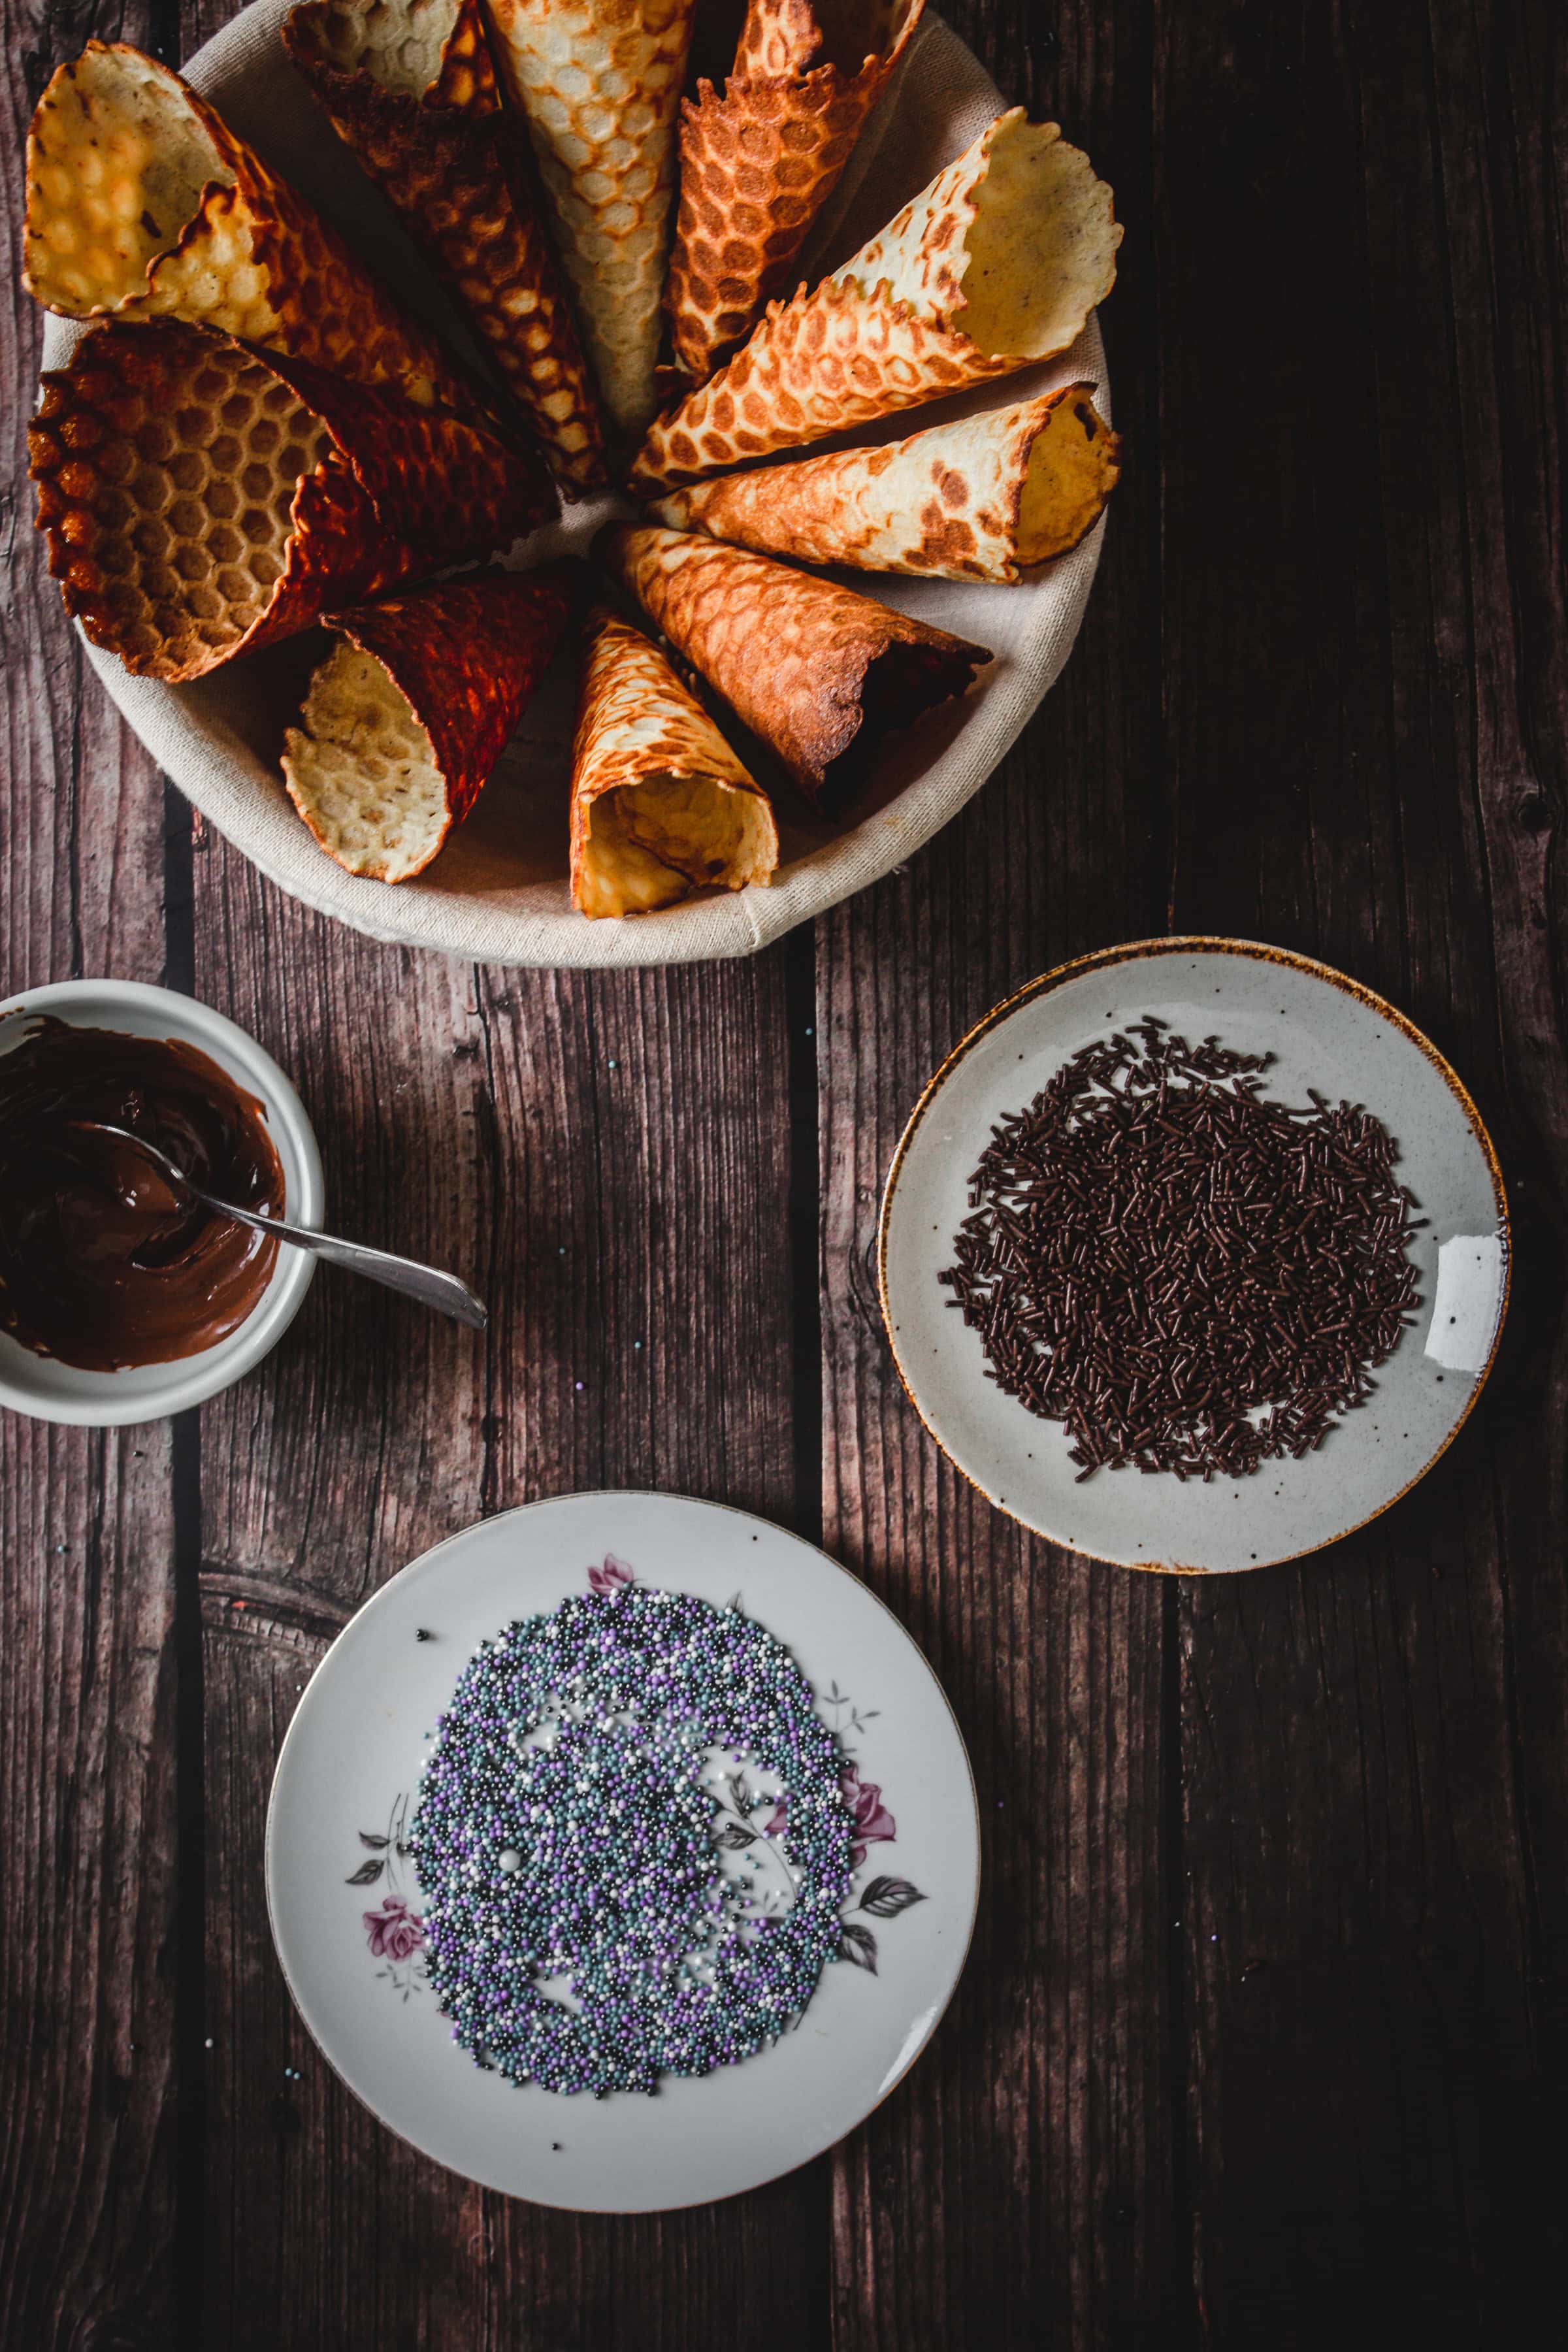
Microwave in 30-second intervals, stirring after each, until the chocolate is fully melted and smooth. Alternatively, melt the chocolate over a double boiler.
Prepare your toppings by placing each in a separate shallow bowl or plate. This makes it easy to decorate the cones efficiently and prevents a mess.
Here are some topping combinations to try:
- Classic: Milk chocolate + chopped peanuts
- Fancy: Dark chocolate + crushed pistachios
- Kid-Friendly: Milk chocolate + rainbow sprinkles
- Tropical: White chocolate + toasted coconut
- Decadent: Dark chocolate + mini chocolate chips
- Festive: White chocolate + crushed candy canes (holiday version)
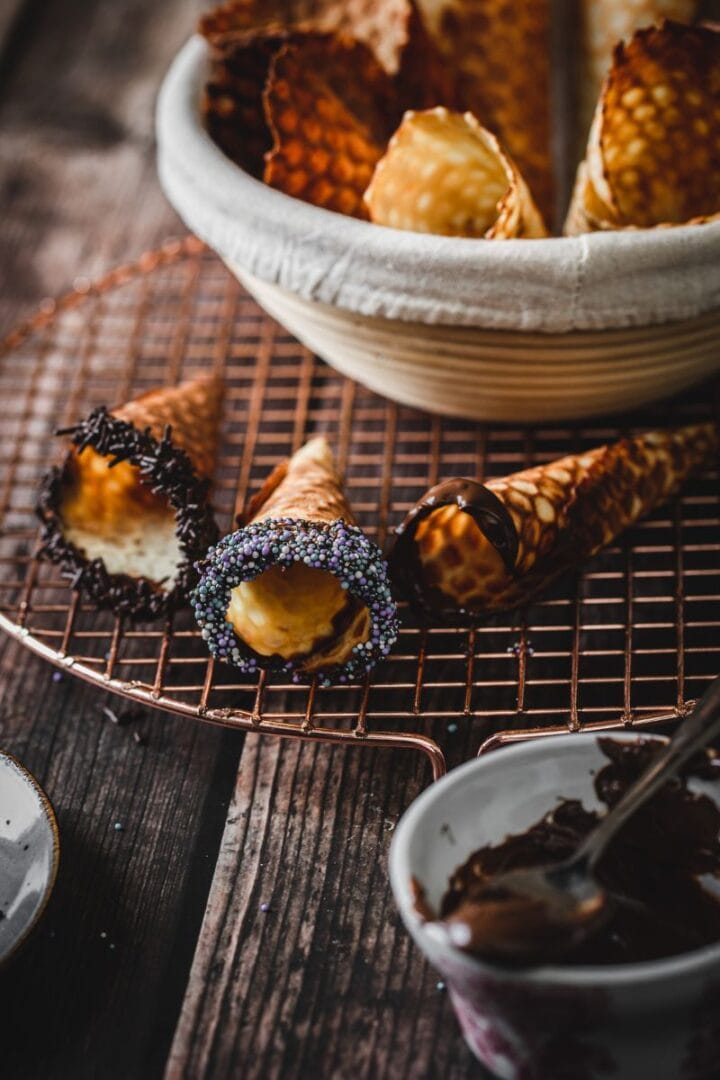
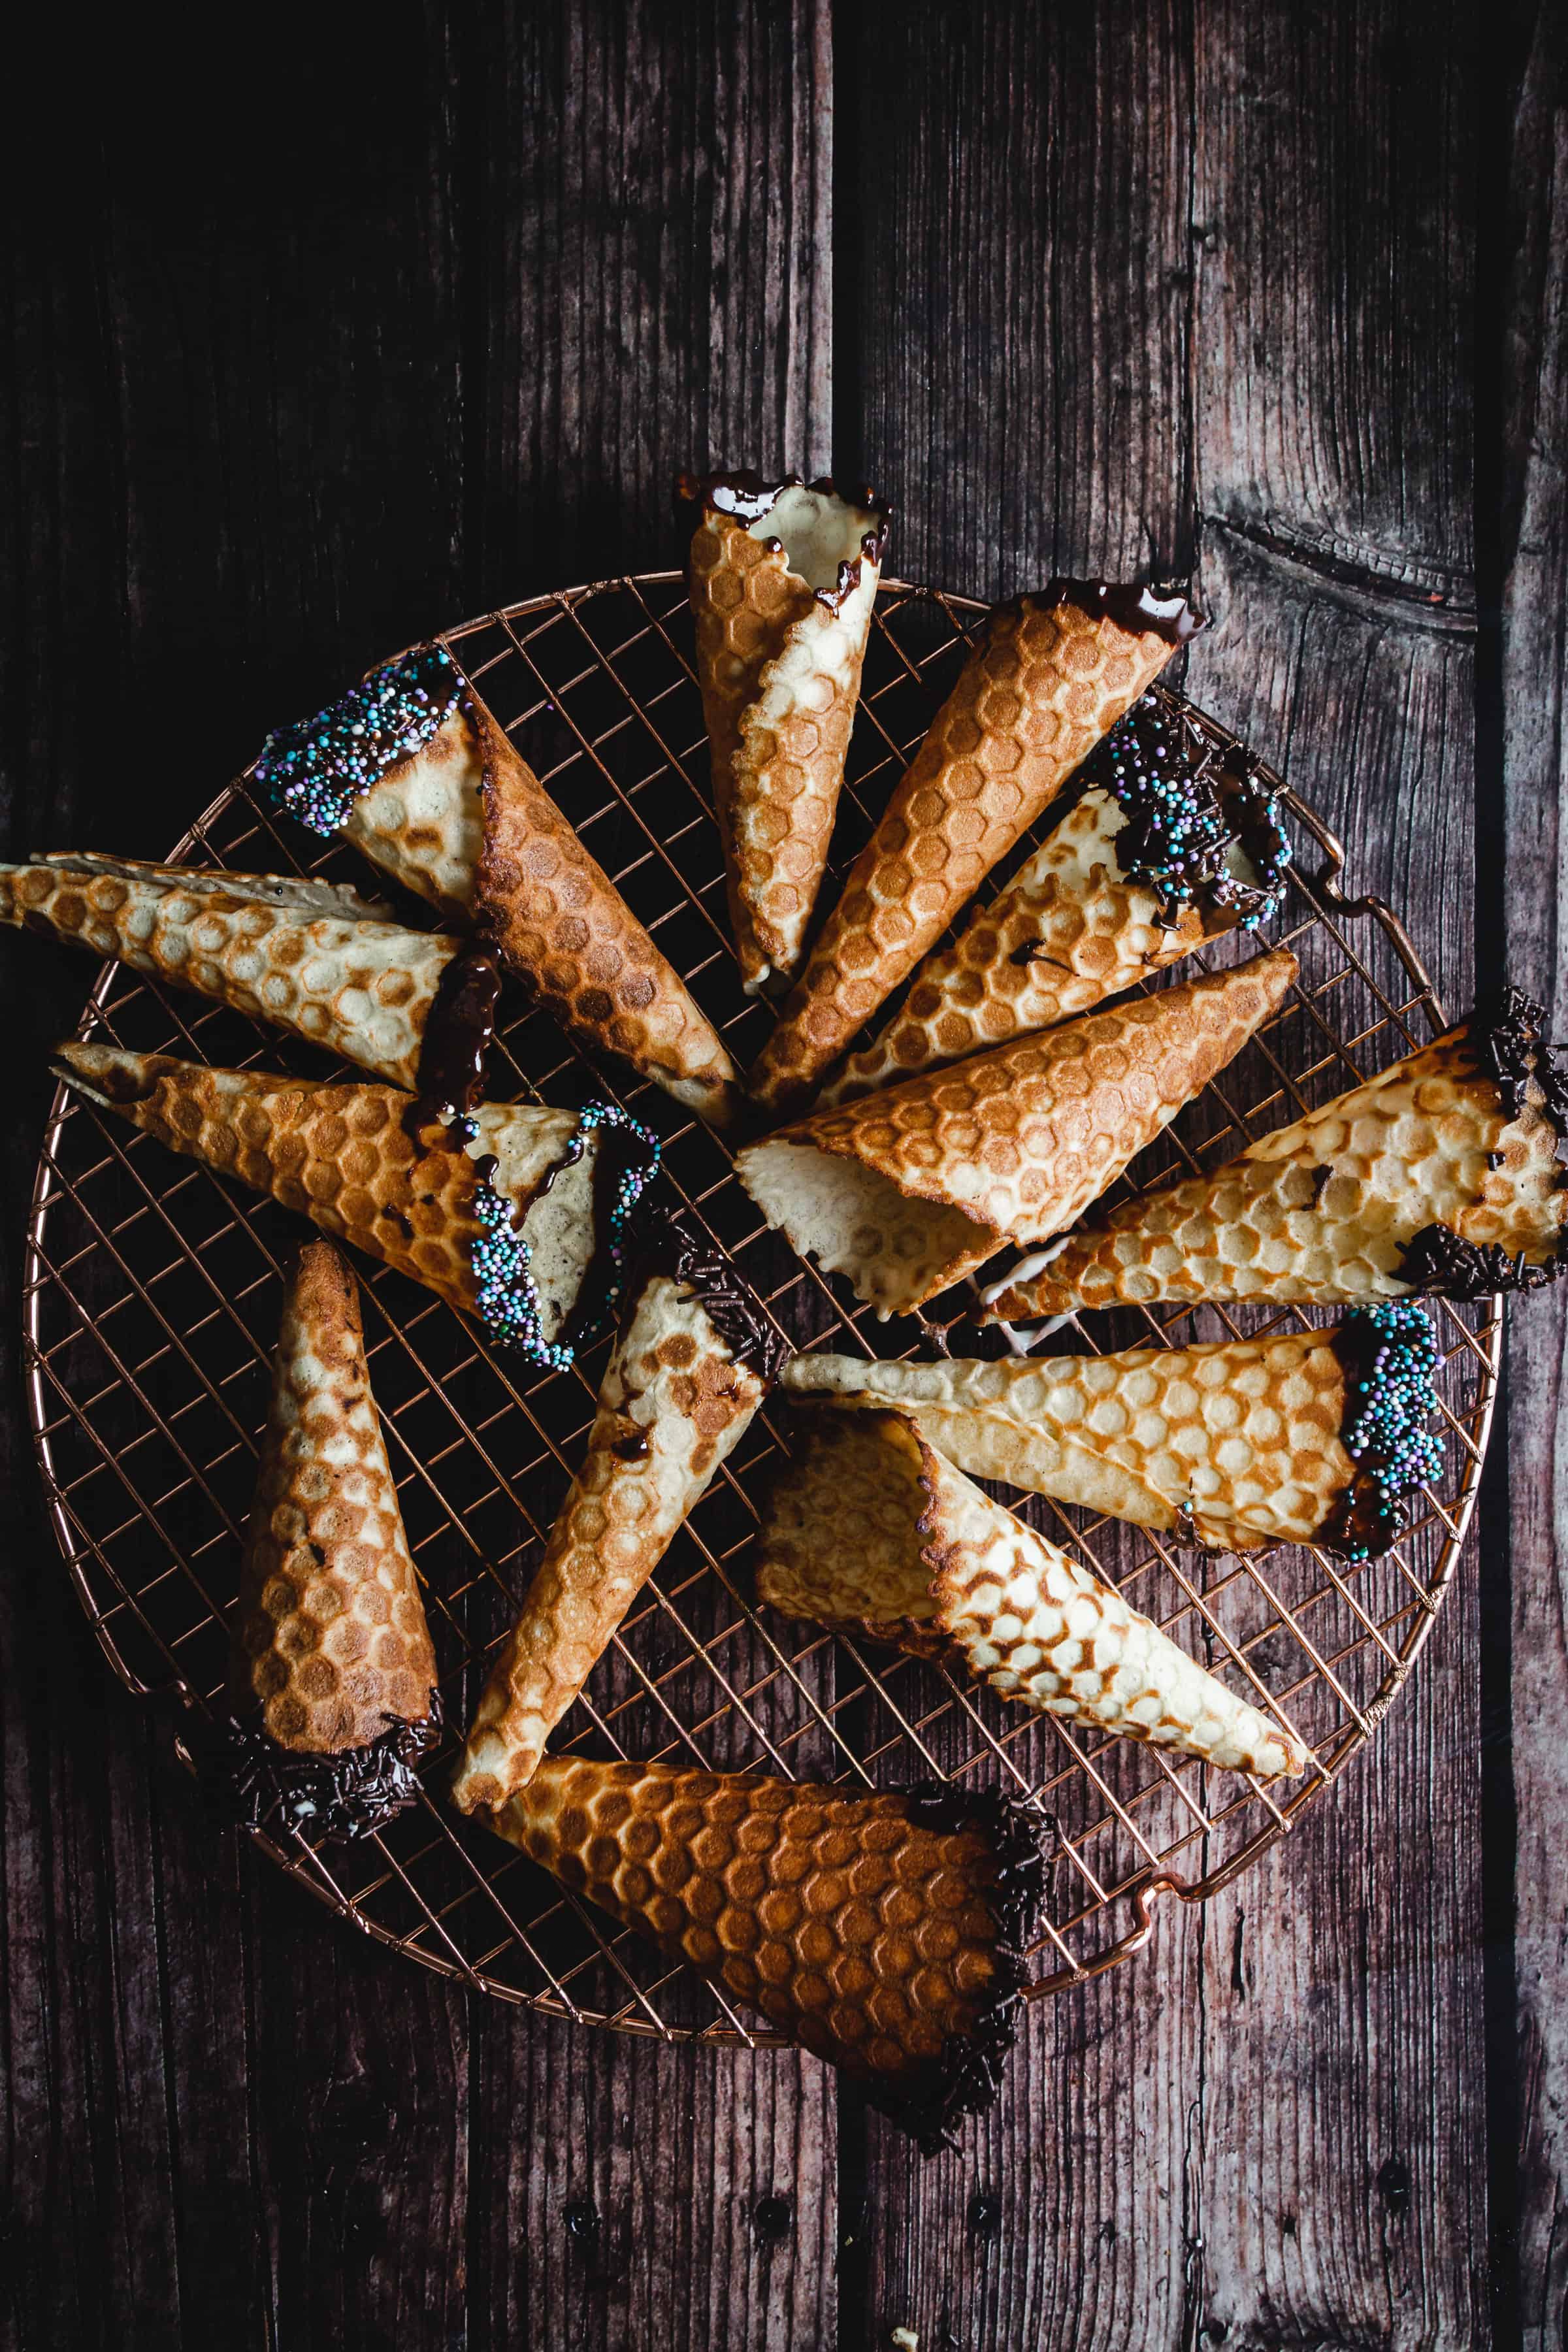
Decorate the Cones
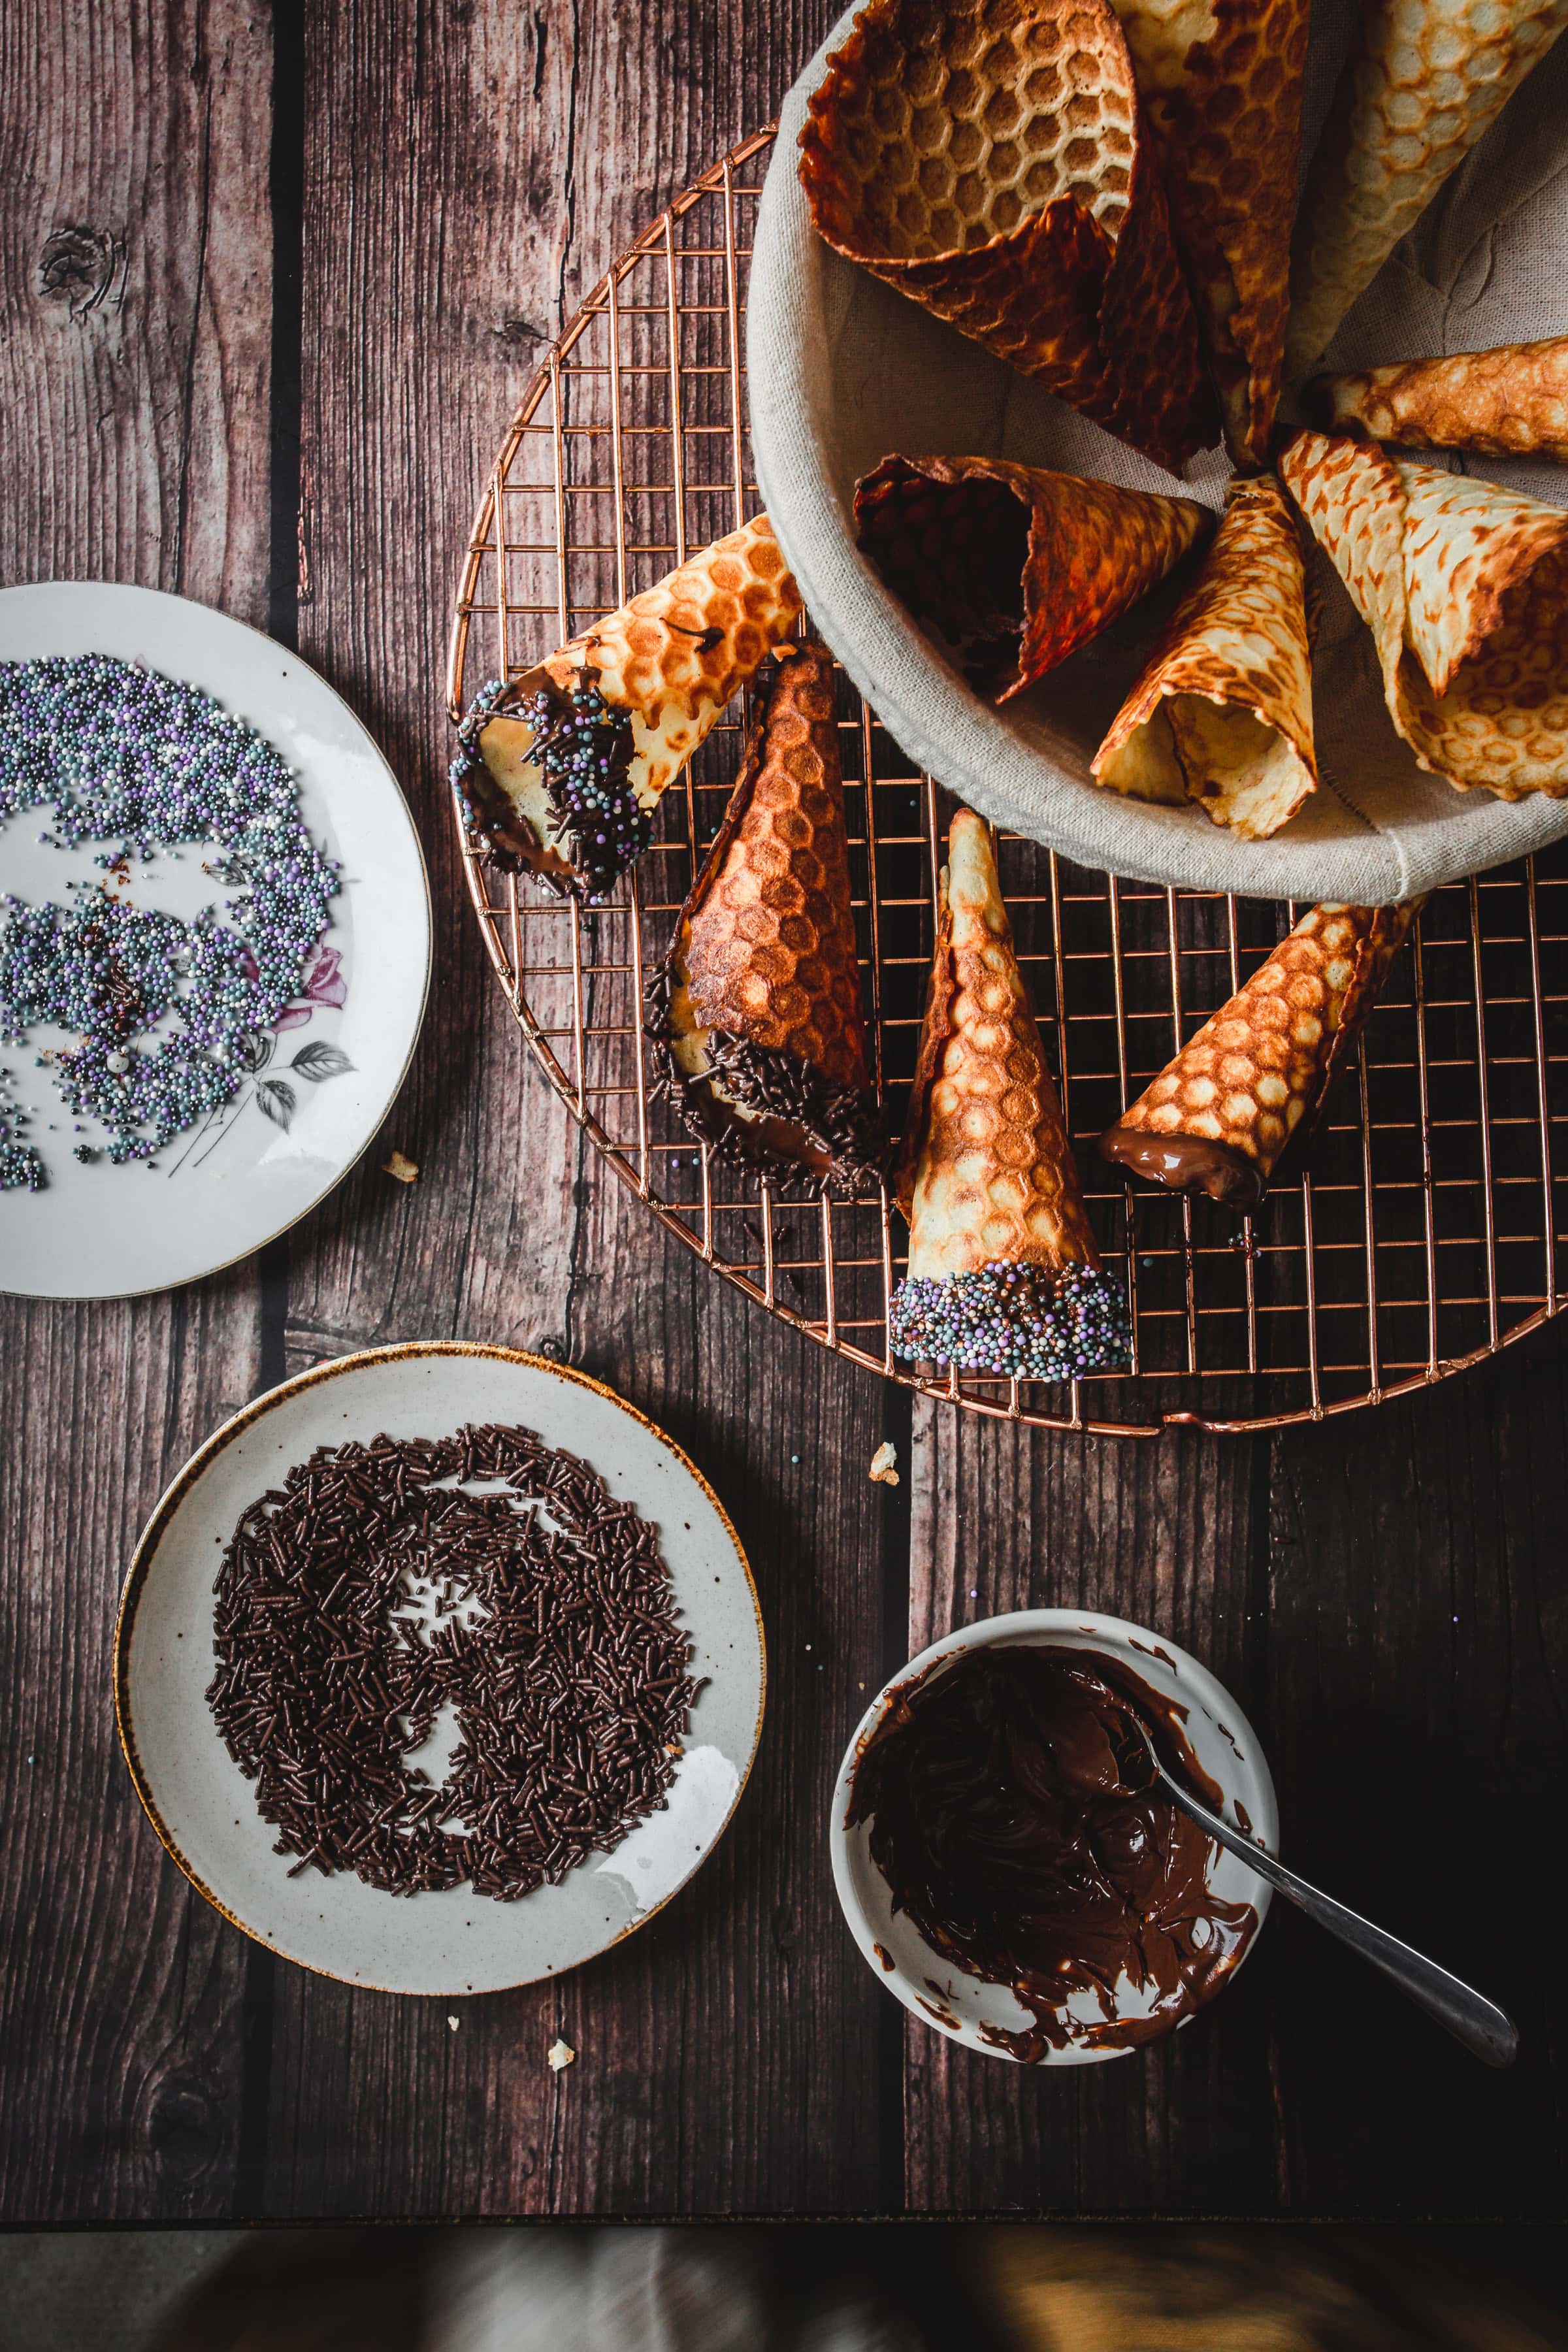
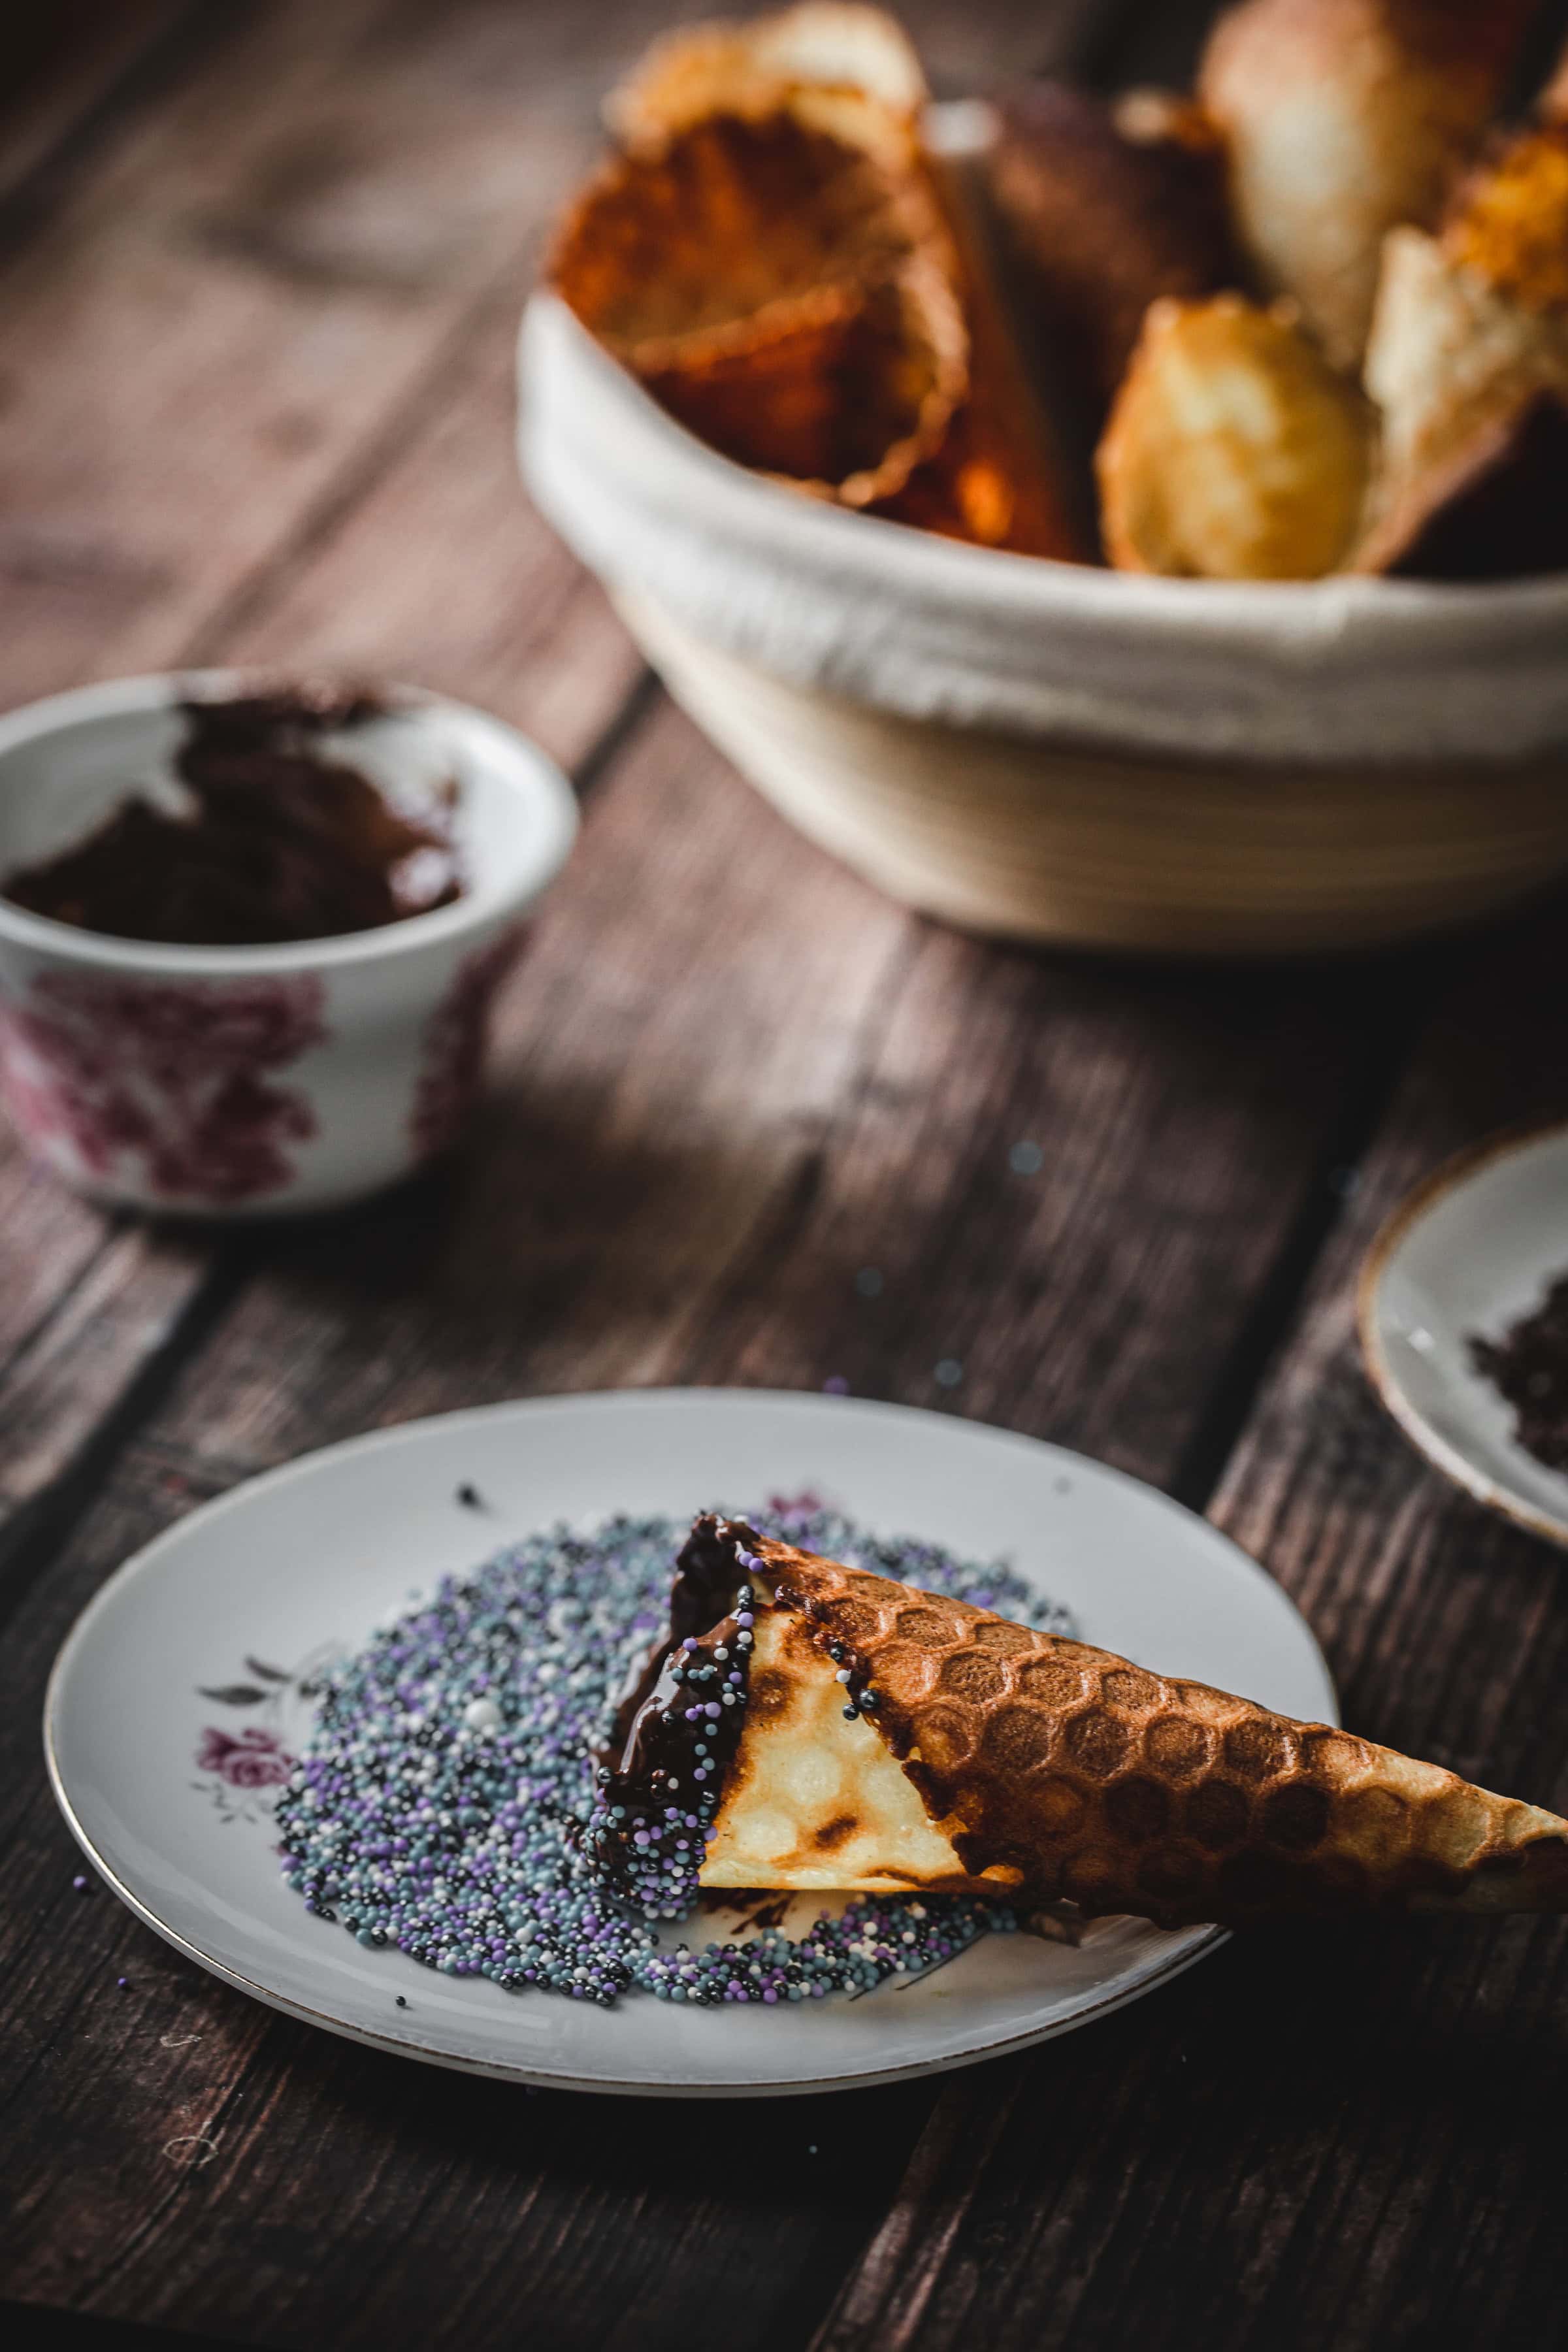
- Allow any excess chocolate to drip off. While the chocolate is still wet, dip or roll the rim into your choice of toppings, or sprinkle toppings over the chocolate.
- For extra leak protection, use a small spoon or pastry brush to coat the inside bottom of each cone with melted chocolate. Let it sit before filling with your favorite ice cream flavor.
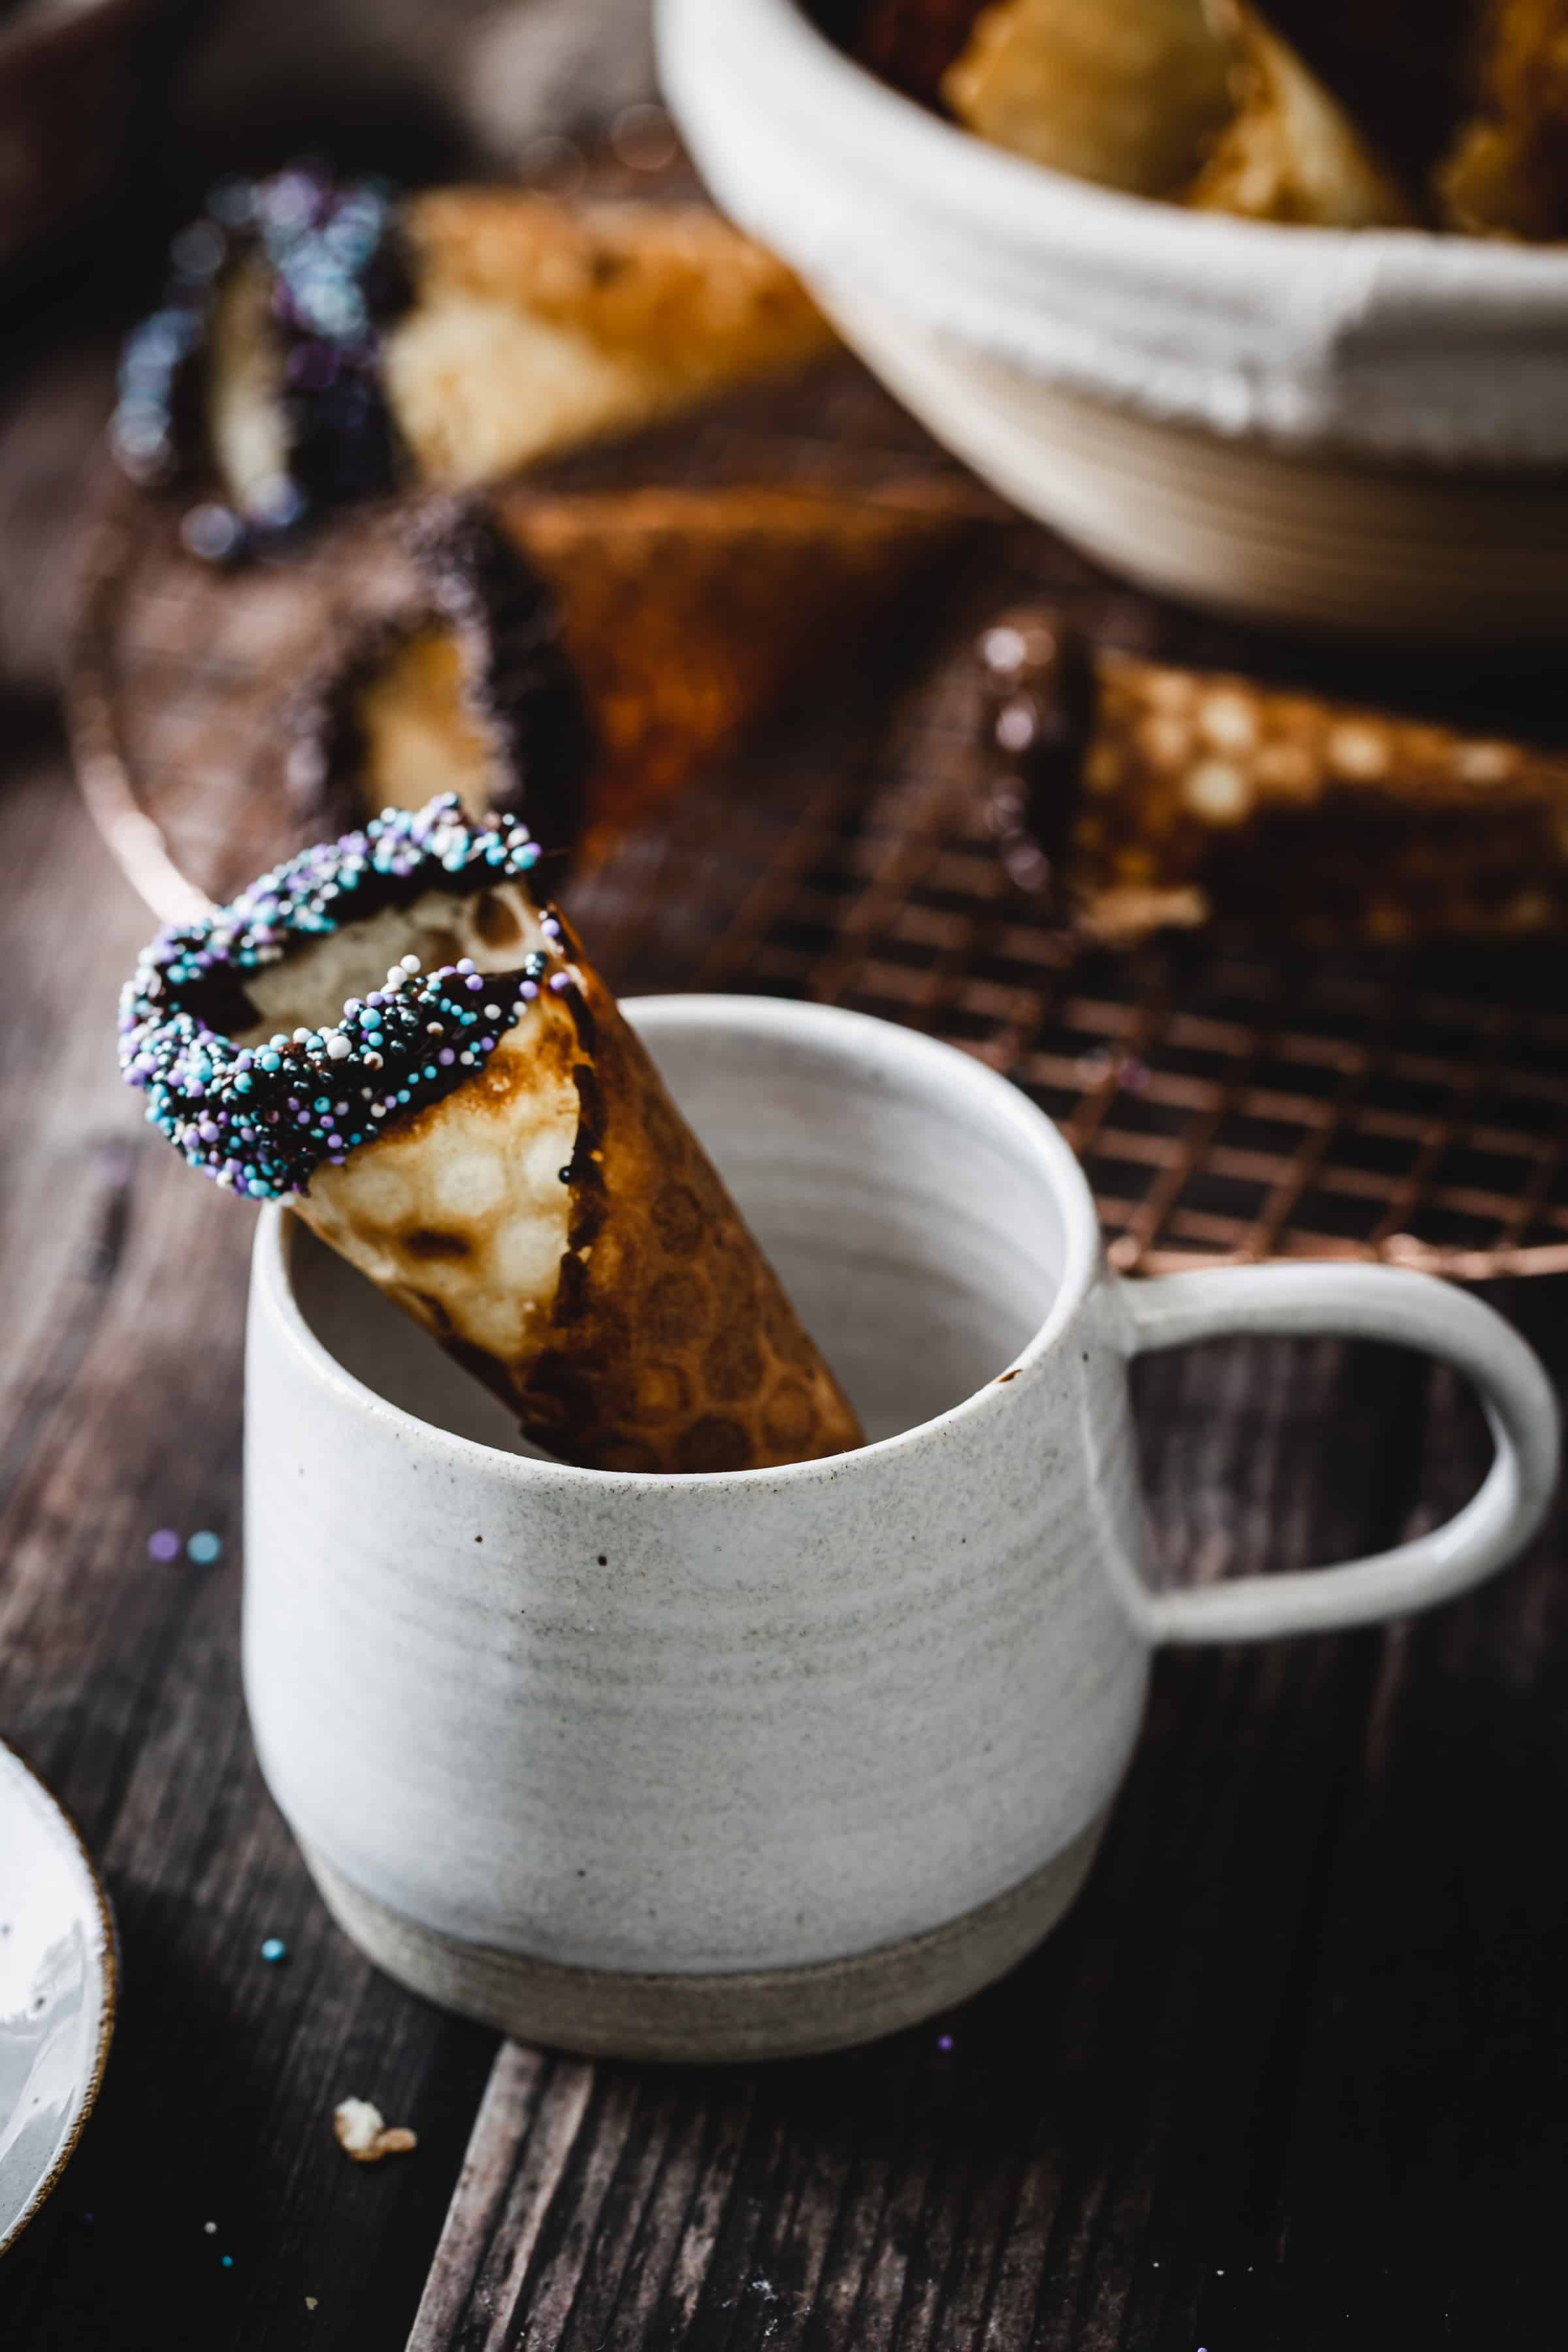
Serve
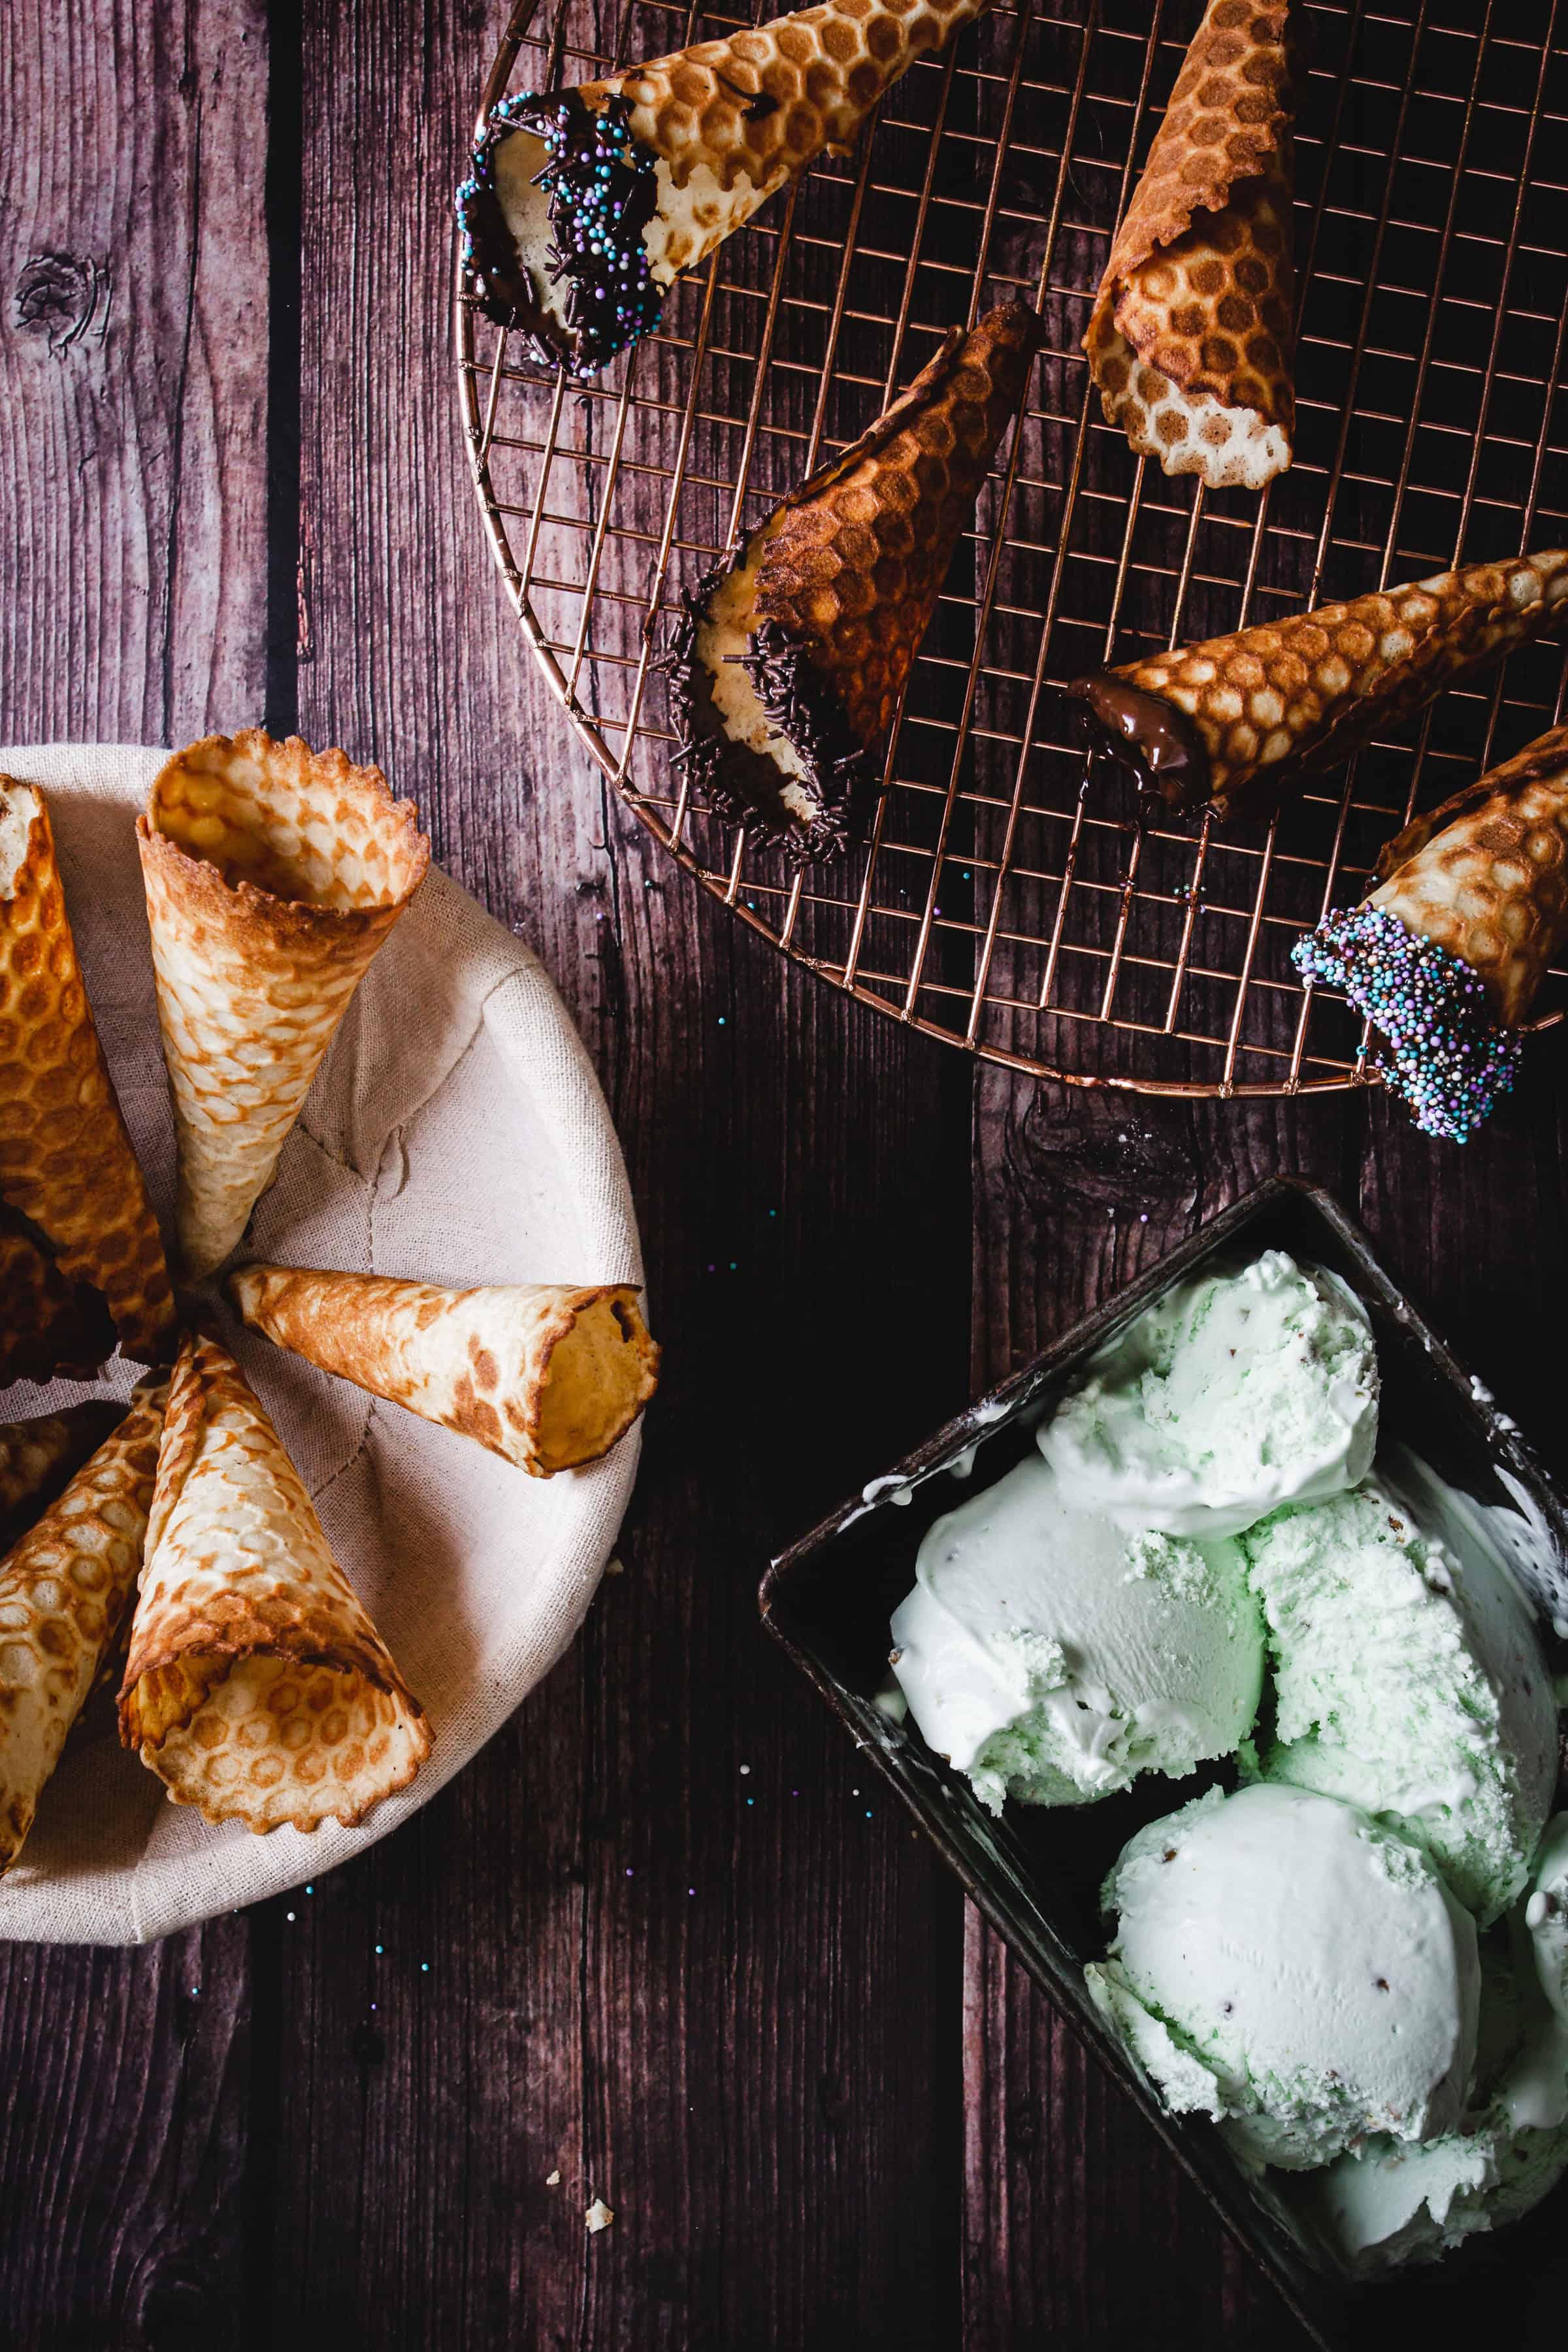


Let the chocolate set completely at room temperature for about 30 minutes. If you want to speed up the process, refrigerate for 10-15 minutes. Once the chocolate has hardened, your cones are ready to fill with ice cream and enjoy!
Storage
Once completely cooled, place the gluten free cones in an airtight container to protect them from moisture. I like to layer them with parchment or wax paper in between to prevent any sticking or cracking. Store them at room temperature in a cool, dry place (heat and humidity are their biggest enemies!).
Avoid refrigeration if possible, as cold air can make the cones soft or soggy. If you do need to store them longer, I recommend freezing undecorated cones in an airtight container. When ready to use, let them thaw completely at room temperature before filling with ice cream.
Top Tips
Punch down and rest before shaping - After the first rise, give the dough a gentle punch and let it rest for five minutes before dividing. This makes it easier to work with and less likely to snap back when you flatten it.
Seal with dry fingers - Any butter or oil on your fingertips will prevent the dough together from sticking properly. Keep a small dish of flour nearby and dust your hands between piroshki so every seam pinches shut cleanly.
Test one before frying the batch - Fry one piroshki first in the hot oil to check your heat. If it browns too fast, the inside will still be raw. If it browns too slowly, it will soak up oil.
Recipe
Tried and loved this recipe? Please leave a 5-star review below! Your reviews mean a lot to me, so if you've got any questions, please let me know in a comment.
Gluten-Free Ice Cream Cones
Equipment
- Large bowl or plate
- Waffle cone maker or flat waffle/pizzelle iron
- Spoon
- Cone roller or cone mold
- Glasses or cone holder
Ingredients
For the Cones:
- 400 grams gluten-free all-purpose flour blend (with xanthan gum)
- 250 grams butter, melted + 2 tablespoons
- 250 grams granulated sugar
- 100 ml milk (or dairy-free alternative)
- 5 large eggs
- 1 teaspoon vegetable oil for greasing
- ½ teaspoon vanilla extract optional, for added flavor
For Chocolate Dipping & Toppings:
- 340 grams chocolate chips or chopped chocolate (dark, milk, or white)
- 2 tablespoons coconut oil optional, for smoother coating
Choice of toppings:
- Chopped nuts almonds, peanuts, pistachios, hazelnuts
- Rainbow sprinkles
- Mini chocolate chips
- Crushed cookies
- Toasted coconut flakes
- Crushed freeze-dried fruit
Instructions
- In a large bowl, whisk together the melted butter, sugar, eggs, milk, and vanilla (if using) until smooth. Gradually add the gluten-free flour and mix until you have a smooth, lump-free batter. Let rest for 5 minutes.
- Heat your waffle cone maker or flat waffle/pizzelle iron according to manufacturer's instructions.
- Lightly brush the iron with vegetable oil before each cone.
- Pour 1 to 1½ tablespoons of batter onto the iron (amount depends on size). Close and cook for 2-3 minutes until golden brown (gluten-free may take slightly longer than traditional).
- This is crucial! As soon as you remove each waffle from the iron, quickly wrap it around a cone roller or mold while it's still hot and pliable. Hold for 10-15 seconds until it sets.
- Place the cone point-side down in a glass or cone holder to cool completely and maintain its shape.
- Continue until all batter is used. Allow all cones to cool completely before decorating.
- In a microwave-safe bowl, combine chocolate chips and coconut oil (if using). Microwave in 30-second intervals, stirring between each, until smooth and fully melted. Alternatively, melt in a double boiler.
- Place each topping in a separate shallow bowl or plate for easy dipping.
- Hold each cone upside down and dip the rim (top 1-2 inches) into the melted chocolate, rotating to coat evenly. Let excess chocolate drip off.
- While the chocolate is still wet, dip or roll the chocolate-coated rim into your choice of toppings, or sprinkle toppings over the chocolate.
- Place decorated cones upright in glasses or a cone holder. Allow chocolate to set completely at room temperature (about 30 minutes) or refrigerate for 10-15 minutes to speed up the process.
- Optional: For extra leak protection, use a small spoon or pastry brush to coat the inside bottom of each cone with melted chocolate. Let set before filling with ice cream.
Nutrition