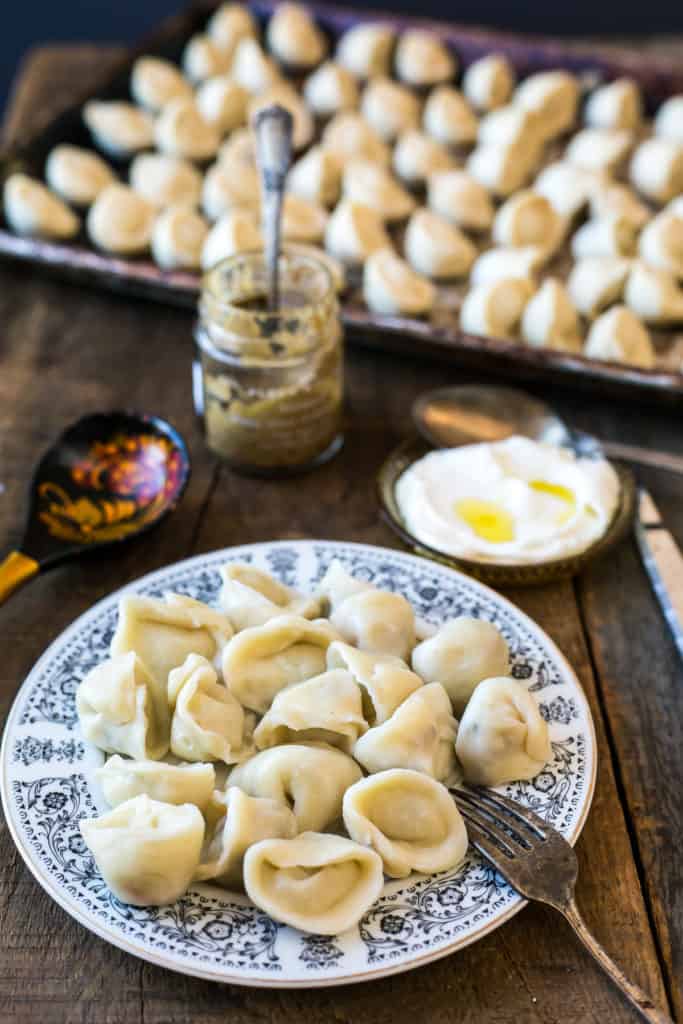
Authentic Russian vegetarian vareniki are little pockets of thinly rolled dough, hiding within them a delectable filling. Follow my easy dumpling recipe and choose from three fillings of potato and onion vareniki, pink cheese vareniki and dessert berry vareniki, or come up with your version!

A Russian New Year's Tradition
Making handmade dumplings - like vareniki or pelmeni - is a typical Russian New Year's tradition.
Four sets of hands, fluttering like lightning above a table. Streaks of flour everywhere. A mound of glistening, juicy filling resting in a bowl. Lighthearted children's music playing in the background, its tune occassionally picked up and hummed by someone around the table.
This tableau undertook my parents' kitchen in the first week of December each year, as my parents, my grandmother and I all gathered to make this year's serving of pelmeni and Russian vegetarian vareniki.
My grandmother made the dough. My mother prepared the meat filling, while I cooked the filling for the vegetarian Russian vareniki. And my father rolled out the dough into a thin, crepe-like sheet. That sheet would later envelop those little morsels of goodness, pelmeni and Russian vegetarian vareniki.
My father also supervised the entire production. Sitting like a shah above the proceedings, he pointed to where more filling was needed, or an edge got overly crimped in production. He was also the one most likely to pick up a tune and start singing along to the Russian children's songs playing, his voice booming like a megaphone above us all.
That December day, sitting there making pelmeni and Russian vegetarian vareniki, was one of the year's highlights. It was relaxed, convivial and joyful. My family at its best.
What we made that day got us to New Year's Eve. And then into January. Served in porcelain bowls on Novii God, the Russian New Year's Eve, our pelmeni and vegetarian vareniki glistened like homemade jewels. Then each time we were hungry that winter, we took a serving out of the freezer.
Bowl by bowl, we ate our way through our stash of pelmeni and vegetarian vareniki. But the memories of the day we made them would last us all year.
My last workshop
I made these vegetarian vareniki last year, for a Museum of Jewish Montreal workshop. As it was Valentine's Day, we made pink vegetarian vareniki filled with cheese, my favourite potato vareniki, and pink-filled raspberry dessert vareniki.
We filled the night with laughter, conversation and good food and wine.
I bring you the recipes as we made them last year, but I want to stress that like my Argentinian vegetarian empanadas, this recipe should serve as a blueprint only.
Experiment with your own vegetarian vareniki, making them in a variety of fillings of your choice. I recommend mushrooms and onions, blueberries, sour cherries, or even Beyond Meat beef crumbles with onion. Use a small 3cm glass to cut the vareniki shapes, or invest in this inexpensive mold that will help you cut many at once (I am going to get one for my parents!). Either way you do it, let your imagination guide you - and prepare for a relaxing afternoon in the kitchen.
An easy dumpling recipe that uses pantry ingredients
The reason I am publishing this recipe now, a year later, is because this is a great, simple dumpling recipe that will help you cook from your pantry. Furthermore, the physicality of mixing batter and rolling out dough will help your body and mind unwind and relax. It's a great recipe to make with little ones, who can cut the shapes or pinch the edges.
In these crazy days, we all need a little bit of an outlet - and if you get something tasty out of the deal, then I consider it time well spent.
Recipe
Tried and loved this recipe? Please leave a 5-star review below! Your reviews mean a lot to me, so if you've got any questions, please let me know in a comment.
Potato vegetarian vareniki
Ingredients
Filling
- 2 potatoes 250 g, peeled and cubed
- 2 teaspoons of salt
- 2 TBs oil
- 1 onion chopped finely
- 50 g butter;
- ground black pepper - to taste;
- Finely chopped herbs like dill or scallions (optional)
Dough
- 200 ml ice water;
- 1 egg;
- ½ teaspoon salt;
- 600 g about 4 cups flour, sifted
Instructions
To prepare filling:
- Preheat a large pan to medium heat. Add oil and chopped onion. Cook on medium heat until onion is golden-brown. Remove from heat.
- Meanwhile, place potatoes in a large pot. Cover with enough water to submerge. Once water reaches a boil, add 1 heaping teaspoon of salt. Continue cooking until potatoes are easily pierced with a fork, 15 minutes.
- Drain the potatoes, add the butter and puree. Add sauteed onions, salt and pepper, mix well and cool slightly. You can add chopped herbs to the potatoes, such as dill or green onions. Taste filling and adjust seasonings as needed. Set aside to cool.
To prepare dough:
- In a large bowl, stir water, egg and salt with a fork until smooth. Pour the pre-sifted flour, one cup at a time, mixing with a spatula after each addition. Knead the dough well with your hands: it will take about 7 minutes. The finished dough should not stick to your hands. If dough remains sticky, add more flour and continue kneading.
- Place dough in a large clean bowl, cover with a towel and allow to rest for 30 minutes.
To shape vareniki:
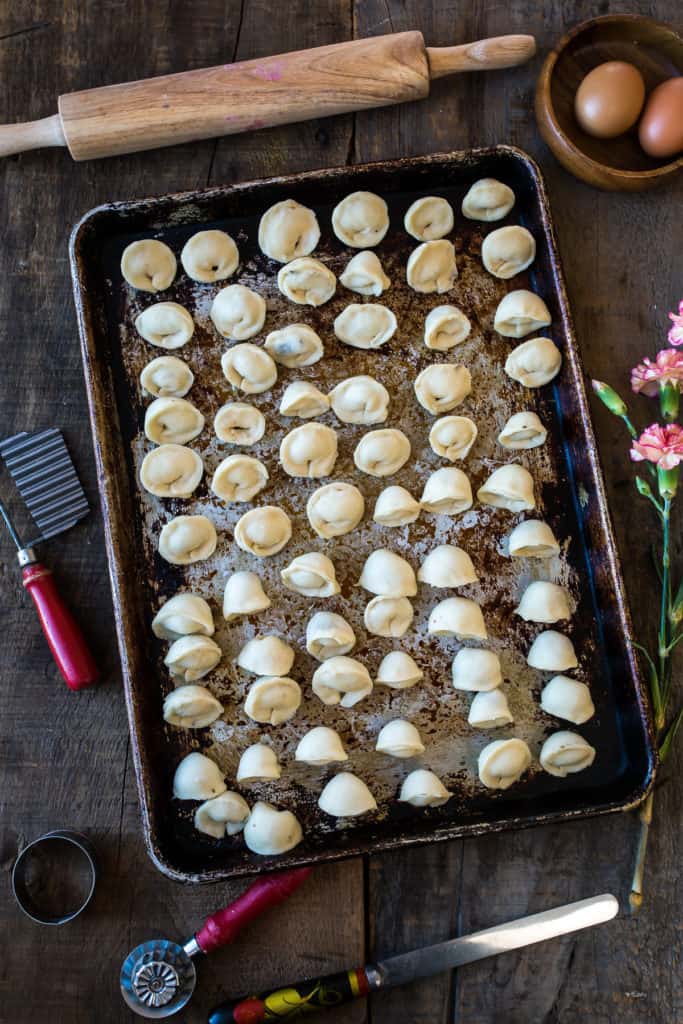
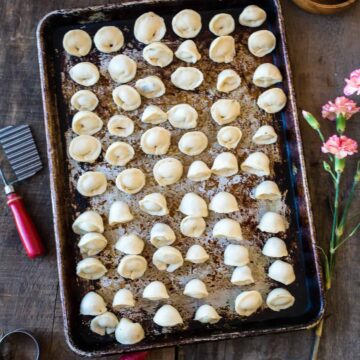
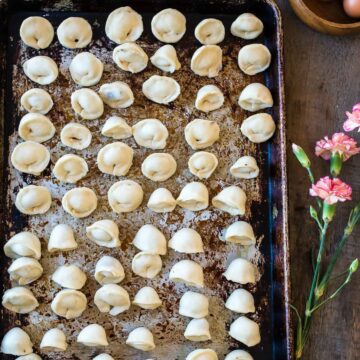
- Sprinkle working surface with flour and roll out the dough in an even, thin layer (about ½ a centimeter). Using a cookie cutter or a glass, cut circles out of dough. Once all the circles have been cut, gather leftover dough, roll again and make more circles; continue doing this until you run out of dough.
- Put the filling in the center of each circle. The quantity will depend on the size of the circles, but ½-1 teaspoon is a good ballpark. If there is not enough filling, the taste of the dough will be too pronounced. And if you have too much, then the the vareniki can fall apart during cooking.
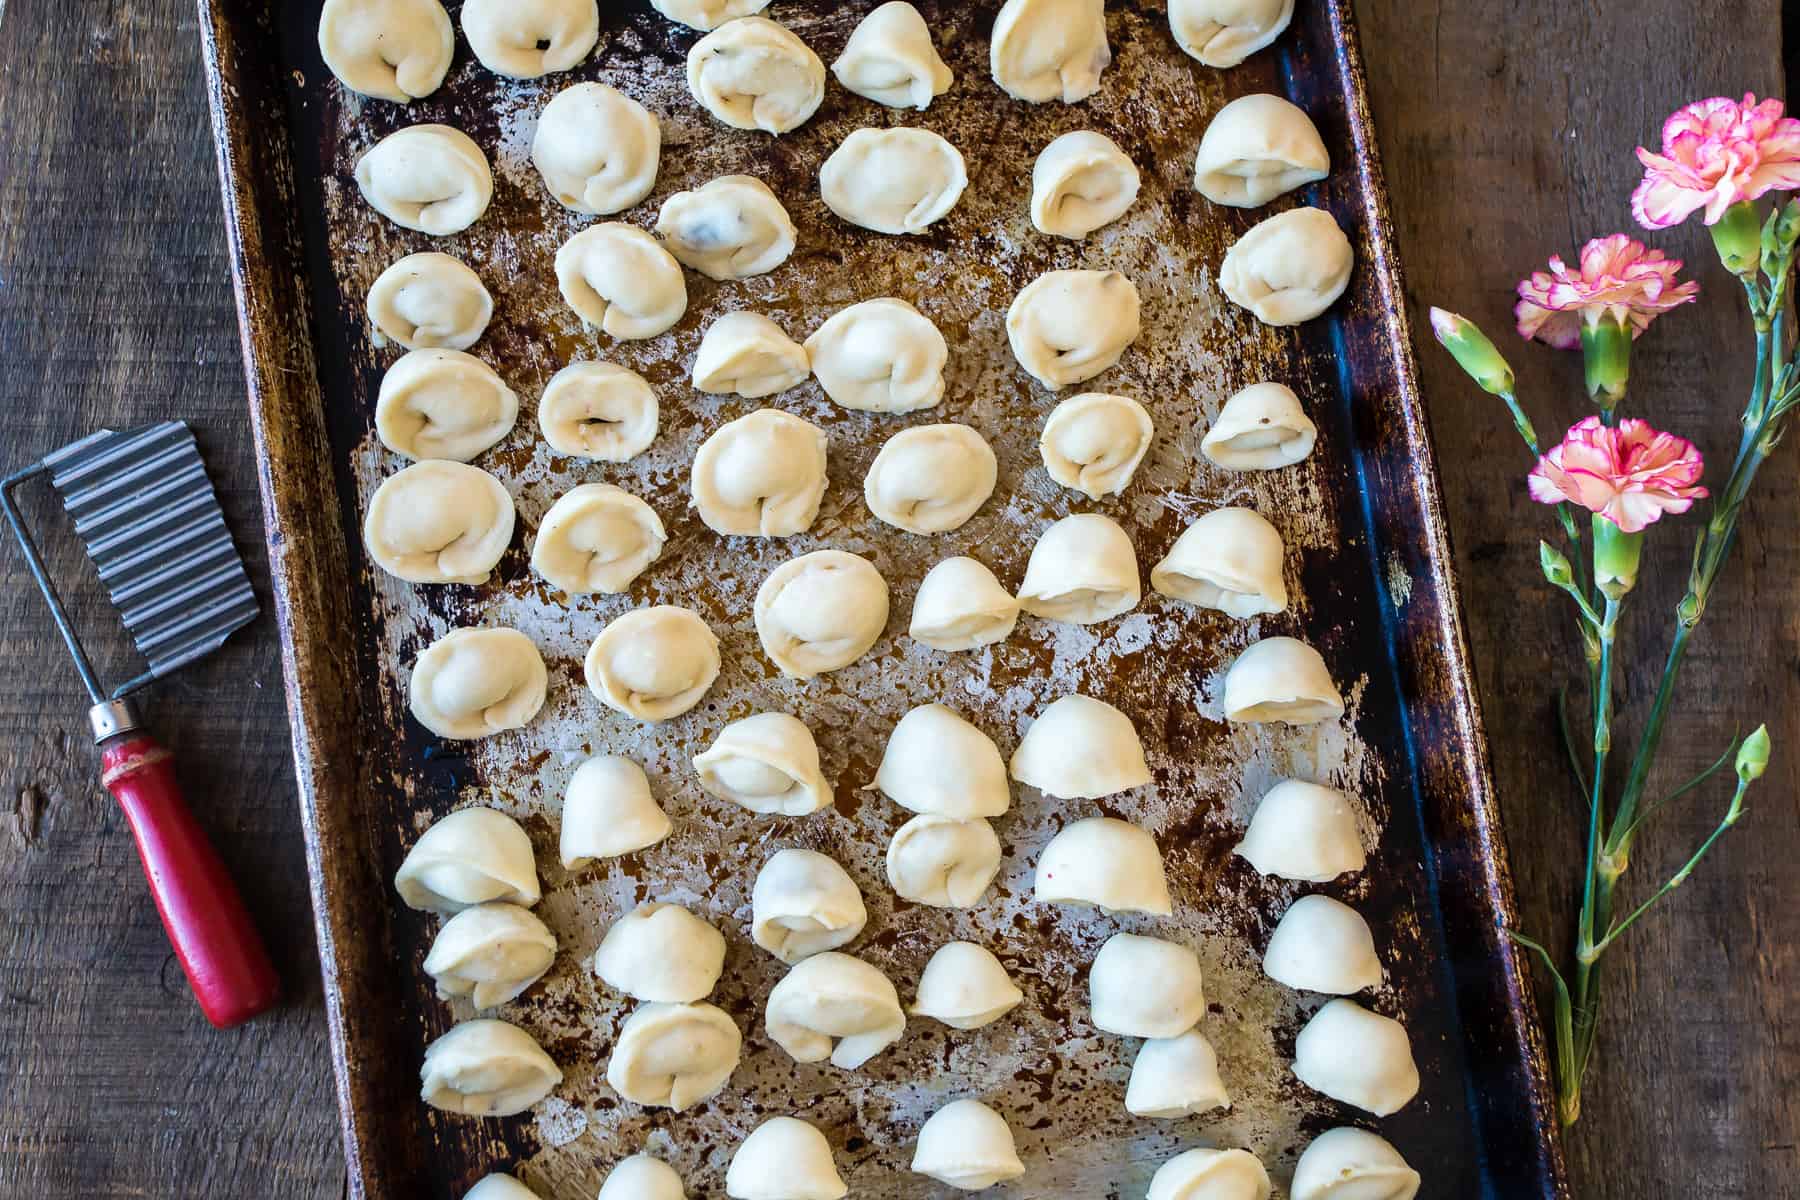
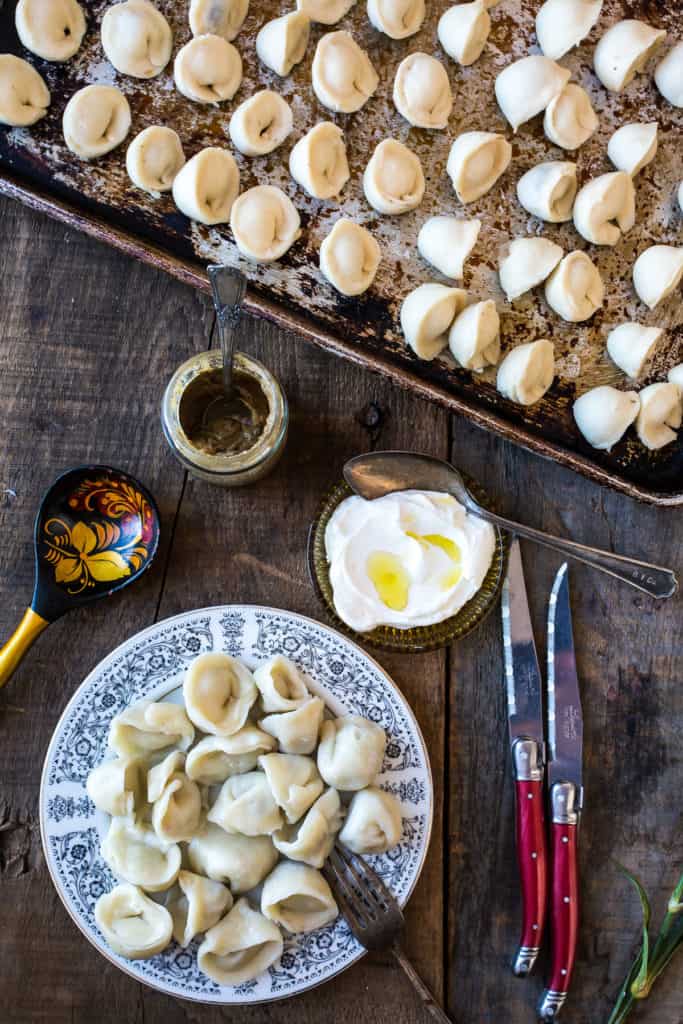
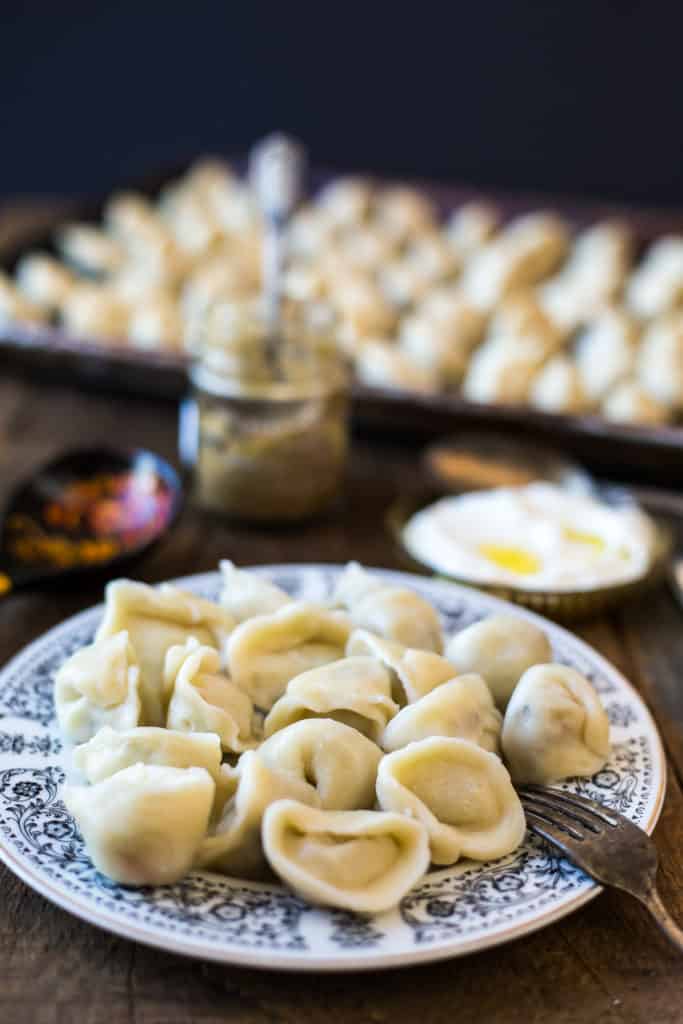
- Once filling is in, fold the circles with the filling in half and tightly bind the edges. Make sure that the filling does not go beyond the limits of the dough. You can leave the vareniki in this form, or you can make a braid around the seam, or pinch them into a folded circle. To make a braid, moving in one direction, gradually fold the edge of the dough on itself; to make a folded circle, take the two ends of the half circle and bring them together with a pinch.
- To cook vareniki, stick to small portions (20-30 vareniki at once). If cooking more, dumplings can stick together, so it's better to cook them in stages.
- Bring a large pot of salted water to a boil (cook these like pasta, using 1 heaping teaspoon of salt per 2 litres of water). It is necesssary to salt the water in which you are to cook vareniki, even if using a sweet filling - the salt will prevent the dumplings from sticking together.
- Once water is boiling, place the vareniki in the water and reduce the heat to medium. Stir the dumplings gently and wait for them to float; this should take only a few minutes. Once vareniki float, continue boiling them for another 2-5 minutes, depending on the thickness of the dough. During cooking, stir the dumplings periodically.
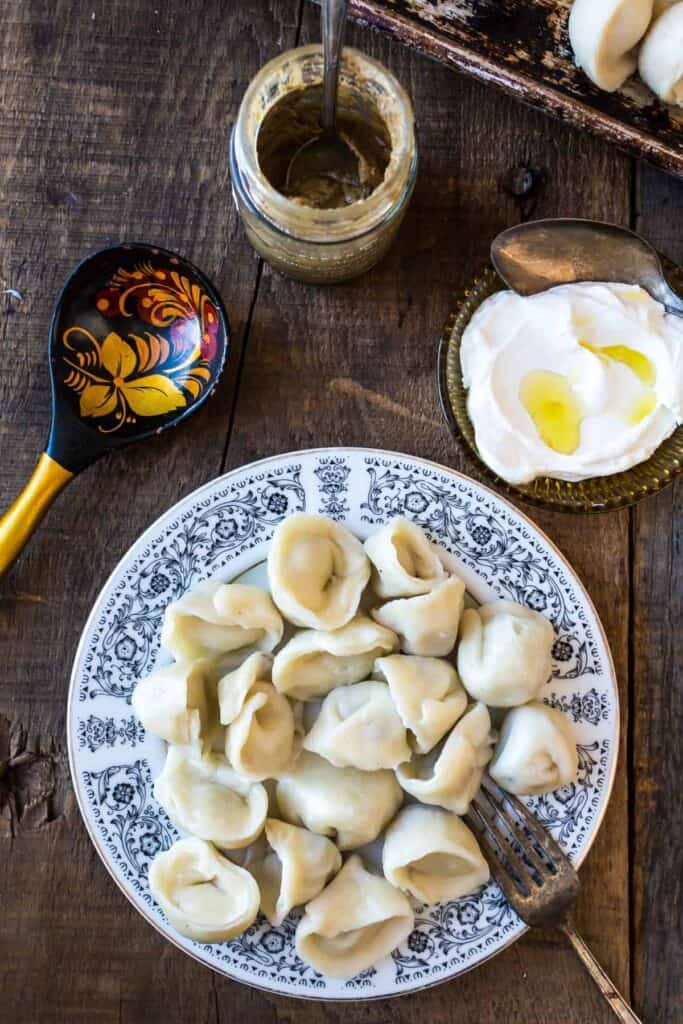
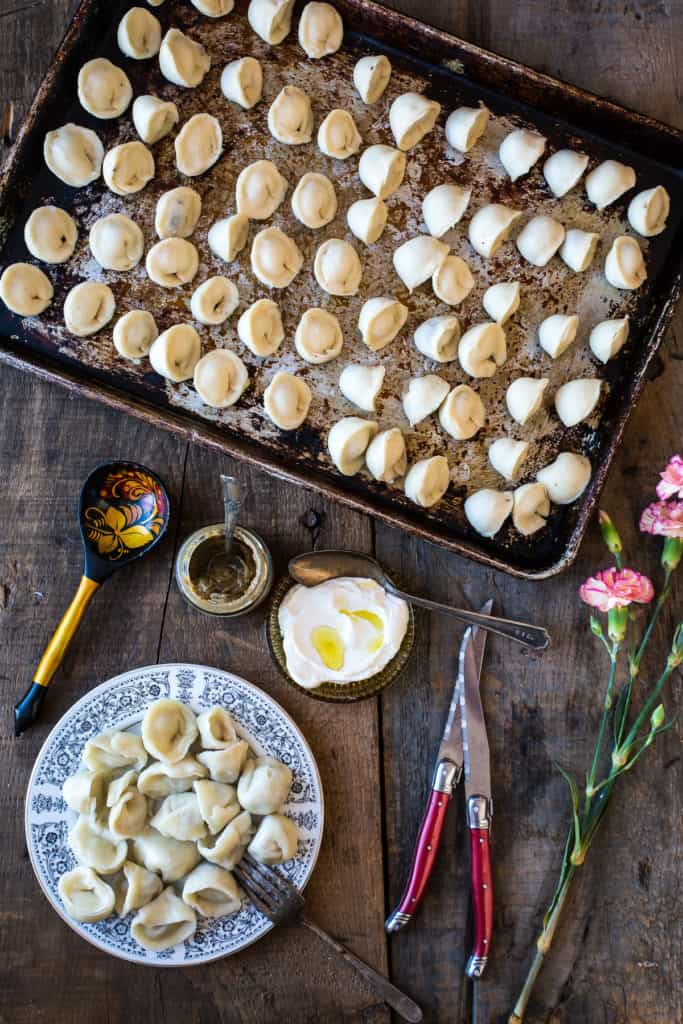
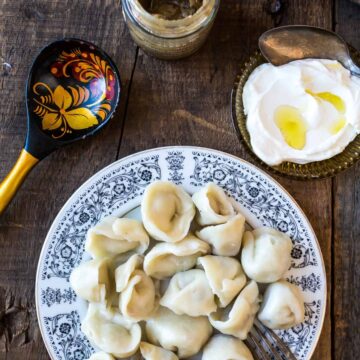
- Drain vareniki of water. Serve with sour cream or mayonnaise, strong mustard, and additional chopped dill.
Nutrition
Recipe
Tried and loved this recipe? Please leave a 5-star review below! Your reviews mean a lot to me, so if you've got any questions, please let me know in a comment.
Valentine's pink vareniki with cheese filling
Ingredients
Filling:
- 500 g of tvorog OR firm farmer's cheese;
- 1 bunch of any herbs chopped (avoid if making sweet filling)
- 1 teaspoon salt or more to taste OR to make sweet filling, 2 TBs of vanilla sugar
Dough:
- 200 ml of beet or pomegranate juice;
- 1 egg;
- ½ teaspoon salt;
- 600 g about 4 cups flour, sifted
Instructions
To prepare filling:
- In a medium sized bowl, combine tvorog or farmer's cheese, finely chopped herbs and salt or sugar. Taste filling and adjust seasonings as needed. Set aside.
To prepare dough:
- In a large bowl, stir beet or pomegranate juice, egg and salt with a fork until smooth. Pour the pre-sifted flour, one cup at a time, mixing with a spatula after each addition. Knead the dough well with your hands: it will take about 7 minutes. The finished dough should not stick to your hands. If dough remains sticky, add more flour and continue kneading.
- Place dough in a large clean bowl, cover with a towel and allow to rest for 30 minutes.
To shape vareniki:
- Sprinkle working surface with flour and roll out the dough in an even, thin layer (about ½ a centimeter). Using a cookie cutter or a glass, cut circles out of dough. Once all the circles have been cut, gather leftover dough, roll again and make more circles; continue doing this until you run out of dough.
- Put the filling in the center of each circle. The quantity will depend on the size of the circles, but ½-1 teaspoon is a good ballpark. If there is not enough filling, the taste of the dough will be too pronounced. And if you have too much, then the the vareniki can fall apart during cooking.
- Once filling is in, fold the circles with the filling in half and tightly bind the edges. Make sure that the filling does not go beyond the limits of the dough. You can leave the vareniki in this form, or you can make a braid around the seam, or pinch them into a folded circle. To make a braid, moving in one direction, gradually fold the edge of the dough on itself; to make a folded circle, take the two ends of the half circle and bring them together with a pinch.
- To cook vareniki, stick to small portions (20-30 vareniki at once). If cooking more, dumplings can stick together, so it's better to cook them in stages.
- Bring a large pot of salted water to a boil (cook these like pasta, using 1 heaping teaspoon of salt per 2 litres of water). It is necesssary to salt the water in which you are to cook vareniki, even if using a sweet filling - the salt will prevent the dumplings from sticking together.
- Once water is boiling, place the vareniki in the water and reduce the heat to medium.
- Stir the dumplings gently and wait for them to float; this should take only a few minutes. Once vareniki float, continue boiling them for another 2-5 minutes, depending on the thickness of the dough. During cooking, stir the dumplings periodically.
- Drain vareniki of water. Serve with sour cream.
Recipe
Tried and loved this recipe? Please leave a 5-star review below! Your reviews mean a lot to me, so if you've got any questions, please let me know in a comment.
Dessert vareniki with berry filling
Ingredients
- INGREDIENTS
Filling:
- 400 g of any berries frozen or fresh (if using frozen, leave an hour for defrosting)
- 1-2 tablespoons of cornstarch
- Sugar to taste
Sauce (optional):
- Drained juice from berries
- 2 TBs sugar
- 2 TBs sour cream or yogurt
Dough:
- 2 eggs
- ½ teaspoon salt
- 1 TB sugar
- 200 ml of slightly warm milk
- 1 tablespoon vegetable oil
- 600 g about 4 cups flour, sifted
Instructions
To prepare filling:
- If using frozen berries, place them in a colander over a large bowl an hour before, to drain excess liquid (take note that some berries, such as cherries, are still quite wet after defrosting). Save drained juice for later.
- To thicken the filling, add 1 teaspoon starch to berries and mix gently. Set aside; if not thickened enough after 10 minutes, add another teaspoon of cornstarch.
- A delicious sauce for the dessert vareniki can be made from the juice of the frozen berries. In a small saucepan, combine the gathered juice with sugar and boil over low heat, stirring occasionally, until the sugar dissolves and the mixture thickens. Then mix it with 2 TBs sour cream or unflavoured yogurt.
To prepare dough:
- In a large bowl, beat eggs and salt and sugar. Pour in milk and oil and mix well. Add the pre-sifted flour, one cup at a time, mixing with a spatula after each addition. Knead the dough well with your hands: it will take about 7 minutes. The finished dough should not stick to your hands. If dough remains sticky, add more flour and continue kneading.
- Place dough in a large clean bowl, cover with a towel and allow to rest for 30 minutes.
To shape vareniki:
- Sprinkle working surface with flour and roll out the dough in an even, thin layer (about ½ a centimeter). Using a cookie cutter or a glass, cut circles out of dough. Once all the circles have been cut, gather leftover dough, roll again and make more circles; continue doing this until you run out of dough.
- Put some filling in the center of each circle, and top with 1 teaspoon of sugar. The quantity of the filling will depend on the size of the circles, but ½-1 teaspoon (or a few berries) is a good ballpark. If there is not enough filling, the taste of the dough will be too pronounced. And if you have too much, then the the vareniki can fall apart during cooking.
- Once filling is in, fold the circles with the filling in half and tightly bind the edges. Make sure that the filling does not go beyond the limits of the dough. You can leave the vareniki in this form, or you can make a braid around the seam, or pinch them into a folded circle. To make a braid, moving in one direction, gradually fold the edge of the dough on itself; to make a folded circle, take the two ends of the half circle and bring them together with a pinch.
- To cook vareniki, stick to small portions (20-30 vareniki at once). If cooking more, dumplings can stick together, so it's better to cook them in stages.
- Bring a large pot of salted water to a boil (cook these like pasta, using 1 heaping teaspoon of salt per 2 litres of water). It is necesssary to salt the water in which you are to cook vareniki, even if using a sweet filling - the salt will prevent the dumplings from sticking together.
- Once water is boiling, place the vareniki in the water and reduce the heat to medium.
- Stir the dumplings gently and wait for them to float; this should take only a few minutes. Once vareniki float, continue boiling them for another 2-5 minutes, depending on the thickness of the dough. During cooking, stir the dumplings periodically.
- Drain vareniki of water. Serve with sour cream, jam or the prepared berry sauce.


Katerina | Once a Foodie says
From reading this wonderful post, I get the impression that any day when you make these vareniki is a good day. They sound absolutely delightful and comforting and I honestly don't know which one I'd like to try first!
kseniaprints says
They do make any day a little bit better! I agree 🙂
Carina says
Those are not "vareniki" but "pelmeni" (at least the shape). Vareniki are flat
kseniaprints says
You are right that they're not the traditional shape of vareniki, but in my family we made them all look the same! Sacrilege, I know 😉 Of course, what really distinguishes vareniki from pelmeni is the filling - and pelmeni are meat.
Krisinda says
My grandma always made these, but with the potato ones her recipe calls for a little bit of sauerkraut. Just like the other comment hers were flat. She always made the potato, berry and one other kind. Now I am the one that makes these in my family.