If you enter my grandparents’ house, you would be hard pressed to see the back porch from all the pickles. Even though a direct corridor crosses their house and leads you directly to it, it remains the stuff of legends. Mounds of what can only be referred to as “stuff” block the way: family photographs in oversized picture frames, DIYd furniture with various hooks, levers and cushions, and rows upon rows of drying laundry, hanging from haphazardly strung wires. Whey pickles line the shelves of the fridge, and their cupboards are full of bizarre candy no one dares to eat, manufactured in an unknown Middle Eastern country, or in Russia sometime between 1980 and 2010. In a word, my grandparents can be lovingly described as thrifty; not-so-lovingly, as hoarders.

Having grown up in their home, both my mother and I have a severe aversion to clutter. Shredding paper remains one of my greatest joys, and I look forward to the seasonal closet cleaning the way some children anticipate Christmas. And yet, my grandparents’ influence remains with me in one huge, indelible way: I simply cannot throw out good food.

Few things bring me as much culinary joy as finding use for leftovers. So, if you were left with some whey after making lactose-free yogurt, you know that I simply cannot, in good conscience, let you throw it away. Plus, you really shouldn’t – this whey packs a serious punch of good bacteria, and can tremendously help those dealing with Candida (yeast) overgrowth, or any stomach problems. It is also a great flavouring agent! And the good news is, using it up is as easy as throwing vegetables into a mixture.
Make these whey pickles in minutes, and enjoy them for weeks - their flavour only gets better as they sit in your fridge.
EDIT: This post has been featured on Punk Domestics! Support this great community by checking out more of their curated content.
Recipe
Tried and loved this recipe? Please leave a 5-star review below! Your reviews mean a lot to me, so if you've got any questions, please let me know in a comment.
Whey use #1: Lacto-fermented (pickled) vegetables (no processing required)
Ingredients
- 4 tablespoons of whey
- ½-1 cup of filtered water or as much as needed to top your jar
- 1 teaspoon of salt
- 2 cups worth of chopped sturdy vegetables of your choice – cauliflower carrots, onions, peppers, broccoli, or a mix thereof
- 3 garlic cloves peeled and left whole
- 1 tablespoon of the herb of your choice - oregano tarragon, basil, or 1 teaspoon of grated ginger
- 1 1- litre jar or glass container with a lid
Instructions
- Prepare a clean jar.
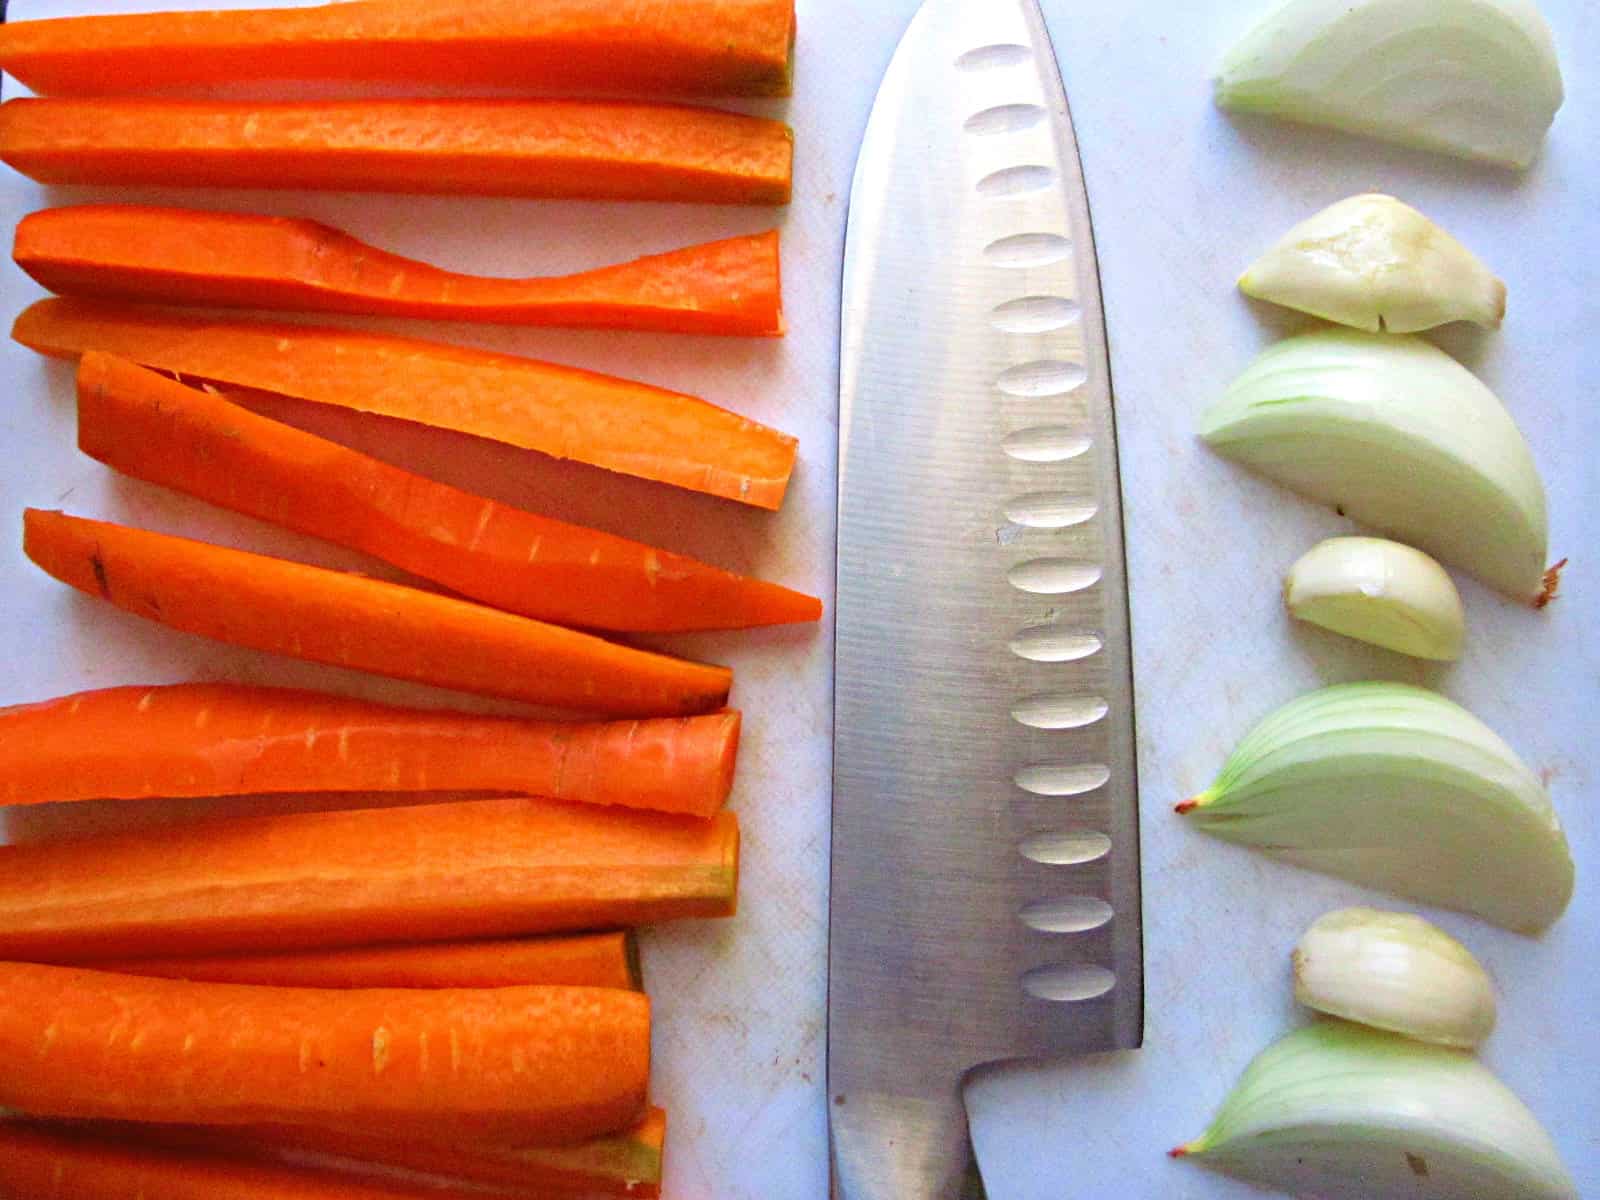
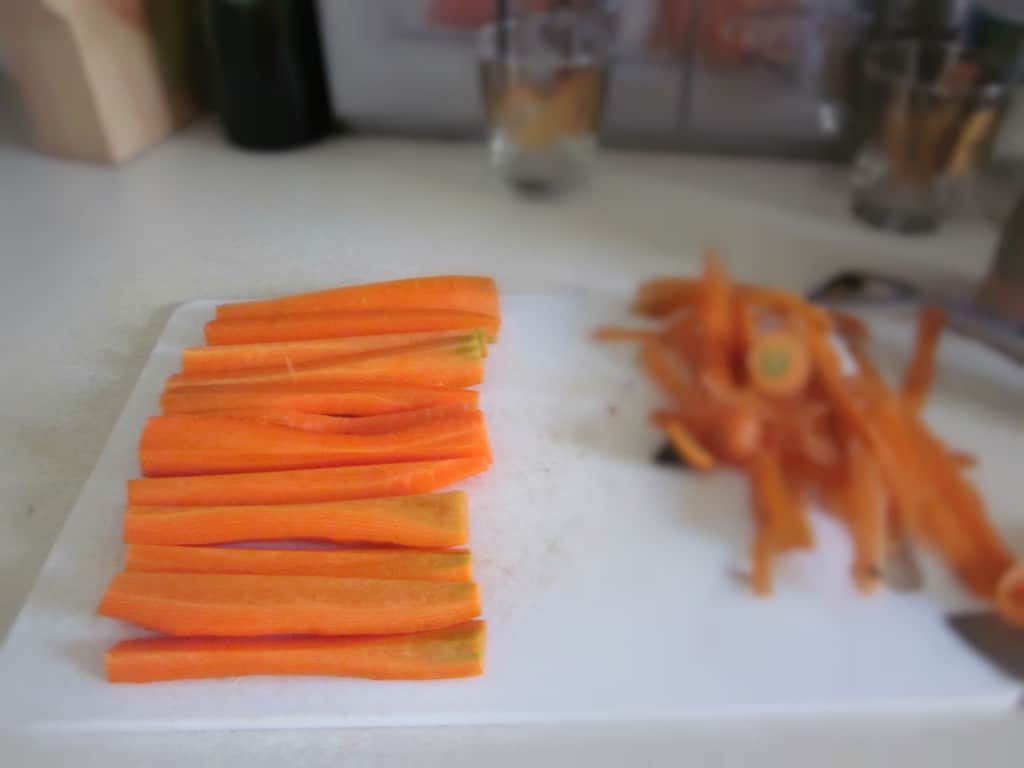
- Chop into large chunks or spears enough sturdy vegetables to fill two cups. Use any combination of cauliflower, carrots, onions, bell peppers and broccoli, though you can also use any of these separately (in the photos above I used carrots and onions).
- If using cauliflower or broccoli, separate into small florets, about 1 to 2 inches in diameter.
- If using carrots or bell peppers, cut into spears.
- If using onions, cut in half at the root, and then slice each half horizontally into quarters, or into thin strips.
- Combine the filtered water, whey and salt in a separate jar, and stir well. Taste the solution – it should taste briny.
- Pack the jar with the vegetables, herbs and garlic cloves, until they reach about 1 inch from the mouth of the jars.
- Pour your brine solution over your vegetables, completely submerging them. Top with more water if necessary.
- Cover your jar with a lid.
- Leave it a dark corner of your kitchen counter for two to four days (the duration of their fermentation will depend on the temperature in your home). I place mine in a dark kitchen cabinet.
- Wait a couple of days before you begin tasting your pickles. Your lacto-fermented vegetables will be done when they taste good to you (I like mine about four days in during winter, but summer times will be substantially shorter).
- At this point, transfer your pickled vegetables in the fridge. They can last for a while in the fridge, but I’m sure you’ll eat them long before they spoil.
- Much on them as they are, serve as part of an appetizer platter with good dip or hummus, or use in your favourite burger.
Notes
- Add whey to potatoes before mashing, for a tangier take on this creamy staple.
- Substitute some (or all) of the water in baked goods with whey.


Dosia says
Good morning, Ksenia! I've got two jars of these delish veggies nicely fermenting and bubbling on my kitchen counter for three days now. Can't wait to try them. Coming from eastern Europe, my grannie always had some fermented pickles or cabbage going in the cellar or right on the table, so I'm not new to this tradition. Love sauerkraut! However, I never tried to ferment my veggies with whey. What kind of homemade dip would you recommend to eat these with? I've made carrots, cauliflower, onion, orange pepper and a bit of onion together.
kseniaprints says
I have a foolproof dip that I use with everything! It's not very inventive, but I like it and vary the seasonings and it allows me to customize the flavor. The formula goes like this:
1:1 mayonnaise and sour cream (so 1/2 cup mayo, 1/2 cup sour cream) - you can also use Greek yogurt in place of the sour cream.
Juice of 1/2 a lime / 1/4 lemon + zest (optional)
And then I just throw in whatever seasonings I like! Dill is great, or dried onions, zaatar, paprika, garlic - or all of them. You just need a few teaspoons of a seasoning to flavor the whole dip, so start low and increase as needed.
Let me know how you enjoy your first whey fermentation experiment!
Dosia says
They turned out beautiful! I put my jars in the fridge yesterday morning (the fermentation process seemed to be complete) and we had them last night with our salad. They are very different from a traditional sauerkraut; very milid in taste and practically good with anything (may I also use them in soup?). My partner likes anything fermented and he too loved them. Thanks so much for the dip recipe! I'll make it this weekend. Just hoping there will be any veggies left to try it with! 😉
kseniaprints says
Excellent! So happy to hear that. Yes, you can definitely use them in soup - in fact, they would make a beautiful topping for this Slavic soup: https://immigrantstable.com/cold-bulgarian-soup-with-kefir-cucumbers-dill-walnuts-and-feta/
Tara says
Hello. When you say cover with a lid, should it be screwed down? Or just placed on top? I was thinking the gases need to escape during fermenting, but I'm not certain. Thanks for you help.
kseniaprints says
Just placed on top. Your hunch is exactly correct - the gases need room to go.
Kim says
Do you have to put garlic in?
kseniaprints says
Nope! It's very customizable.
Julia says
Hi! I think it would be helpful to point out the need to have something with weight added into the jar to make sure everything gets submerged. My garlic and some cucumber kept floating and I ended up getting mold and throwing everything away :/
kseniaprints says
Oh no, Julia, I'm so sorry this happened to you! Yes, I will add that.