Fermenting at home is a fantastic way to explore homemade foods. It’s not just about making pickles or sauerkraut; it’s about discovering new flavors and enjoying the process. With these 15 tips, you'll be well on your way to creating your own fermented foods that are not only great for your gut but also add some exciting new tastes to your meals.
Starting with fermentation can be both fun and rewarding. You don’t need to be a professional to get impressive results. All it takes is some basic knowledge, a bit of patience, and the willingness to try something new. You’ll find that once you get the hang of it, the possibilities are endless.
This guide is packed with practical advice to help you get started, avoid common mistakes, and enjoy the journey from start to finish. With clear and simple tips, you’ll gain confidence and quickly see just how easy and fun fermenting at home can be. So grab your jars, gather your ingredients, and get ready to start fermenting. You’ll be amazed at what you can create!

Start Simple

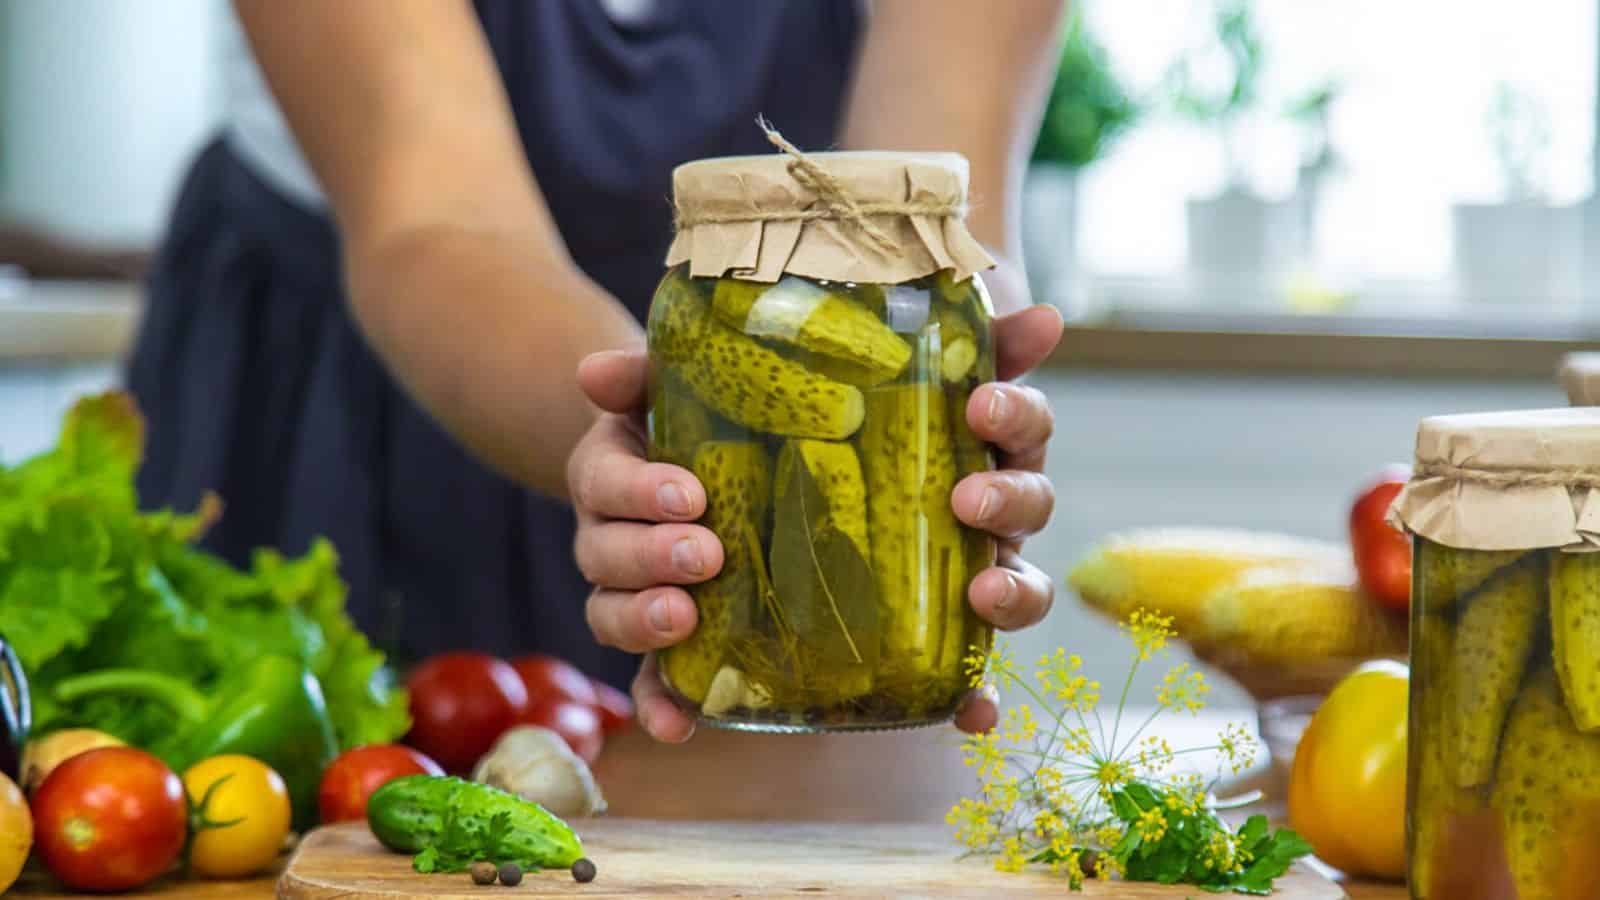
Begin your fermentation journey with straightforward recipes that are more forgiving for beginners. Sauerkraut, pickles, and kimchi are great choices because they require minimal ingredients and steps. Sauerkraut, for example, needs just cabbage and salt, while pickles might need cucumbers, water, and salt. These recipes give a clear indication of success or failure, making it easier to understand the fermentation process. As you become more comfortable, you can try more complex recipes and ingredients, but starting simple helps build your confidence and knowledge base.
Cleanliness is Key

Maintaining a sanitary workspace and using clean fermenting equipment is essential in fermentation. This process relies on beneficial bacteria, and any contaminants can spoil your batch. Before you start, wash your jars, utensils, and hands thoroughly with hot, soapy water. Rinse well to remove any soap residue. Some fermenters also sterilize their jars by boiling them or using a dishwasher with a sterilize setting. Cleanliness helps prevent the growth of undesirable molds and bacteria, making sure that your ferments are safe to eat and have the best possible flavor and texture.
Use Quality Ingredients

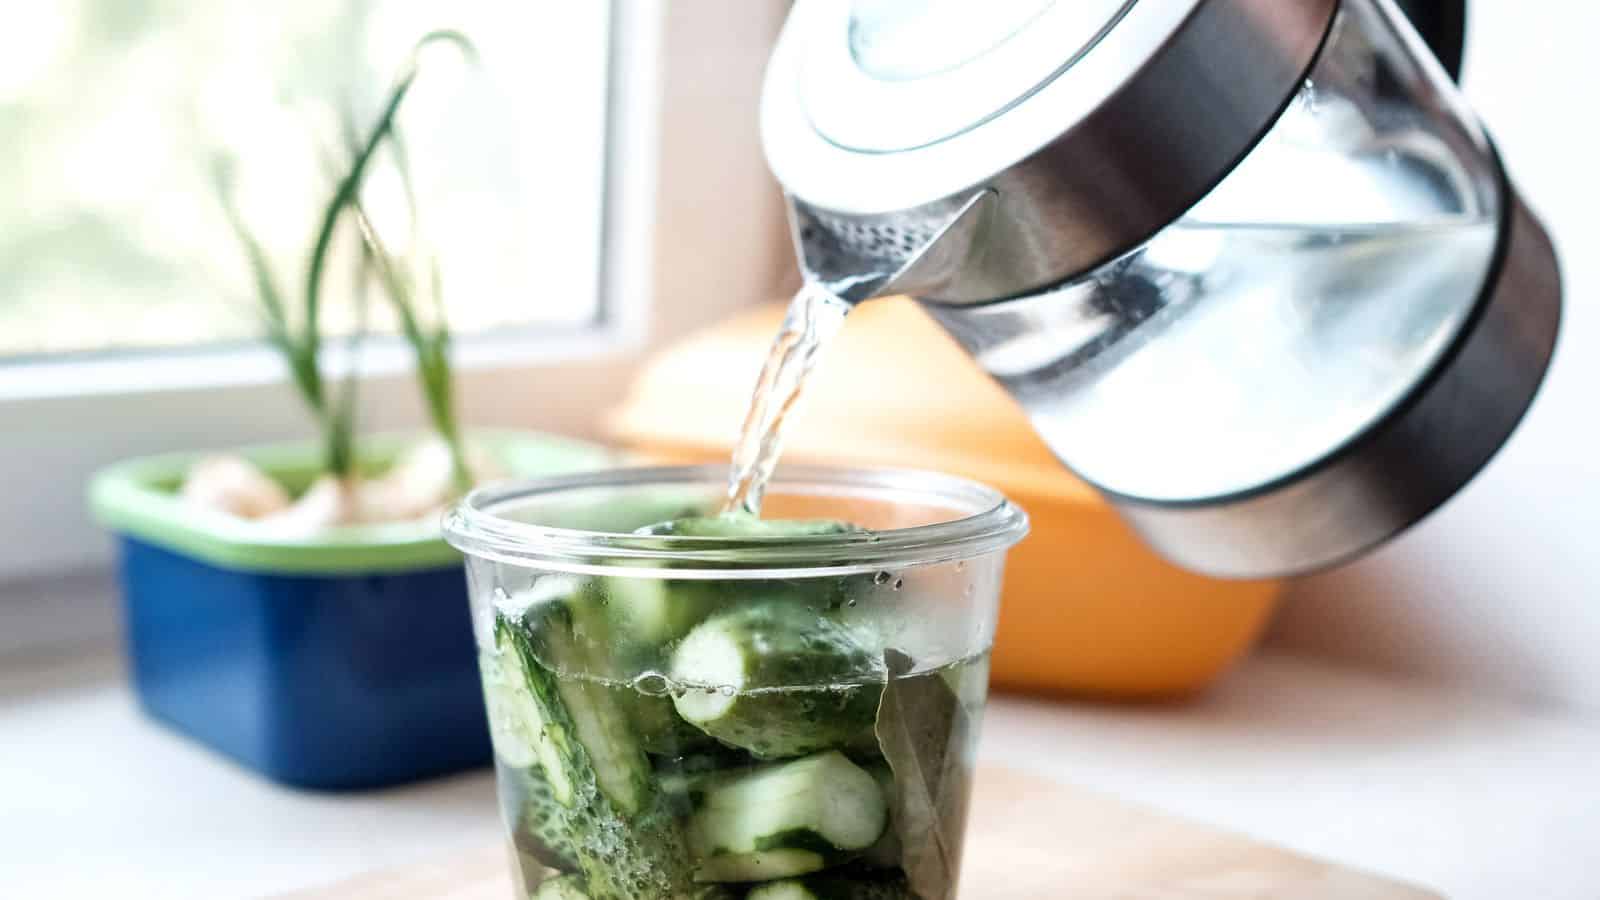
The success of your ferment largely depends on the quality of your ingredients. Fresh, organic vegetables are ideal as they contain natural bacteria beneficial for fermentation. Avoid vegetables that are wilted, bruised, or moldy. For salt, use non-iodized varieties like sea salt, kosher salt, or pickling salt, as iodine can inhibit the fermentation process and affect the taste. If using water, make sure it's free from chlorine and other chemicals; filtered or distilled water is best. Using high-quality ingredients results in a better-tasting, more nutritious ferment.
Achieve Right Salt-to-Water Ratio

The salt-to-water ratio in your brine is crucial for creating an environment where beneficial bacteria can thrive while harmful bacteria are inhibited. A common ratio is 1-3 tablespoons of salt per quart of water. Too little salt can result in spoilage, while too much can halt fermentation altogether. Dissolve the salt completely in water before adding your vegetables. You can adjust the amount of salt based on taste and experience, but always start with a reliable ratio. Proper brining makes sure your fermented pickles are safe to eat and have a balanced flavor.
Keep Vegetables Submerged

Keeping your vegetables fully covered in the brine is vital to prevent mold and guarantee proper fermentation. Any vegetable exposed to air can attract mold and other unwanted bacteria. To achieve this, use fermentation weights, small jars, or even clean stones to press the vegetables down. Some fermenters use cabbage leaves or food-safe plastic bags filled with water as additional weights. Regularly check that everything remains submerged, especially during the first few days when vegetables can float. Making sure everything stays submerged helps maintain an anaerobic environment necessary for successful fermentation.
Use the Right Containers

Choosing the right containers for fermentation is important. Glass jars are popular because they are non-reactive, easy to clean, and allow you to see the fermentation process. Food-grade plastic containers can also be used, but avoid using metal containers as they can react with the ferment and affect the taste and safety of your food. Make sure your containers have tight-fitting lids or can accommodate airlock systems to keep out air and contaminants. Using the appropriate containers helps maintain the integrity of your ferments and makes sure you experience a safe and successful fermentation process.
Label Your Jars

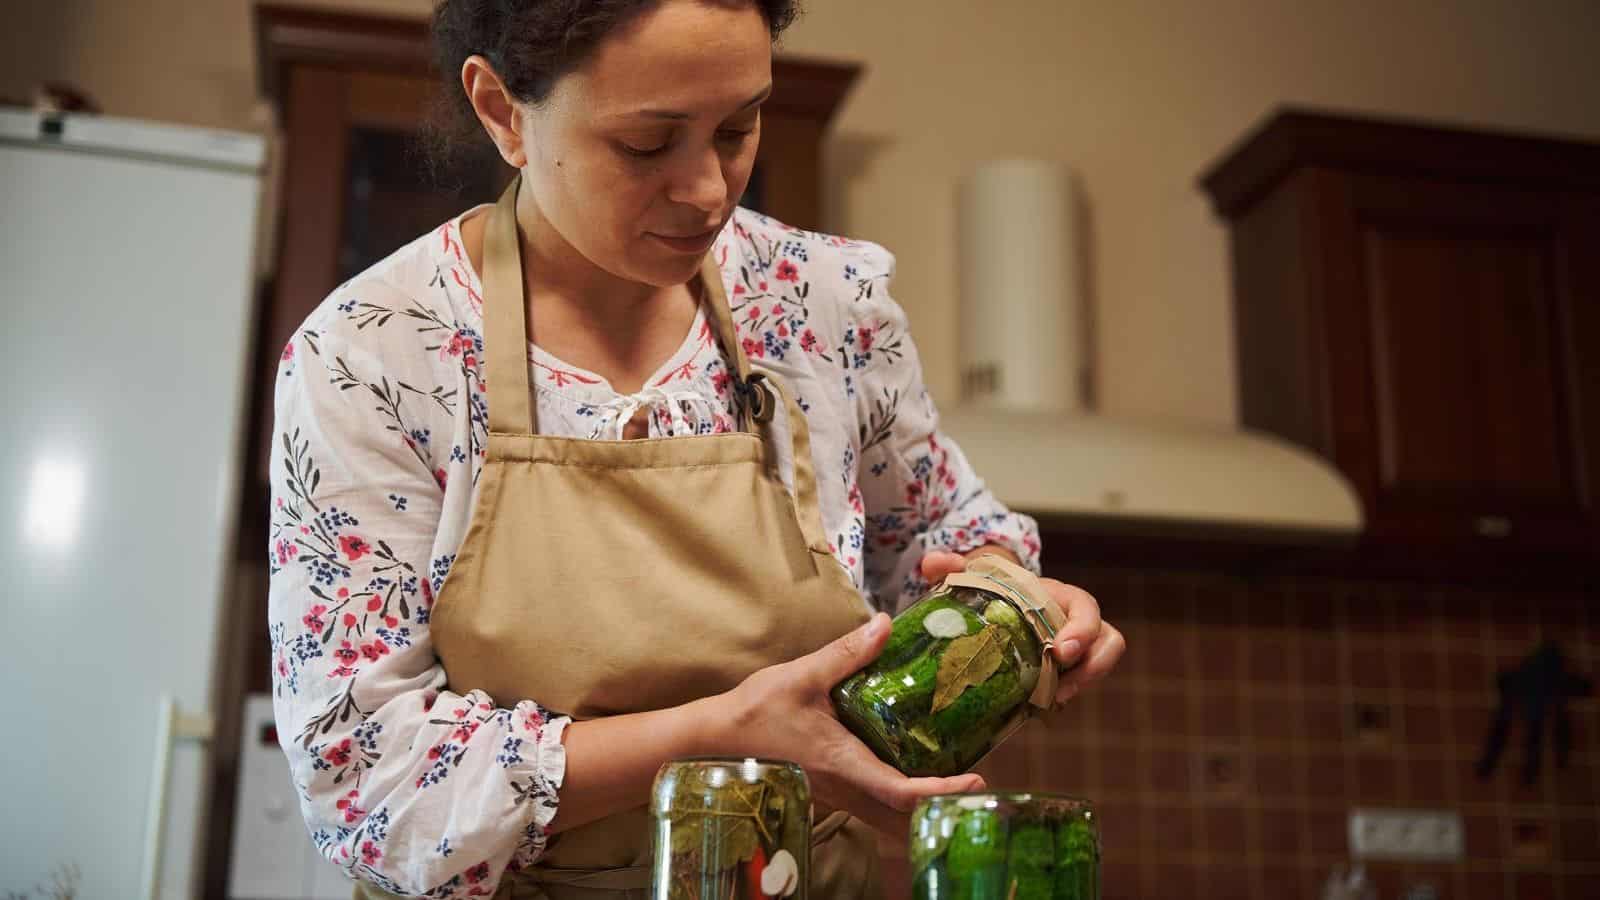
Labeling your jars with the date you started and the ingredients used helps keep track of your fermentation process. This practice is especially useful when fermenting multiple batches or trying different recipes. Write down the start date, ingredients, and any variations in the recipe or process. This information helps you determine when your ferment is ready and allows you to replicate or adjust your methods in the future. Accurate labeling makes sure you can track progress, identify successful batches, and continuously improve your fermentation skills.
Avoid Air Exposure

Oxygen exposure can spoil your ferment by promoting the growth of mold and yeast. Using airlock lids or tightly closed lids helps create an anaerobic environment, which is ideal for fermentation. Airlock systems allow gases produced during fermentation to escape without letting air in. If you don't have an airlock, burp your jars daily by slightly loosening the lid to release built-up gases, then re-tighten. This practice helps maintain the right conditions for your beneficial bacteria to thrive. Reducing air exposure makes sure your ferment remains uncontaminated and develops the right flavors.
Observe Proper Temperature

Fermentation is temperature-sensitive. Ideally, keep your fermenting jars at a consistent temperature between 60-75°F (15-24°C). Temperatures too low can slow down the process, while too high can cause undesirable bacteria and yeast to grow, leading to spoilage. A consistent, moderate temperature guarantees the right balance of beneficial bacteria develops. If your home is too warm, consider placing your jars in a cooler area or using a fermentation cooler. Conversely, in colder environments, you might need to use a heating mat or a warm spot in your kitchen. Monitoring and making sure the proper temperature is maintained is crucial for a successful ferment.
Store Properly

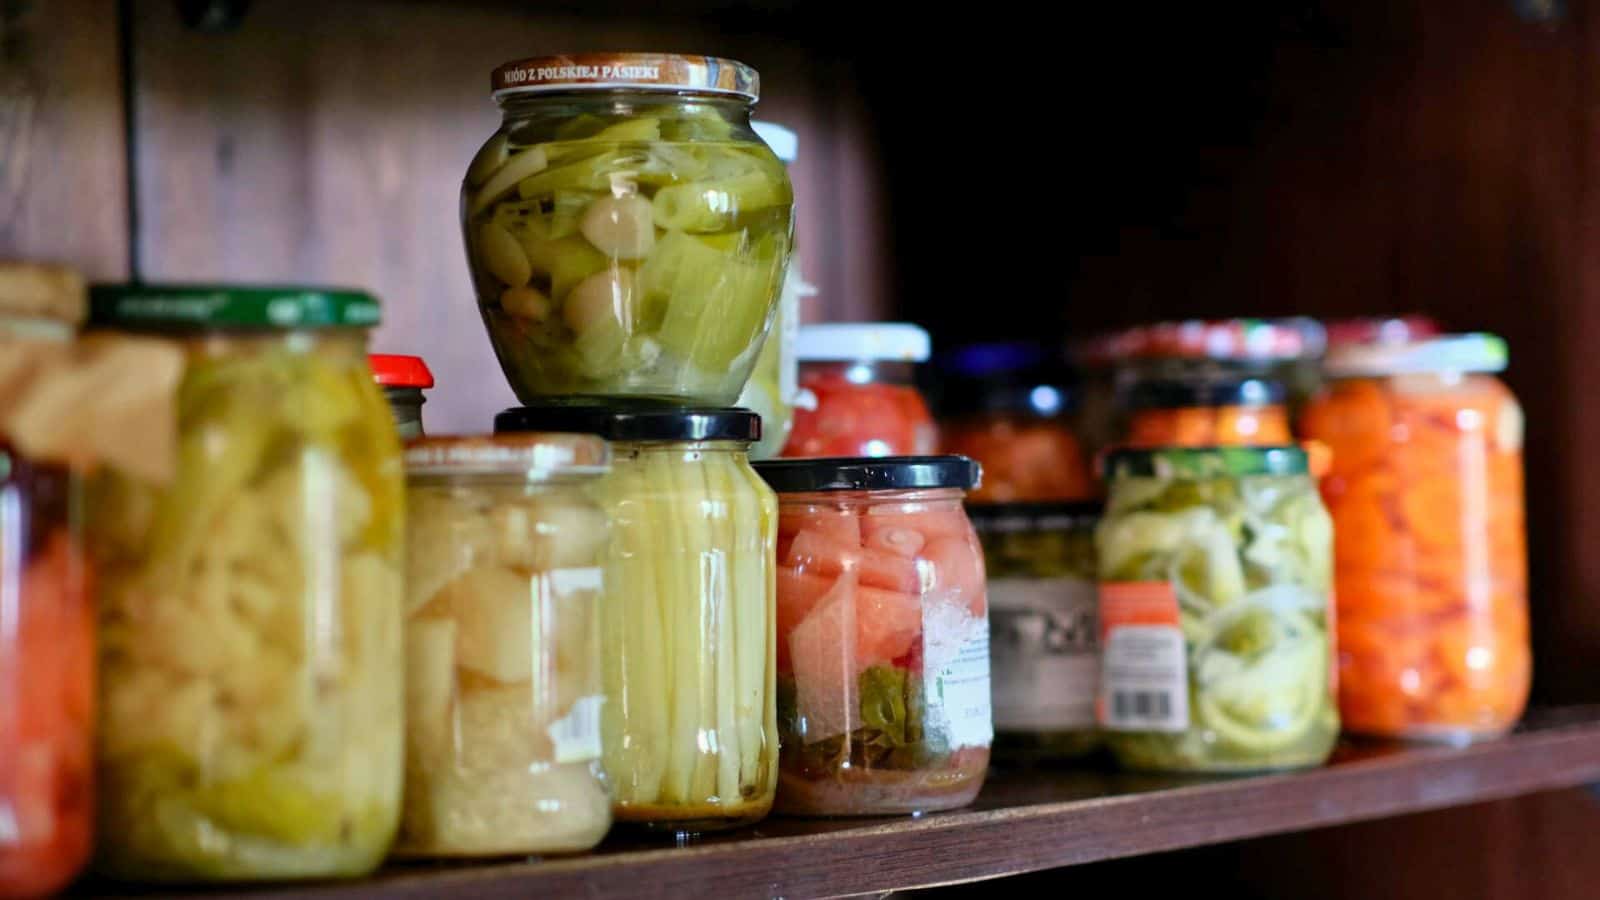
Once your ferment reaches the desired taste and texture, transfer it to the refrigerator to slow down the fermentation process and extend its shelf life. Cold storage helps maintain the flavor and prevent over-fermentation. Make sure your jars are tightly sealed to prevent air exposure. Ferments can last for several months in the refrigerator, but always check for signs of spoilage before consuming. Proper storage not only preserves the quality of your ferments but also makes sure they remain safe to eat for an extended period.
Be Patient

Fermentation is a slow process, requiring patience. While some ferments like pickles might be ready in a few days, others like sauerkraut can take weeks. The exact time depends on the temperature, the ingredients, and your taste preference. Taste your ferment periodically to determine if it's to your liking. Remember, good things take time. Rushing the process can lead to unsatisfactory results. Allowing your ferments to develop fully enhances their flavor, texture, and nutritional benefits. Patience makes sure you achieve the desired taste and quality, making the wait worthwhile.
Check Daily

Daily checks are essential during the initial days of fermentation. Look for signs of mold or off-smells, which indicate spoilage. Mold typically appears as white, green, or black fuzzy spots on the surface. If you see it, carefully remove it with a clean utensil. Bubbling and sour smells are normal signs of fermentation. Stirring or burping the jars daily helps release built-up gases and guarantees even fermentation. These checks help you catch and address any issues early, making sure your ferment remains healthy and safe to eat. Regular monitoring is key to successful fermentation.
Perform Taste Test

Tasting your ferment periodically helps you understand its progress and determine when it's ready. Use a clean utensil each time to avoid introducing contaminants. Tasting allows you to experience the changes in flavor and texture, helping you learn what to expect at different stages. Some ferments might develop a sour taste quickly, while others take longer. By tasting regularly, you can decide when the flavor suits your preference. This practice not only makes sure your ferment is to your liking but also enhances your understanding and control over the fermentation process.
Learn from Mistakes

Fermentation can be unpredictable, and not every batch will be perfect. If a ferment goes bad, don't be discouraged. Analyze what might have gone wrong—was it the temperature, the salt ratio, or the cleanliness? Each mistake is a learning opportunity. Keep notes on what you did differently in each batch, and adjust your methods accordingly. Over time, you'll develop a better understanding of the variables involved and how to control them. Learning from your mistakes helps you become a more skilled fermenter, capable of producing consistently good results.
Experiment Slowly

Once you’re comfortable with basic fermentation recipes, start experimenting slowly with different vegetables, spices, and flavors. Adding garlic, ginger, or chili peppers can create exciting variations. Try different types of vegetables or combinations to find new favorite recipes. However, make changes one at a time to understand their impact on the final product. Document your trials to replicate successful ones and avoid repeating mistakes. Gradual experimentation helps expand your repertoire without overwhelming you, allowing you to enjoy the creativity and diversity that fermentation offers.
Let's get pickling!

Fermenting at home might seem intimidating at first, but with these tips, you’ll find it’s a rewarding and fun process. You don’t need any special skills or equipment to get started, just a willingness to try and a bit of patience. As you experiment with different ingredients and methods, you’ll discover new flavors and textures that you and your family will love.
Remember, the key to successful fermentation is keeping things clean, maintaining the right conditions, and giving it time. Don’t be discouraged by a few mistakes along the way; they are part of the learning process. Each batch you make will teach you something new and bring you closer to mastering the art of fermentation.
So, embrace the journey and have fun with it. There’s nothing quite like the satisfaction of enjoying homemade fermented foods that you’ve created yourself. With practice and persistence, you’ll soon be fermenting with confidence and joy. Happy fermenting!


Tell Me What You Think!