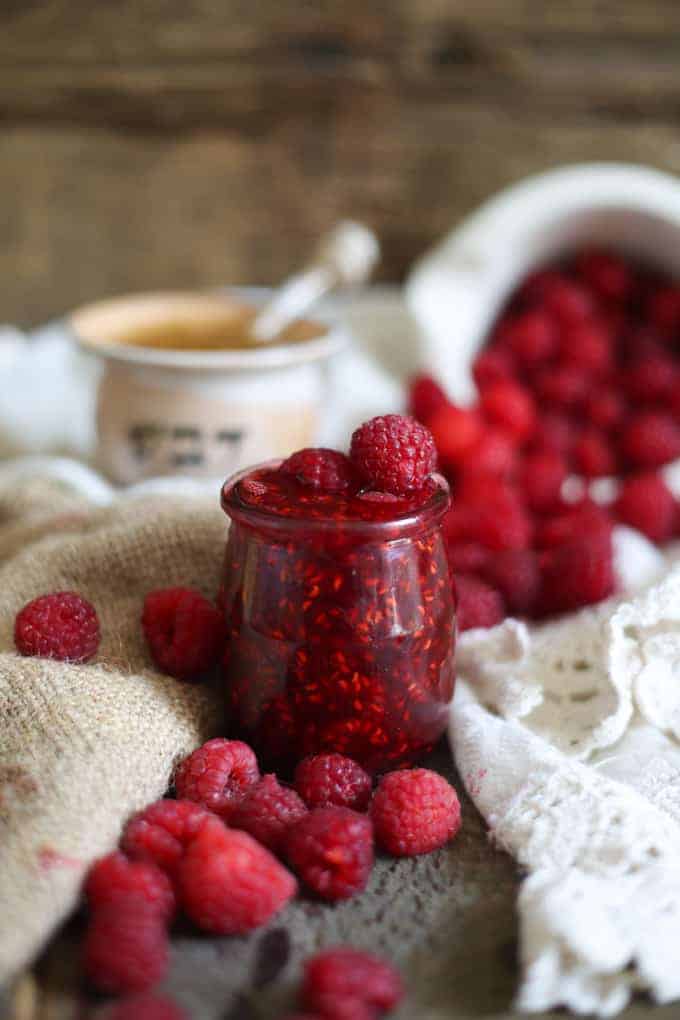
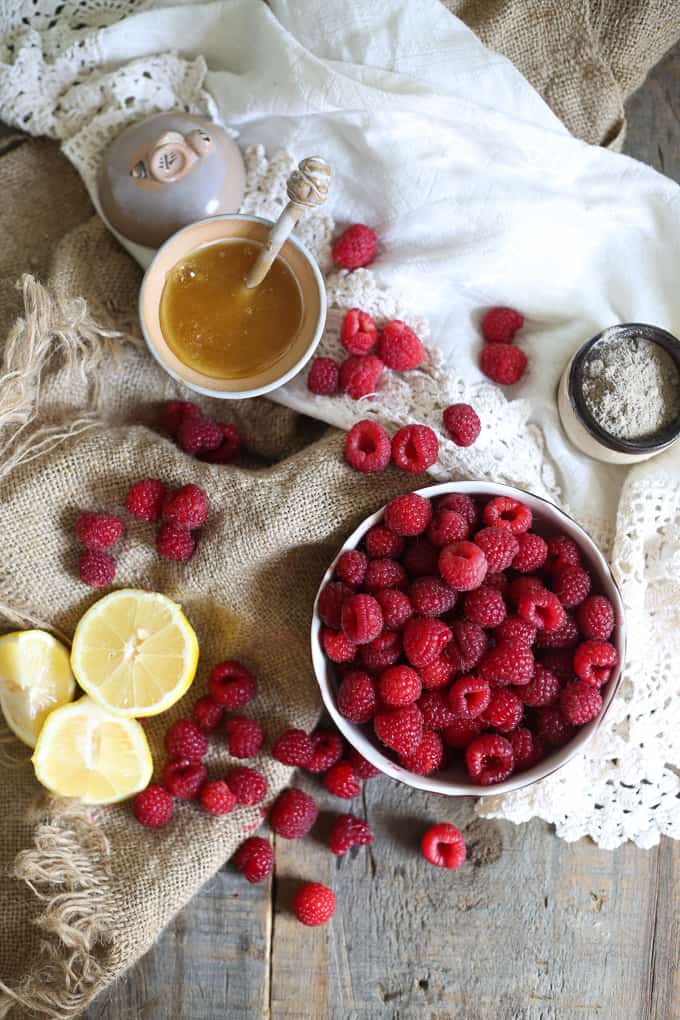
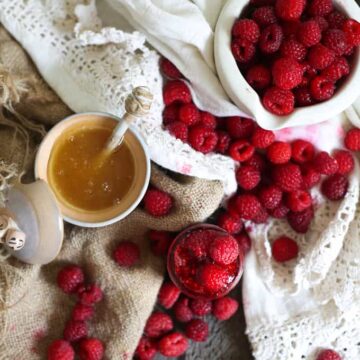
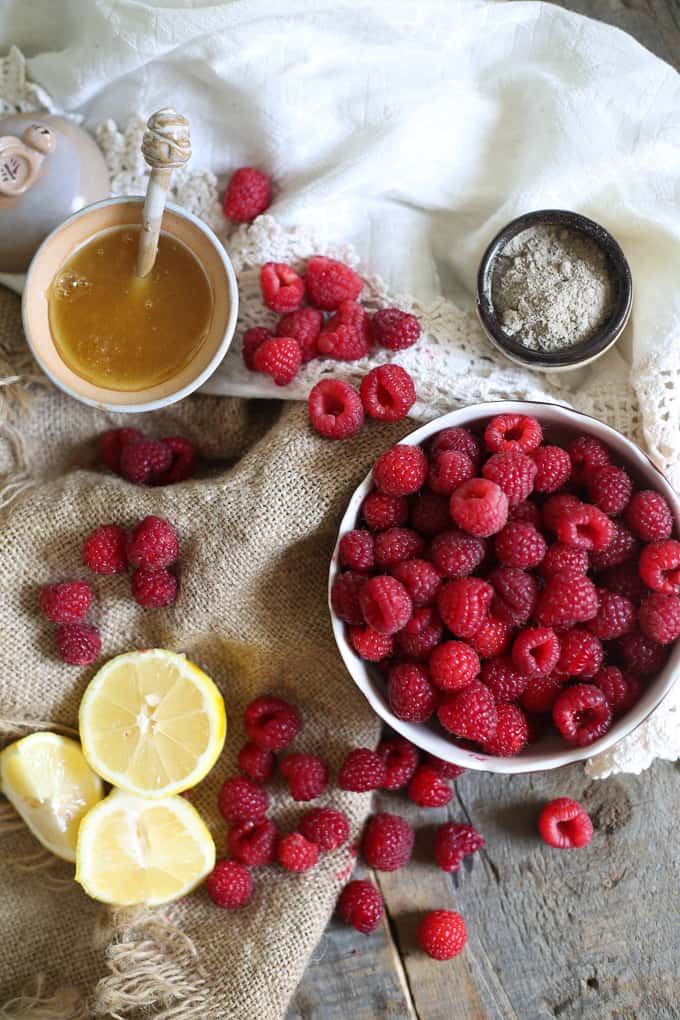
Create your own raspberry preserves without pectin using just three ingredients: raspberries, wildflower honey, and lemon zest. Trust me, it's worth the effort. These pure raspberry preserves are so clean and vibrant that they capture the taste of summer, bringing joy to your mouth and possibly even tears to your eyes.
My Grandmother's Raspberry Preserves
I would always want to taste it, right then and there. Just dunk a spoon into the hot, bubbling pot, and sink it deep into my mouth. Let it envelope my tongue, sip into the crevices between my teeth, trickle down my throat.
And once, I did just that. While my grandmother's back was turned, I took a big spoonful of preserves, brought it close to my lips…. And felt my whole tongue sear with a pain so deep, so sharp that the tears came immediately, almost as hot as lava rocks themselves. I let the spoon drop with a clatter onto the counter, sending more bubbles of just-cooked strawberry jam onto my hands, my shirt, my thighs. I remember letting out a scream so loud, so guttural, that my grandmother came running into the kitchen as fast as a spry eight-year-old.

I have never tasted freshly cooked preserves since. Now, I let my naked raspberry preserves rest on the counter undisturbed for 24 hours, neat rows of soldiers glistening in their glass jars alongside my quince preserves. I taste my jam only once it's fully cooled, ladled onto freshly cooked oladushki, added to boiling hot tea, or licked simply off a spoon.
I use it in my gluten free white lava cake and raspberry ricotta cheesecake. Absolutely delicious! Alternatively, serve on top of my Italian Rosemary sourdough bread or over my lactose-free yogurt.
No Pectin Jam Recipe!
This is a no pectin raspberry jam recipe, so there's no need for boxed pectin or added thickeners. The preserves set naturally thanks to the pectin already present in the fruit and the acidity from lemon juice. The honey helps thicken and preserve the jam while adding a beautiful floral note that doesn't overpower the raspberries.
If you want more minimalist, clean preserves and jams to preserve summer with, don't miss out on my pencil-free spiced ground cherry jam and apricot thyme jam. Alternatively, try something new with my Russian Kumquat Jam.
Properly Preparing for Canning
Before making your raspberry preserves, it's essential to sterilize your jars and lids properly. This step prevents bacteria from forming and keeps your jam shelf-stable.
I recommend doing more reading more of my informational articles about canning to make sure you get it right from the get-go and don't end up with contaminated preserves after being hunched over for hours.
I recommend starting with The Dangers of Improper Canning, which outlines the risks and how to avoid them. For a step-by-step overview of the water bath method used in this recipe, check out the Beginner's Guide to Water Bath Canning. And if you're building your toolkit or wondering what you really need, Essential Canning Tools Every Preserver Needs offers a helpful breakdown of must-haves for safe, successful home canning.
Making Jam without Pectin

Prepare the Raspberries
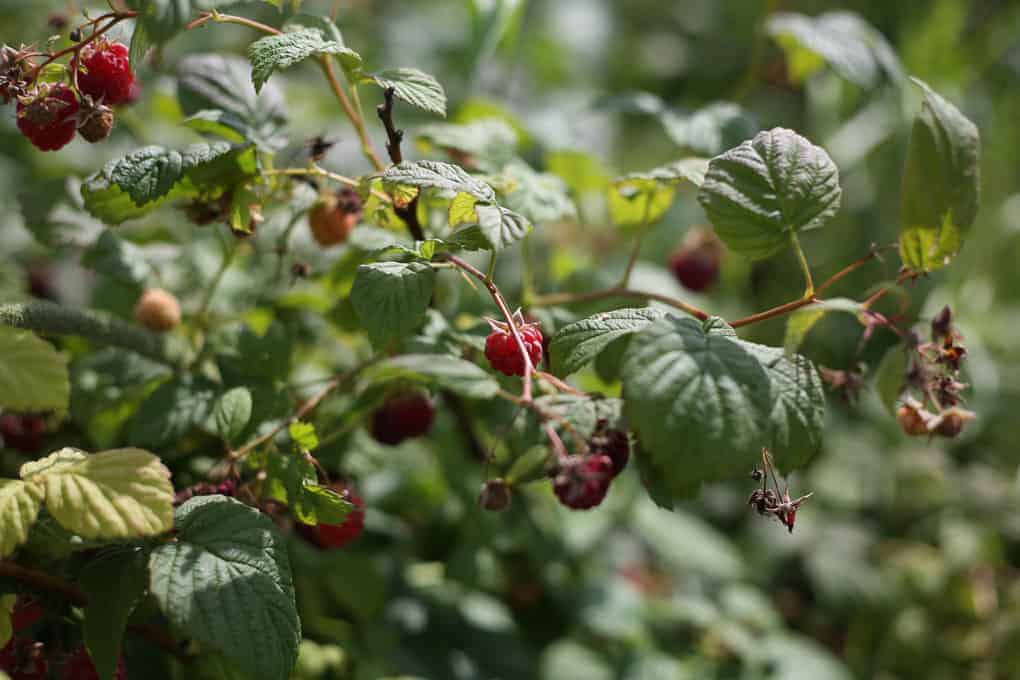
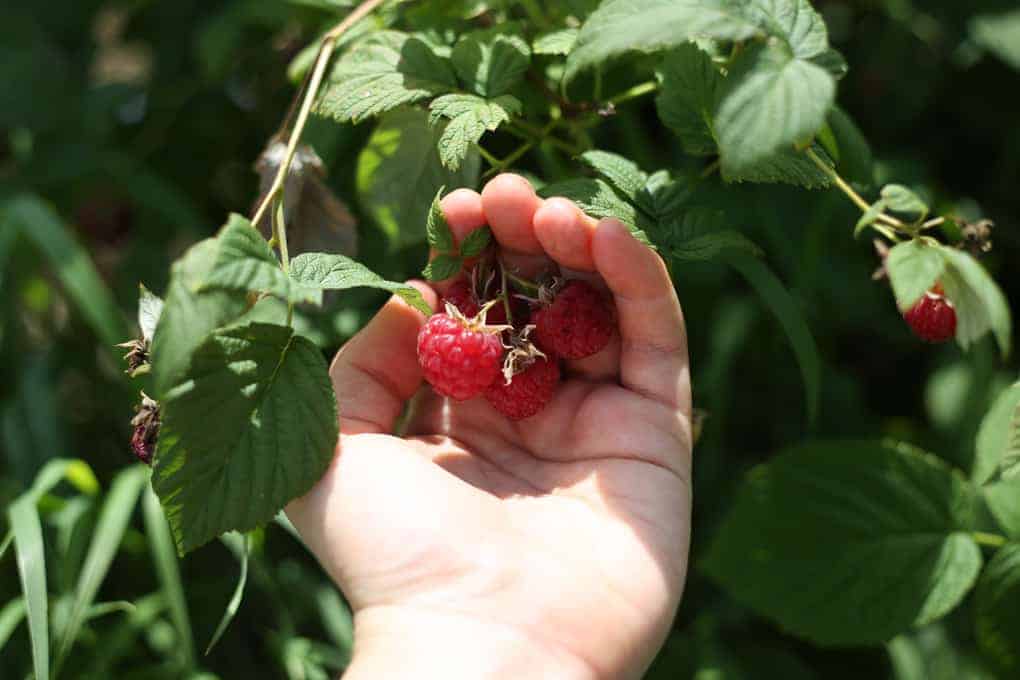
Start by thoroughly washing your fresh raspberries under cool running water. Inspect them carefully and discard any that are mushy, moldy, or underripe, as they can negatively affect the flavor and safety of your preserves.
Gently mash the clean berries in a large bowl using a potato masher or fork-this helps release their juices and reduces cooking time. You don't need to pulverize them completely; a few whole berries here and there will give your preserve its signature texture.
Sterilizing Equipment
While the berries are resting, sterilize your jars, lids, and rings. Submerge the jars in a large water bath canning pot filled with water, bring it to a boil, and let them boil for 10 minutes. Keep the jars in hot water until ready to fill. Do the same for the lids and bands, or heat them in a separate saucepan of simmering water.
Cook the Raspberry Preserves
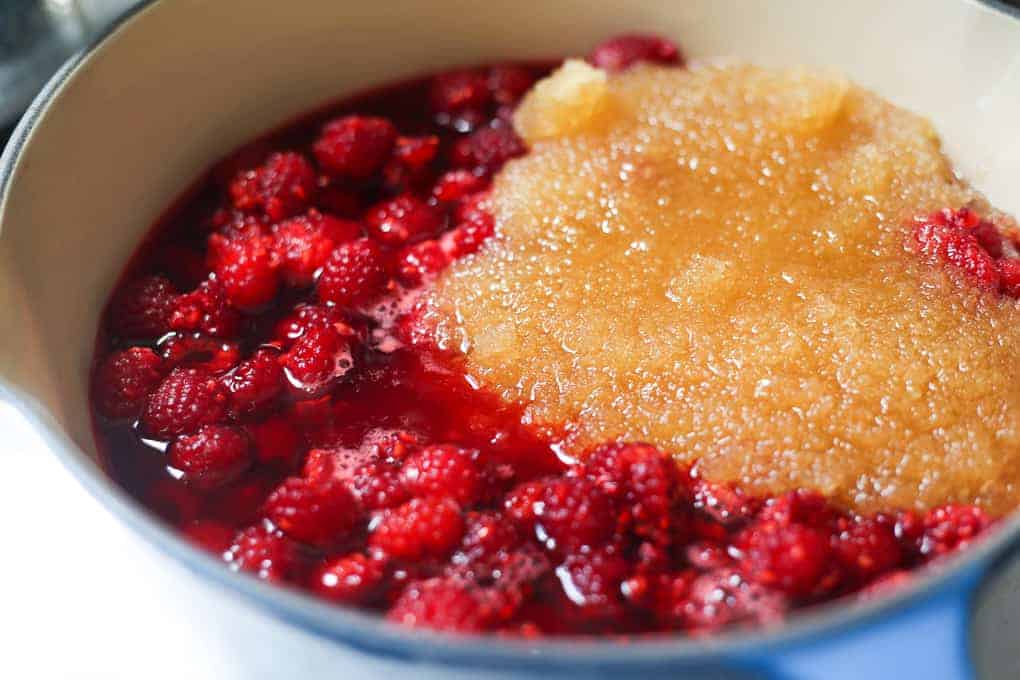
In a large, heavy-bottomed pot such as an enameled Dutch oven or stainless steel saucepan, combine the smashed raspberries with the honey, lemon juice, and lemon zest. Turn the heat to medium and bring the mixture to a gentle boil, stirring frequently to prevent sticking and burning.
Once it begins to bubble consistently, reduce the heat slightly to maintain a soft boil and continue to cook for 20 to 30 minutes.
As the mixture simmers, you'll notice it thicken and the berries break down further. Stir regularly and skim off any foam that rises to the top to maintain a clearer jam.
When to Know the Raspberry Preserves are done?
You'll know it's done when it has reduced by about a third and coats the back of a spoon. If you'd like to be extra precise, you can use the cold plate method: place a small spoonful of jam on a chilled plate, wait 30 seconds, and then run your finger through it. If it leaves a clear line and doesn't flood back together, your homemade jam is ready.
Fill and Seal the Jars
Once the preserves has reached the desired consistency, remove it from the heat. Using a ladle and a wide-mouth funnel, carefully fill the hot sterilized jars, leaving about ¼-inch headspace at the top. Wipe the rims of the jars clean with a damp cloth to ensure a proper seal.
Place the lids on top and screw the bands on with just enough pressure to meet resistance-don't overtighten, as the air needs to escape during processing.
Put Jars back in Water Bath
Transfer the jars back into the boiling water bath, making sure they're fully submerged with at least 1 inch of water above them. Process for 10 minutes to ensure a safe vacuum seal and to eliminate any remaining bacteria.

Cool and Test the Seal
After processing, use jar lifters to carefully remove the jars from the hot water and place them on a towel-lined counter. Let them cool undisturbed for 24 hours. As they cool, you should hear a soft "pop" from each jar-that's the sound of the vacuum seal forming. Once completely cooled, check the seal by pressing the center of each lid. If it doesn't flex up and down, the jar is properly sealed. If a lid pops back, refrigerate and use that jar within a few weeks.
Top Tips for Perfect Raspberry Preserves
Label and date your jars. This simple step helps you keep track of freshness and makes your pantry feel like a charming apothecary.
Use ripe, fresh berries. Underripe raspberries are low in natural pectin and may result in runny preserves, while overripe berries can ferment or introduce unwanted bacteria.
Don't skip the lemon. The lemon juice and zest not only brighten the flavor but also provide acidity, which is essential for both safety and thickening in pectin-free recipes.
Cook low and slow. Resist the urge to crank the heat-preserves benefit from a slow simmer to develop flavor and reduce properly without burning.

How to Store Homemade Raspberry Jam Recipe
Properly sealed jars of raspberry preserves can be stored in a cool, dark pantry for up to 12 months. Keep them away from direct sunlight and extreme temperature changes, as heat and light can degrade flavor and color. Once opened, refrigerate the preserves and use it within 3 to 4 weeks for the best quality. Always use a clean spoon to scoop out preserves. Double dipping is the enemy of jam! It can introduce bacteria that will shorten shelf life.
If a jar did not seal properly during processing, do not attempt to reprocess it unless done within 24 hours. Instead, store it in the refrigerator and consume within a few weeks.
To stay on top of what I'm eating and cooking these days, follow At the Immigrant's Table on Facebook, Instagram, Pinterest, Bloglovin', or Twitter, subscribe to my mailing list, or contact me about advertising and becoming a sponsor. If you make one of my recipes, don't forget to tag it #immigrantstable @immigrantstable!
Recipe
Tried and loved this recipe? Please leave a 5-star review below! Your reviews mean a lot to me, so if you've got any questions, please let me know in a comment.
Clean raspberry preserves without pectin
Ingredients
- 5 cups smashed raspberries
- 2 cups wildflower honey or clover honey
- 2 lemons juice and zest of
Instructions
- Wash berries well.
- Sterilize four 250ml jars in a hot water canning pot.
- In a large enameled dutch oven or stainless steel pan, combine berries, honey, lemon juice and zest. Bring to a boil and let cook for 20-30 minutes, until sauce has reduced and berries have broken down.
- Ladle jam into sterilized jars. Cover with lid, and gently screw down the metal rim with two fingers, just until resistance is met (do not close jars tightly - the air should be able to escape between the lid and the rim for the jar to seal properly). Process in a hot water bath for 10 minutes. Leave closed jars on the counter for 24 hours, until the lid has popped in and sealed properly (you should see a dip in the middle of the lid where the vacuum has sealed it).
- Sealed jam will keep sealed outside the fridge for a year. Once opened, keep jam in the fridge.

Mom says
So testy!))
Alice Fernelius says
It’s runny - did I do something wrong? Followed the directions.
kseniaprints says
Preserves made with honey are always runnier than a traditional jam, so you likely did everything correctly! It will thicken more as it cools in the fridge.