Making homemade jam doesn't have to be complicated. With 3-ingredient blueberry refrigerator jam, you can create a delicious spread without the traditional canning process. This method is perfect for using summer berries and creating a homemade treat in less than hour!
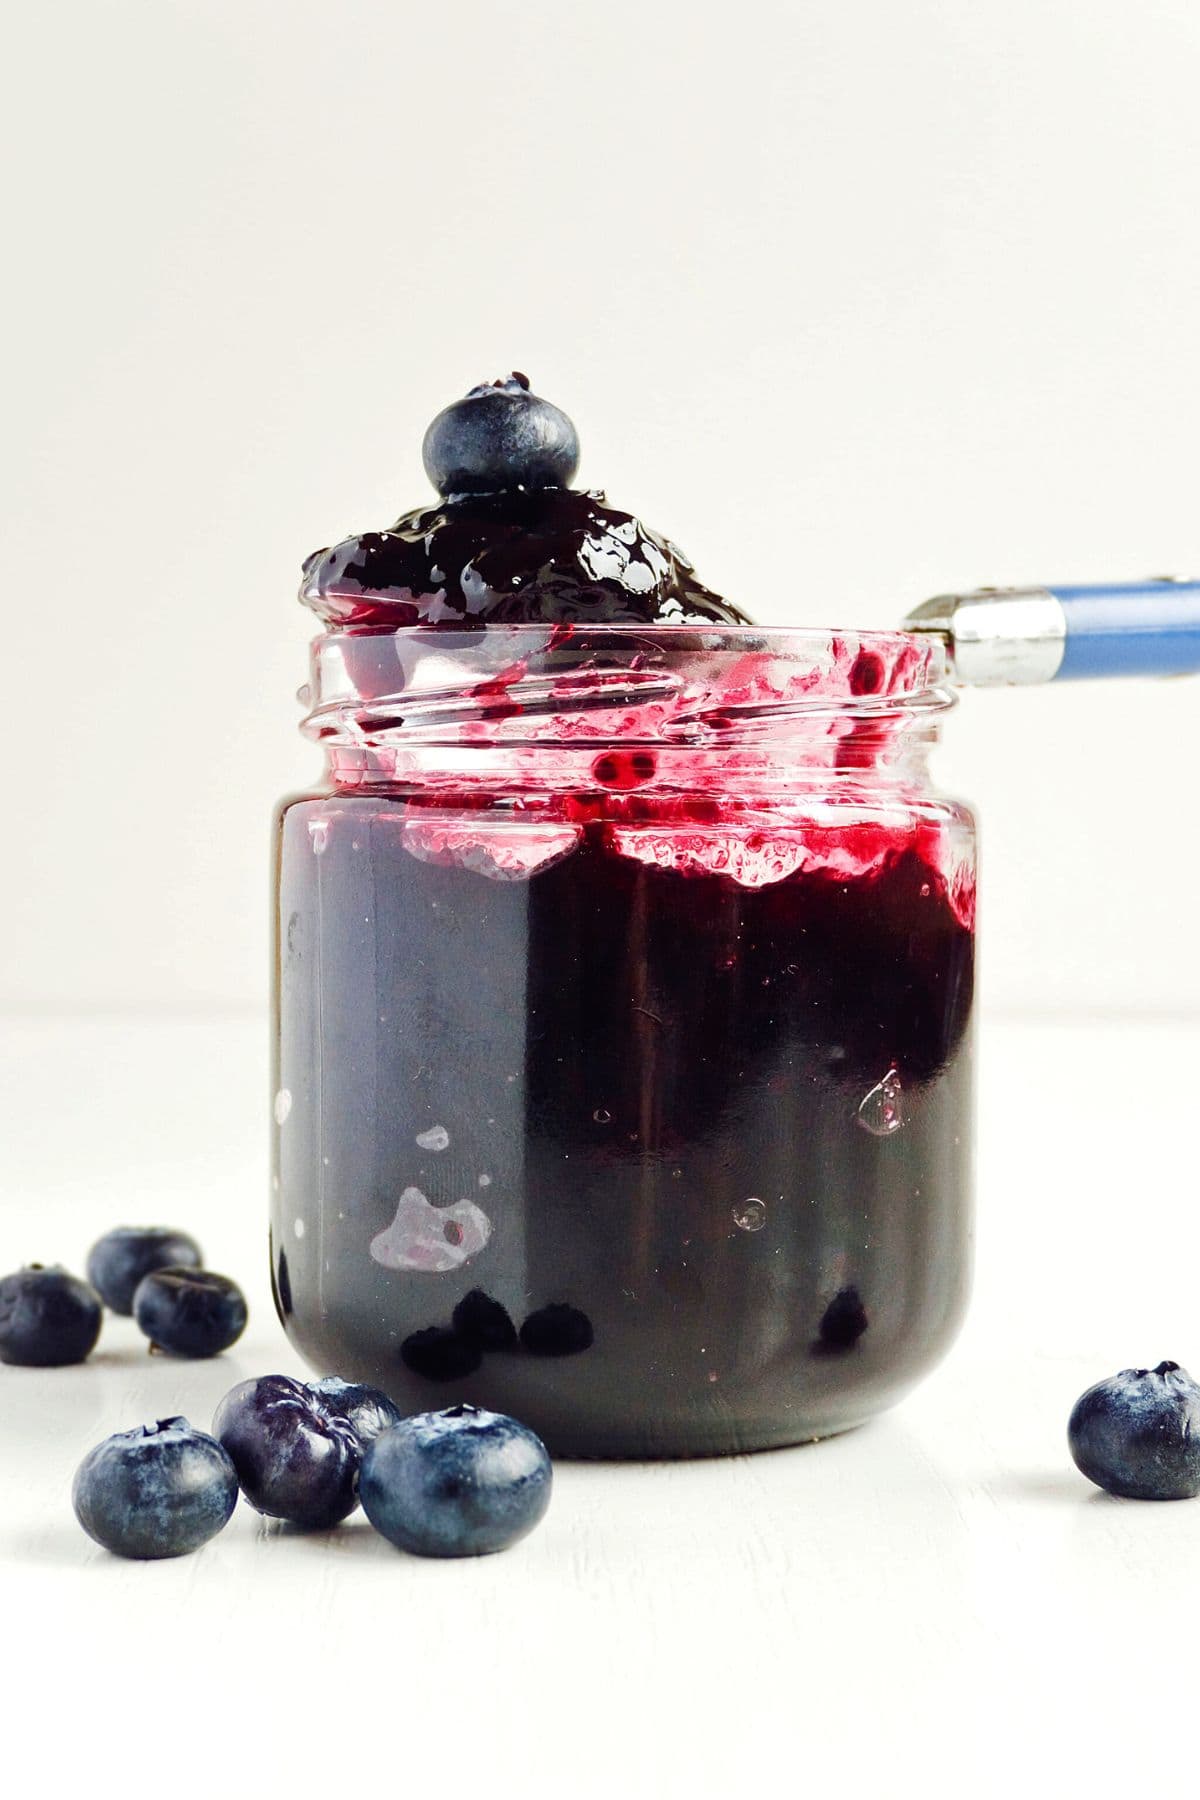
Homemade jam can enhance your breakfast or be given as a thoughtful gift. In just a few steps, you'll have a fruity spread ready to enjoy.
There's nothing quite like starting your day with some delicious homemade jam. It's a tasty addition to your morning toast, pancakes or muffins. With a few easy steps, you'll have the perfect blueberry spread to sweeten your day.
What is a 3-ingredient refrigerator jam?
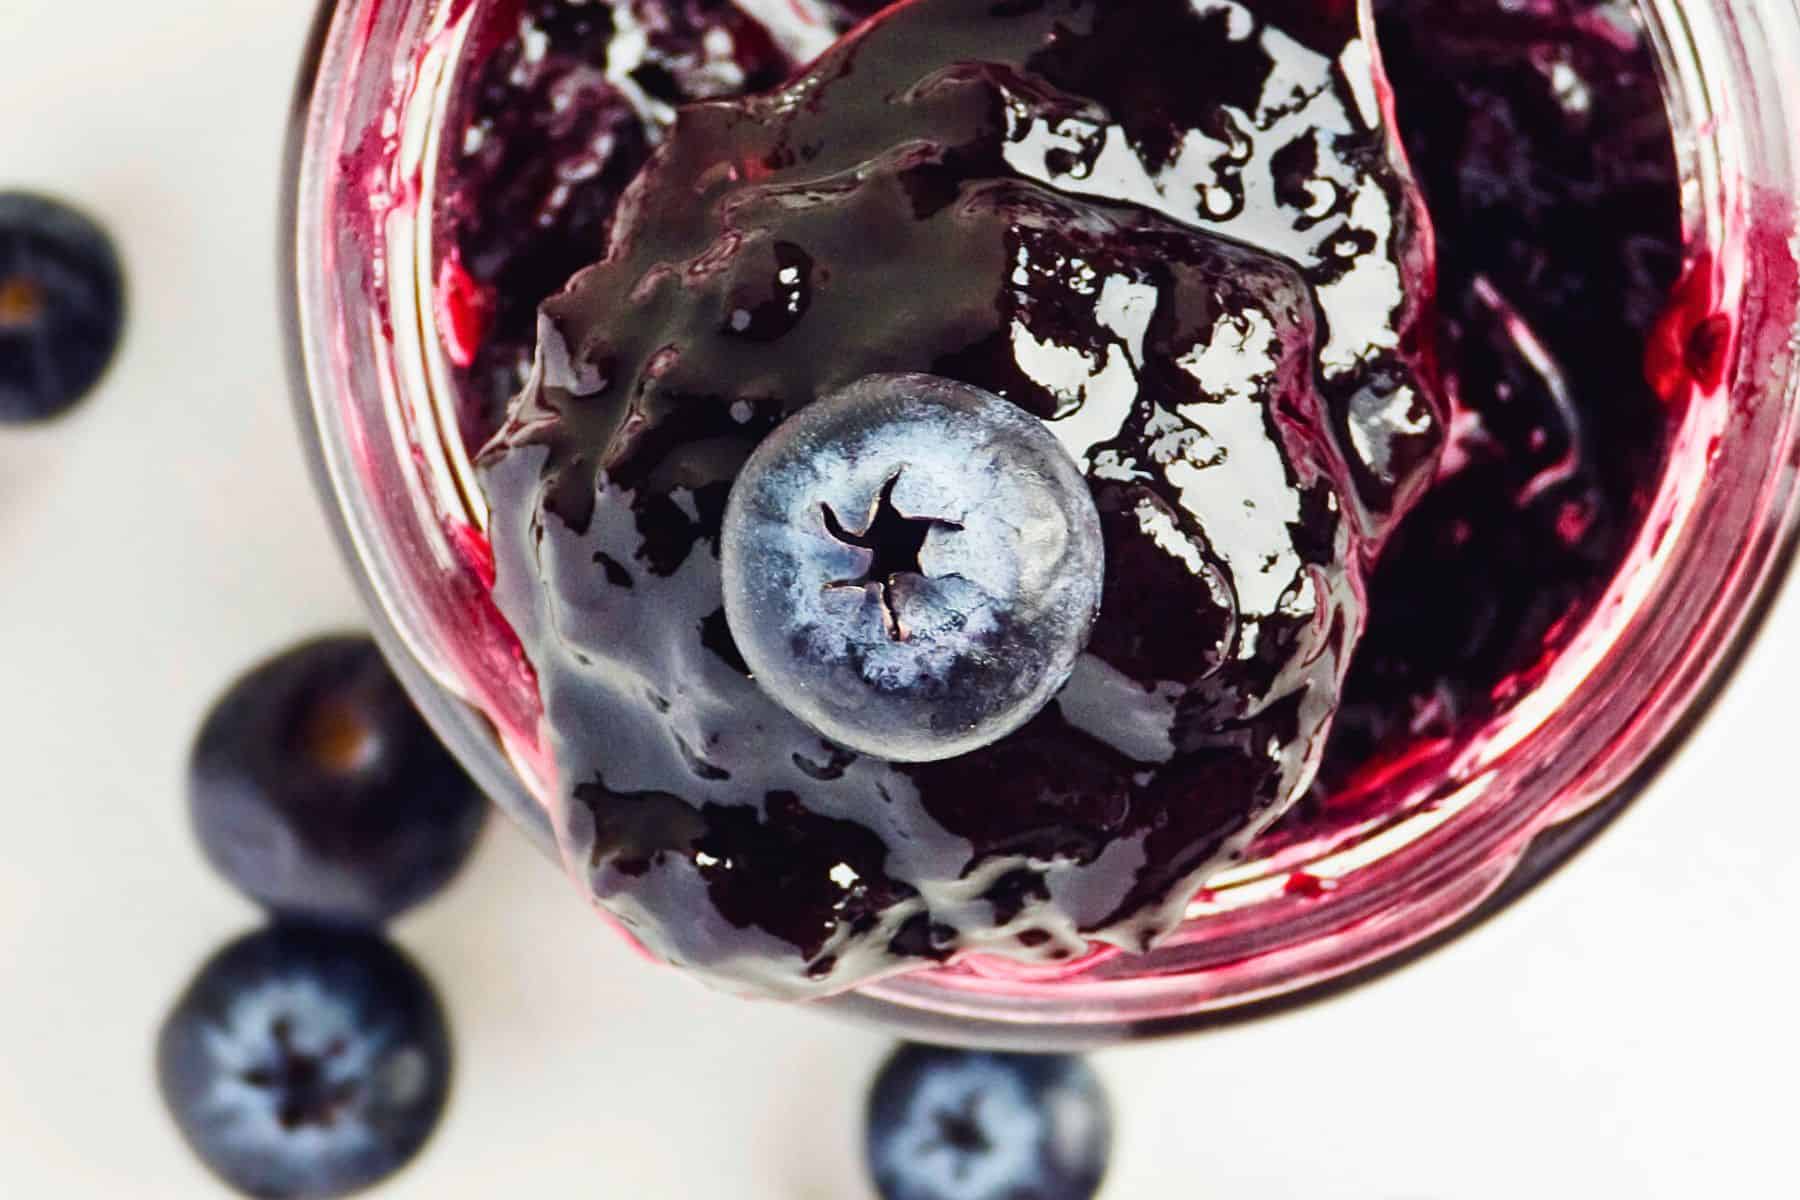
This simple preserve uses only fruit, sugar, and lemon juice. It's stored in the refrigerator instead of being hot-packed, making it a quick alternative to traditional jam-making methods. This article focuses on blueberry jam, an easy way to capture the fruit's flavor.
In this recipe, we will introduce you to 3-ingredient blueberry jam. It's the best way to capture blueberry flavor with very little work!
What are the 3-ingredients needed
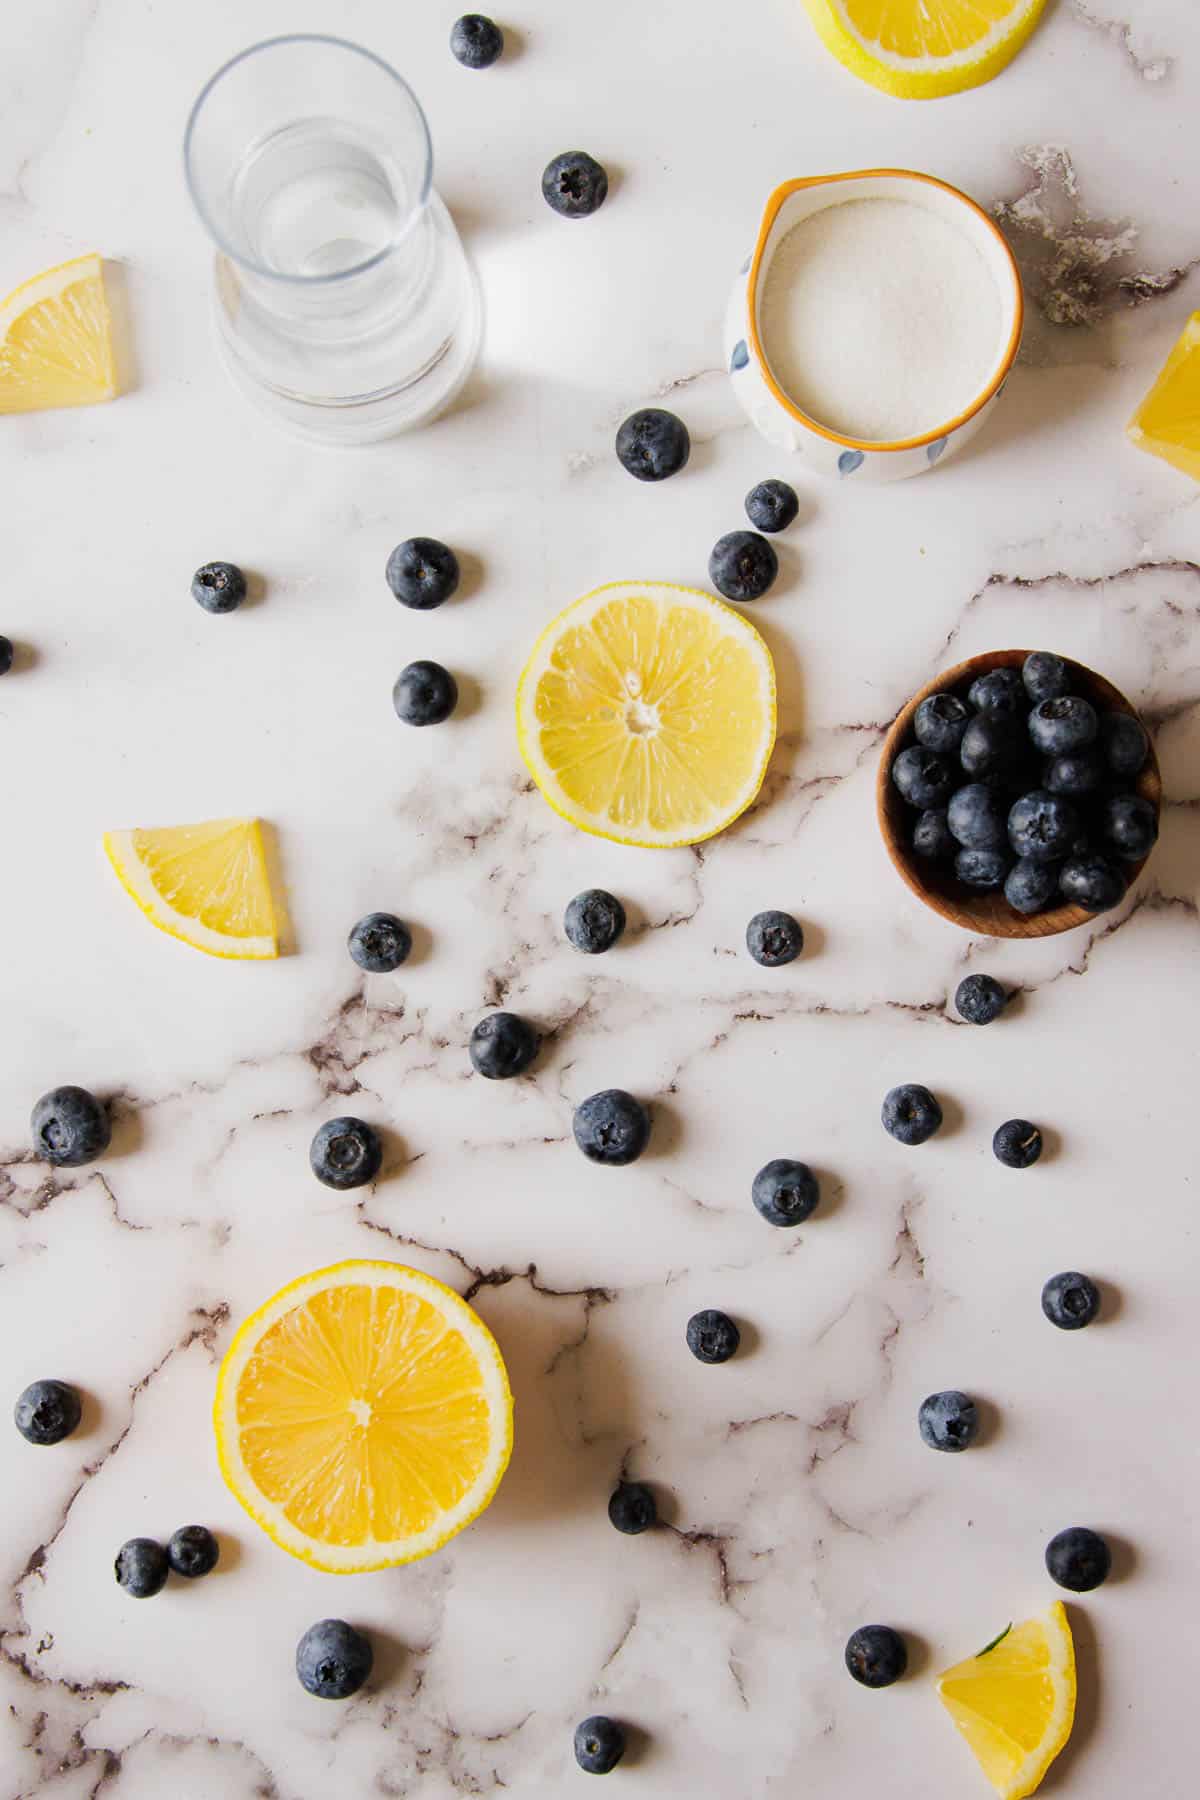
It’s hard to believe you can make jam with just three ingredients. Besides the fruit, two ingredients play major roles in thickening the jam:
Fruit: The primary component, providing flavor and texture. For this 3-ingredient blueberry jam, we will use blueberries (duh!).
Sugar: Adds sweetness, helps preserve, and thickens the jam by drawing out moisture from the fruit.
Lemon juice: Acts as a natural preservative, balances sweetness, and aids in setting the jam.
These wide-mouth Mason jars make storing your jam super easy.
How to make a 3-ingredient blueberry jam
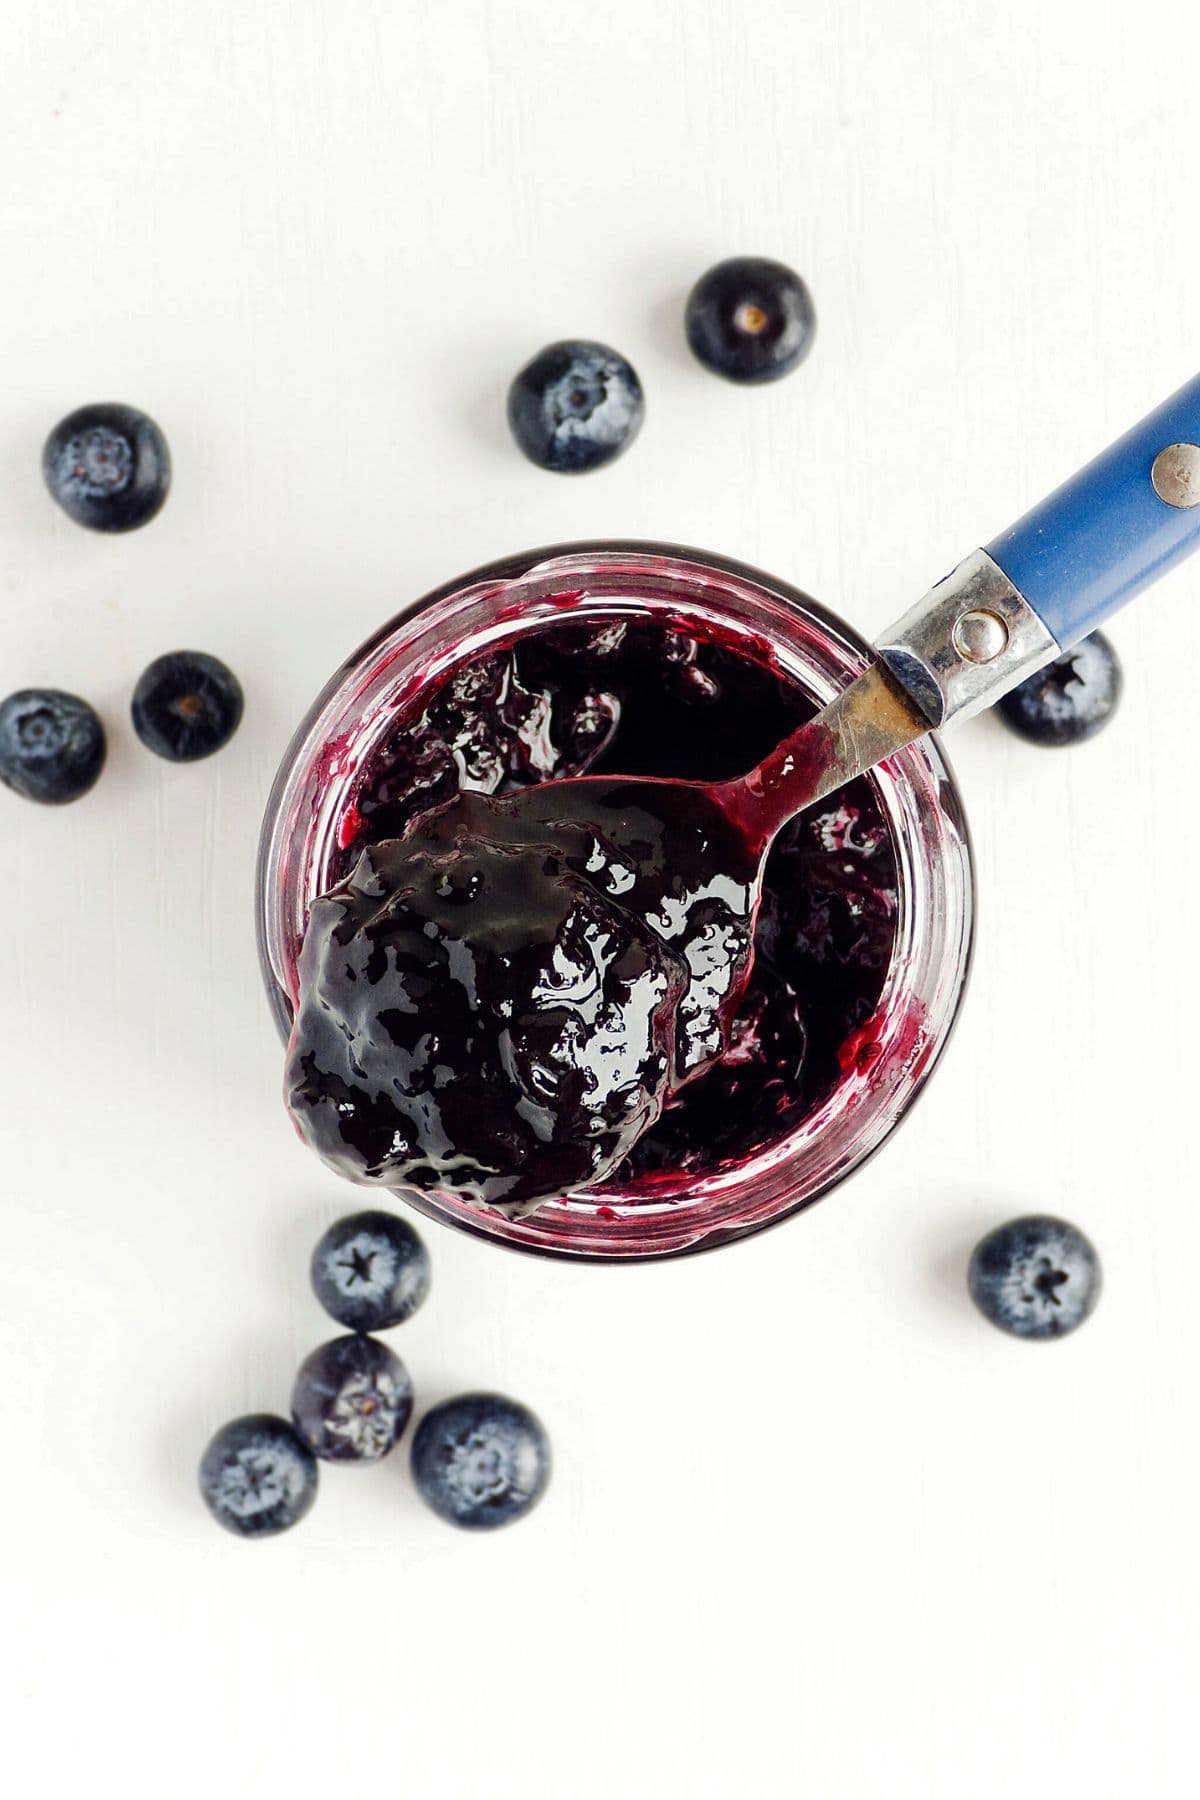
Before cooking the fruit, make sure it is washed. Choose airtight containers to store the jam and make sure they are washed and sanitized.
Cook the jam
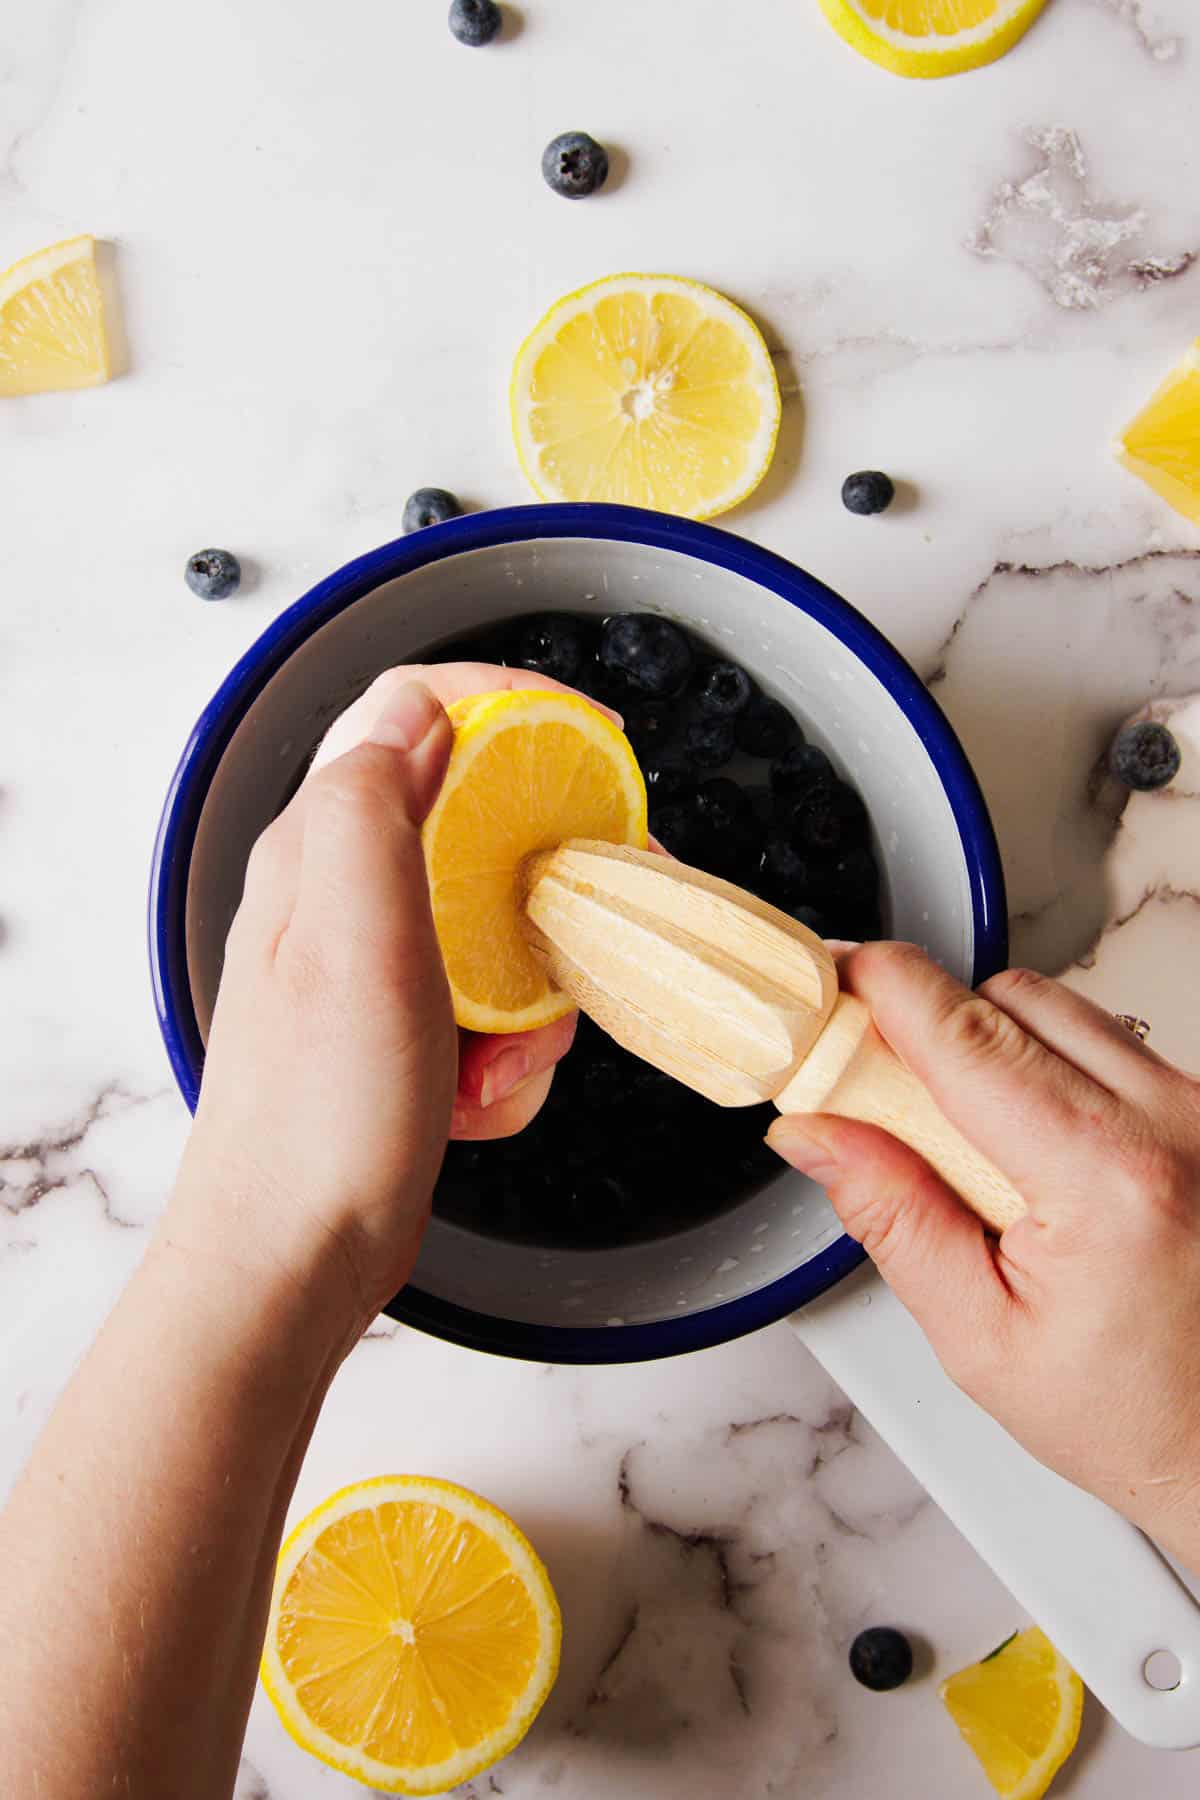
Step 1: Combine the fruit, sugar and lemon juice in a saucepan and cook over medium heat until it boils. Reduce the heat to medium and cook for about 20 to 30 minutes to reach the desired consistency.
Check thickness
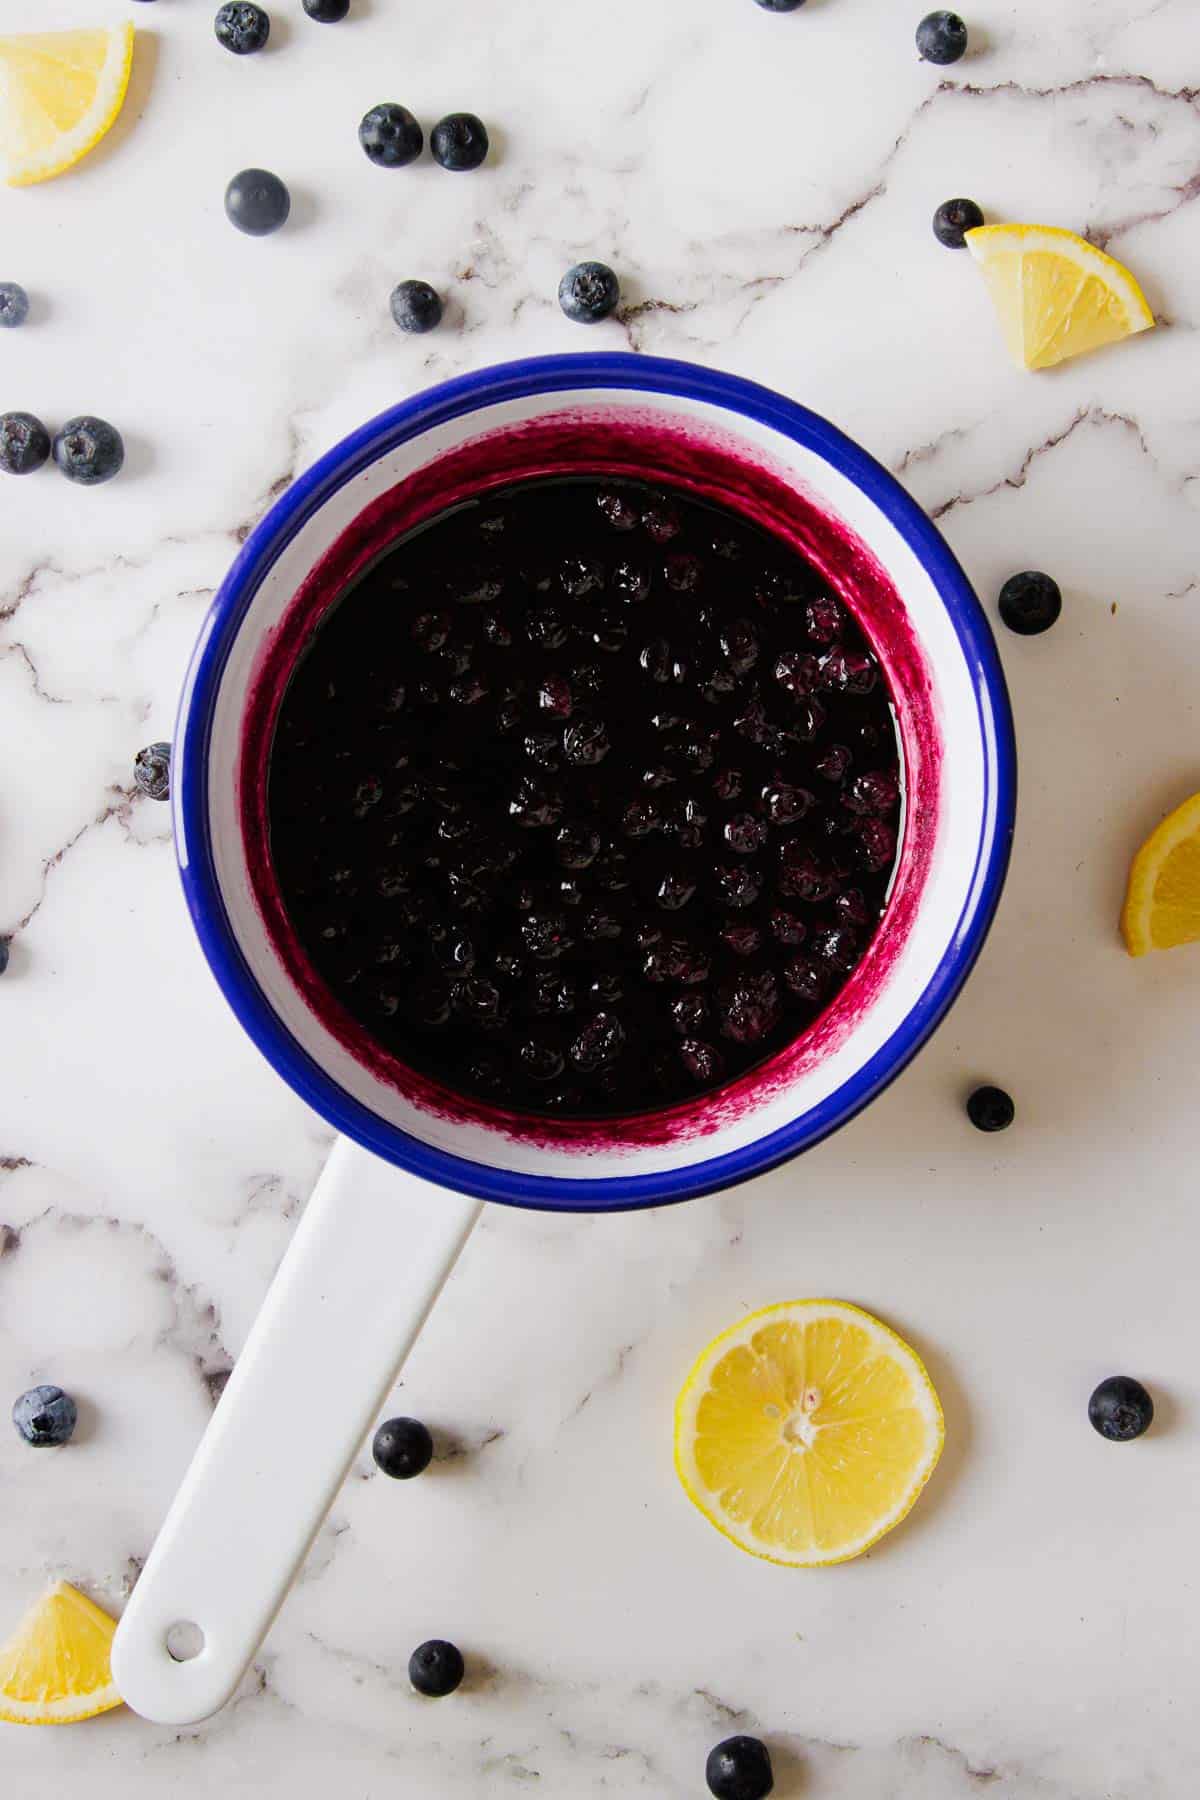
Step 3. Test the thickness by placing a small plate in the freezer. Once the jam has cooked for the recommended time, drop a small amount onto the cold plate and let it sit for a minute. If the jam wrinkles when you push it with your finger and doesn't run, it's set and ready to be jarred.
Alternatively, insert a candy thermometer into the jam. The jam is ready once it reaches the gel point, usually around 215 F.
Mash blueberries
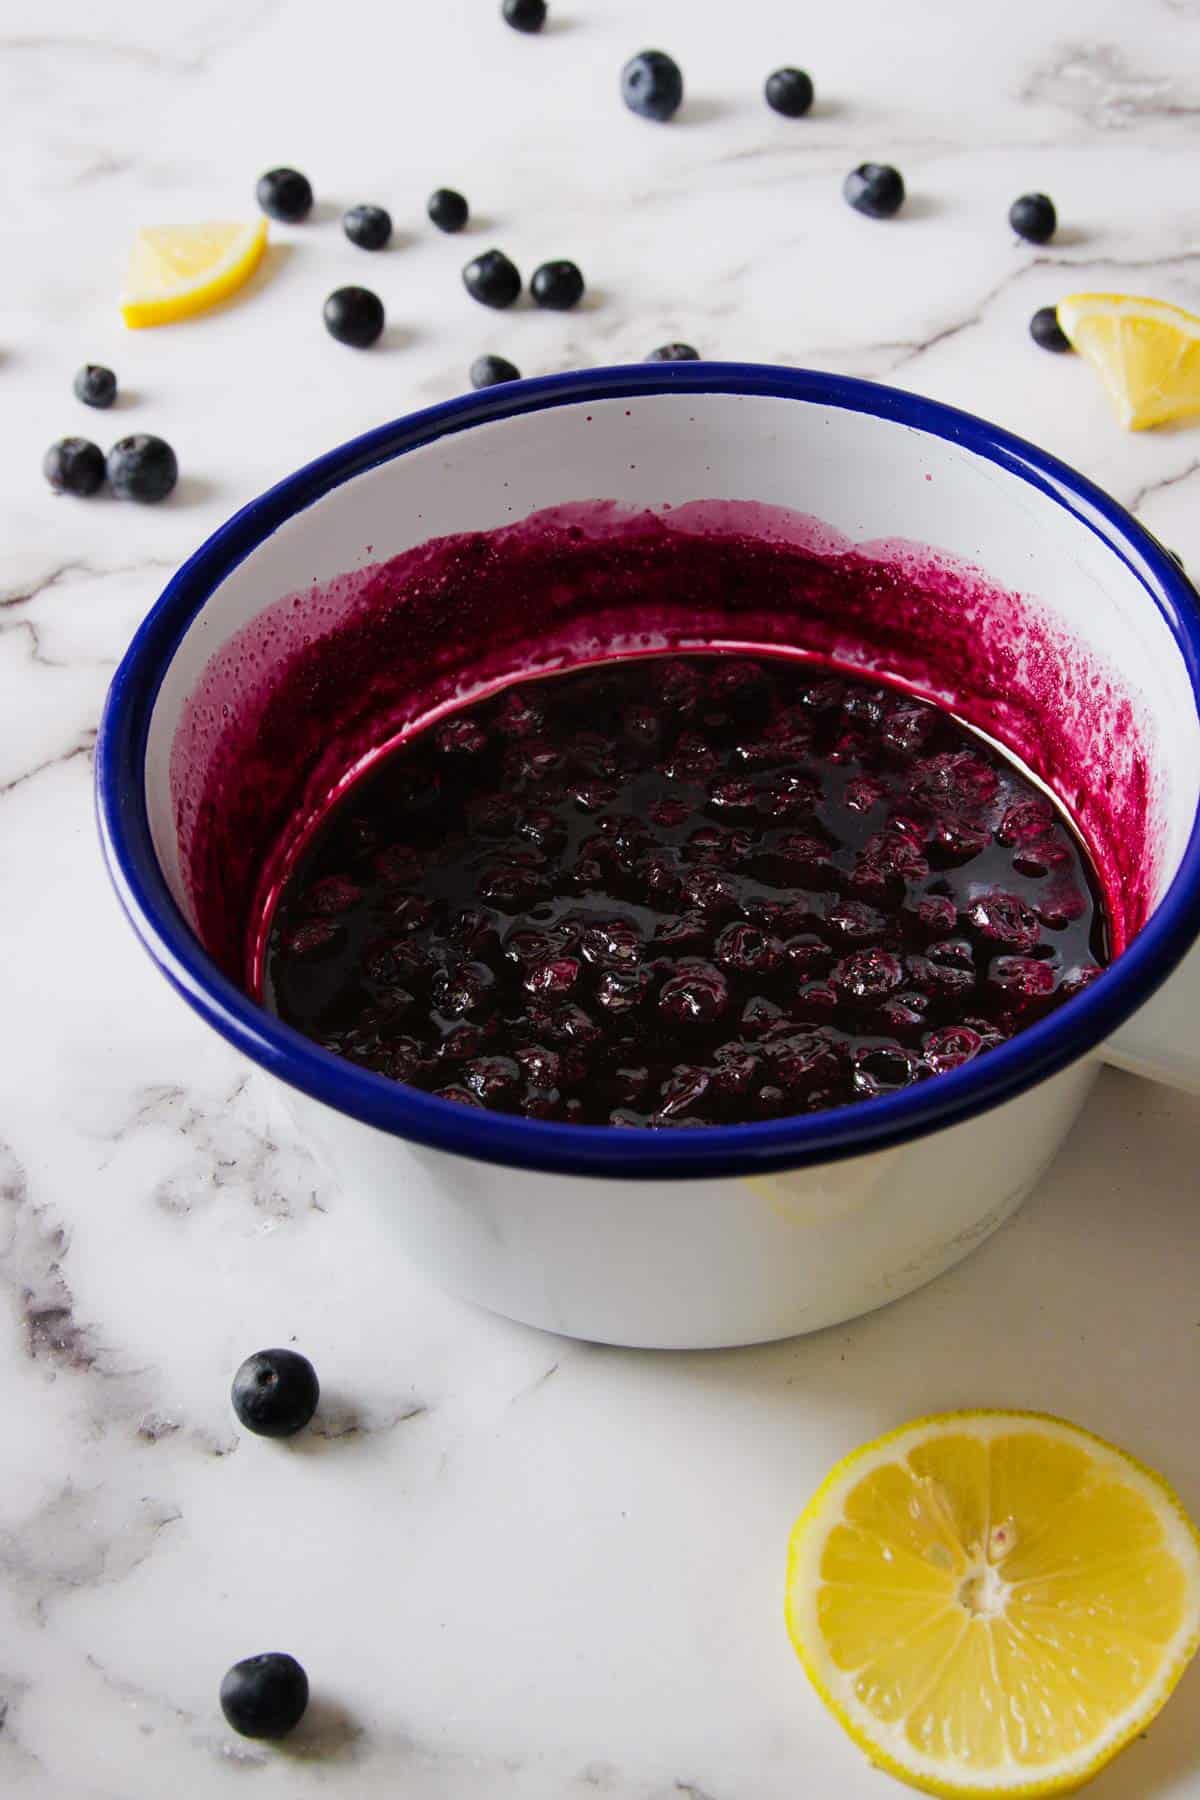
Step 4: Mash the blueberry into small pieces once cooked, if desired.
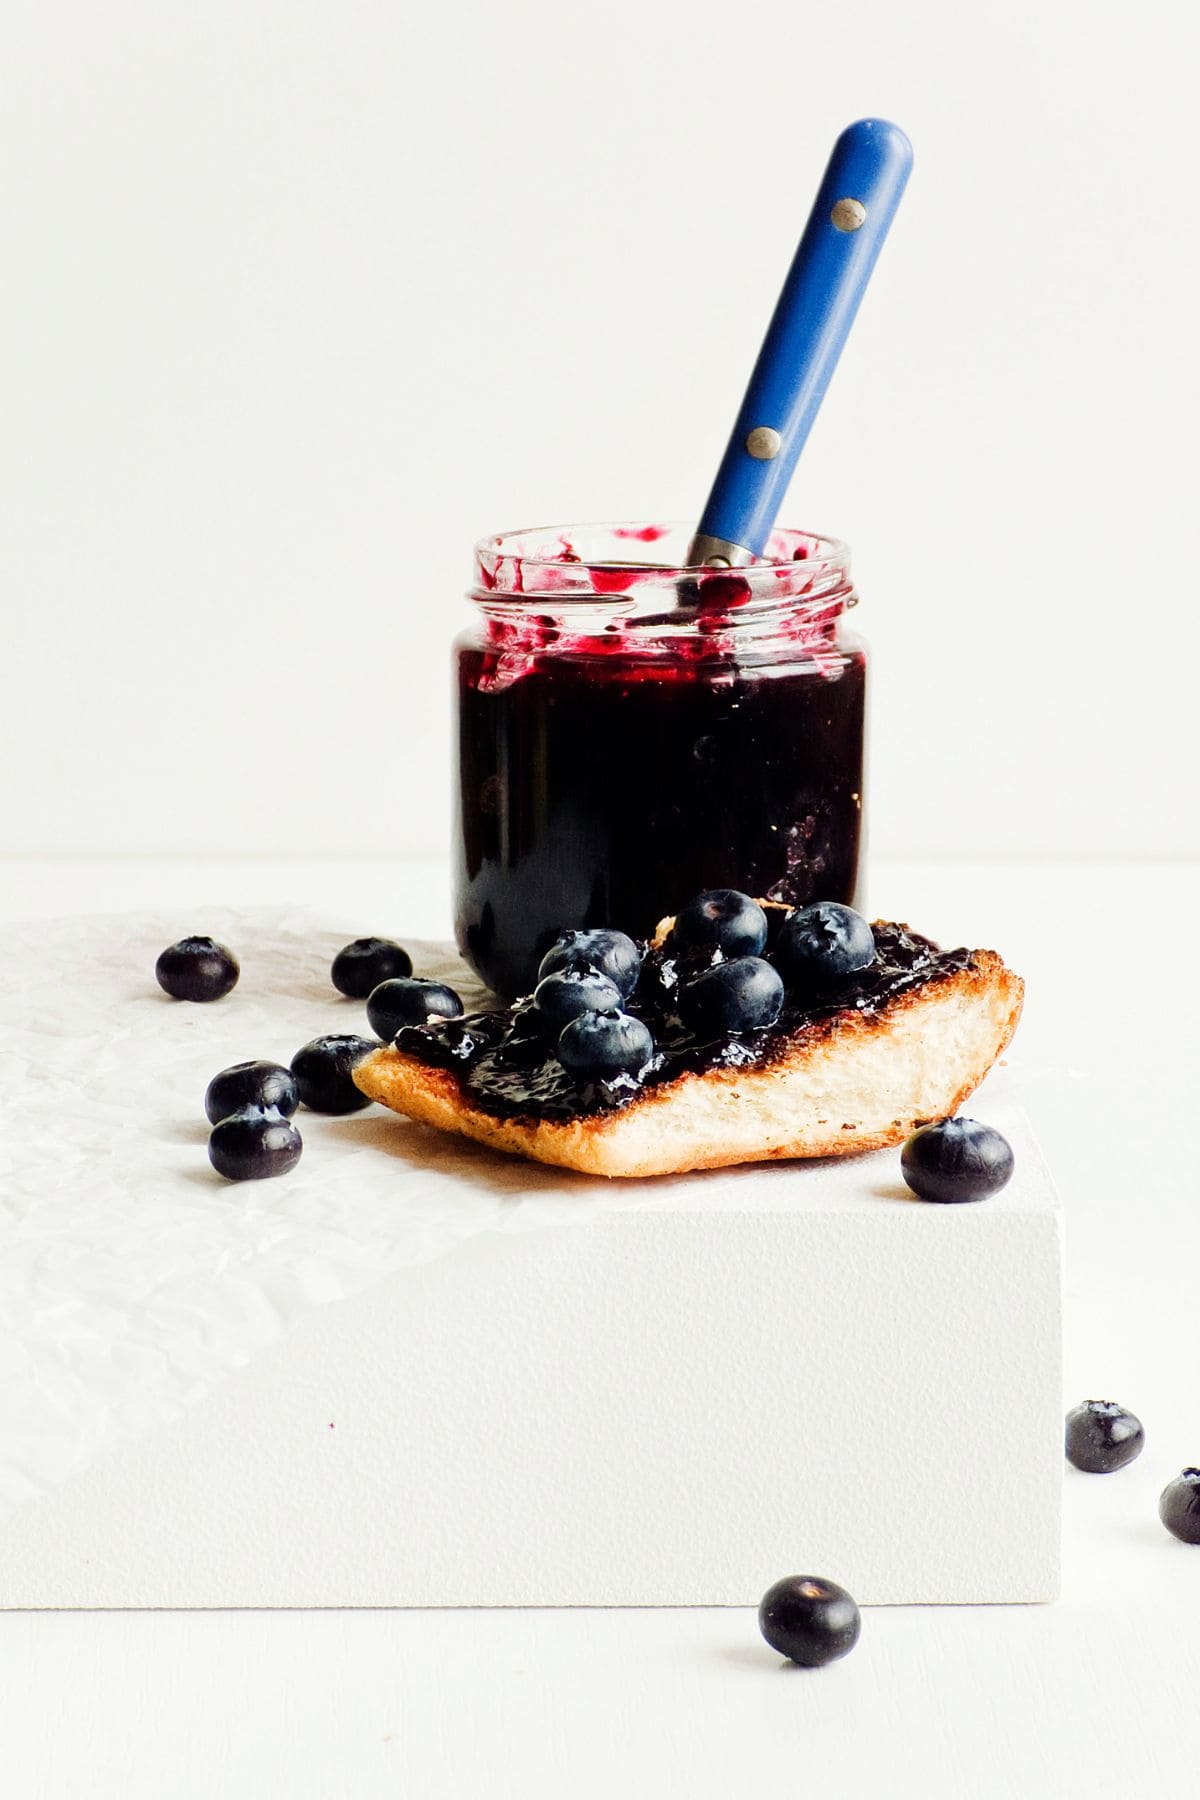
Step 5: Allow the jam to cool and transfer it to sterilized jars or containers. Refrigerate for up to three weeks.
The jam will thicken as it cooks and cools further. This method results in a chunkier jam with seeds, highlighting the natural blueberry flavor without being overly sweet.
Serving suggestions
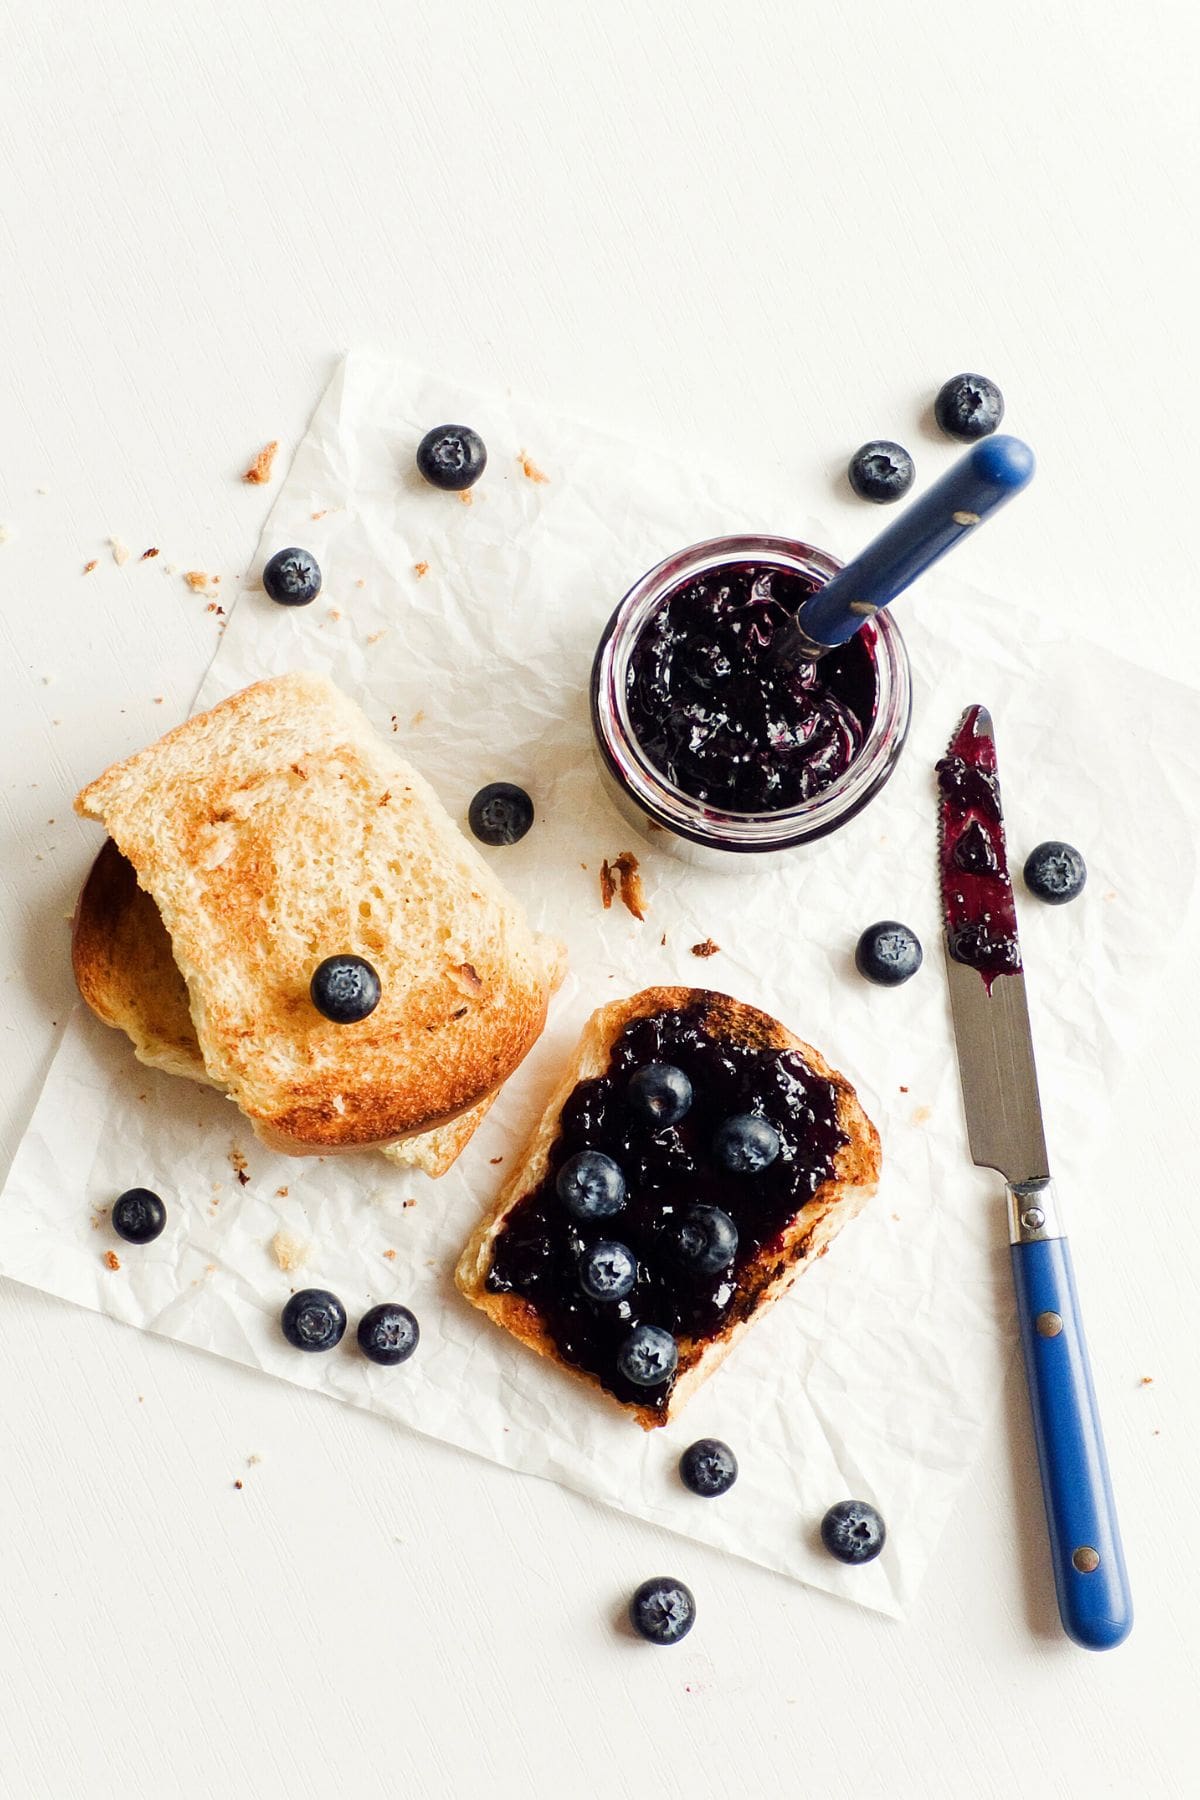
This type of jam is perfect for those who want a fresh, homemade spread for their French toast or on top of biscuits or desserts without the commitment and complexity of traditional jam-making methods. Combine it with goat cheese on toast or baked brie for a special spread. It's also great with scones!
It tends to be chunkier, giving it a delightful homemade texture. I love that this jam isn’t overly sweet, allowing the natural flavors of the fruit to shine through.
How to store blueberry refrigerator jam
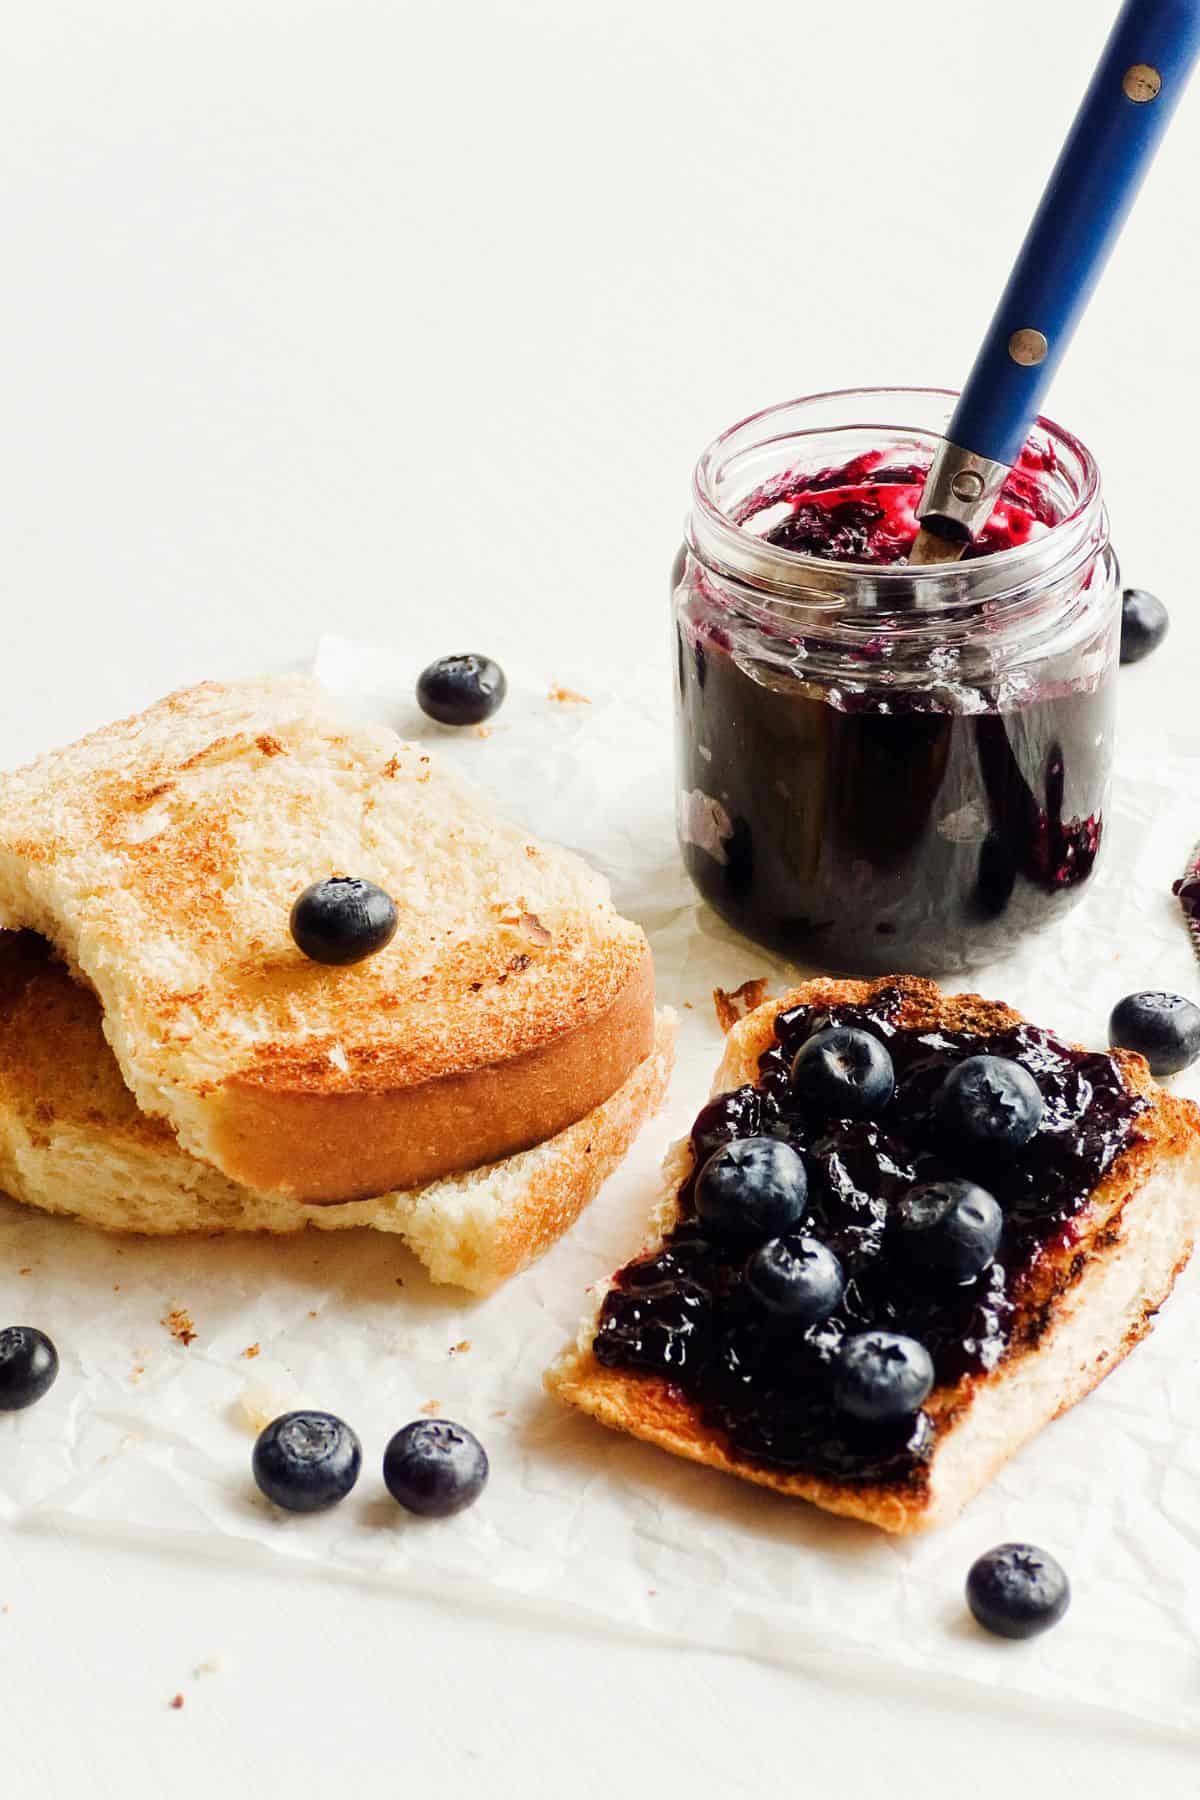
So you've made this delicious refrigerator jam, and now you want to make sure it stays good for as long as possible, right? For refrigerator jam, proper storage is key.
First off, make sure you're using clean jars with tight lids – you don't want any nasty bacteria sneaking in there. It's also a good idea to slap a label on the jar with the date you made it. Trust me, you'll thank yourself later when you're trying to figure out how old that jam is.
Always keep your jam in the fridge, and remember to use a clean spoon every time you dig in. Nobody wants to introduce extra germs to their homemade goodness. If you spot any mold, catch a whiff of something funky, or notice the texture's gone weird, it's time to say goodbye.
Now, don't get me wrong – even if you do all this, refrigerator jam isn't going to last forever. You're looking at about two to three weeks of jam-tastic goodness before it's time to whip up a new batch. But hey, that's the beauty of homemade stuff, right? Always fresh!
How to make variations
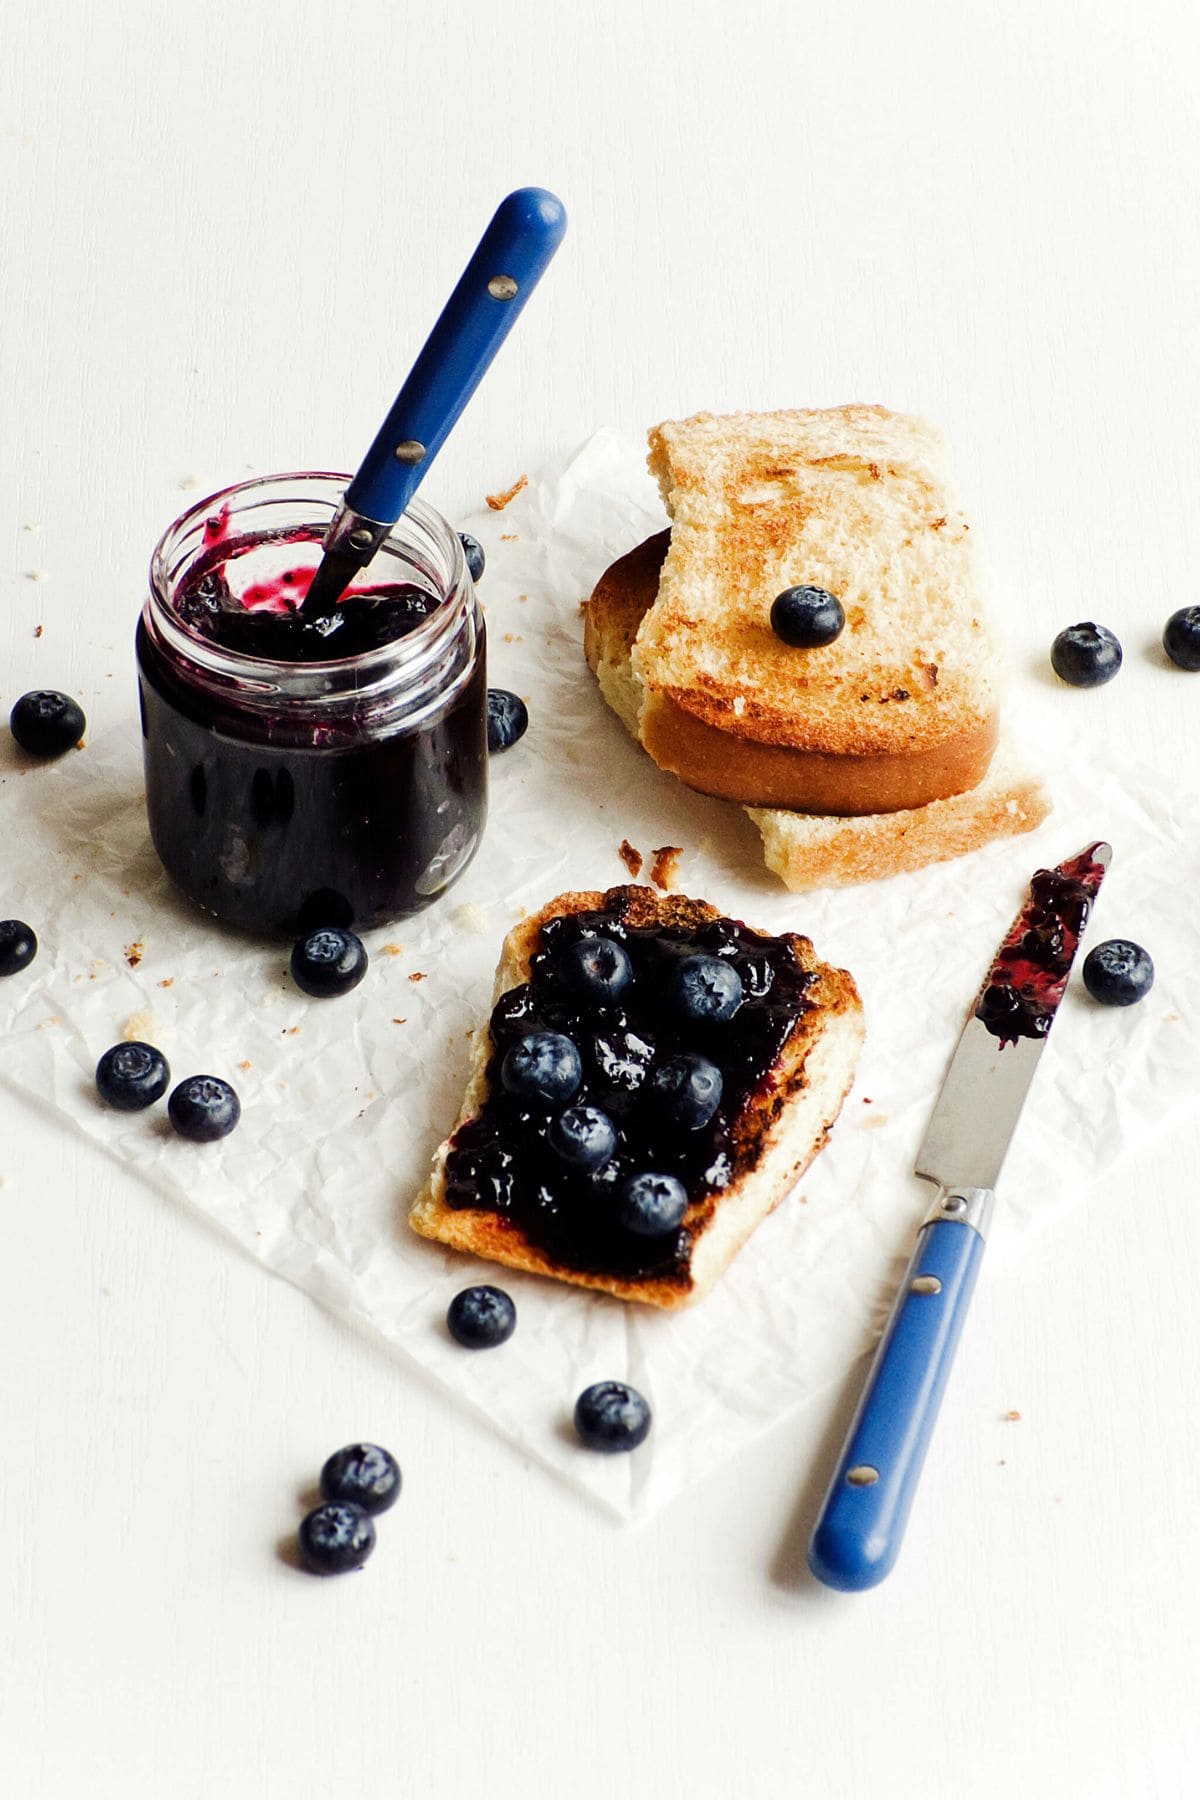
Get creative with your homemade jam by trying different fruit combinations and adding spices. Here are a few simple variations to enhance your jam-making experience.
- Berry mix: Combine tasty summer berries like strawberries, blueberries and raspberries for a mixed berry jam.
- Stone fruits: Try peaches, plums or cherries for a different flavor profile.
- Spices: Add a pinch of cinnamon or vanilla extract for extra depth of flavor.
- Smooth jam: If you prefer a smoother jam, puree it in a food processor after cooking.
There are more ways to enjoy jam than just as a spread. Use jam to make a fruity homemade salad dressing or add it to a cake or bread batter.
“We make 25 to 30 jars of blackcurrant jam annually from our bushes. Though blackcurrants are high in pectin and usually set well, we add lemon juice for extra assurance and flavor. The key is boiling it long enough. While most recipes suggest 20 to 30 minutes, we boil ours for over an hour for a more reliable setting.”
— Dan Morris, Fire and Saw
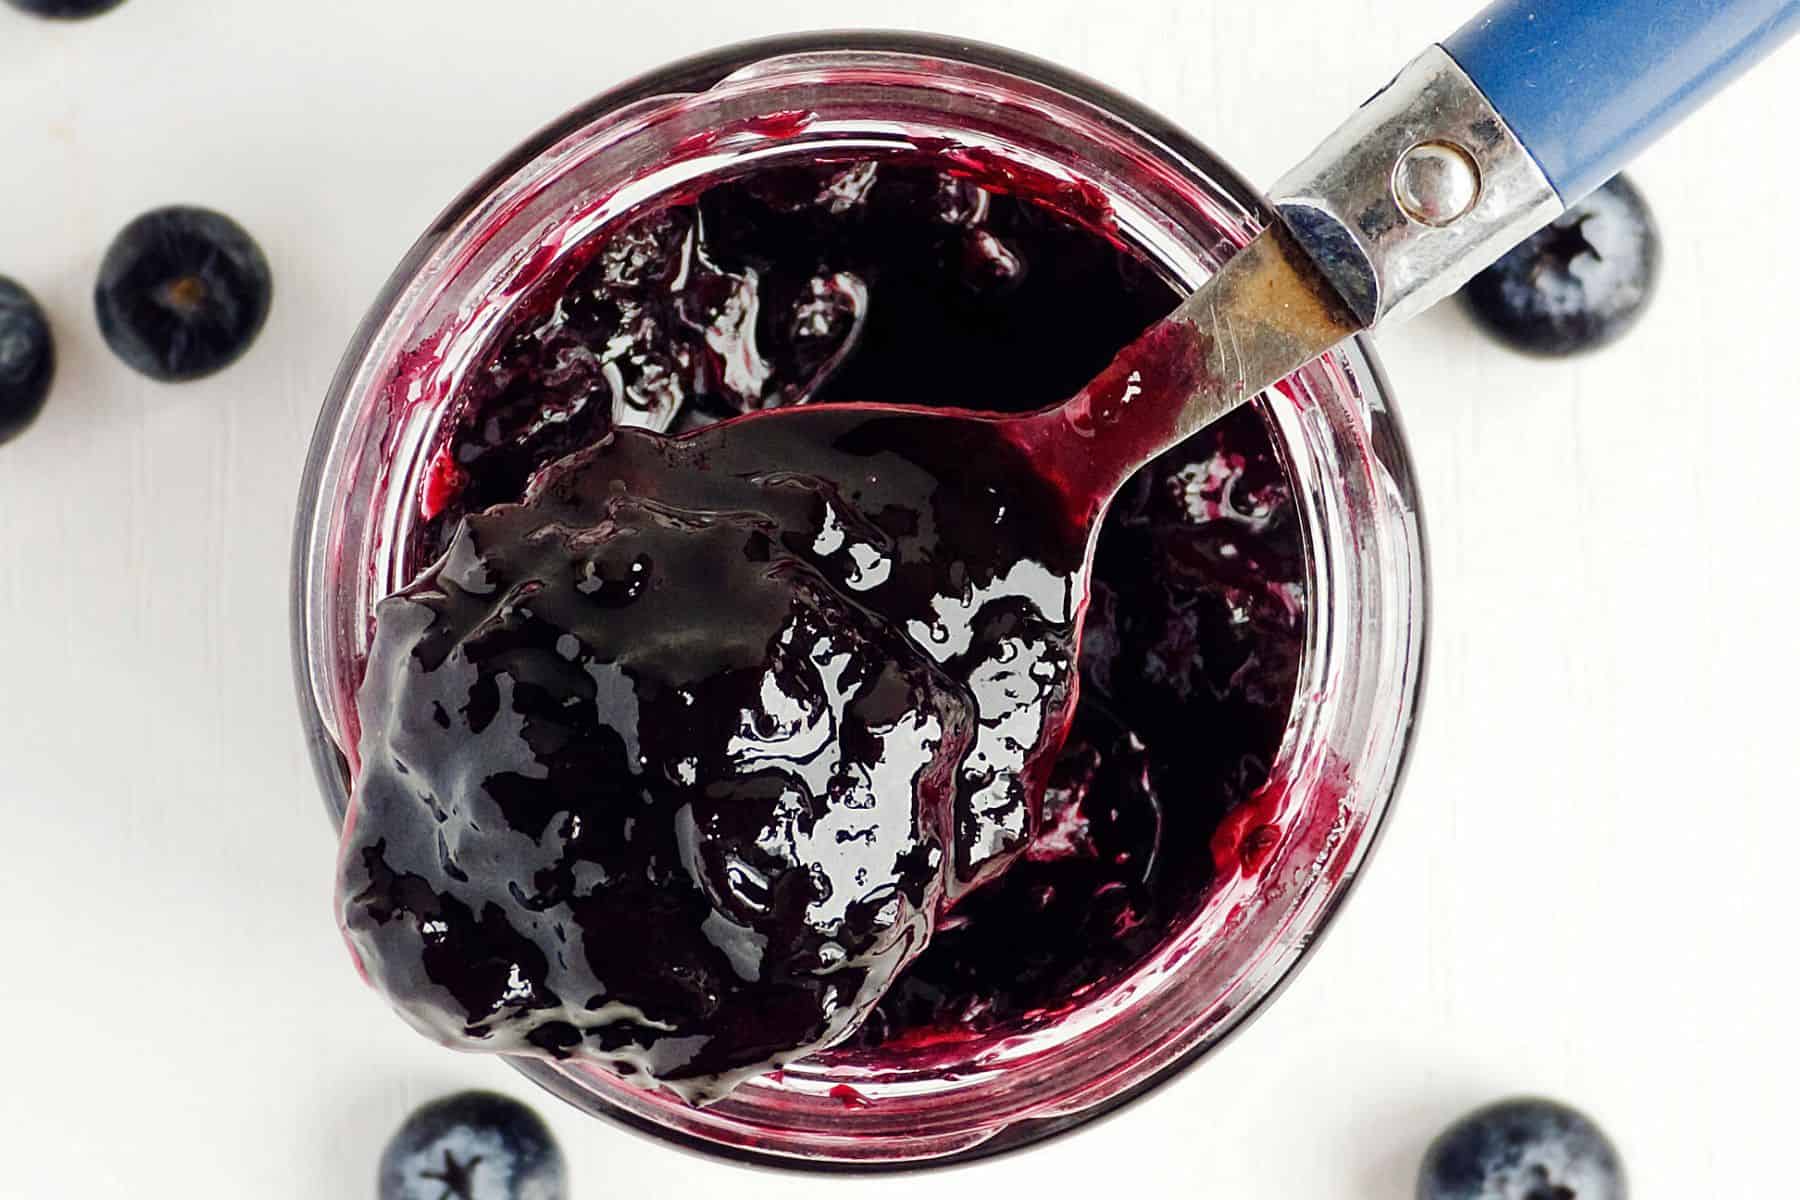
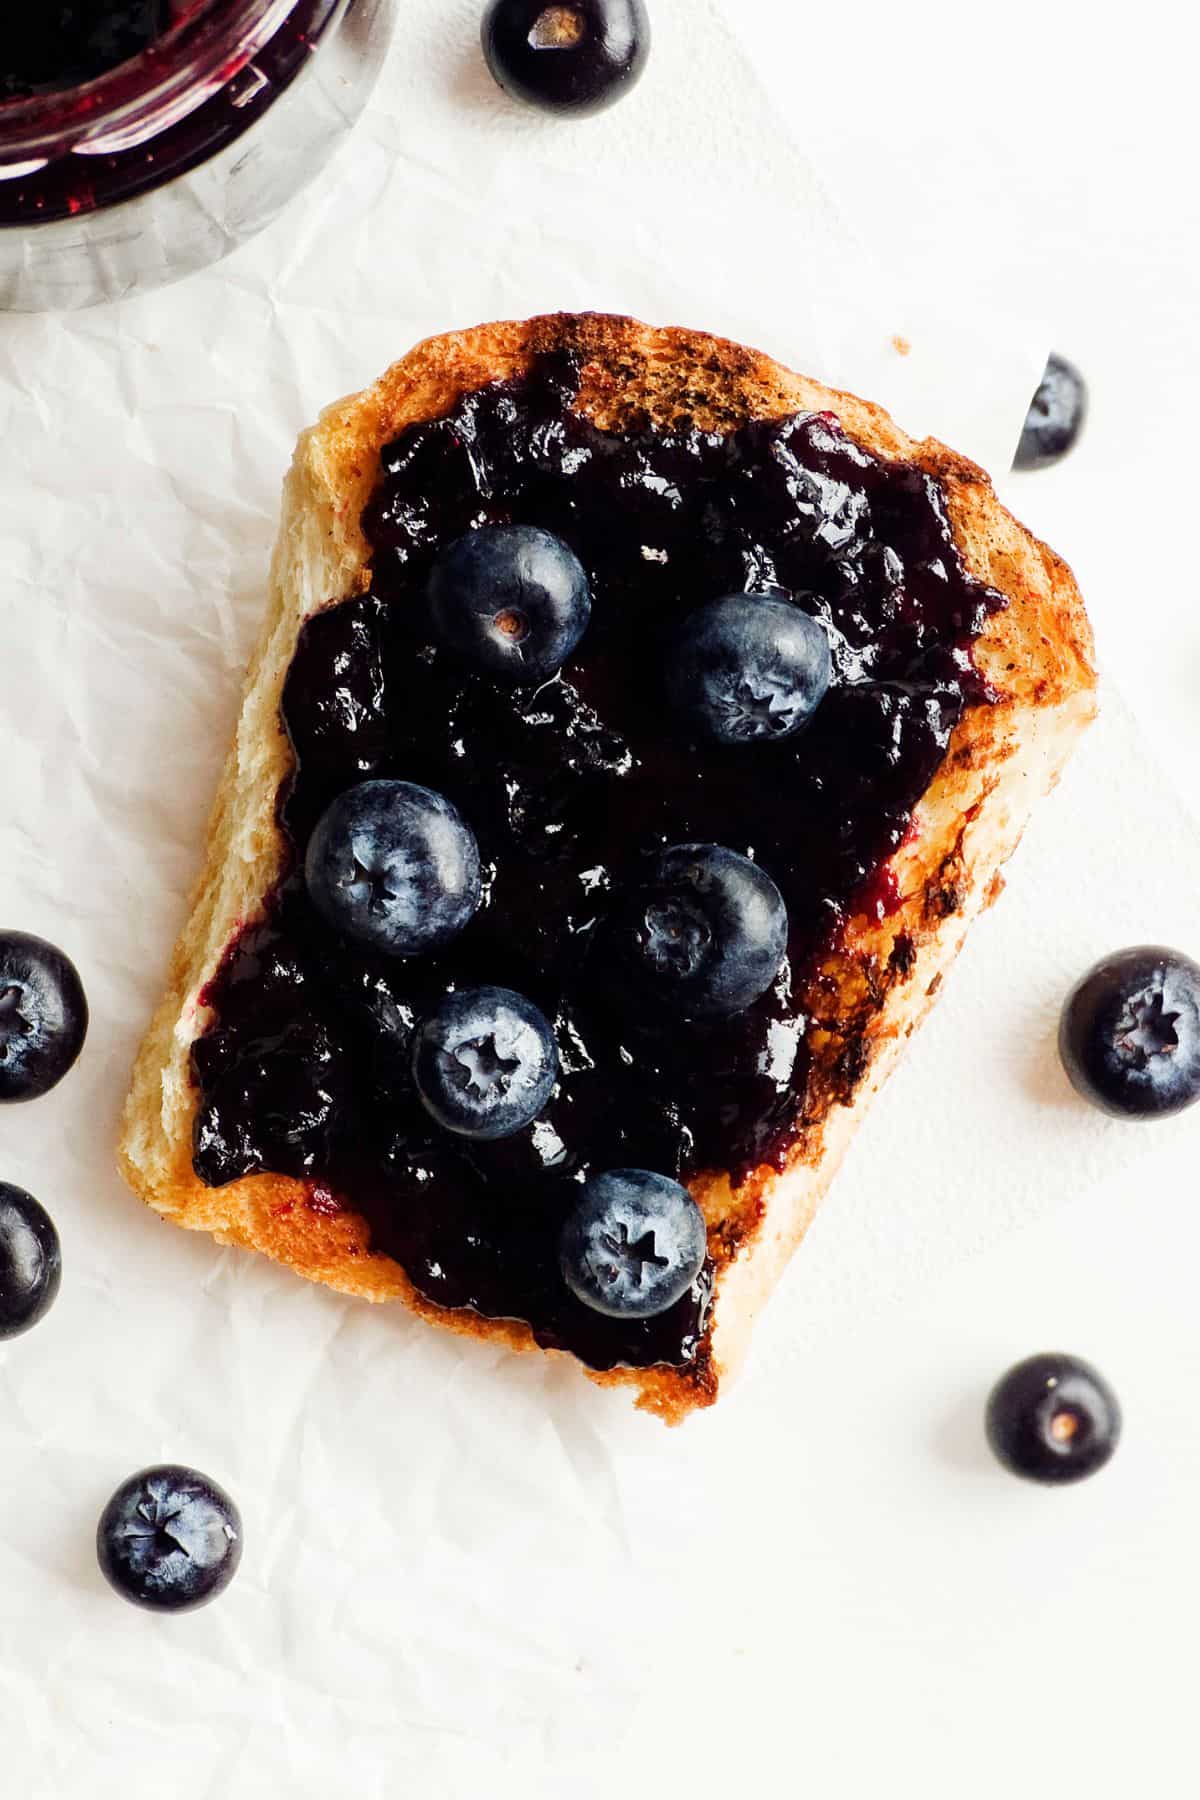
This easy method allows you to create a tasty homemade blueberry jam that captures fresh fruit flavors. Enjoy your creation on toast, desserts, or share it with others.
This article is adapted from one that originally appeared on Food Drink Life.
Recipe
Tried and loved this recipe? Please leave a 5-star review below! Your reviews mean a lot to me, so if you've got any questions, please let me know in a comment.
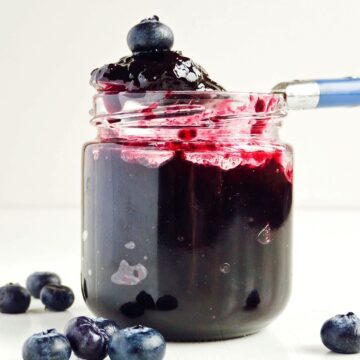
3-Ingredient Blueberry Refrigerator Jam
Equipment
Ingredients
- 4 cups blueberries
- 1 cup sugar
- 2 tablespoons lemon juice
Instructions
- Wash blueberries and containers.
- Mix all ingredients in a saucepan.
- Cook on medium heat until boiling.
- Reduce heat, simmer 20-30 minutes, stirring occasionally.
- Test readiness: a) Drop a small amount on a cold plate. If it wrinkles when pushed, it's done. b) Or use a thermometer. Jam is ready at 215°F.
- Mash berries with a potato masher.
- Let cool.
- Pour into containers and refrigerate.
- Keeps for 2-3 weeks in the fridge.



Steve says
I use WAY less sugar, but that's a matter of taste.
Rather than lemon juice, I put in a few slices of lemon or lime, including the pith (the thite part). The pith is important because there's pectin in the pith. This causes the jam to jell. (While it is necessary, you don't want to use too much, because the pith is bitter.)
When I put the berry mixture on the stove, I set the timer for 5 minutes, and give the mixture a complete mix. This prevents boiling over and spattering. I do this every 5 minutes until I think it's done.
My test for doness is to lift the spoon out of the pot and see how it falls off the spoon. When it stops dripping and starts dribbling, you're done. (You'll know it when you see it.) This takes 20 or 25 minutes
One more thing: before I start to cook, I washed the jam jars and lids in a hot dishwasher, and leave them there until I am ready to use them. This is how they get sterilized.
kseniaprints says
Great advice, Steve!! Thank you!
Tammy says
One quick thing you should know: Unless your hot water heater is set high (over 160 degrees Fahrenheit) washing your jars in the dishwasher WON'T sterilize them. The water temperature is just too low. You have to boil them for ten minutes (that's ten minutes full roiling boil) or they won't be sterile. I've learned this the hard way when a batch of experimental tomato jam went horribly wrong and put some of my classmates in the hospital.
kseniaprints says
I actually always feel leery about using the dishwasher as a sanitizer. I know it's the popular way of doing it, but my grandma never did it, so I avoid it as well.