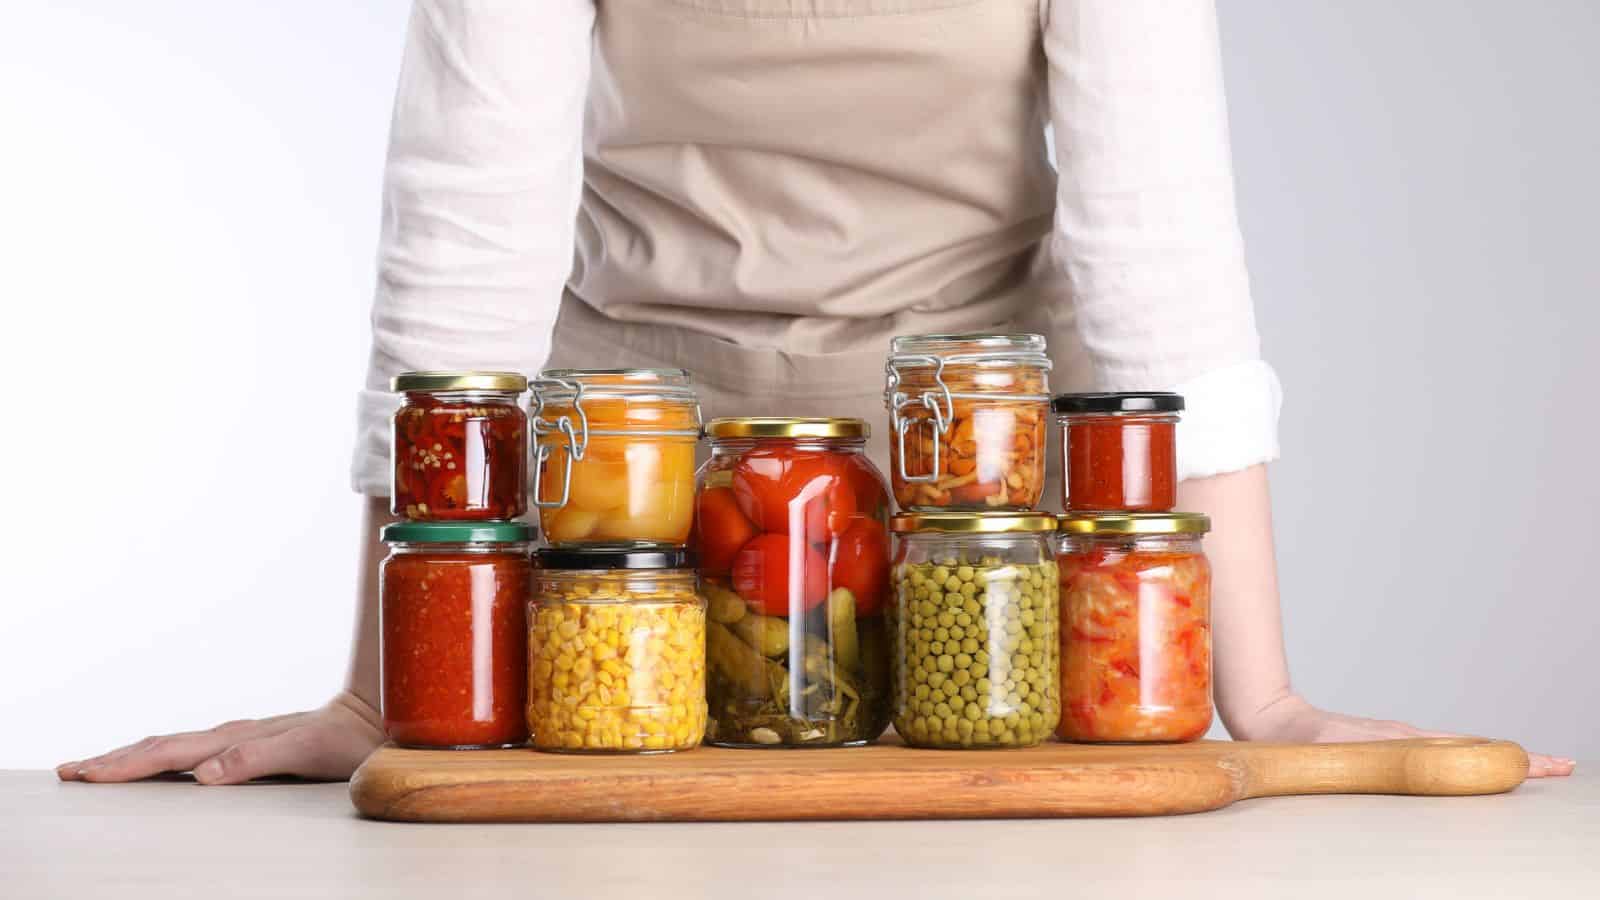
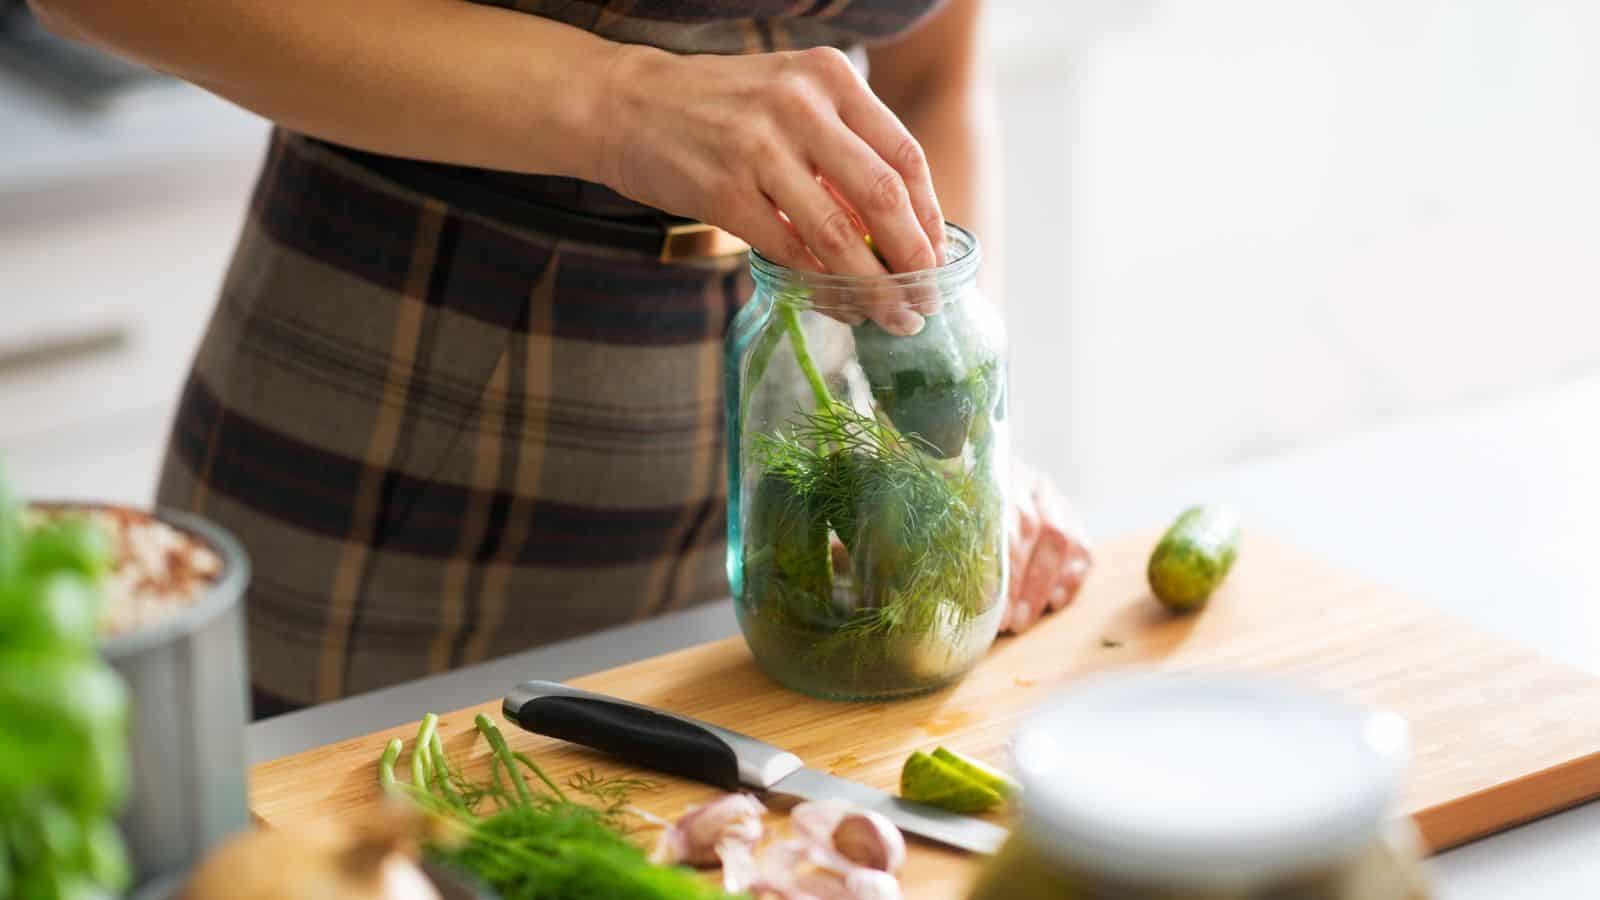
I love canning. It requires a little bit of work, a little bit of tenacity, and a lot of belief in the end product, but you are usually rewarded with months of beautiful, crisp, and delicious preserves. But it comes with its own set of canning dangers.
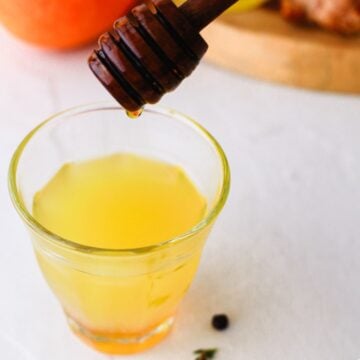
Yesterday I was reminded of another thing that canning requires - care. Yesterday, in the throes of a garlic scape pickle canning and honey strawberry jam brewing extravaganza, I managed to burn my left hand and chest with boiling hot water. The results are not so pretty and mean that I've been taken out of commission for a little while.
With some handy tips and advice at your disposal, I hope you are excited to get you started (carefully!) on your own canning experiments. Check out some of my favourite canning and preserves recipes At the Immigrant's Table!

But along with the benefits comes the responsibility of doing it safely. Unlike everyday cooking, canning requires precise methods to prevent serious risks like spoilage and botulism. That's why this complete guide to home canning safety is here: to walk you through the essential practices, explain the "why" behind the rules, and help you avoid common mistakes.
Dangers of Canning
One of the biggest potential dangers in canning is botulism. Botulism is caused by toxins produced by the bacterium Clostridium botulinum. Even though cases are pretty rare, it's a really serious illness that you definitely don't want to mess with.
This bacterium loves low-oxygen, low-acid environments, exactly the kind of conditions you'd find in foods that weren't canned or preserved the right way.
Botulism usually shows up in low-acid foods like vegetables, meats, poultry, seafood, and most beans. These foods have a pH above 4.6, which makes it easy for the bacteria to grow if the canning process isn't done properly.
The scary part? The toxin it produces is one of the most powerful known, and it can block nerve function, leading to paralysis. Without treatment, it can even cause breathing problems and, in the worst cases, death.
That's why using a simple boiling water bath isn't safe for these foods since it only reaches 212°F (100°C), which isn't hot enough to kill the bacteria and their spores. See this article on proper water-bath canning techniques.
Symptoms of Botulism

Symptoms usually appear within 12 to 36 hours after consuming contaminated food and include:
- Double or blurred vision
- Drooping eyelids
- Difficulty swallowing or speaking
- Muscle weakness
- Paralysis
The Centers for Disease Control and Prevention (CDC) stresses how important it is to act quickly if botulism is suspected.
If you think someone has eaten contaminated home-canned food and starts showing symptoms, don't wait. Get emergency medical help right away. The sooner they receive the botulinum antitoxin, the better the chances of reducing the severity of the illness and helping them recover.
Major (and Potentially Deadly) Canning Mistakes to Avoid
1. Making Up Your Own Canning Recipes
Cooking is all about creativity. You can throw in a pinch of this or a dash of that and make it your own. But canning? That's a different story. Canning is more like a science class than an art class, because your safety depends on getting it exactly right.
If you start experimenting with your own ingredient combos, you might accidentally mess up the acidity level in your pickled jalapeños or keep the food from heating all the way through in your pickled eggplants.
And here's the thing: unless a recipe has been scientifically tested, there's really no way to know if your jars will hit the right acidity or temperature to stop bacteria from growing.
Don't worry, our canning recipes are certified safe for you to try at home.
2. Adding Too Many Thickeners
It might be tempting to toss in some extra flour, cornstarch, or even instant mixes to thicken up your canning recipes, but that can actually make them unsafe.
Thickeners change how dense the food is, which means the heat can't move through the jar as easily during processing. If the food doesn't get hot enough all the way through, harmful bacteria (including the kind that causes botulism) can survive. This would result in under-processed food in jars that aren't safe to eat.
On top of that, thickeners that aren't recommended for canning can break down over time, leaving you with food that looks unappetizing and doesn't keep well on the shelf.
3. Adding Extra Low‑Acid Vegetables to Salsa or Sauces
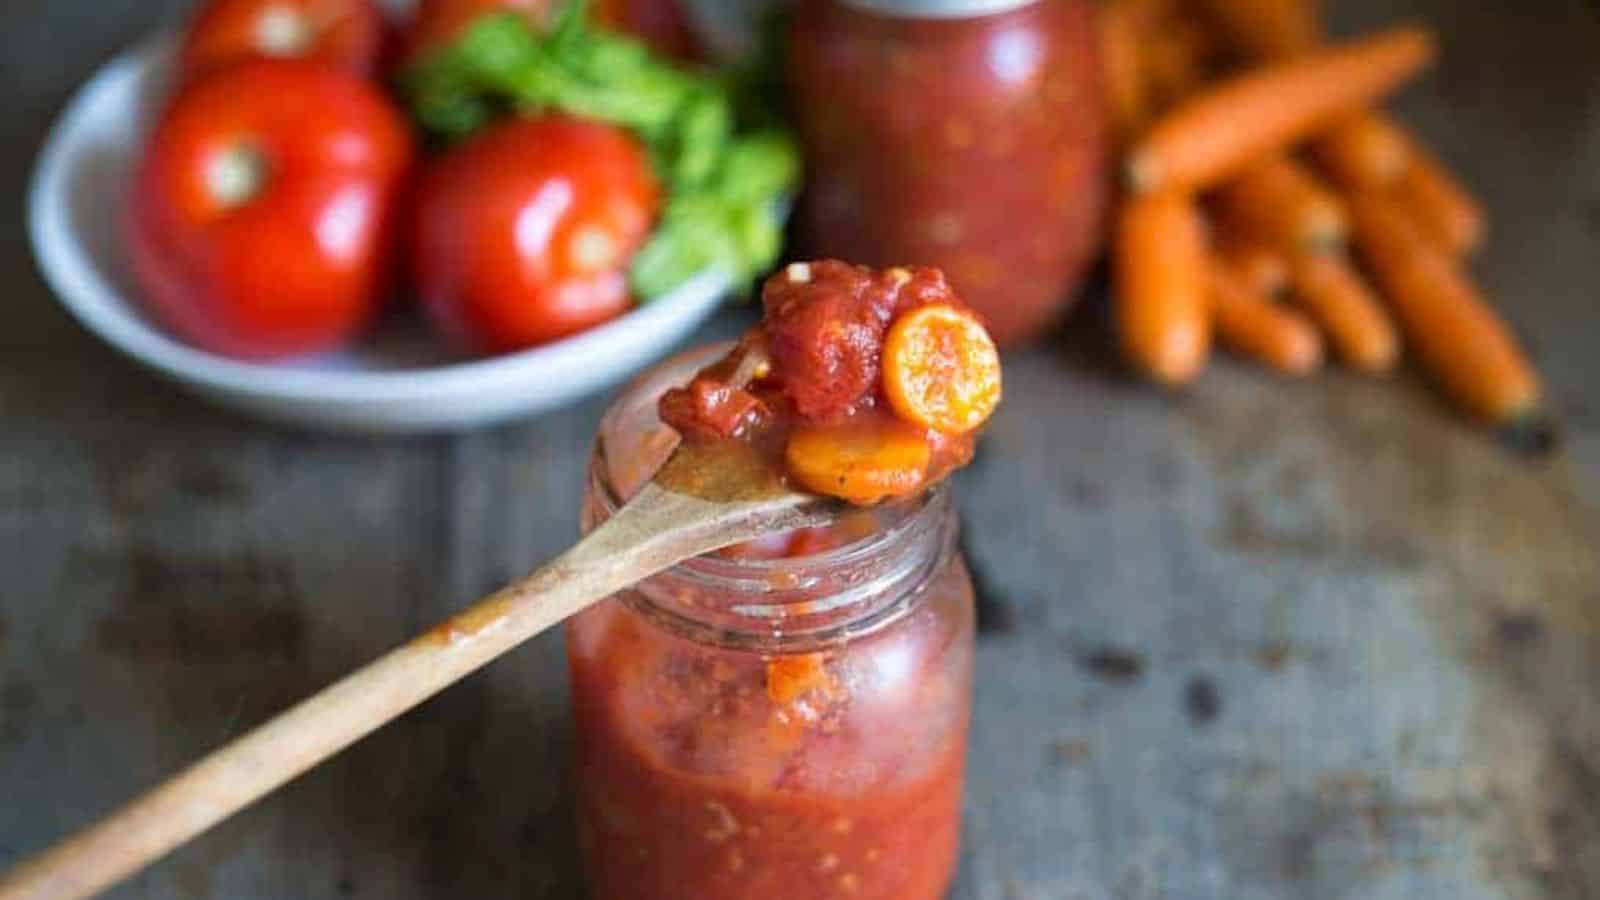
When it comes to Colombian salsa and tomato-based sauces, the secret to keeping them safe isn't just the cooking: it's the acidity. That's why tested recipes call for vinegar, lemon juice, or citric acid: they make sure the mixture stays acidic enough to keep botulism from growing.
The tricky part is that adding more low-acid ingredients like onions, peppers, garlic, or corn can actually water down that acidity. Even small adjustments to the veggie ratios in a tested recipe can tip the balance, pushing your salsa into the danger zone where bacteria thrive.
So as much as you might want to experiment, it's best to stick with tested recipes for canning salsa. Otherwise, you risk spoilage or even botulism poisoning.
4. Using Unsafe Canning Methods
Some canning methods just don't get hot enough (or stay hot long enough) to kill the really dangerous microorganisms.
The scary part is, food that isn't processed properly can still look and smell perfectly fine while hiding toxins that could make you seriously sick. That's why relying on unapproved techniques isn't worth the risk. You could end up with jars that are spoiled, unsafe, or, in the worst case, even deadly.
Using an Oven Instead of a Water Bath for Processing
Oven canning might sound like a quick and convenient shortcut, but it's actually not safe. Unlike water bath or pressure canning, ovens don't heat jars evenly or thoroughly enough to kill off bacteria, yeasts, and molds.
Because oven heat is dry, it doesn't penetrate the jars the same way boiling water does. That means you can end up with cold spots inside the jar, leaving food under-processed and unsafe. On top of that, jars are much more likely to crack or break in the oven thanks to the uneven temperatures.
Using a Water Bath Canner for Low Acid Foods
This is one of the most serious and potentially life-threatening mistakes people can make with canning!
Low-acid foods don't naturally have enough acidity to stop Clostridium botulinum from growing. And here's the key thing: a water bath canner only heats up to 212°F (100°C). That's simply not hot enough to destroy the spores.
So even if you process low-acid foods for hours in a water bath, it still won't make them safe. The jars will be under-sterilized, which means they could harbor dangerous bacteria and toxins without any obvious signs. Check out my recommended canning tools.
Other Canning Techniques
These include open kettle canning, microwave canning, slow-cooker canning, and canning using a dishwasher, electric pressure cooker, or a multi-cooker appliance (even if it has a "steam canning" button).
5. Not Adjusting Time or Pressure for Altitude
Here's something a lot of people don't realize: the higher your elevation, the lower the air pressure, and that means water boils at a lower temperature. The problem is, when the boiling point drops, your jars may never get hot enough inside to kill off harmful bacteria.
That's why altitude adjustments are so important in both water bath and pressure canning. If you skip them, your food might end up under-processed, which raises the risk of spoilage or even serious foodborne illness.
6. Failing to Vent Your Pressure Canner
Venting, sometimes called exhausting, is a simple but super important step in pressure canning. It means letting steam escape from the canner for a full 10 minutes before you close the vent and let the pressure build.
Why does this matter? Because venting pushes out any trapped air inside the canner. If air is left in, it keeps the internal temperature lower than it should be.
That means your food might not actually get hot enough to kill dangerous microorganisms, even if the gauge shows the "right" pressure. Skipping this step can leave you with under-processed, unsafe jars.
7. Rushing Cool‑Down of a Pressure Canner
Once processing is done, it's really important to let the canner cool down and depressurize on its own. Don't try to rush it by running cold water over it, lifting the weight, or cracking the lid early. It might feel faster, sure, but it's risky.
Cooling the canner too quickly can cause the pressure and temperature inside to drop suddenly. That not only shortens the actual processing time (which means bacteria might survive), but it can also cause liquid to siphon out of your jars. When that happens, seals can break or food can be left uncovered and exposed to air, making it unsafe.
8. Not Having Dial-Type Pressure Canner Gauges Tested Annually
Dial gauges can give inaccurate readings over time. Regular use, storage conditions, or just normal wear and tear can cause the gauge to "drift." When that happens, your canner might actually be running at a lower pressure than the dial shows.
The danger is that if the pressure isn't truly high enough, your food won't reach the temperatures needed to kill harmful microorganisms. So even though the dial looks fine, your jars could still be under-processed and unsafe.
9. Letting Hot‑Pack Foods Cool in Jars Before Processing
In hot-pack canning, you heat the food before putting it into jars. This step helps the heat spread evenly and makes it easier for the food to reach the right temperature during processing.
But here's the catch: if you let those filled jars sit around and cool before putting them into the canner, the temperature of the food drops. That means the processing time in your recipe may no longer be enough to kill harmful microorganisms. The result? Under-sterilized food is at a much higher risk of spoilage or foodborne illness.
10. Failing to Acidify Tomatoes
Tomatoes used to be naturally acidic enough that people could safely can them in a water bath without adding anything. But today's tomato varieties are often lower in acidity because of hybridization and different growing conditions.
Even small changes in acidity can make a big difference. Without proper acidification, tomatoes can actually become a breeding ground for C. botulinum, which is why tested recipes always include added lemon juice, vinegar, or citric acid to keep them safe.
Other Non‑Fatal (But Still Problematic) Mistakes
1. Using Thin, Non-Canning Jars
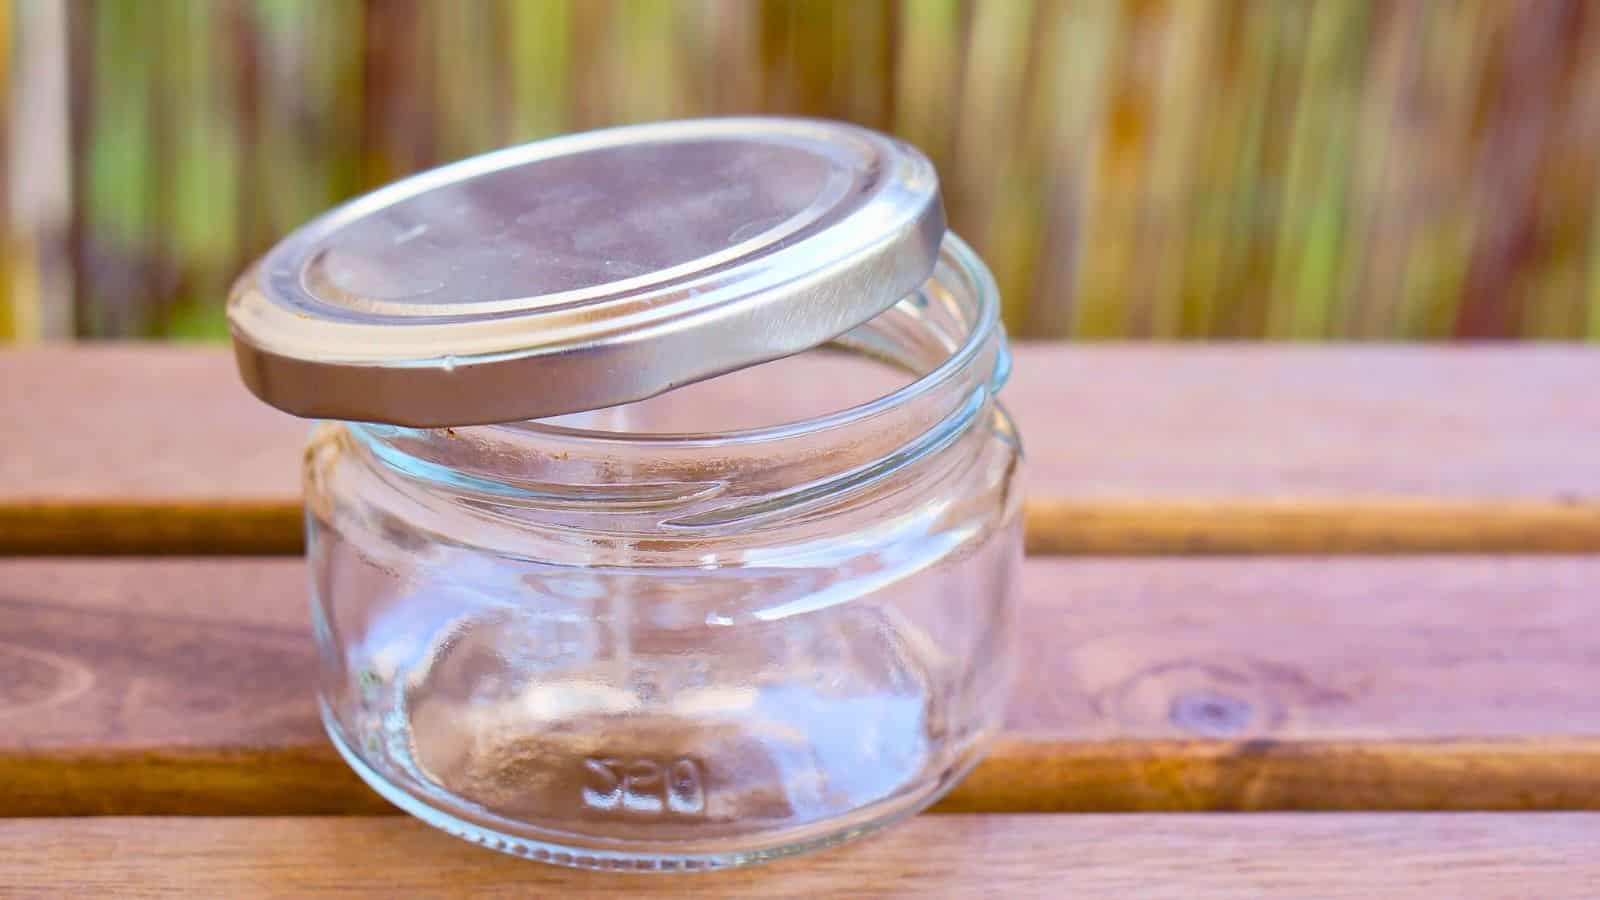
A common example is recycled jars from store-bought spaghetti sauce, jam, or mayonnaise. These jars are not designed to withstand the high temperatures and pressure fluctuations that occur during water bath or pressure canning.
Using these jars increases the risk of cracking or breaking during processing, which can lead to wasted food, broken glass, or injury.
Additionally, their necks may not be the correct size for standard canning lids, making it difficult or impossible to achieve a proper vacuum seal.
2. Reusing One-Time Lids
Reusing canning lids might seem like a smart way to save money, but it's actually a shortcut that can backfire. Even if a flat metal lid looks fine after being used once, it's only designed for single use.
That's because the sealing compound on the underside of the lid gets compressed the first time it's used to create a vacuum seal. Once that happens, it usually can't reshape itself well enough to form a tight, reliable seal again.
For safe canning, always stick with brand-new, undamaged lids. If you want to reuse the old ones, save them for things like dry goods or foods that don't require canning.
3. Incorrect Headspace in Jars
Headspace is simply the gap between the top of your food and the underside of the lid, and it's more important than it might seem. That little bit of space makes room for the food to expand while heating, and it also helps create a strong vacuum seal as the jar cools.
If you leave too little headspace, the food can bubble up and overflow, which might stop the jar from sealing properly. On the flip side, if you leave too much headspace, not all of the air may get pushed out during processing. That leftover air can increase the risk of spoilage.
The safest approach is to follow the exact headspace measurements listed in tested recipes. The amount you need will vary depending on the type of food and whether you're using a water bath or pressure canning.
4. Failing to Maintain Sterile Conditions
Doing so can introduce unwanted bacteria, yeast, or mold into your preserved food, even before the jars are processed.
While pressure and water bath canning are designed to sterilize the contents of the jars, starting with clean, sanitized equipment and work surfaces helps guarantee success and reduces the risk of contamination.
Utensils, jar rims, and lids should be kept clean and free from residue, and hands should be thoroughly washed during the canning process. Skipping this basic hygiene step can compromise the entire batch, especially if there are delays between filling and processing.
5. Overtightening Lid Bands
When screw bands are tightened too firmly, air may not be able to escape from the jar during processing, which is necessary for creating a proper vacuum seal. Overtightening can also cause the lid to buckle or result in a false seal that later fails during storage.
6. Leaving Air Bubbles in Jars
Once you've packed your jars with food and liquid, don't forget to remove any trapped air bubbles. You can do this by gently sliding a non-metallic spatula or a bubble remover tool down the sides of the jar and stirring lightly.
Those little air pockets might not seem like a big deal, but they can actually throw off your headspace, weaken the vacuum seal, and even cause uneven heating during processing.
In pressure canning, especially, air bubbles trapped in the middle of dense foods can keep the heat from reaching every part of the jar, leaving your food under-processed.
That's why it's always worth taking a moment to get rid of bubbles before you adjust the headspace or wipe the rims for sealing.
7. Cooling Jars Too Slowly or Improperly
This includes stacking them or covering them with towels. While jars should cool undisturbed at room temperature, they need proper airflow and spacing to do so efficiently.
Improperly cooled jars are more prone to issues like flat-sour spoilage, where bacteria survive and cause sour flavors even though the jars appear sealed. Stacking or crowding jars can trap heat for too long and delay the formation of a vacuum seal, which is crucial to preserving the food.
For best results, place hot jars on a towel or rack with 1-2 inches of space between them, and allow them to cool for 12 to 24 hours in a draft-free area before checking seals.
8. Storing Jars Improperly
Processing makes your food safe when you first seal the jars, but how you store them afterward plays a huge role in how long they last and how good they taste.
Exposure to heat and light can cause the food to fade in color, lose nutrients, and even separate. Moisture is another problem since it can make lids rust or weaken the seals. And while the jars might technically stay sealed, the food inside won't hold its quality nearly as long if storage conditions aren't right.
For best results, always store your jars in a cool, dark, and dry place so your hard work lasts as long as possible.
Safe Home Canning Practices

1. Use Only Research-Tested Recipes
Only follow canning recipes from trusted, research-based sources such as the National Center for Home Food Preservation (University of Georgia), University Extension services, or USDA publications, and only recipes dated 1994 or later.
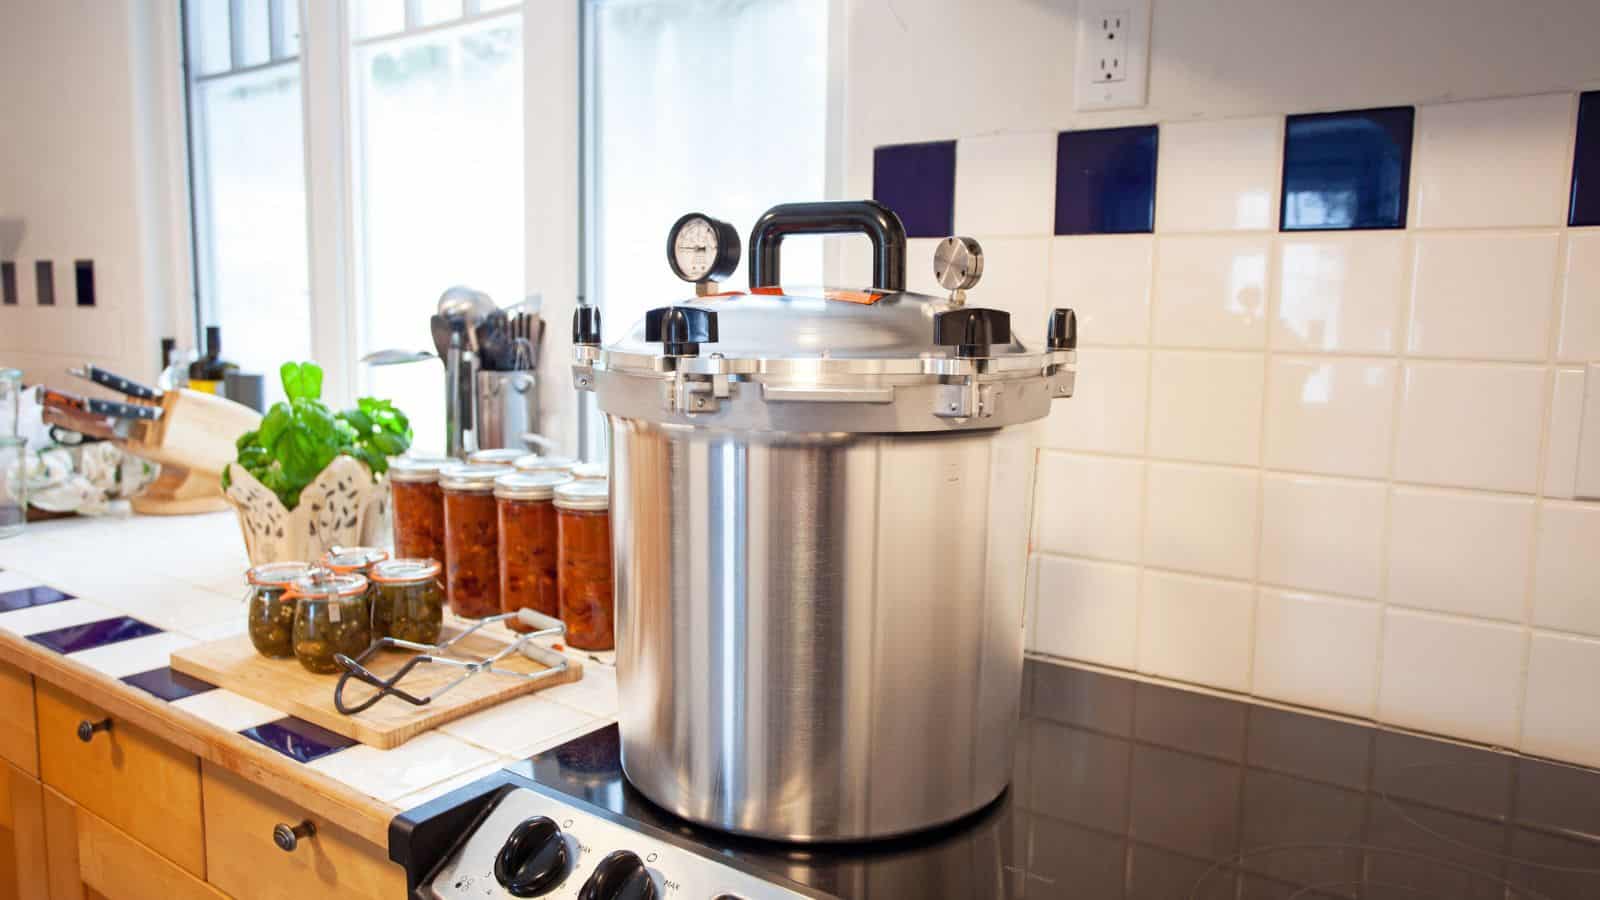
2. Choose the Proper Canning Method
There are only three safe methods of home canning: using a boiling water bath canner, atmospheric steam, or pressure canning. Which method to use depends on the acidity of the food: high-acid foods (pH ≤ 4.6) require boiling water or steam canning; low-acid foods (pH > 4.6) must be processed in a pressure canner.
3. Use Proper Equipment
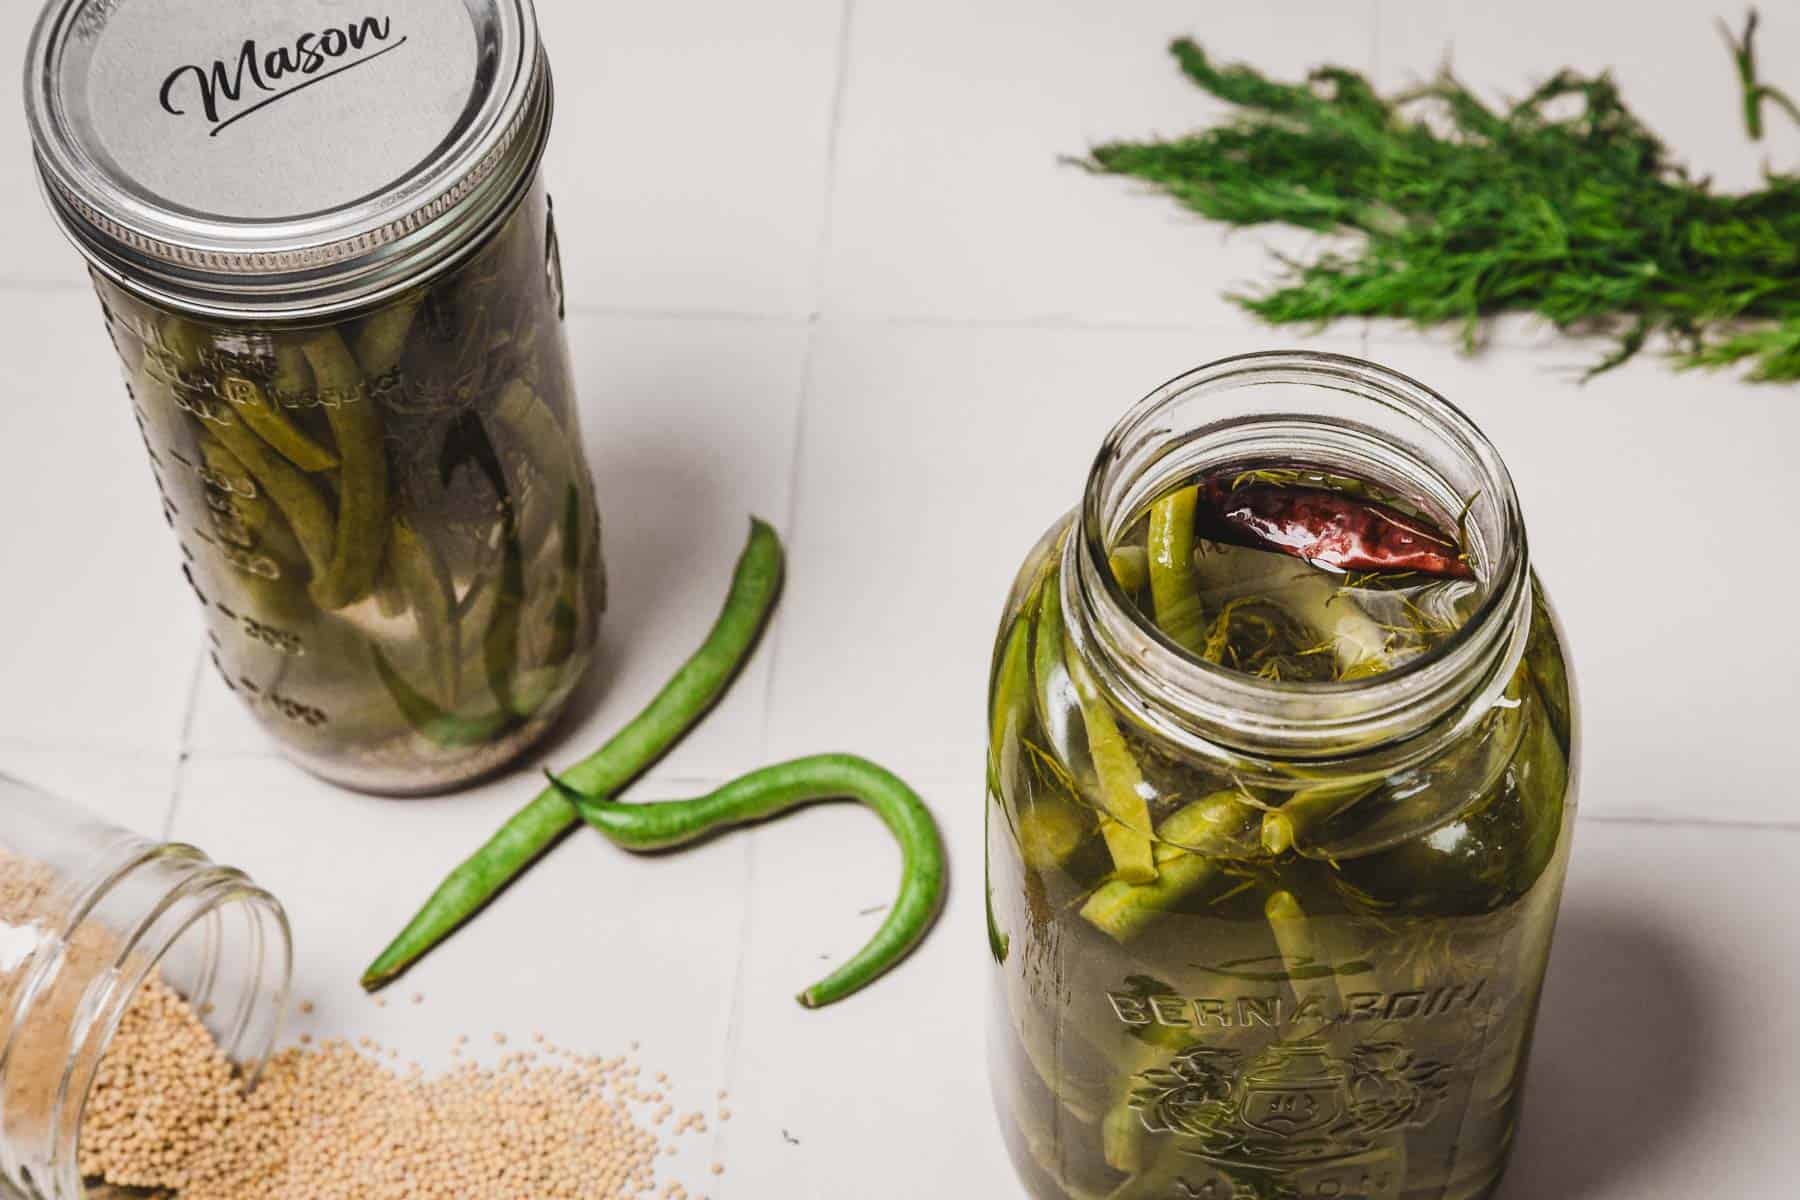
Use only Mason-style canning jars and two-piece metal lids (flat lids + screw bands). Avoid jars not made for canning (e.g., reused commercial sauce jars): they may break or fail to seal. Use pressure canners with functioning safety and venting mechanisms; avoid old or foreign-made units without parts or instructions
4. Maintain Clean Work Conditions
Clean and sanitize jars, lids, utensils, jar rims, and your workspace. Wash hands thoroughly while filling jars. Dirt or residue can introduce contamination even before processing begins.
5. Remove Air Bubbles & Use Correct Headspace
After filling jars, run a non-metallic spatula or bubble remover around the inside to dislodge air bubbles. Maintain the correct headspace: typically ¼″ for juices and jellies, ½″ for fruits and pickles, and 1-1½″ for vegetables and meats.
6. Properly Tighten Lid Bands
The correct technique is to tighten the bands only to "fingertip tightness," which means using just your fingertips to screw the band on until it meets resistance, then giving it a gentle additional twist.
This allows air to vent during processing and makes sure the lid can seal properly as the jar cools. After the jars are sealed and cooled, the bands can be removed for storage to prevent rust and make it easier to detect failed seals later on.
7. Verify Seals and Store Properly
After 12-24 hours of cooling, check that the lids are concave and sealed-pressing the center should not flex. Remove screw bands for storage, which helps detect seal failures and prevents rust.
Store jars in a cool, dark, dry place (ideally 50-70°F), labeled with date and contents. Use within one year for the best quality
8. Monitor for Signs of Spoilage
Inspect jars before use: cloudy liquid, mold, bulging lids, spurting liquid, or unpleasant odors are red flags. Never taste suspect food. Discard jars safely if spoilage is suspected.

Caution for Some Specific Foods!
Butter
Currently, there are no approved recipes or safe methods for home canning of butter. Because butter is a low‑acid food and high in fat, it poses a serious botulism risk.
Hydrated Wheat Kernels (Wheat Berries)
Grains like hydrated wheat kernels contain starch that interferes with heat penetration during canning. If not processed adequately, spores can survive, leading to a potential botulism risk. These should be stored dry or kept refrigerated if prepared for short-term use
Quick Breads in Jars (Banana, Zucchini, Pumpkin Breads)
Baking quick breads directly in canning jars and sealing them as they cool does not provide the heat or anaerobic conditions needed to eliminate C. botulinum spores. This method is unsafe for home canning. These breads should instead be baked fresh or frozen.
Dried Beans (Pinto, Kidney, etc.)
While beans are low‑acid foods requiring pressure canning, they must first be fully hydrated (typically 12-18 hours) and boiled for at least 30 minutes before canning. Skipping proper hydration or boiling can lead to insufficient heat penetration, increasing the risk of contamination.
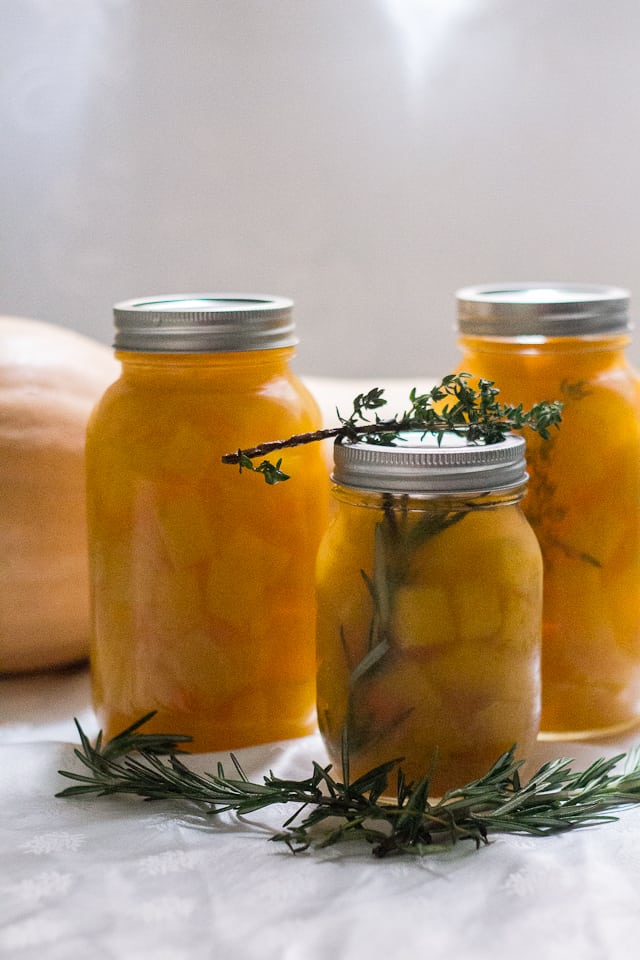
Starchy or Thickened Foods
Ingredients like flour, cornstarch, pasta, rice, or thick starches hinder heat transfer and are not safe unless included in a scientifically tested recipe.
Pureed pumpkin or winter squash, mashed potatoes, or refried beans are too dense. Heat cannot reach cold spots effectively, making sterilization unreliable.
These foods should be frozen or canned in cubed form, then pureed after opening if desired.
Oils and Oil-Based Preparations
![Cilantro pesto [freezable]](https://immigrantstable.com/wp-content/uploads/2014/10/Blog81_Img6.jpg)
Foods stored in oil, such as pesto or herb-infused oils, create anaerobic conditions ideal for Clostridium botulinum growth. Most oils and oil-based foods should never be canned at home. The only exception is a specific research-tested herbal oil recipe from university extensions that acidifies herbs before oiling, and must be followed exactly.
Dairy and Eggs (Butter, Cheese, Milk, Pickled Eggs)
Dairy-based foods and eggs pose serious safety risks, and there are no validated home canning methods for shelf-stable storage. These products are low in acid and may harbor spores protected by fat. Such items must be frozen or refrigerated and not processed by home canning.
When to Use Home Canning
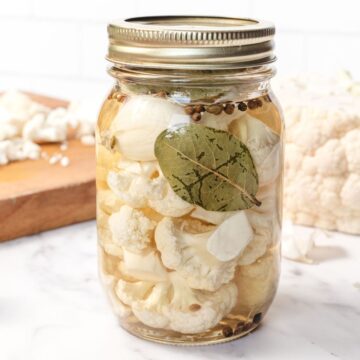
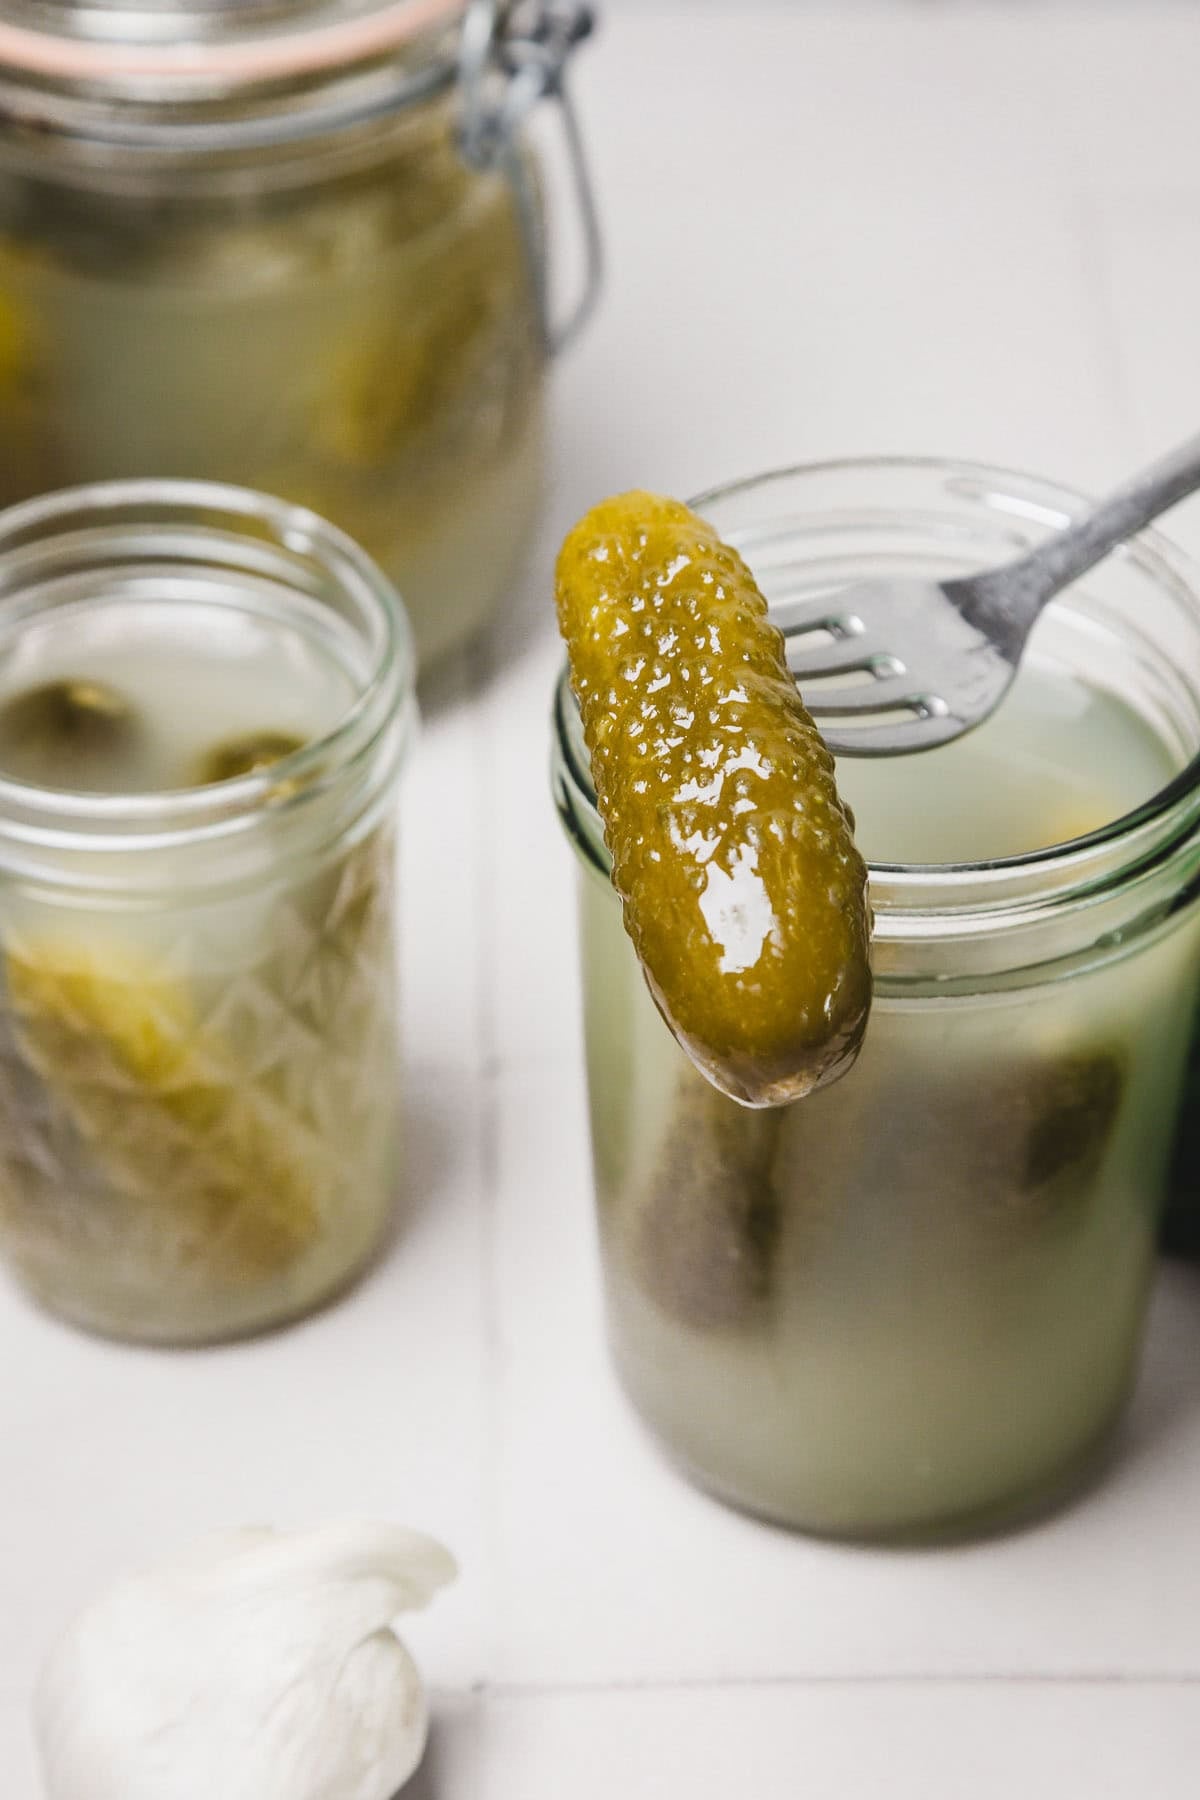
Home canning is suitable for high-acid foods such as fruits and vegetables like escabeche, jams like my Russian Kumquat jam, jellies, pickles like my spicy garlic dill pickles, salsa (using tested recipes), and tomatoes (with added acid). As mentioned, you can also use it for low-acid foods, but only when using a pressure canner.
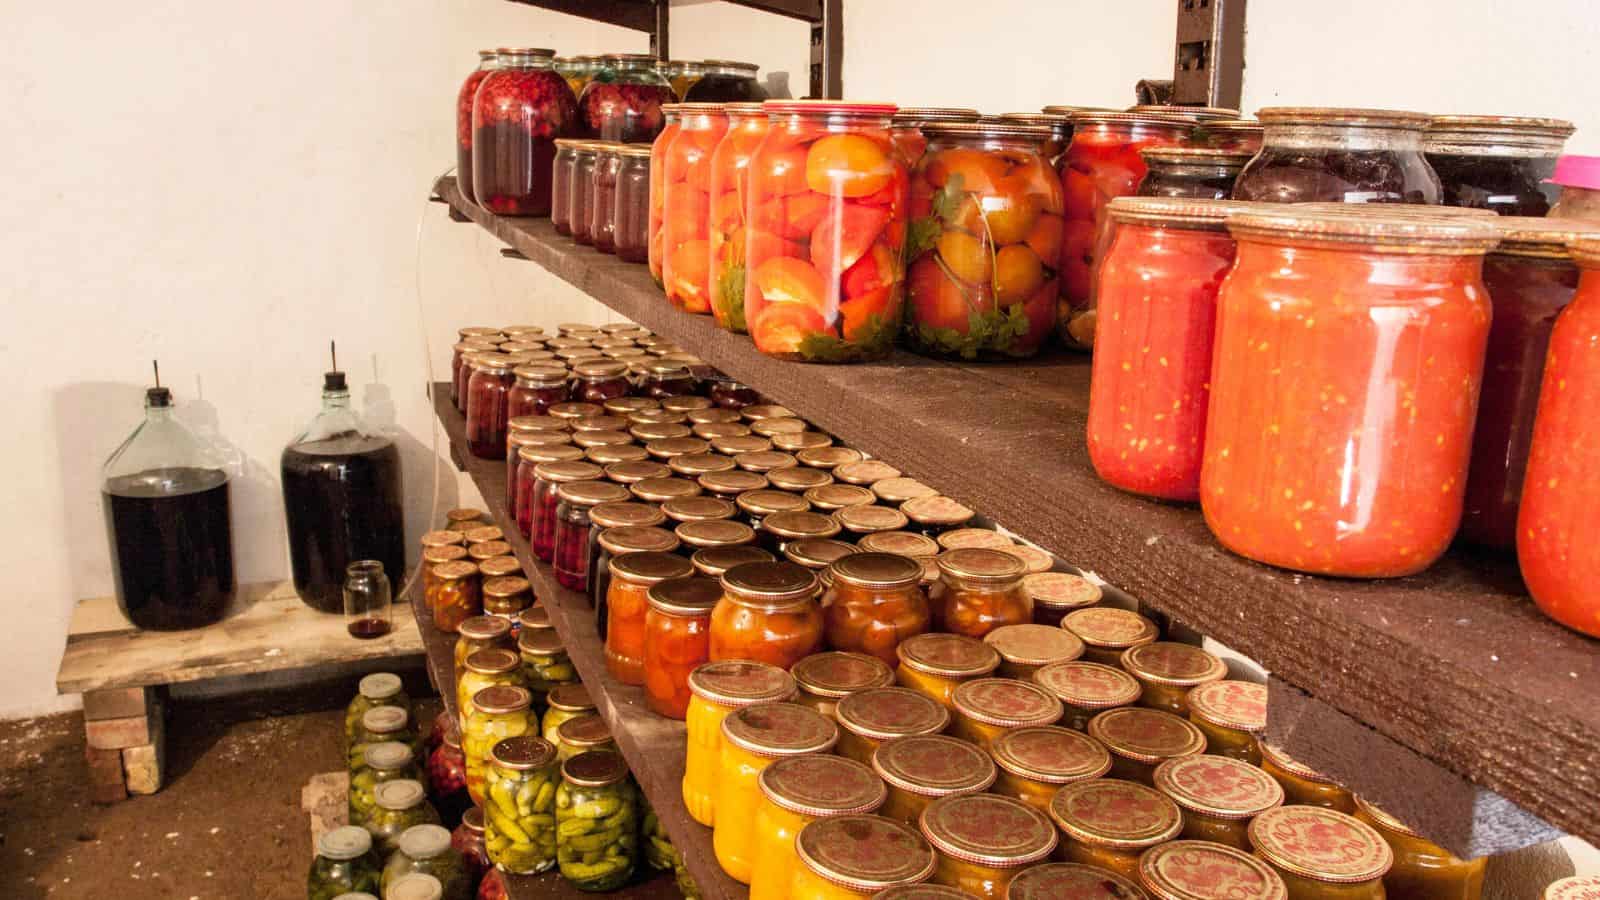
It's also ideal when you want shelf-stable storage for up to a year in a cool, dark place. It's especially useful during power outages, emergencies, or for reducing food waste from large harvests.
Practice Proper Canning and Guarantee Food Safety at Home
Canning is a wonderful way to preserve food, but it's also a process where safety has to come first. By following tested recipes, respecting headspace, venting properly, and avoiding shortcuts, you can make sure every jar you put on your shelf is both safe and delicious.
Remember: botulism and spoilage are invisible threats, so careful technique is your best protection. With the right practices, you'll not only protect your family's health but also enjoy the peace of mind that comes with opening a jar of home-canned food you can truly trust.