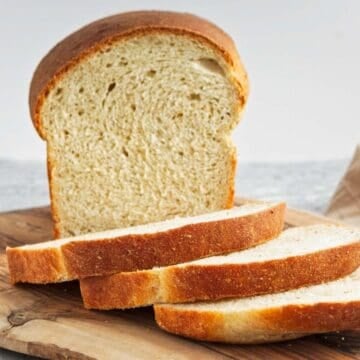
There's nothing quite like a fresh loaf of sourdough bread. And while all things sourdough have led to an explosion in storebought sourdough starters, they aren't necessary. Making a homemade sourdough starter without yeast is simple. Here's how.

There are many great sourdough recipes to enjoy. Luckily, making your own sourdough starter is so easy.
Why make your own sourdough starter
Starting sourdough is the simple process of making wild yeast by fermenting flour and water. When you make your own starter, you know the exact ingredients.
You can make a liquid sourdough starter, which I have done for years. But you can also make a more traditional, harder sourdough starter. This guide will tell you how!
You won't need to worry about unwanted chemicals or preservatives. Sourdough starter lets you make homebaked bread without depending on commercial yeast for every loaf.
Now, maybe you've already experimented with fermenting vegetables or other foods. Or perhaps you've stocked your pantry shelves with long-shelf-life foods because you want to become more self-reliant.
If so, making a homemade sourdough starter without yeast is a great project. This homemade recipe gives you wonderful satisfaction.
My sourdough starter was doing really poorly for a while. It wasn't bubbly; it formed a layer of hooch on top within hours and made flatbread. I accidentally bought a different brand of flour than usual and thought nothing of it, but as soon as I started using it, my starter instantly became healthy again. Pay attention to the protein content of your flour.
- Susannah Brinkley Henry, Feast + West
Sourdough starter supplies
Here's what you'll need to make your sourdough starter from scratch. It's a very short list.
- Unbleached all-purpose flour
- Water and preferably non-chlorinated fresh water
- A large mason jar or clean glass container with a lid.
Pretty simple. Remember, you don't necessarily need any specialty sourdough baking equipment or supplies you may see online (though they are nice to have for sure!)
When you work with a sourdough starter and feed it, weigh the water and flour rather than using measuring cups. The humidity in your house and how much you pack it into your measuring cup really affects the results, and weighing both makes it far more accurate.
- Michelle Price, Honest and Truly


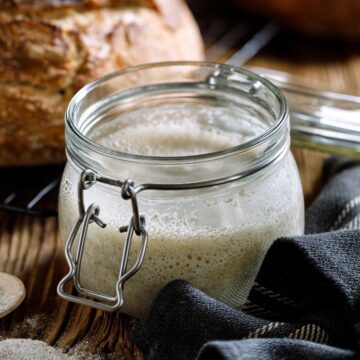
Old-fashioned sourdough starter
Making a sourdough starter is easy, even for beginner bakers. After all, this is what the pioneers made and carried across the country 200 years ago.
However, monitoring and feeding the starter takes a little more skill. Above all, it takes time.
Day 1
Combine half a cup of water and a quarter cup of unbleached all-purpose flour in your glass jar on the first day. Take note - the mixture will be thick. Mix the flour and water using a wooden spoon or rubber spatula.
Day 2
Don't do anything. Just admire your handiwork.
Day 3
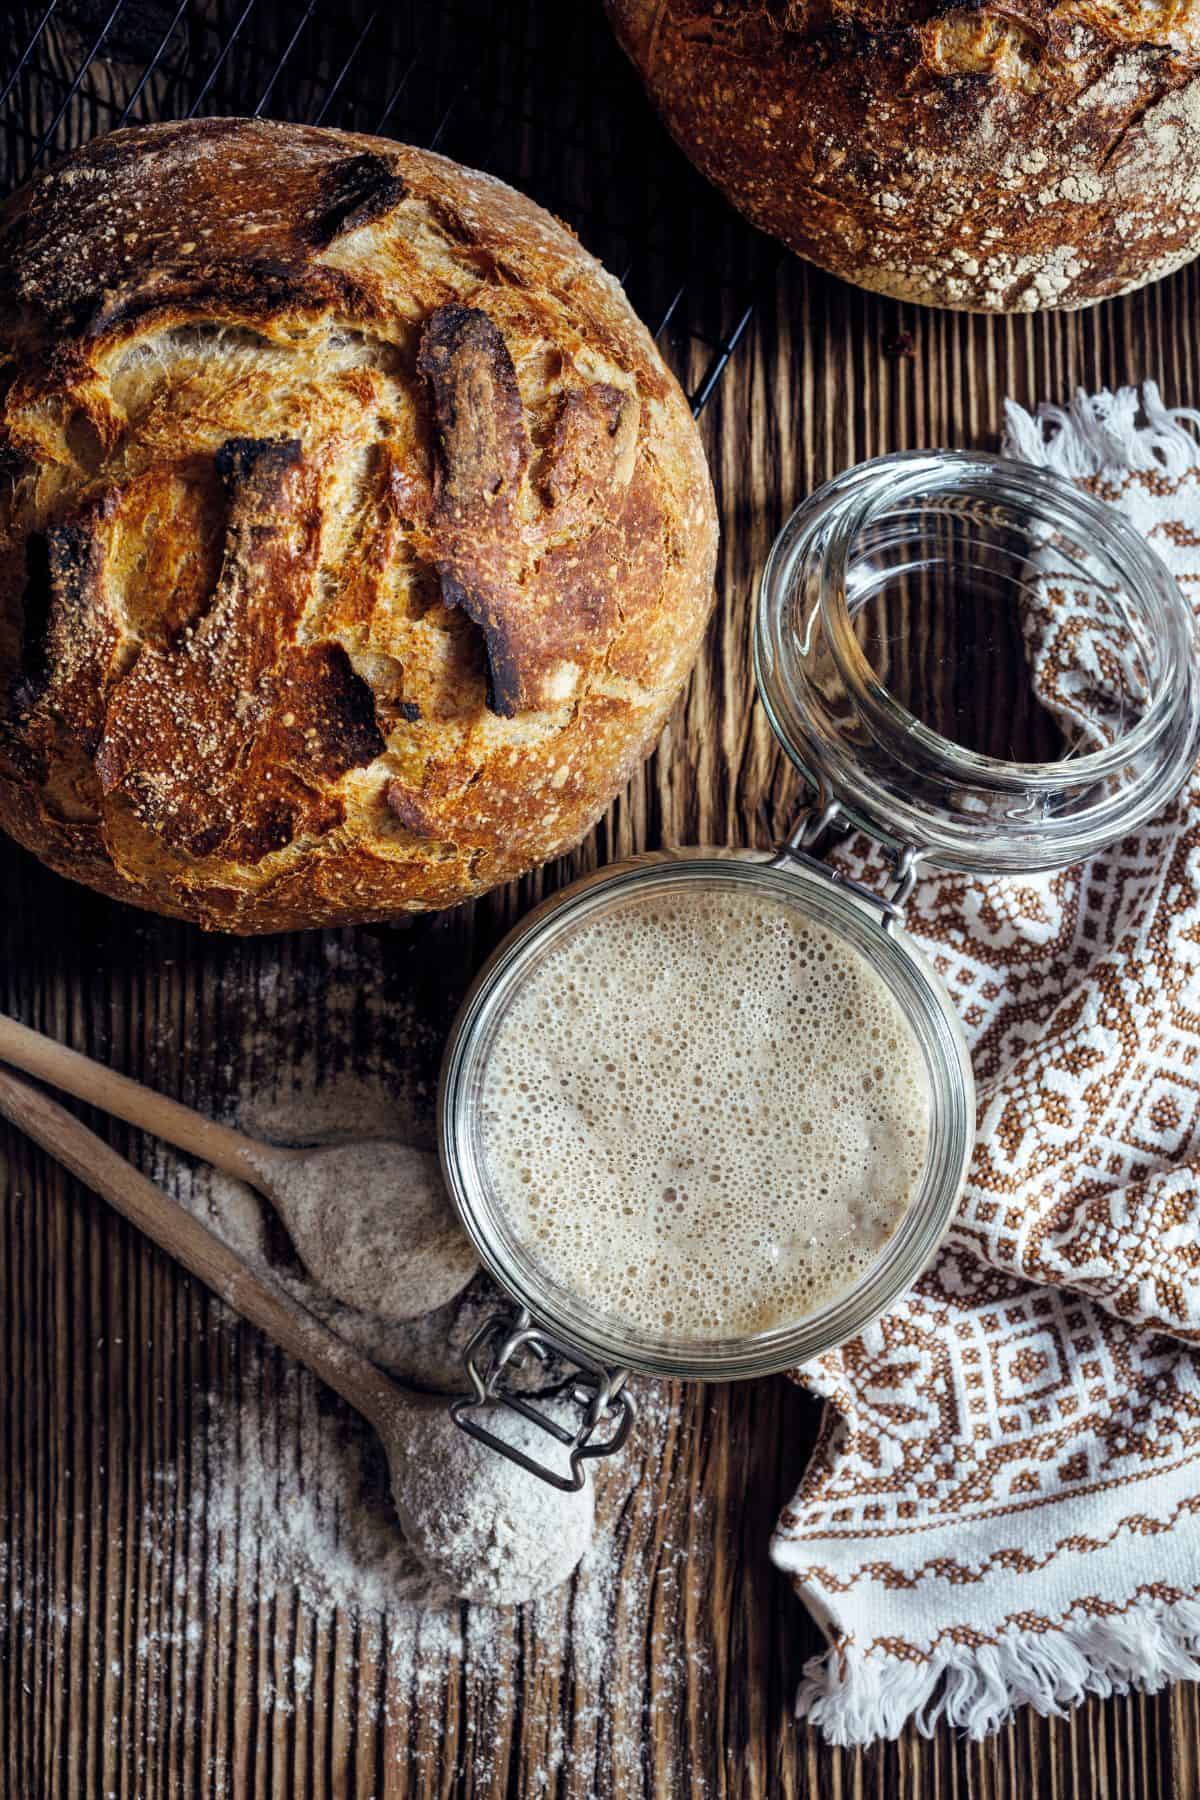
On day three, you should notice some dark liquid floating on top. This is known as the hooch.
Hooch smells like stinky socks, and that's perfectly fine. This is the mixture telling you it is ready to be fed.
To feed your starter, first scoop out half of the mixture. Either throw it away or use it in your favorite sourdough discard recipes. Then stir in another half a cup of flour and a quarter cup of water.
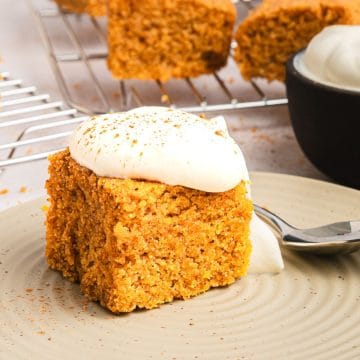
Sourdough discard gives baked goods an exceptionally unique and tangy flavor. Discard gets added as-is without waiting for it to rise. Use it for waffles, pancakes, scones or sourdough discard muffins.
Days 4 through 7
Every day from day four to seven, repeat that feeding process. Scoop out half the mixture and add another half cup of flour and a quarter cup of water.
You may have to do this for up to 14 days, depending on when the starter is ready. And this depends on various conditions, including the wild yeast spores in your region and your home's temperature.
Day 7 or 8
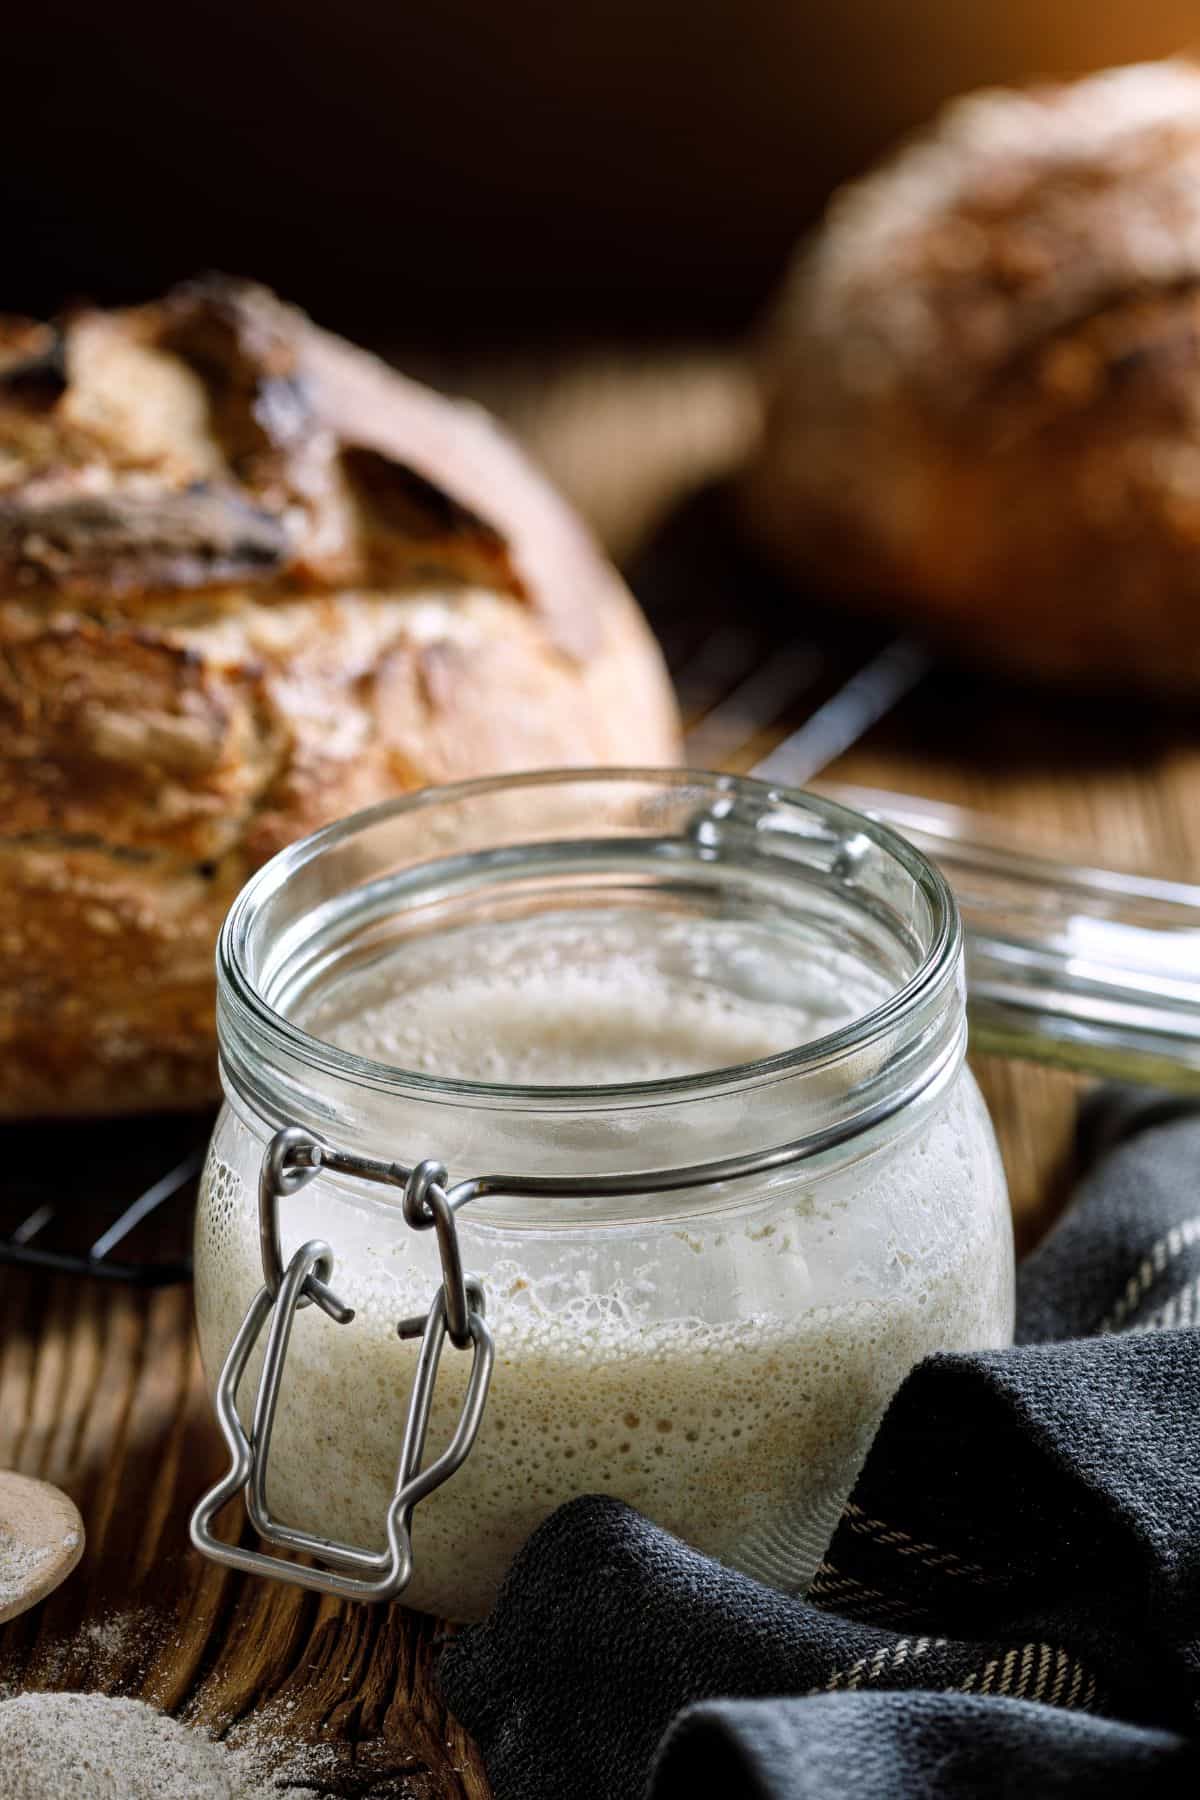
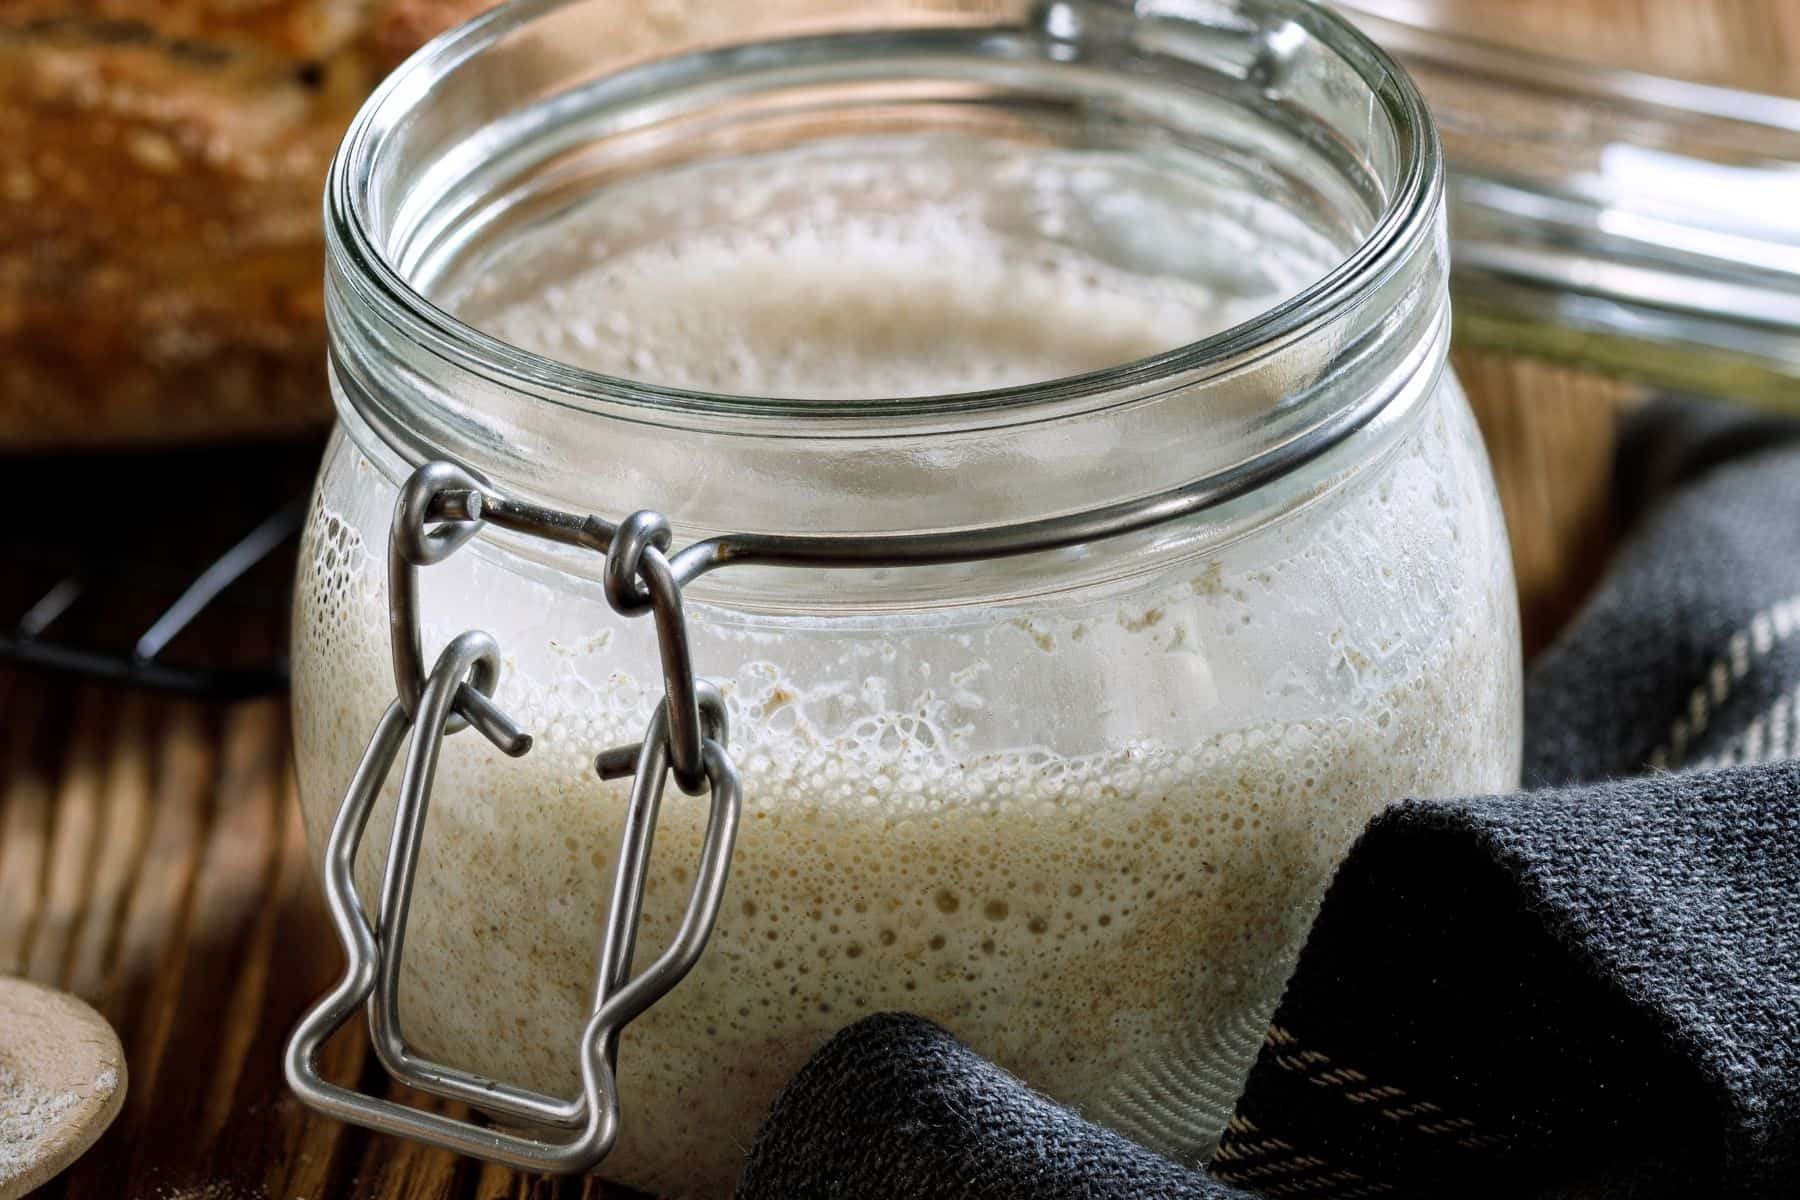
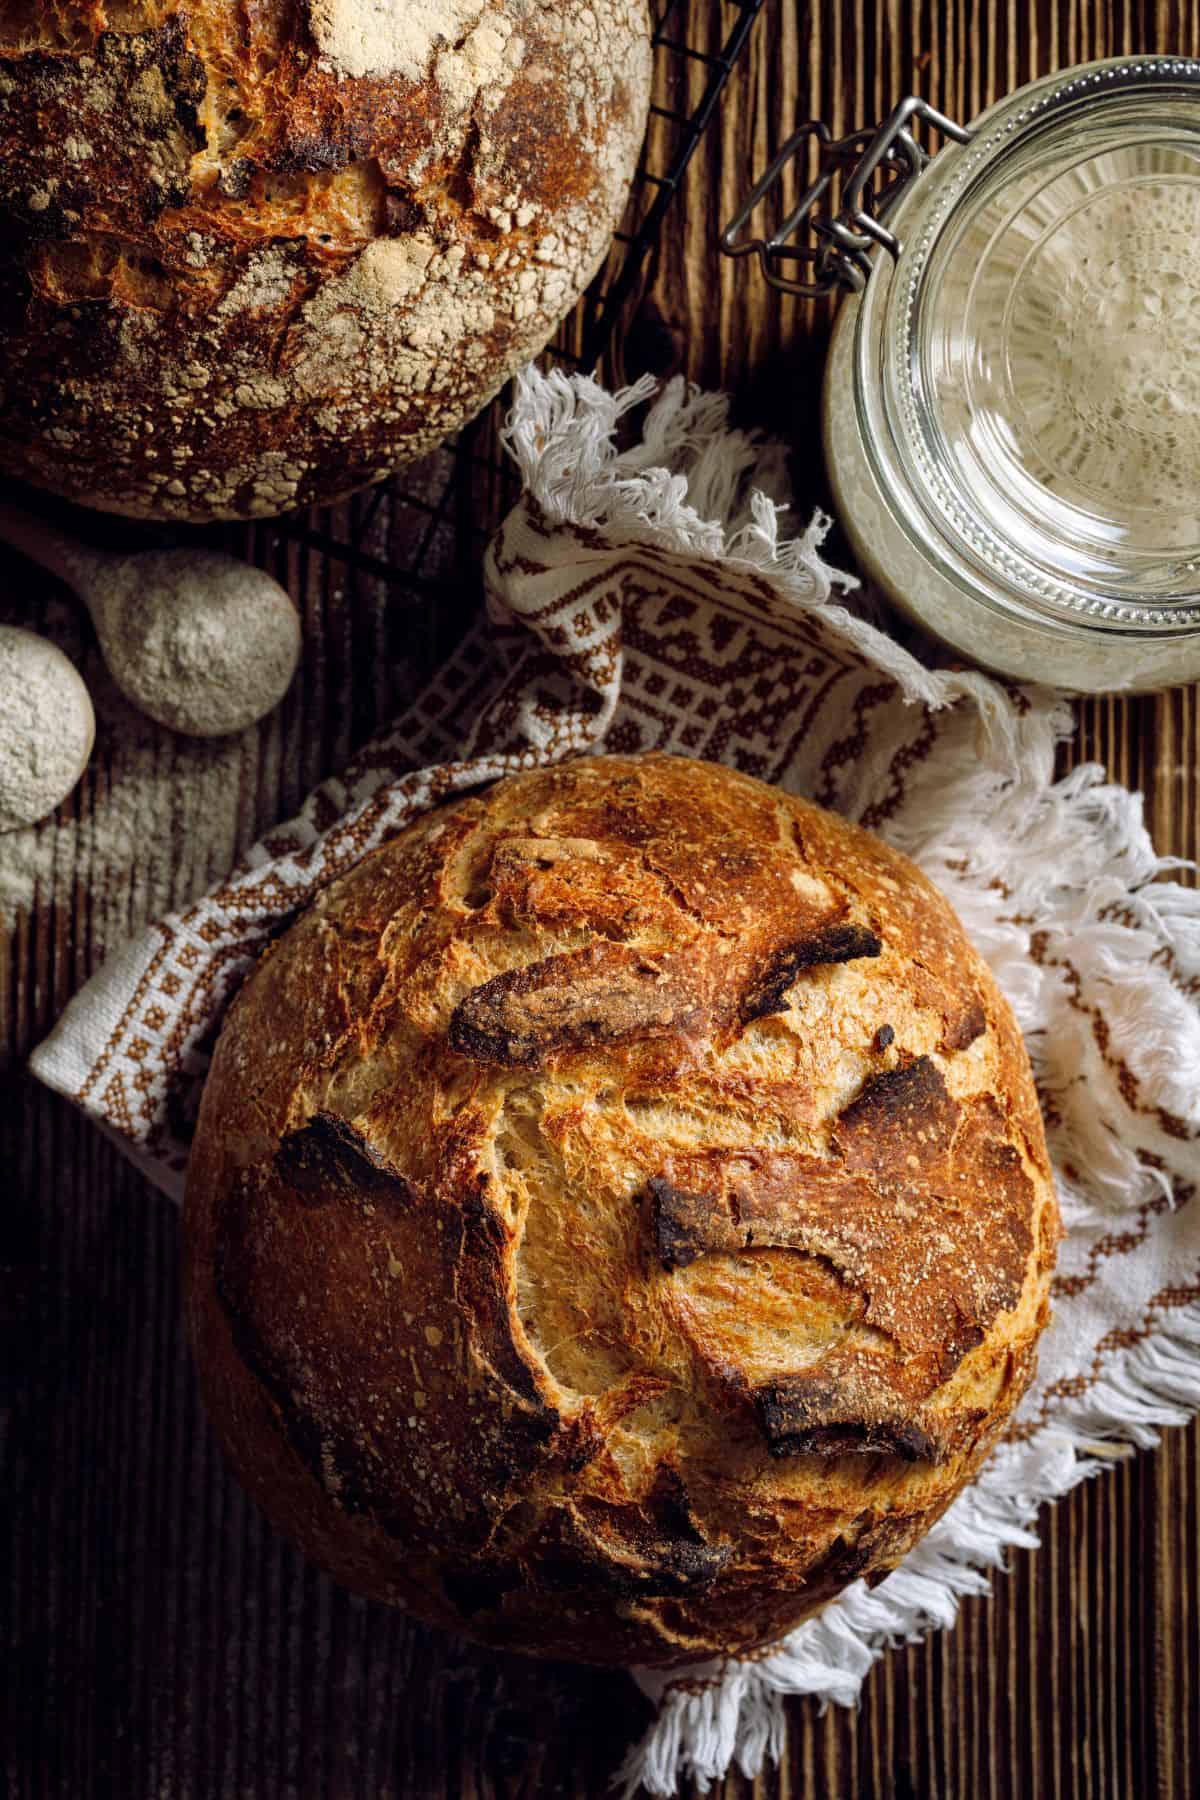
Your homemade starter should be ready by day seven or eight. It will be full of bubbles and double in size, and it should look fluffy.
If your homemade sourdough starter is NOT ready, don't panic. Sometimes, it just takes a little longer. Once the starter has reached the ready stage, it's time to transfer it to a fresh jar.
How to store your sourdough starter
Leave it on the counter if you plan to use your starter in recipes twice a week or more. And remember to continue to discard half the starter and feed it daily.
On the other hand, if you plan to do a little Saturday baking store, keep your sourdough in the fridge and feed it weekly. When ready to use it, remove it from the fridge the night before baking your favorite sourdough bread recipes.
Remember to feed it while it's at room temperature. You could also learn how to make dehydrated sourdough starter. That way, you can save it for the long term.
A good homemade starter can last years when stored correctly and fed regularly. Or decades. Literally.
Make sourdough starter with whole wheat flour

For a change, substitute whole wheat or rye flour for all-purpose flour. You can also combine kinds of wheat.
Start your sourdough with whole wheat flour at the very beginning. Then, alternate feeding it with all-purpose flour every other day for a rich, pleasant flavor. Try this Dutch oven artisan sourdough bread recipe for a rustic loaf.

When the starter won't bubble
The most common reason sourdough starter doesn't bubble is a cold temperature. Move the glass jar to a warmer location, like a cold oven or beside a wood stove.
If your sourdough starter isn't rising as you expect, here's a cheat hack: add a quarter teaspoon of yeast and a quarter teaspoon of sugar to jump-start it. While this might offend purists, it has helped our dough rise like we wanted it to, and it never affected the taste when we used it in our sourdough pizza dough recipe.
- Leah Ingram, Bagels and Lasagna
Making a sourdough starter can be simple without fancy equipment or supplies. You only need flour, water, a clean jar with a cover, patience and time. With some practice, you'll soon find yourself confidently baking up delicious sourdough loaves to share with friends and family.
Recipes to Make With Sourdough Starter
Once your sourdough starter is going strong, it's going to be the start of a beautiful love affair. Start with the easy, and progress to more challenging recipes!
Start with an sourdough focaccia flatbread, which is one of the easiest recipes to get right. Then, make some sourdough black sesame buns. My favorite foolproof sourdough Italian bread is always a hit. And don't throw that discard away - make sourdough pancakes with it!
Sarita Harbour is a long-time business and finance writer. She created An Off Grid Life to help people become more self-reliant. Sarita and her family live off the grid in Canada's Northwest Territories.
This story originally appeared on An Off Grid Life.
Recipe
Tried and loved this recipe? Please leave a 5-star review below! Your reviews mean a lot to me, so if you've got any questions, please let me know in a comment.
Traditional Sourdough Starter
Equipment
Ingredients
- Unbleached all-purpose flour
- Water and preferably non-chlorinated fresh water
Instructions
- Day 1: Combine ½ cup water and ¼ cup unbleached all-purpose flour in a glass jar. Mix well. The mixture will be thick.
- Day 2: Do nothing.
- Day 3: Notice a dark liquid (hooch) on top. This smell is normal. Scoop out half the mixture and discard or use for recipes. Add ½ cup flour and ¼ cup water. Stir well.
- Days 4-7: Repeat feeding process daily. Discard half the mixture, then add ½ cup flour and ¼ cup water. Stir well.
- Day 7-8: Starter should be bubbly, double in size, and fluffy. If not, continue feeding until ready.
- Once ready, transfer starter to a fresh jar.


Denise Steffens says
Are the amounts correct for day 1? 1/2 cup water and 1/4 cup flour? Doesn't seem like this would make a thick mixture..
kseniaprints says
It’s correct! This is a liquid levain so it makes a more runny mix.
Yvette says
I have a question, before you remove the amount of starter and then feed it, do you stir in the liquid hooch that is on the top or do you pour it off and then continue with the process?
kseniaprints says
Stir it!
Ruth says
This sounds good! I do have one question to verify… step 1 uses 1/2 cup water and 1/4 cup flour…then…all other steps is 1/2 cup flour and 1/4 cup water. Is this correct? I’m going to try this once verified…easier than most. Thank you!
kseniaprints says
Yes, absolutely correct! It is a liquid starter
Tammy says
I have an active sourdough starter that I love so I read this recipe out of interest and I have a few problems with it. Part of these are related to establishment of the sourdough. You say that you discard half of the starter, then add 1/4 cup water and 1/2 cup flour. From what I know that's wrong but it might be related to yours being a liquid sourdough. I was taught to discard all of the starter but 1/4 cup, then feed it 1/4 cup liquid and 1/2 cup flour. And you threw away the starter you didn't use until your starter is at least 7 to 10 days AND has doubled in size for three days in a row within 4 to 10 hours of being fed. The reason? Bacteria and wild yeast are battling in the starter which will not start working as a levain until the bad bacteria is dead. You also keep a hard cap on it to protect it from mold contamination. If you see any signs of pink, yellow, blue or black or what looks like tiny white flowers floating on top of your hooch, throw it out, clean and sterilize your jars and utensils and start over. The tiny white flowers are Kahm yeast that will give it a fermented rotten taste while the colored spots and streaks are mold or bad bacteria that got into your starter.
Kelly Pitts says
Hi Ive just started my first sourdough starter and I used rye flour, it is not thick should it be? Also do I put the lid on tight or loose?
Thank you so much
Kelly Pitts
kseniaprints says
Loose lid, and it’s a fairly liquid levain, no worries!
Sherry says
Do you stir at all between days?
kseniaprints says
Yes!