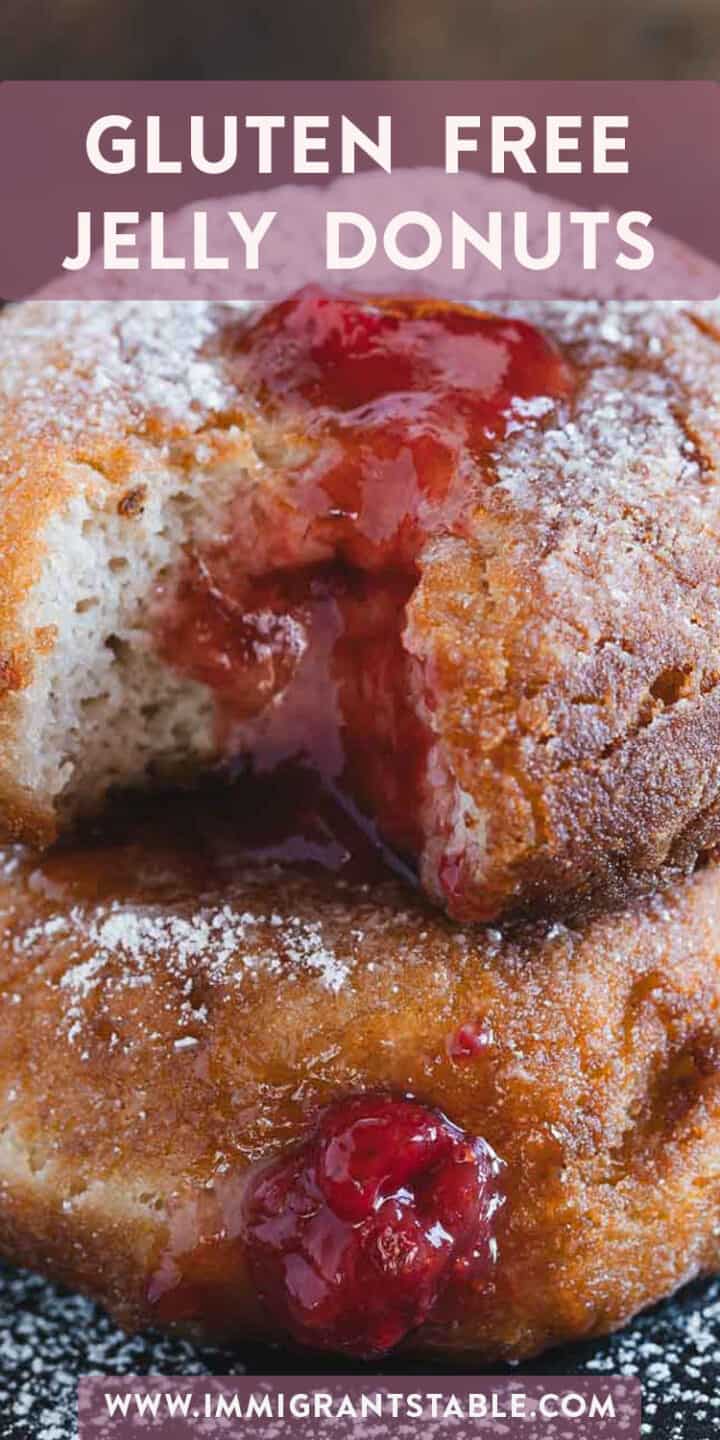
Enjoy the perfect treat with these gluten-free and dairy-free sufganiyot, aka jelly donuts, whenever you want a Hanukkah jelly-filled donut. Made with a gluten free brioche dough, piped full of a strawberry jam filling and topped with a sprinkling of powdered sugar, these are a favorite with adults and kids alike!
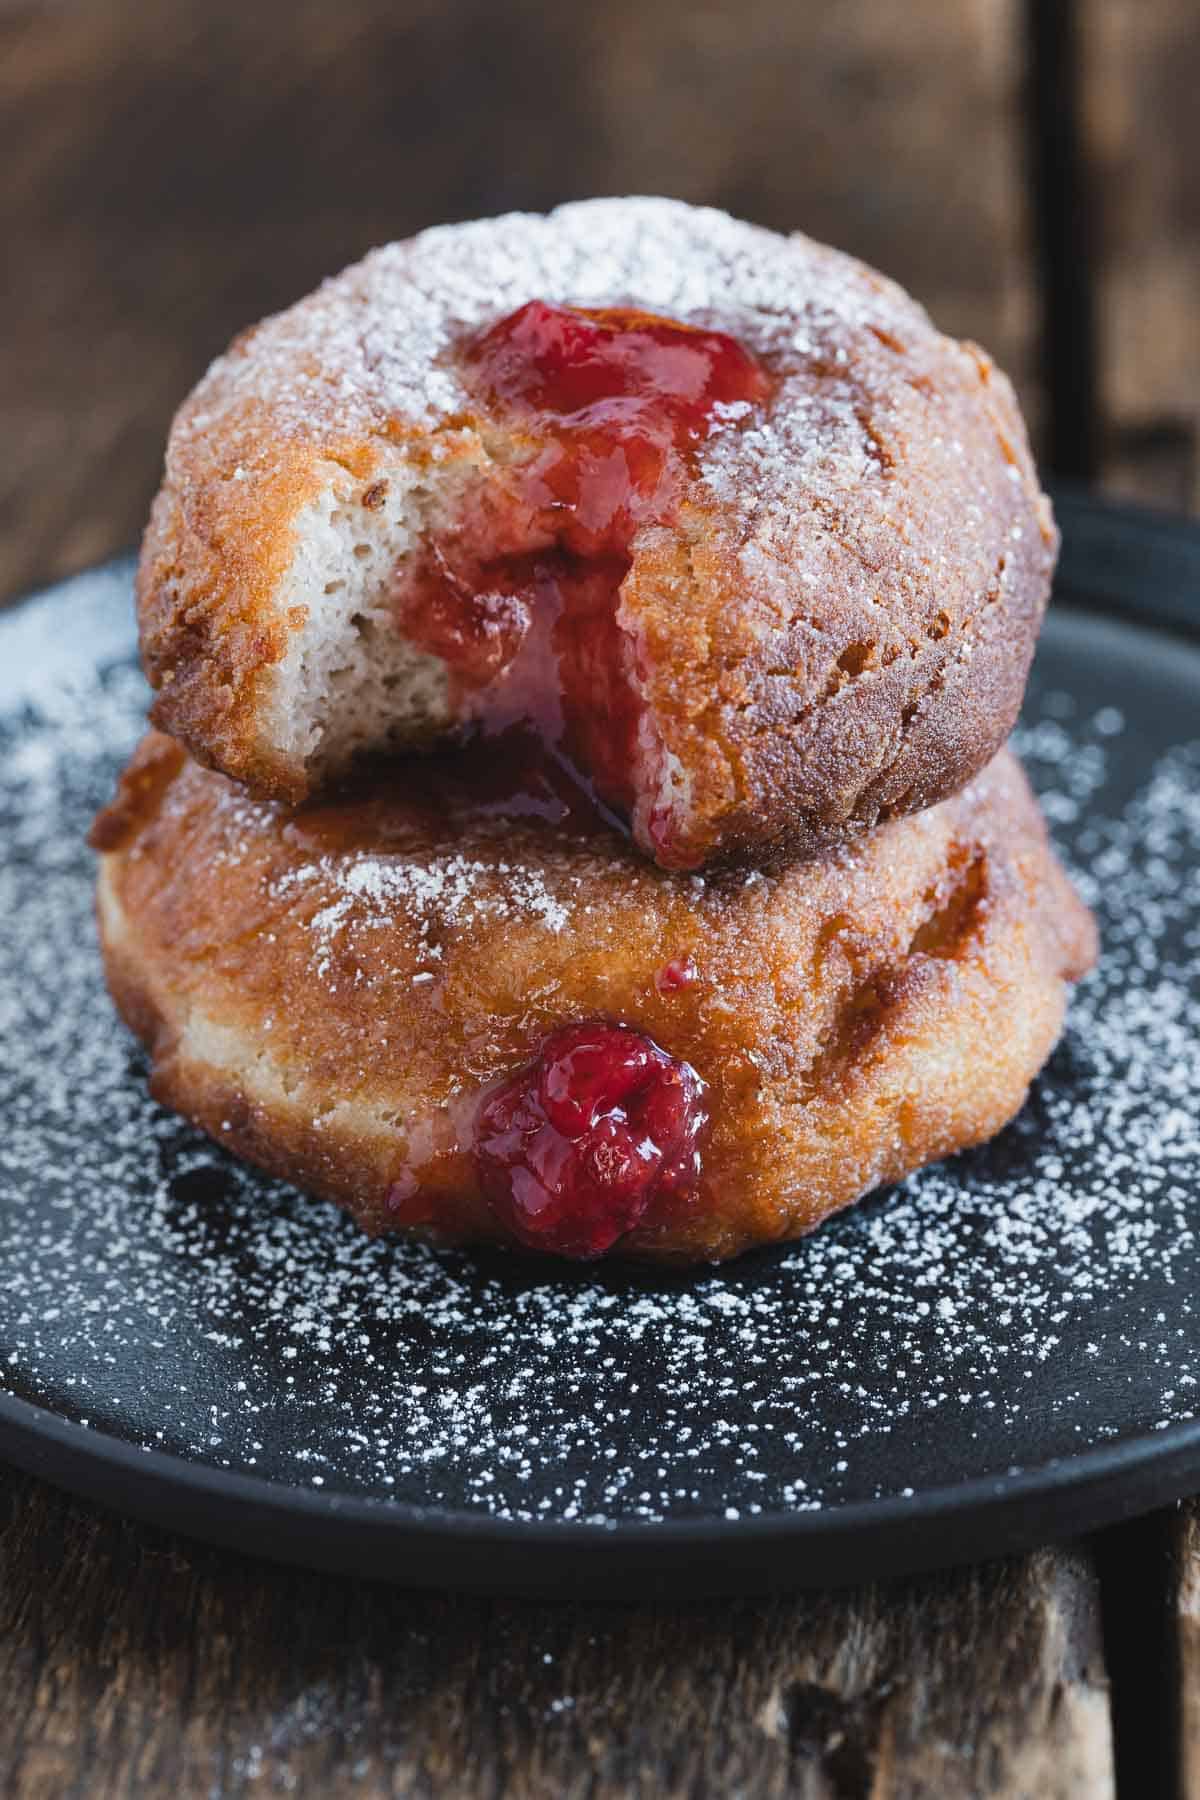
Nestled in the cold days of December, Hanukkah is one of my favorite holidays. It's a time to indulge in traditional fried foods, and sufganiyot, a sweet jelly-filled doughnut, is a festive favorite. However, for those of us with gluten sensitivities or celiac disease, finding a gluten-free version of this classic treat can be a challenge. It's taken me YEARS to develop the perfect dairy-free and gluten-free jelly doughnut, one that is filled with sticky jam and is fried until it's fat, golden and delicious! We can finally enjoy sufganiyot without compromising on taste or texture.
As much as I love a modern adaptation, I've wanted to nail the perfect fried jelly donuts of my childhood for years. I've tested this recipe countless times, scouring the internet and gluten-free cookbooks for inspiration and testing various blends of flour. And I finally arrived at the perfect recipe and way to make these donuts, so you don't have to go through the same trials and tribulations!
In my quest for the perfect gluten-free sufganiyot, I've discovered the secret: the perfect blend of gluten-free flours and gums to simulate the structure typically provided by wheat, and several chilling and rising periods. Methods like letting the yeast activate with sugar and warm non-dairy milk and a rest in the refrigerator before baking are essential for achieving that fluffy doughnut consistency we all love. Preparing the dough with the right mix and allowing it to rise properly are crucial steps to enjoying a delicious gluten-free alternative that everyone at the table can savor.
So take your time, roll up your sleeves and take out the frying pot, because it's time to make dairy-free and gluten-free Chanukah sufganiyot!
Understanding Hanukkah Treats
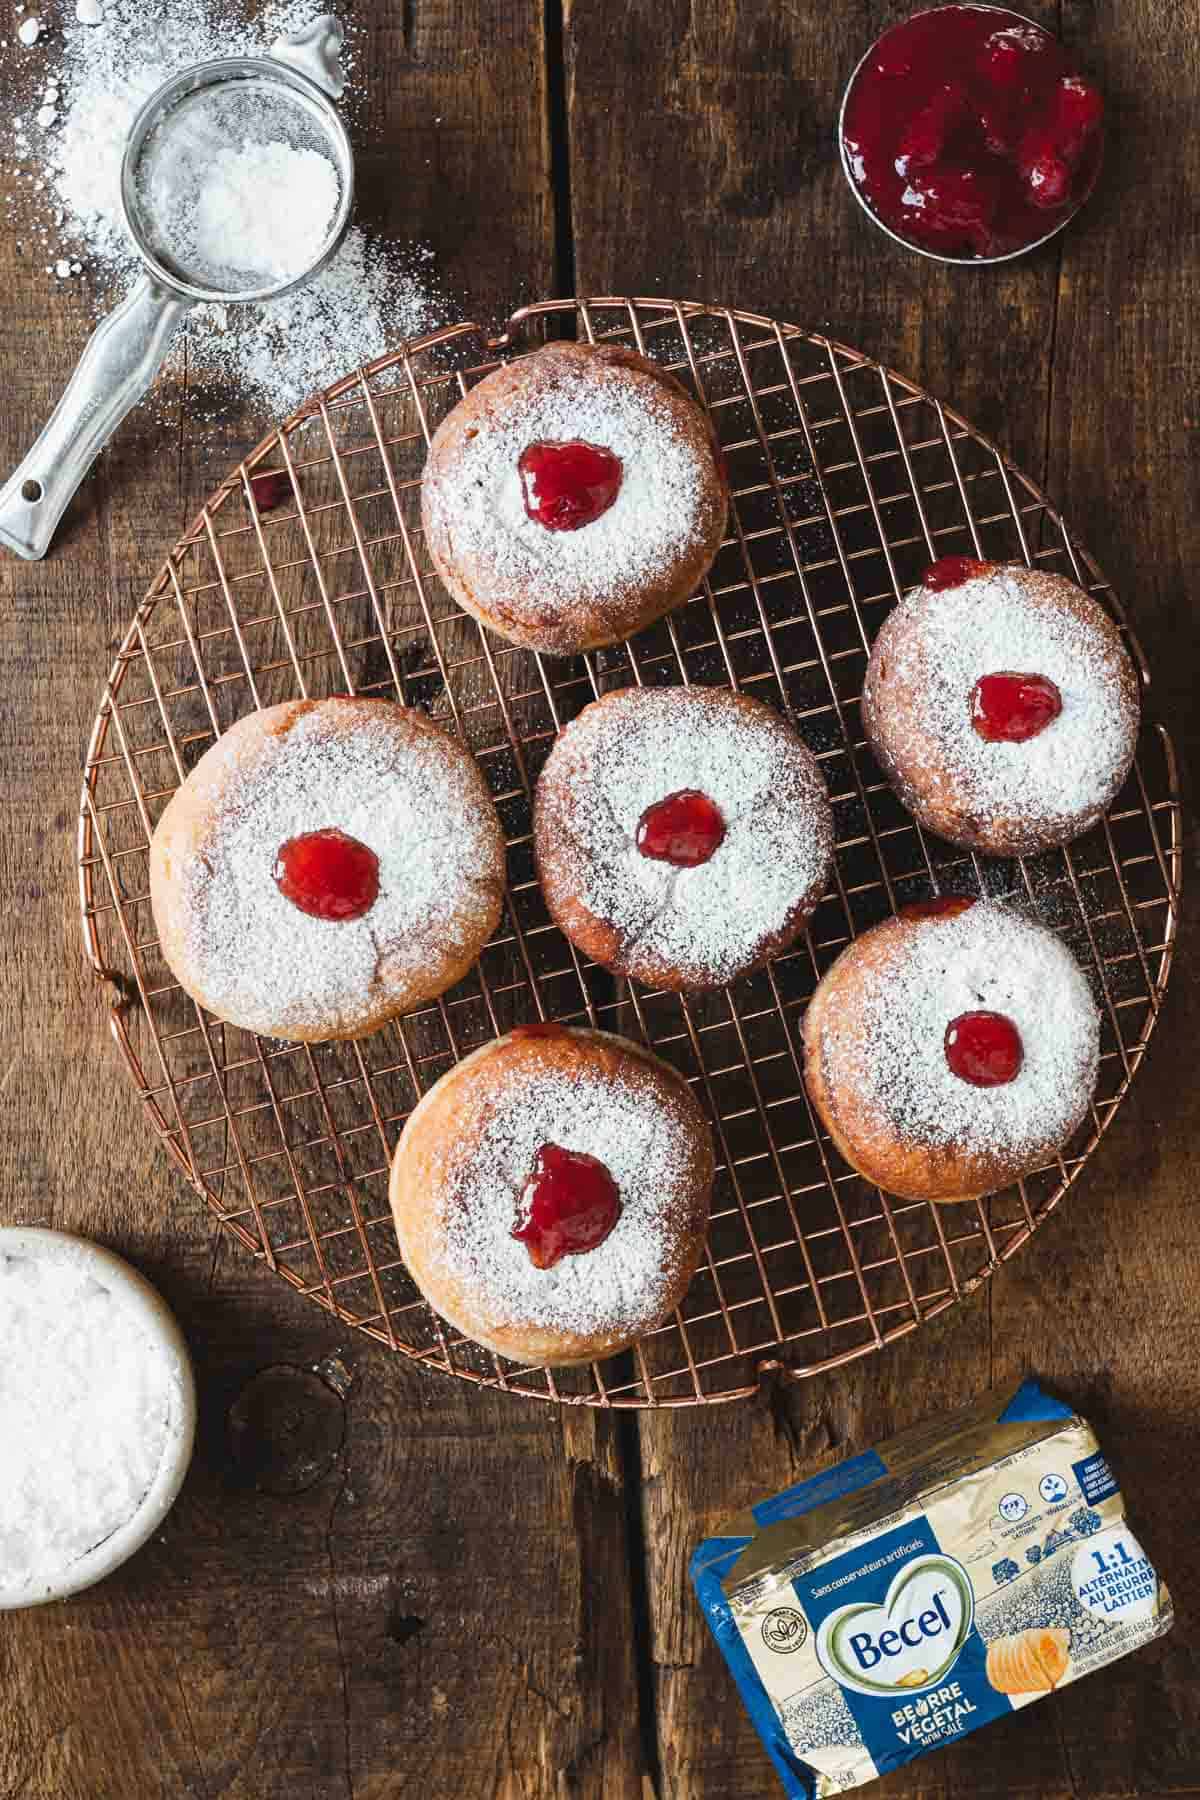
Before we start discussing the nitty-gritty details of making these pastries, let's take some time to unpack the holiday behind the treat. Curious about Chanukah and never knew who to ask? You've come to the right place!
What Are Sufganiyot?

Sufganiyot are jelly-filled doughnuts that have become synonymous with Hanukkah celebrations. These sweet, deep-fried treats are traditionally filled with red fruit jam and dusted with powdered sugar. They're not just delicious but also carry symbolic meaning, representing the miracle of the oil that burned for eight days in the Jewish temple. Over time, sufganiyot have evolved and now come in various flavors, from cardamom coffee cream to banana chocolate, with each new recipe offering a unique twist on the classic.
What Is Hanukkah?

Hanukkah, often known as the Festival of Lights, is an eight-day Jewish holiday commemorating the rededication of the Holy Temple in Jerusalem. Central to the Hanukkah story is the miracle where a day's worth of oil lasted for eight days. During the holiday, it's customary to light the menorah, play with the dreidel, and enjoy foods fried in oil.
We eat foods fried in oil like sufganiyot, or potato latkes, as a tasty reminder of the holiday's origins. Whether it be the classic jelly-filled sufganiyot or versions with Oreo cookie crumbles, these treats are a delicious way to celebrate the season. With recipes like Maple Sufganiyot with Dulce de Leche, there are plenty of opportunities to savor Hanukkah in your kitchen!
Ingredients
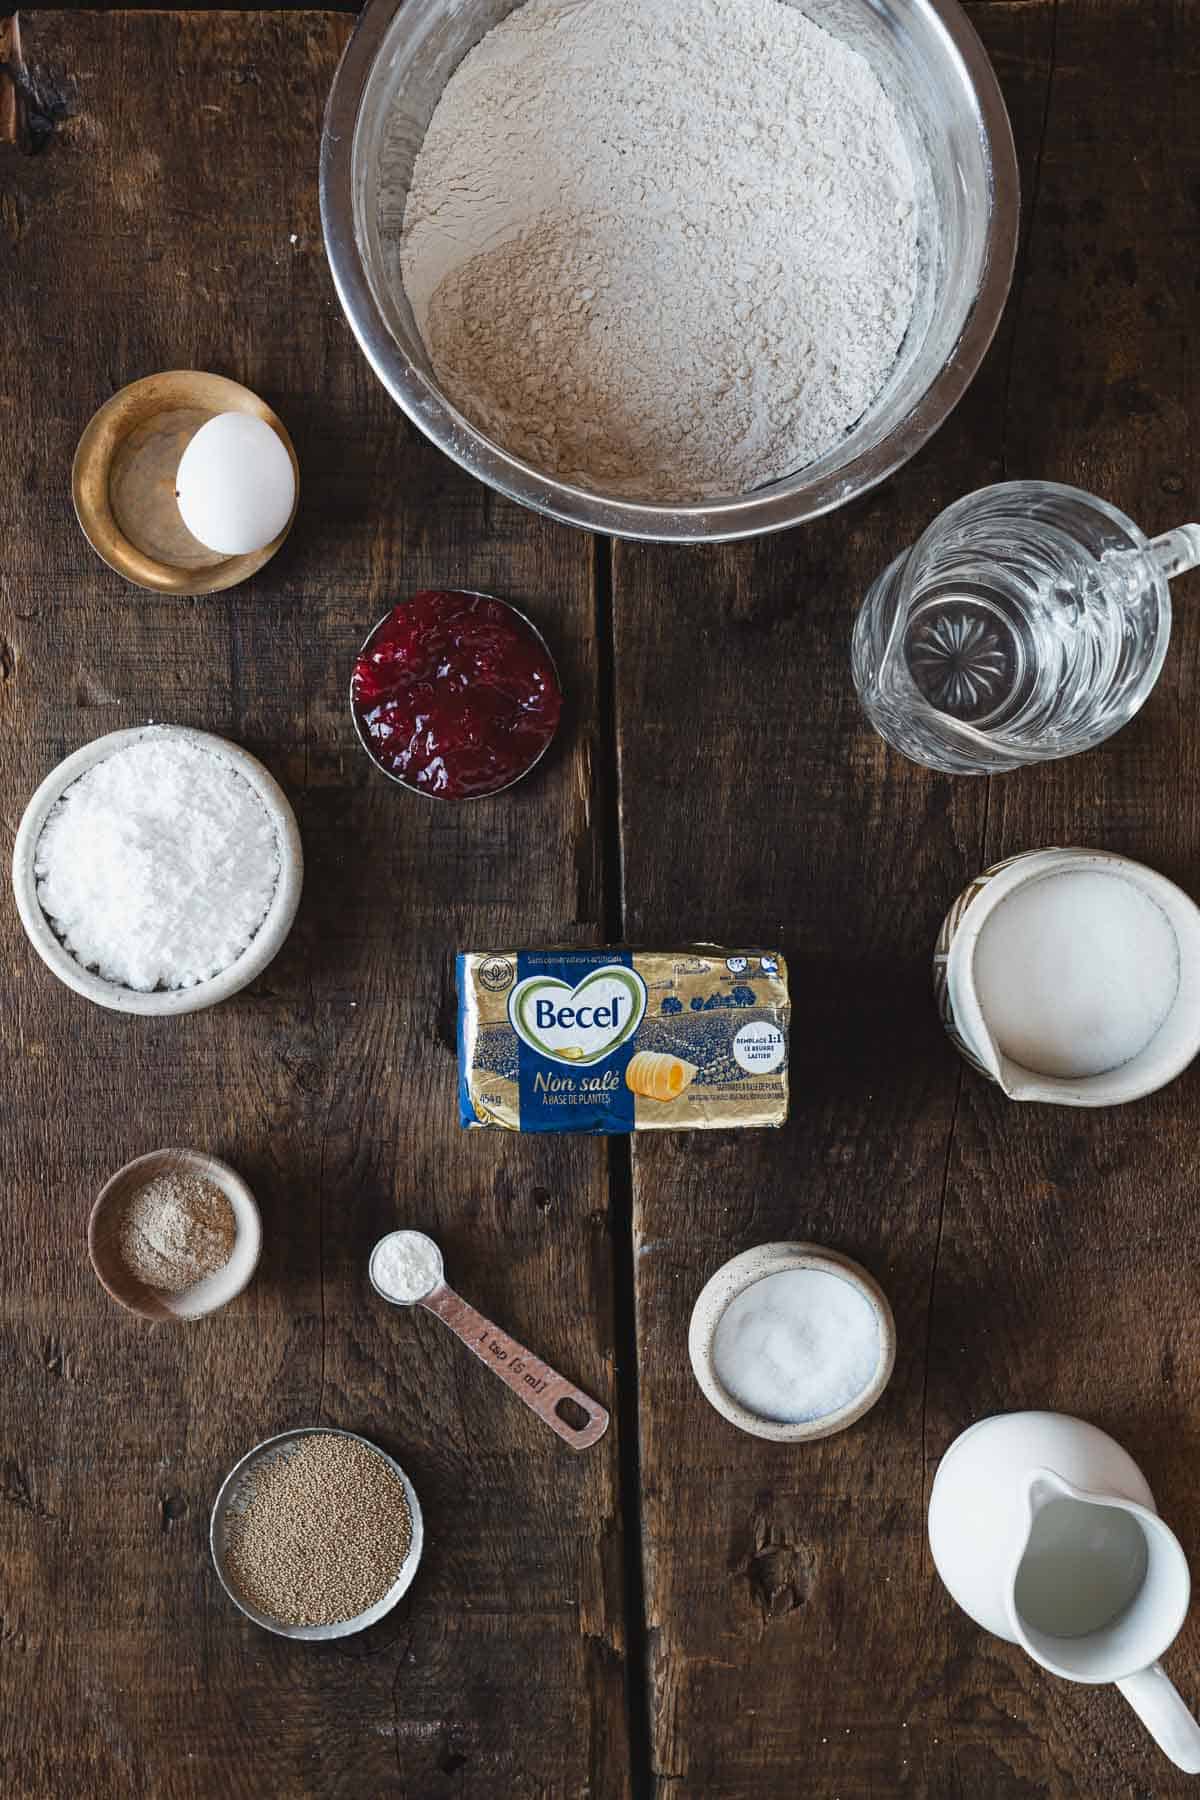
When I prepare gluten-free sufganiyot, I gather all my ingredients first to make sure I have everything needed to make this recipe:
Yeast: Active dried yeast or instant yeast. This is used to leaven the dough. I prefer to use active dried yeast, but if using instant yeast, use only 8g and add it straight to the dough. You can add the milk that would normally be used to activate dried yeast directly to the dry ingredients along with the sugar, psyllium gel and egg.
Sugar: Adds sweetness to the dough. We will need both regular granulated sugar and powdered sugar.
Non-Dairy Milk: The milk should be warm, to activate the yeast. Simply warm it up in the microwave for 30 seconds, or in a saucepan for a couple of minutes. It should be warm to the touch and not hot.
Water: Cold water helps bind the dry ingredients.
Tapioca starch: Serves as a great thickener, but arrowroot, cornstarch, or potato starch can be used as substitutes.
Brown rice flour: You can also use millet flour as a substitute if needed.
Psyllium husk: Whole psyllium husk or psyllium husk powder is essential for binding and structure. This is what often sets apart good gluten-free baking from bad ones, so make sure you have this ingredient in your cupboard!
Sorghum flour: Lends a wonderful taste to the yeast donuts. You can swap it with buckwheat flour or oat flour, depending on your sensitivities.
Xanthan gum: This is crucial for the dough's elasticity, and cannot be substituted.
Baking powder: Ensures your amazing gluten free baking has the desirable rise.
Egg: Adds richness to the dough, turns it into brioche.
Non-dairy butter: Softened unsalted butter bring richness and moisture. I love using Becel non-dairy plant butter here!
Oil: For frying, use a neutral high smoke point oil like sunflower oil.
Filling: Choose a smooth jam, be it strawberry, apricot, or any jam without large fruit pieces. The traditional jam used in this jelly donut recipe is strawberry.
Step By Step Instructions
Activating Yeast
Start by activating the yeast, combining it with a tablespoon of sugar and warm milk. This mixture should sit until it's frothy, about 10-15 minutes. For instant yeast, add it directly into the dry mix without activation.
Creating Psyllium Gel
In a different bowl, mix psyllium husk with cold water until it forms a gel. This usually takes less than a minute.
Make the Dough
In the bowl of a stand mixer fitted with a dough hook, whisk together tapioca starch, brown rice flour, xanthan gum, and the other dry ingredients. I make a well in the centre, then add the egg, yeast mixture, and psyllium gel. Let the mixer knead the dough until it's smooth, about 10 minutes on medium speed, scraping the sides of the bowl as needed.
Adding Butter
Add butter and continue kneading until the dough becomes soft and sticky, about 5 minutes. It's supposed to feel this way!
Chilling the Dough
Transfer the dough to an oiled bowl, covering it with a towel, and let the dough chill in the fridge for 1-2 hours to firm up and become easier to handle. Do not skip this step for best results!
Shaping Doughnuts
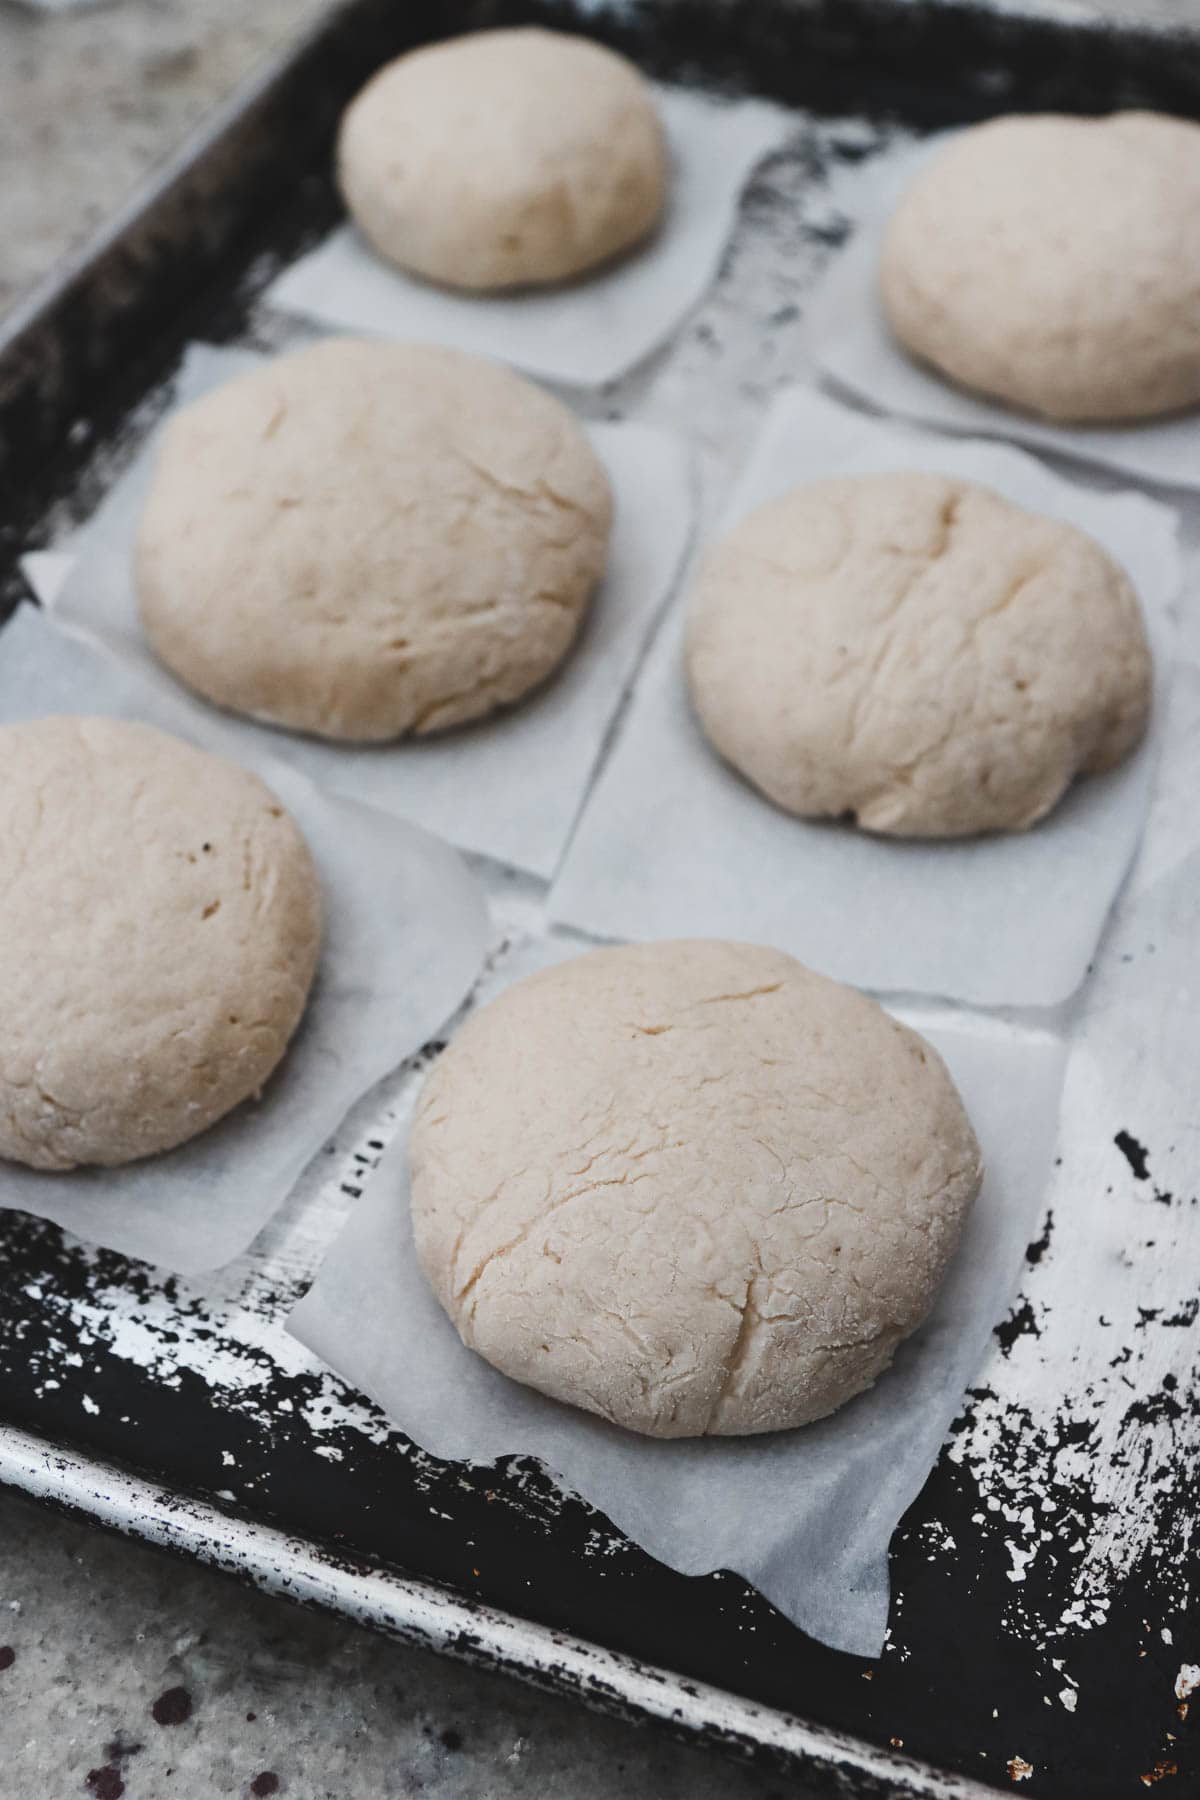
After chilling, split the dough into eight pieces, ensuring they're even by weight for consistent cooking. On a floured surface, shape each piece into a ball, rotating each in motion to seal the seams underneath. Flatten the balls to about 1- 1 ¼ inch thickness.

Proofing the Doughnuts
Cut parchment paper into 8 squares with a wider circumference than the dough balls. Arrange on baking sheet, placing each dough ball on its own parchment square. Cover the donuts, and proof to a rise in a warm place until they double in size, typically 1 ½ hours.
Frying the Doughnuts
While proofing, I prepare a frying station with enough oil in a large pot to allow for deep-frying and heat the oil to the appropriate temperature. After the donuts have doubled in size, the time has come to fry them!
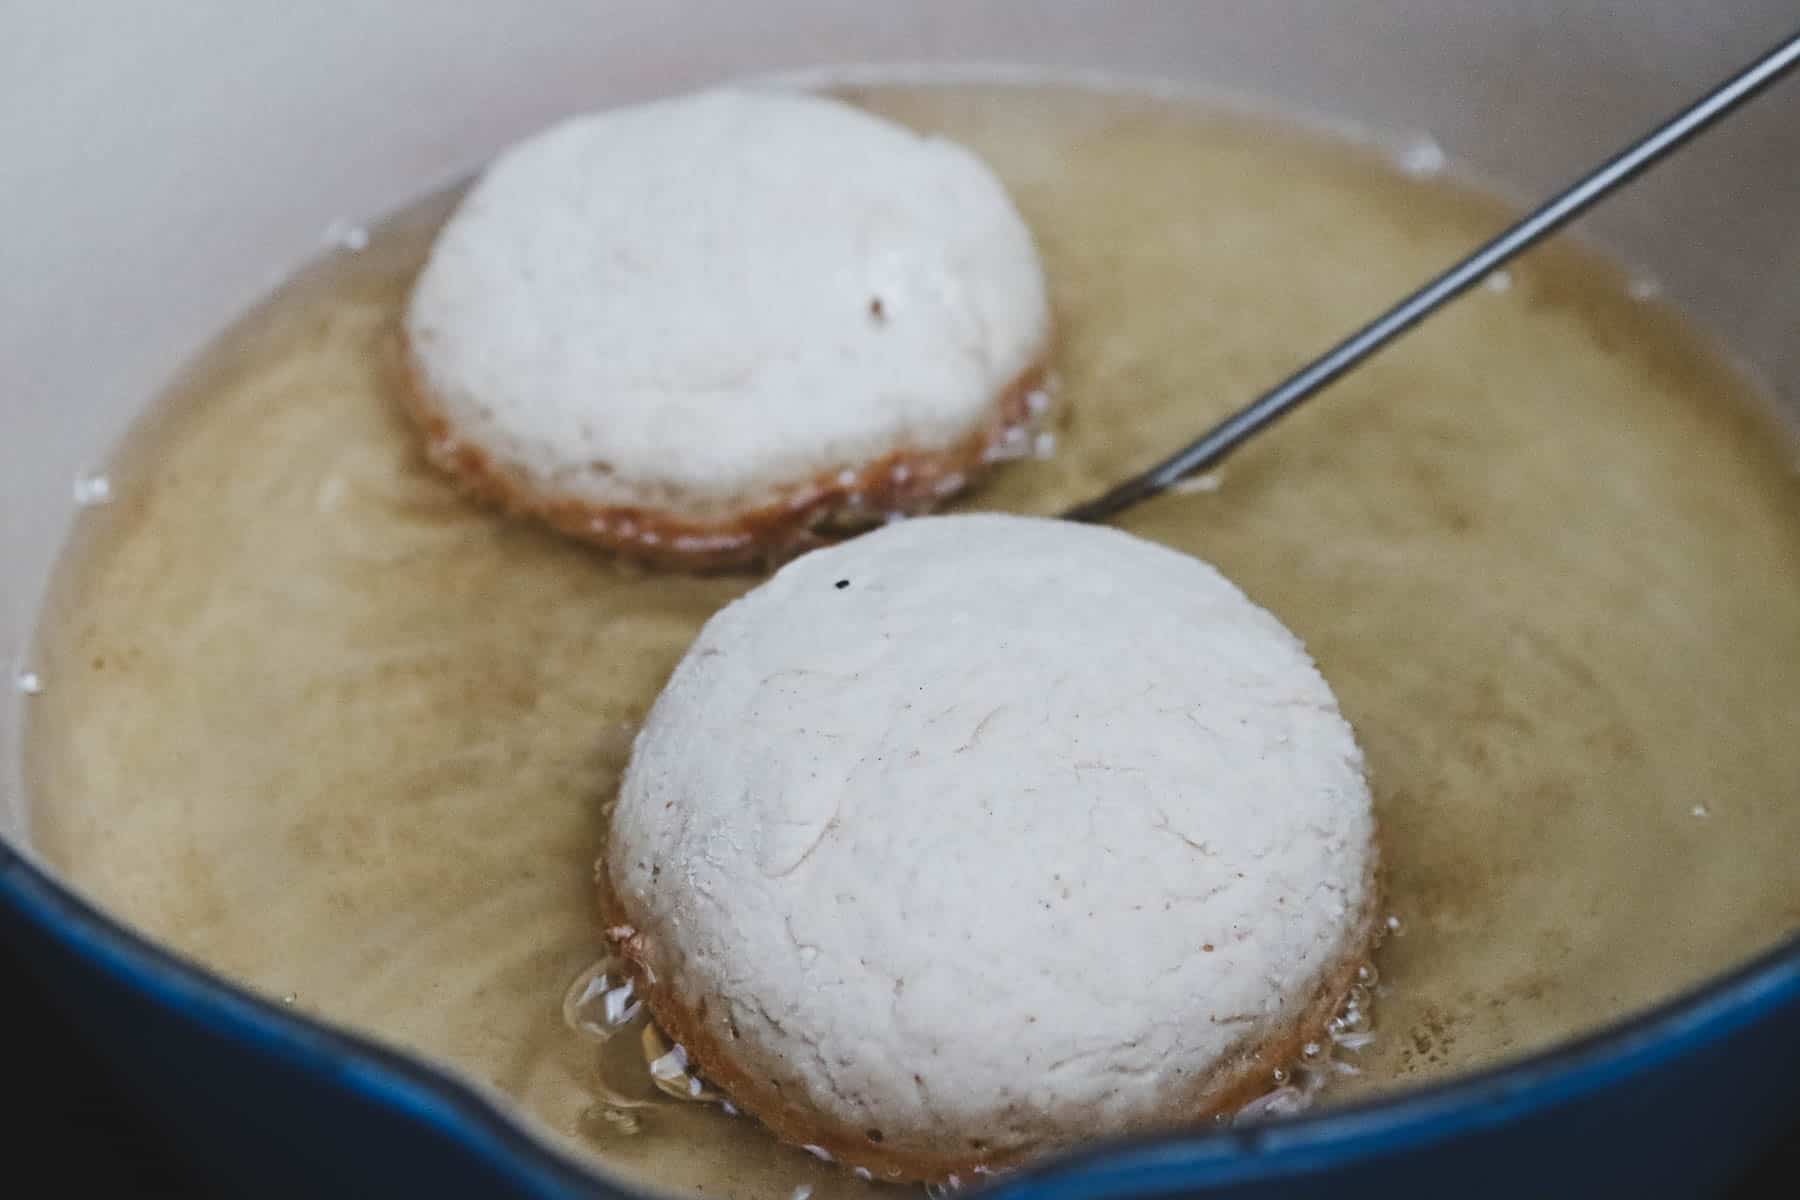
Warm the oil to 330°F. Slide the doughnuts, still on their parchment squares, into the hot oil. After 10 seconds, carefully remove and throw away the parchment. Fry each side of the doughnuts for 2 minutes, until they are golden brown, then use tongs to turn them over. Cook for an additional 2 minutes on the other side. With a slotted spoon, remove the doughnuts out of the oil and place them on a paper towel-lined baking sheet or plate to drain from excess oil. Continue this process with the rest of the doughnuts.
Assembling the Doughnuts
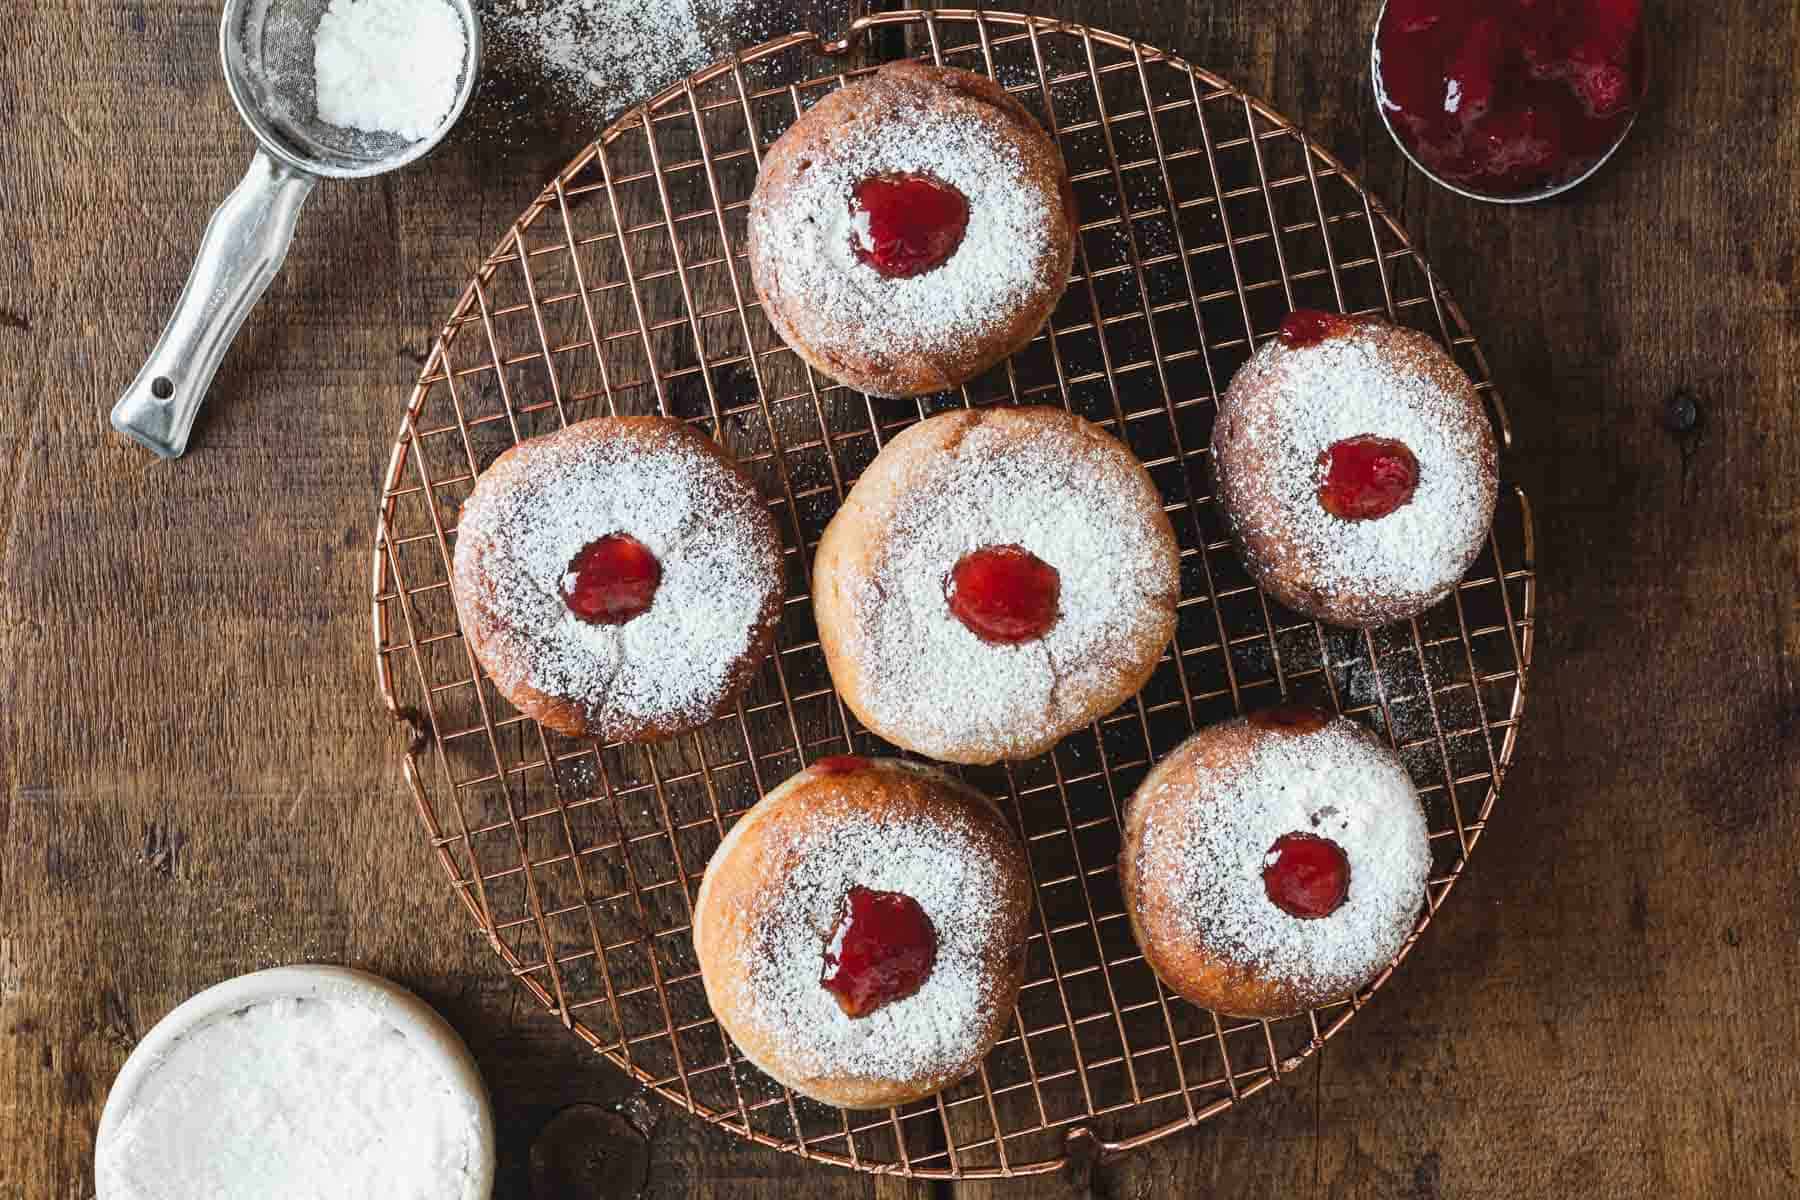
Once cooled enough, use a piping bag fitted with a piping tip with a long nozzle to fill the donuts with jam, filling until the jam begins to seep out. I love using a Bismark piping tip for this!
Making these gluten-free sufganiyot takes a while, but it's truly a labor of love that will be more than worth it when you taste these delicious gluten free donuts that taste like your childhood! Whenever I bite into one of these and fill the strawberry jam spill on my chin, I am thrilled with the tasty, golden treats that I've managed to create with my hands—with love and patience in every step.
Tips And Tricks
Making gluten-free sufganiyot can be just as delightful as the traditional version with a few clever tactics. Here, I'll share some tips on how to store these treats, creative variations to keep things interesting, and my top tips for ensuring your sufganiyot come out perfect every time.
Storage And Freezer
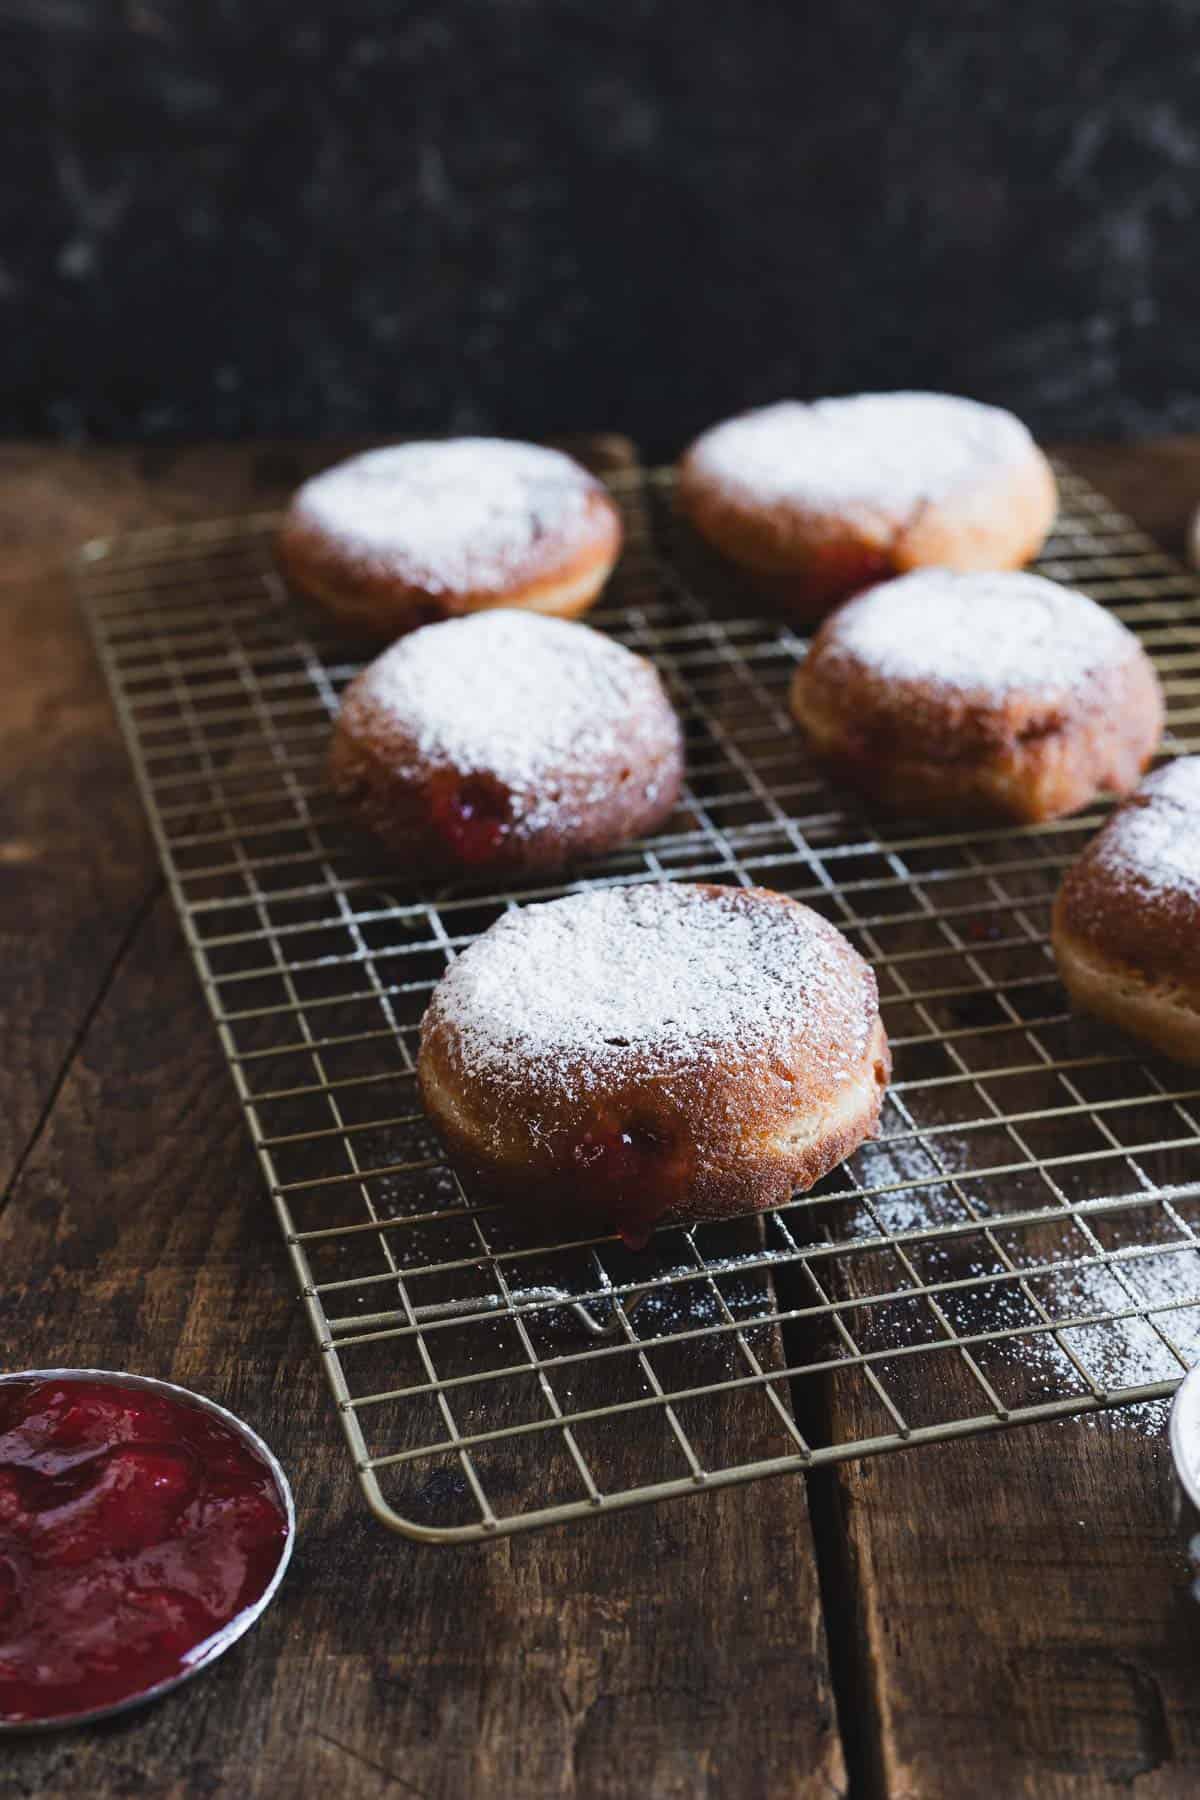
I know that freshly made sufganiyot are irresistible, but if you find yourself with leftovers, they can be stored in an airtight container at room temperature for a day or two. To freeze, I place them in a single layer on a baking sheet until they're solid, then transfer to a freezer bag. When I'm ready to enjoy one, I simply thaw it at room temperature and give it a quick warm-up in the microwave.
Variations

Don't be afraid to experiment with different fillings for your gluten-free sufganiyot. My favorites are seedless raspberry jelly or a rich custard. For a twist, I sometimes add a pinch of cinnamon or a drop of vanilla extract to the dough. You can also play with various toppings like powdered sugar, a drizzle of chocolate, or even a sprinkle of freeze-dried fruit powder for a pop of color.
If you're looking for a good baked donut, then these Easter Donuts are some of my favorites! You can change up the glaze as needed.
Top Tips
Here are my top tips to ensure your gluten free sufganiyot turn out beautifully:
Always check that your yeast is active before mixing; it should become frothy after a few minutes in warm water and sugar.
When frying, keep the oil at a steady 350°F (180°C) to avoid soggy or overly browned donuts. Use a cooking thermometer for accuracy—this is key.
Don't skimp on the resting time; allowing the dough to rise properly makes for a lighter, fluffier texture.
Mix your own gluten-free flour blend. You may be tempted to use a commercial blend, but the results won't be as puffed and fluffy. This blend seems to yield a tender crumb that's just right for fried donuts.
Use a Bismark piping tip for the perfect result when filling your fried gluten free doughnuts.
Frequently Asked Questions
In this section, I'll cover some common inquiries about gluten free jelly donuts, including popular fillings, vegan options, and differences in taste and texture compared to traditional sufganiyot. I'll also touch on the availability of ready-made mixes for those who prefer a quicker preparation.
Absolutely! Though developed as a non-dairy recipe, these Hanukkah doughnuts can definitely be made using regular milk and butter. The use of dairy products will not compromise the taste or structure of these tasty treats. In fact, the high-fat content of dairy butter can enhance the dough's richness and flavor, while the milk can help make it soft and tender. Keep in mind that using dairy products will render the sufganiyot unsuitable for eating after a meat meal, as dairy and meat are not consumed together. However, if dairy avoidance or Jewish dietary laws are not a concern for you, go ahead and use regular milk and butter.
Gluten-free sufganiyot can be filled with a variety of delightful fillings. Classic options include raspberry or strawberry jam, which bring a sweet and fruity burst to every bite. For something different, chocolate spread or custard can be a decadent choice, satisfying for all chocolate or cream enthusiasts.
Yes, it is definitely possible to make gluten-free vegan sufganiyot. The key is substituting ingredients like milk and eggs with plant-based alternatives. Dairy-free milk or butter substitutes, such as almond milk or coconut oil, can be used to cater to both gluten-free and vegan dietary needs without compromising on the taste.
A traditional sufganiyot is typically made with wheat flour, which gives it a distinctive chewy and soft texture. A gluten-free sufganiyot, on the other hand, uses alternative flours like rice or almond flour that might result in a different mouthfeel. However, with the right recipe, a gluten-free sufganiyot can still be just as delicious, with a slightly different, often lighter texture.
For those looking for convenience, there are indeed ready-made gluten-free sufganiyot mixes that simplify the preparation process. Companies like Blends by Orly have developed mixes that are specially formulated to achieve a desirable consistency and taste, making it easier for everyone to enjoy gluten-free sufganiyot at home.
Recipe
Tried and loved this recipe? Please leave a 5-star review below! Your reviews mean a lot to me, so if you've got any questions, please let me know in a comment.

Dairy-free and gluten-free sufganiyot, aka Hanukkah jelly donuts
Ingredients
- 2 ½ teaspoons active dry yeast
- ¼ cup non-dairy milk warmed to 110°F
- ¼ cup granulated sugar
- 2 tablespoons psyllium husk fiber
- ⅓ cup water
- ½ cup tapioca starch or arrowroot starch
- ¾ cups + 3 tablespoon brown rice flour
- 3 tablespoon sorghum flour
- 2 teaspoons xanthan gum
- 1 teaspoon salt
- 2 teaspoons baking powder
- 1 large egg
- 2 tablespoons unsalted non-dairy butter softened
- Oil for frying grapeseed or vegetable oil
- ½ cup powdered sugar for dusting
- 1 cup jam or jelly for filling
Instructions
- Make yeast mixture: In a small bowl, combine yeast, 1 tablespoon sugar and warmed milk. Let sit 10-15 min until foamy. With instant yeast, skip the activation step. Directly combine it with the dry ingredients and sugar.
- Make psyllium mixture: In a separate small bowl, whisk psyllium fiber with water until thick. Set aside for 1 minute.
- Mix dry ingredients: In the bowl of a stand mixer fitted with a dough hook or a large bowl, whisk together tapioca starch, brown rice flour, sorghum flour, xanthan gum, salt and baking powder.
- Make dough: Make a well in the dry ingredients. Add yeast mixture, psyllium mixture, egg and remaining sugar to the dry ingredients. Mix until a sticky, wet dough forms, about 10 minutes.
- If working by hand, on a floured surface, knead the dough for 10 min.
- Add the butter and knead 2-5 minutes more. Do not be tempted to add more flour!
- Rise dough: Place the dough in a greased bowl, cover, and refrigerate 1-2 hours.
- Shape doughnuts: Cut the chilled dough into 8 parts.
- Roll into balls: Roll the pieces into balls, then flatten them slightly. To make the perfect ball, begin by pressing the dough flat. Next, fold the edges toward the center to form a small bundle and seal them together, like a little purse. Flip the dough so the seam is on the bottom. Cup your hand and rotate the dough in a circular motion for about a minute to smooth out the seams and create a smooth, round shape. Press the ball down to make it about 1 to 1 ¼ inch thick in the middle and roughly 3 inches wide. Do this for all dough pieces. Hand-shaping the dough into flattened spheres gives the doughnuts a more appealing, rounded appearance when they are fried.
- To cut the doughnuts with a cookie cutter, roll the dough into a large piece of about 1-inch in thickness. Use a large (3-inch) cookie cutter to cut them into 8 rounds.
- Cut 8 pieces of parchment just larger than the donuts. Place each donut on its own parchment paper.
- Rise doughnuts: Arrange the donuts on a baking sheet. Cover, and let rise for 1.5 hours in a warm place.
- Fry doughnuts: In pot, heat oil to 330°F. Transfer the donuts on the little pieces of parchment paper into the oil. After 10 seconds, remove the paper and discard. Continue frying on each side for 2 minutes, then flip over using tongs. Fry the donuts on the other side for 2 minutes more. Use a slotted spoon to remove each donut from the oil, and set aside on a baking sheet or plate covered in paper towels. Repeat with remaining donuts.
- Using a straw, piping tip or a chopstick, make a hole in center of each doughnut. Fill a piping bag with the jam and, using a Bismark piping tip, inject the jam into the doughnuts.
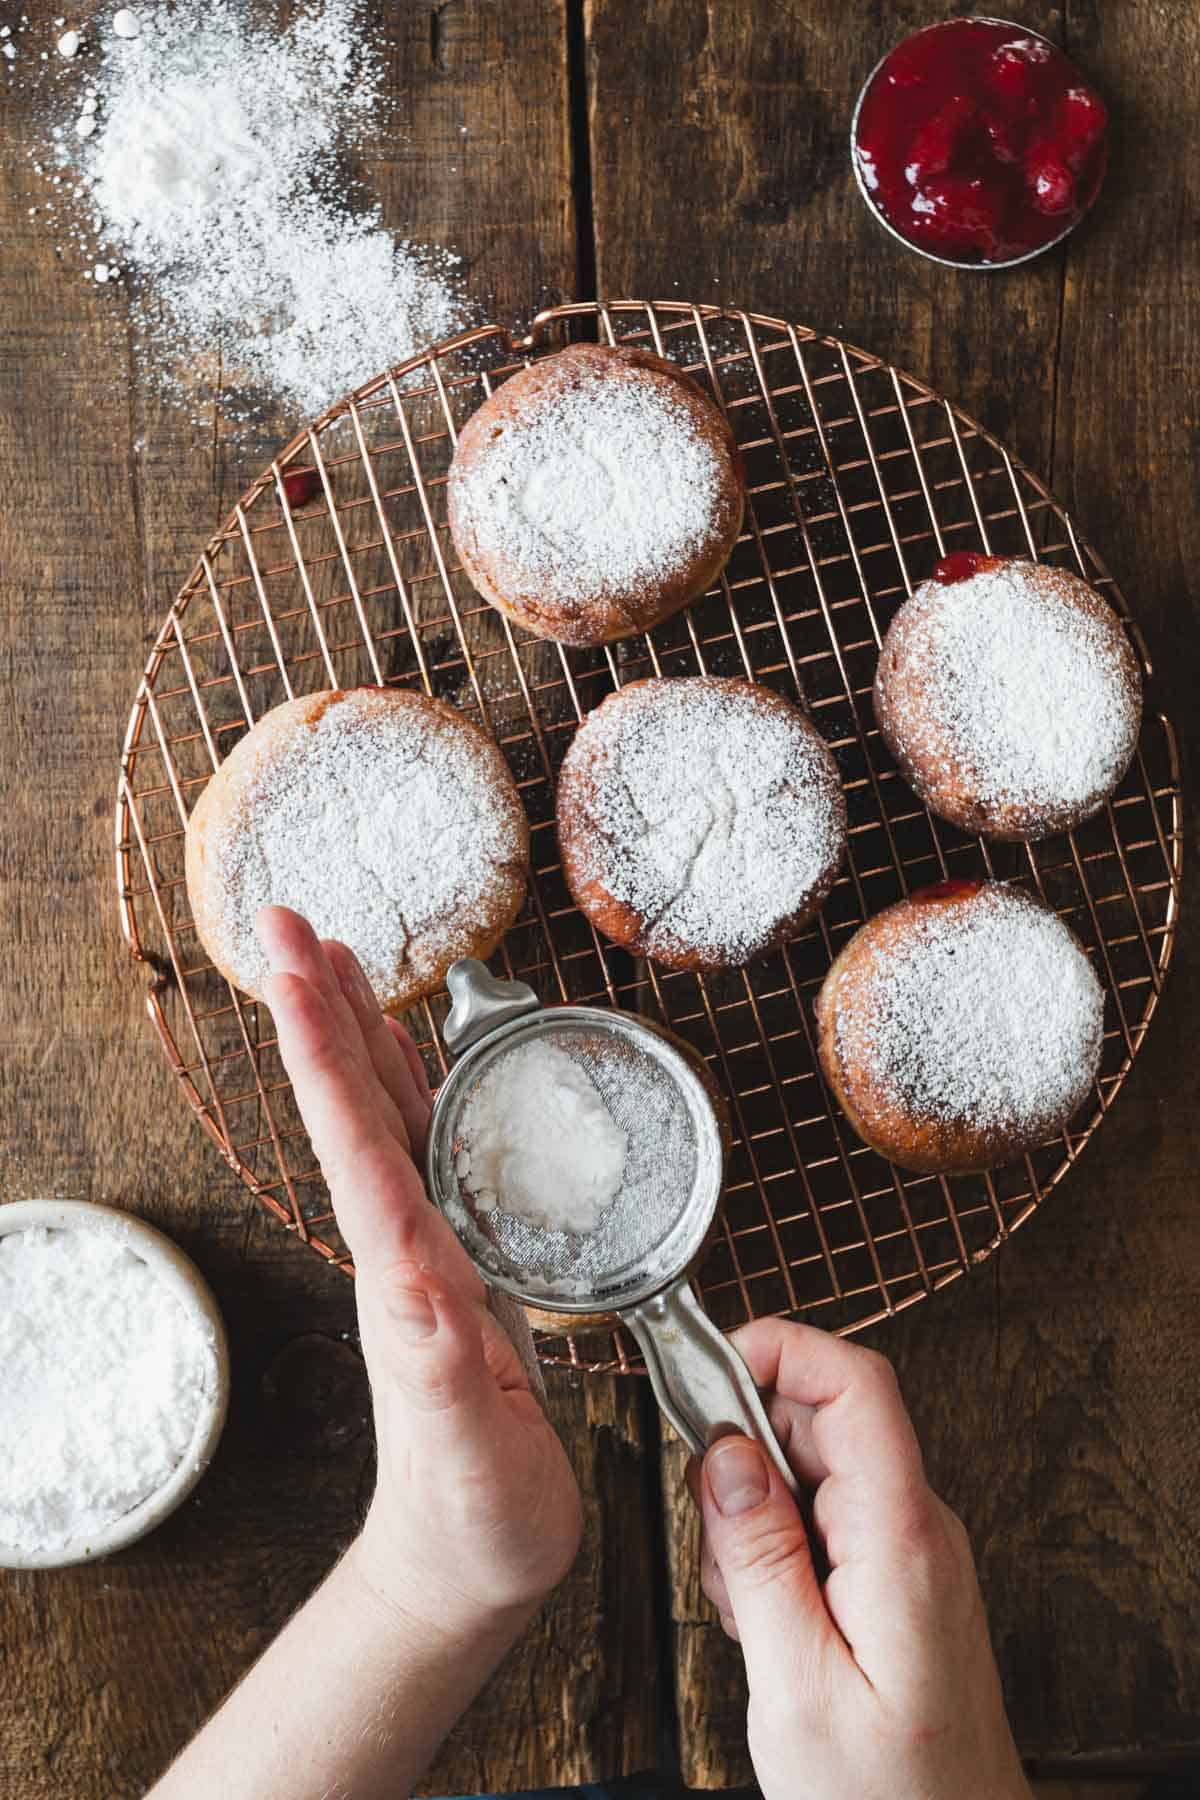
- Dust warm doughnuts with powdered sugar.








Beth M Horowitz says
Where are the quantities. I'm just to guess????
kseniaprints says
Just press the "jump to recipe" button at the top, or scroll to the recipe card - all the quantities are there 🙂 Happy baking!
lena rose says
hi! i tried this recipe and was not successful, sadly. i don’t have any doubt that it was baker-error…
i’m thinking maybe my biggest mistake was with the psyllium fiber. i used psyllium fiber *powder* and perhaps i was supposed to use the ground up *whole husks*. what do you think?
mainly, i didn’t get a rise even though the yeast was visibly active. and the dough overall felt fairly dry. almost a little crumbly when i started cutting it into the eight pieces and trying to shape it.
i’d love to try this again one day! the photos are beautiful and the recipe felt like magic each step of the way!
kseniaprints says
HI Lena, thanks for notifying me on this. So yes, the fiber is likely the cause as I do use whole husks in the recipe and have had hit-and-miss results when subbing for powder. It sometimes works with the powder, and sometimes doesn't. I wish GF baking was easier!!!