You might be familiar with the crunchy, tangy taste of store-bought pickles, but making your own fermented pickles at home is much more satisfying. If you've been looking for the perfect starter kosher dill pickles recipe, this is it!
My entry into the world of homemade fermented pickles began on my grandfather's knee and, technically, in their dark and crowded kitchen. My grandfather's pickled cabbage is legendary around our town, as is the vinegret salad my grandma makes with it. So naturally I wanted to find my own way towards fermentation.
Kosher dill pickles were the natural starting point. I already have a vinegary spicy dill pickles recipe I love. Fermented pickles were just the natural next step.
Known throughout the world from Jewish delis, I love the tangy, mild pickled flavor of homemade fermented dill pickles. Any burger or sabich sandwich would be elevated by their presence, so I had to find my favorite fermented kosher pickles recipe. And happily, my experiments did not disappoint!
From the classic garlic and dill flavor combination to more adventurous options, these kosher dill pickles are the gateway drugs into making your own fermentation experiments.
What makes these fermented pickles different?
Fermented pickles use the natural bacteria in vegetables and a saltwater brine to transform. During fermentation, the bacteria convert sugars into lactic acid, which acts as a preserver. An example for these ancient pickles are Middle Eastern preserved lemons.
On the other hand, in the case of regular pickles, it's the vinegar that serves as the primary preserving agent. Examples of this include Icelandic pickled beets. They have a much shorter fermentation time but a stronger, less nuanced flavor.
Ingredients
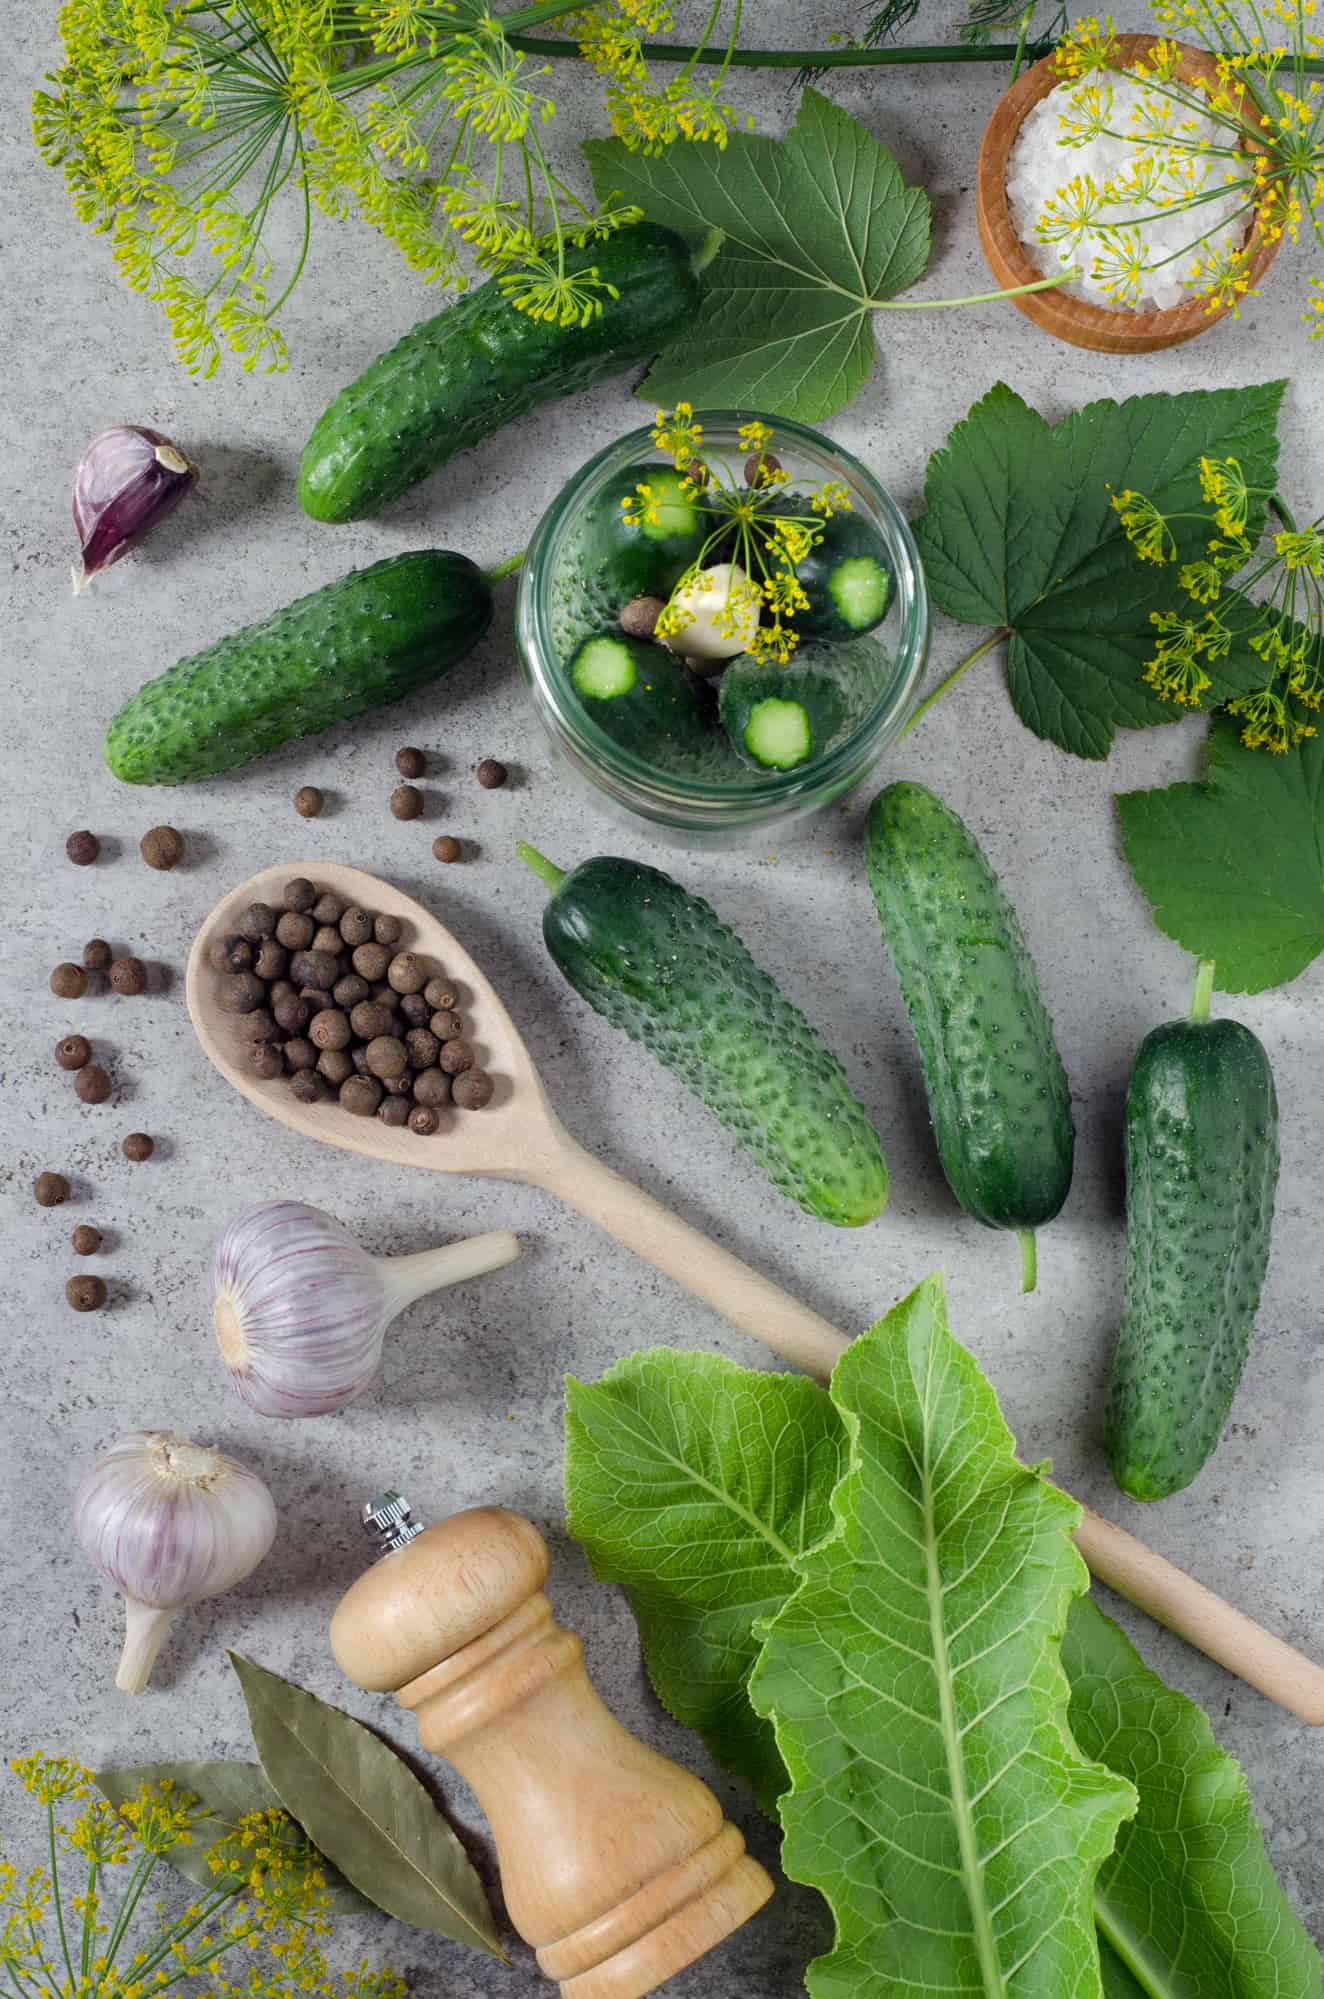
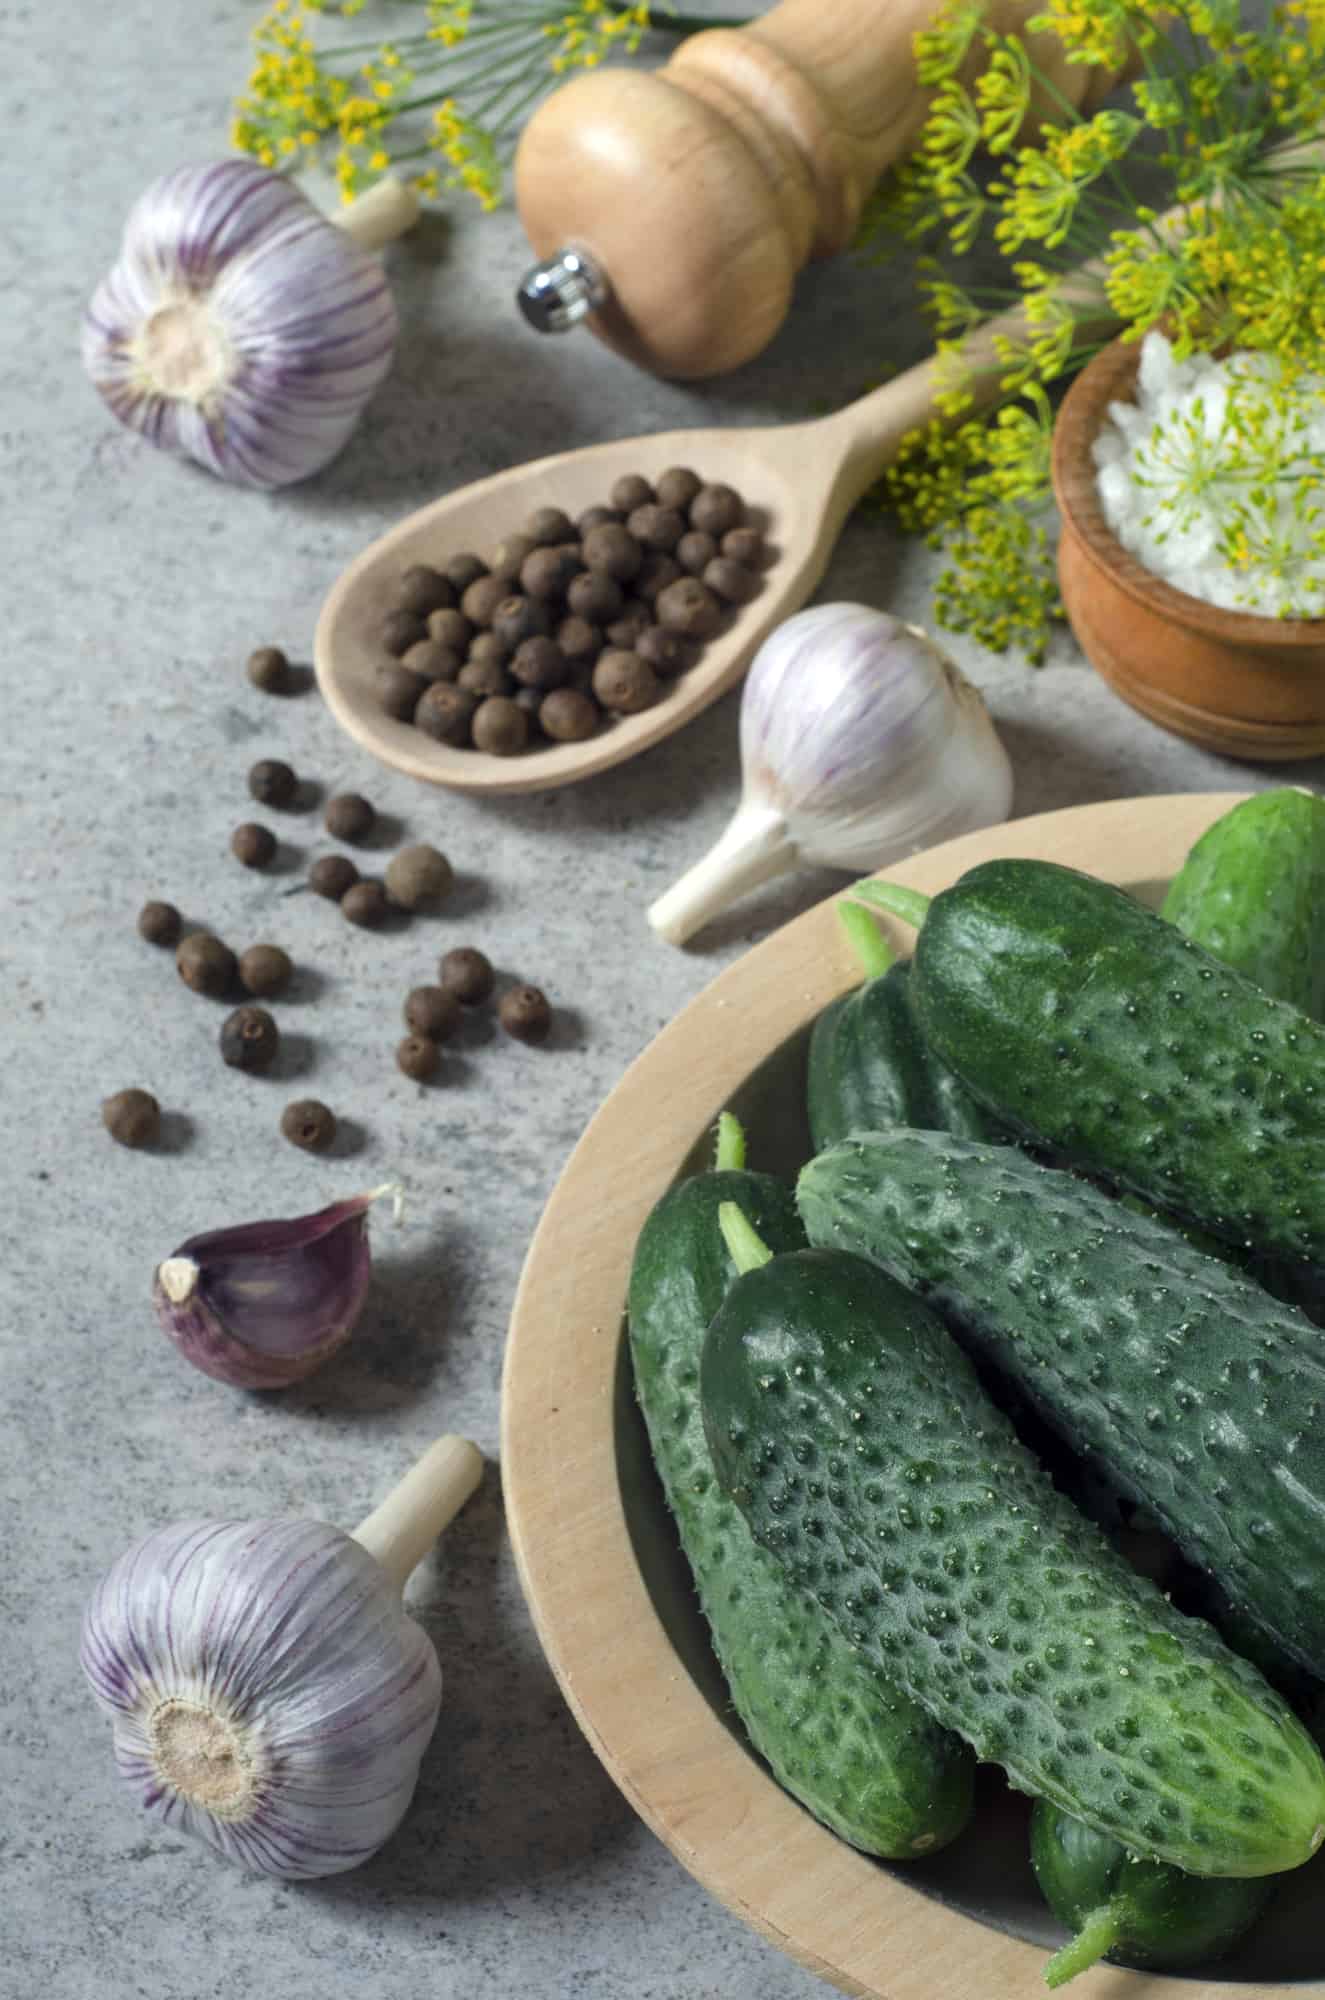
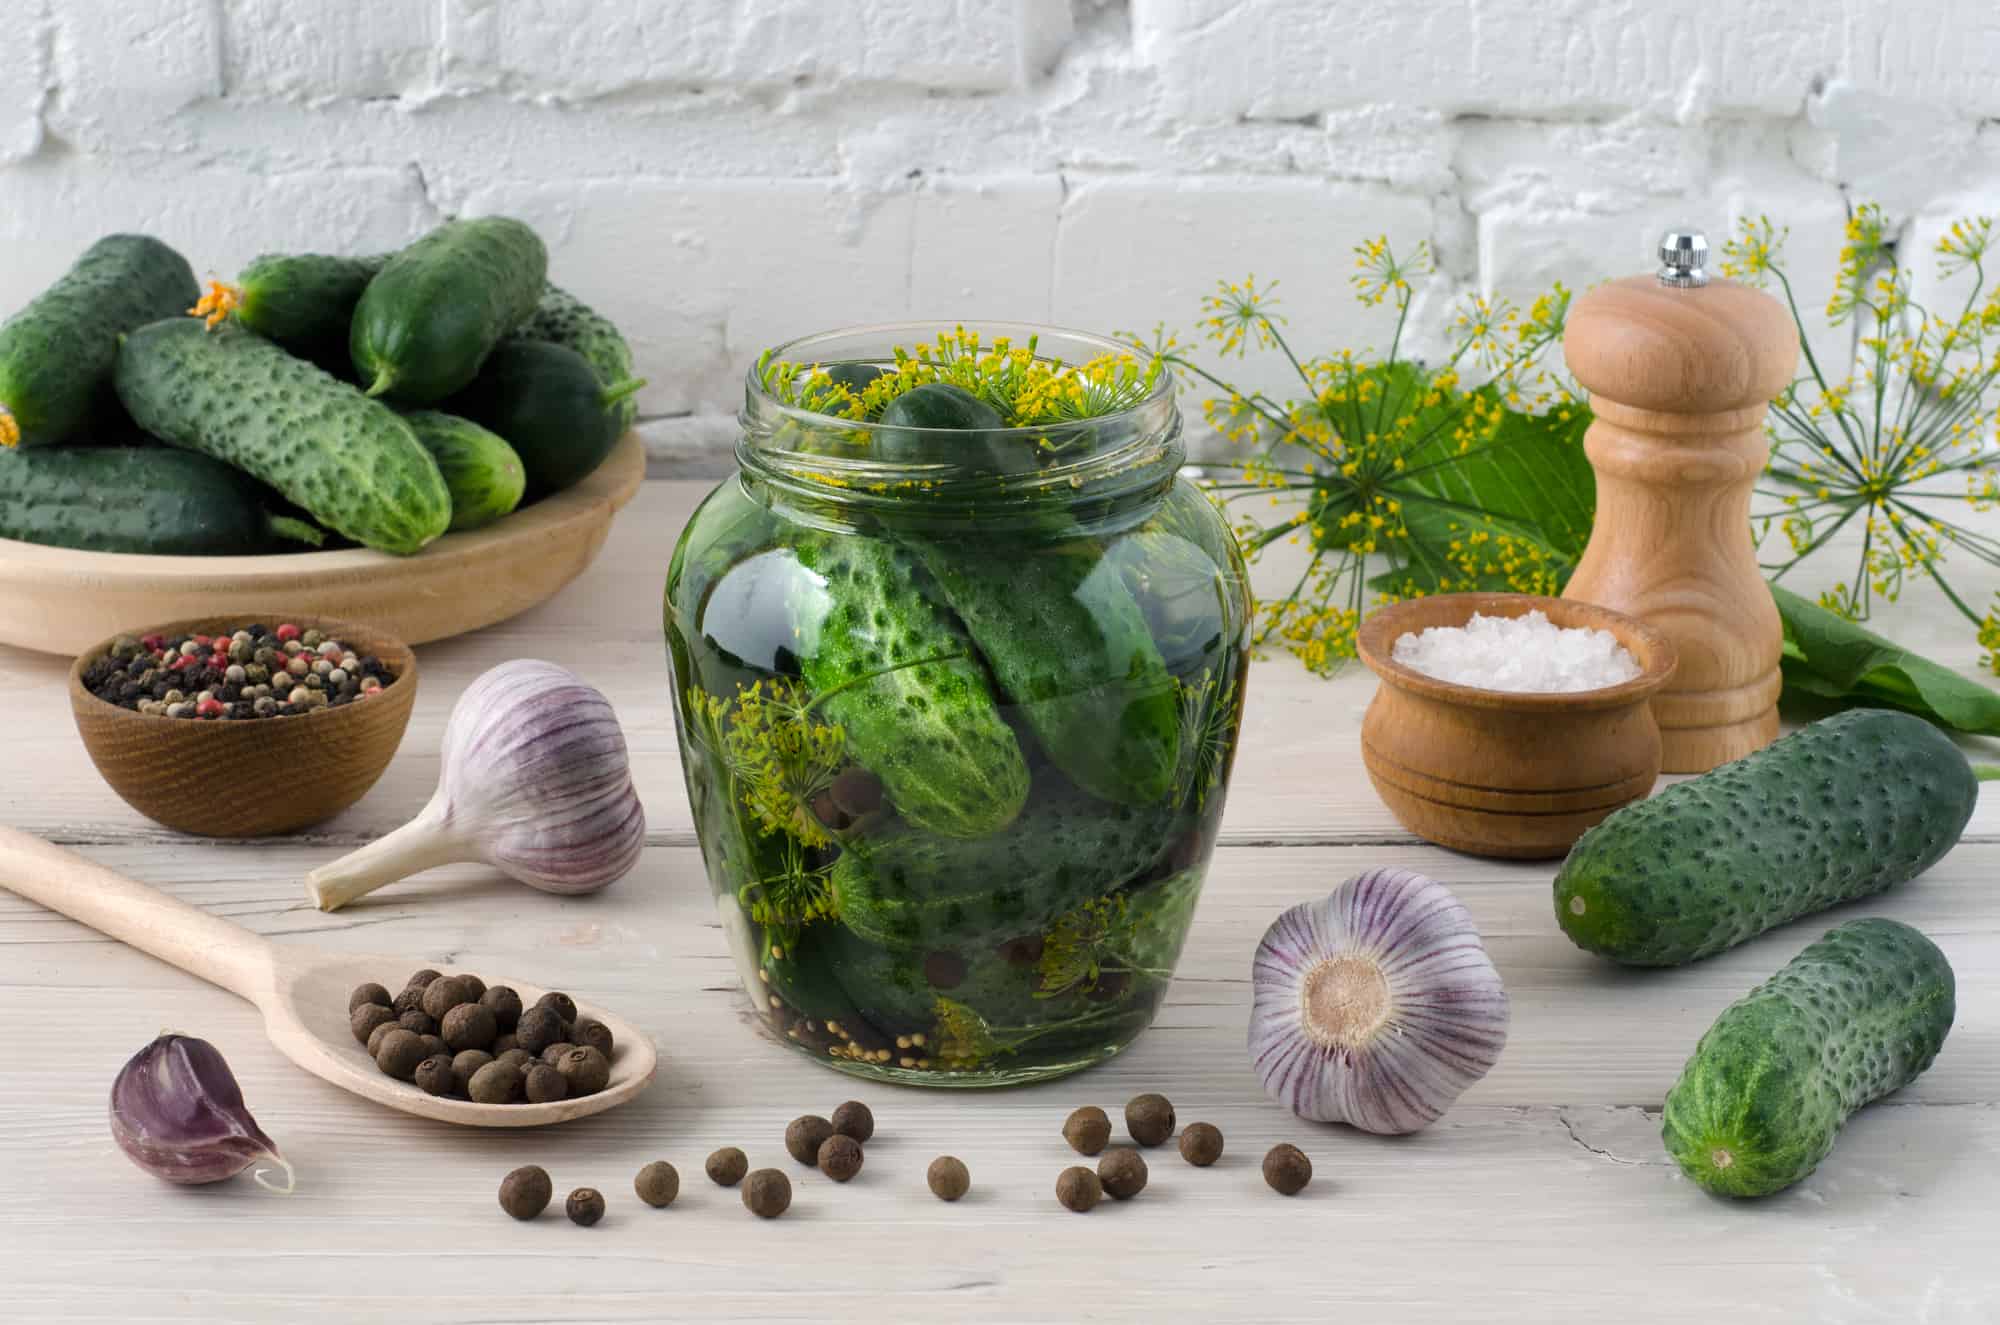
The key ingredients for fermented kosher dill pickles are cucumbers, salt, and water. Dill and garlic add flavor. Feel free to experiment with other herbs and spices too. Use firm, fresh cucumbers and weigh them down in a salt brine to ferment into tasty pickles.
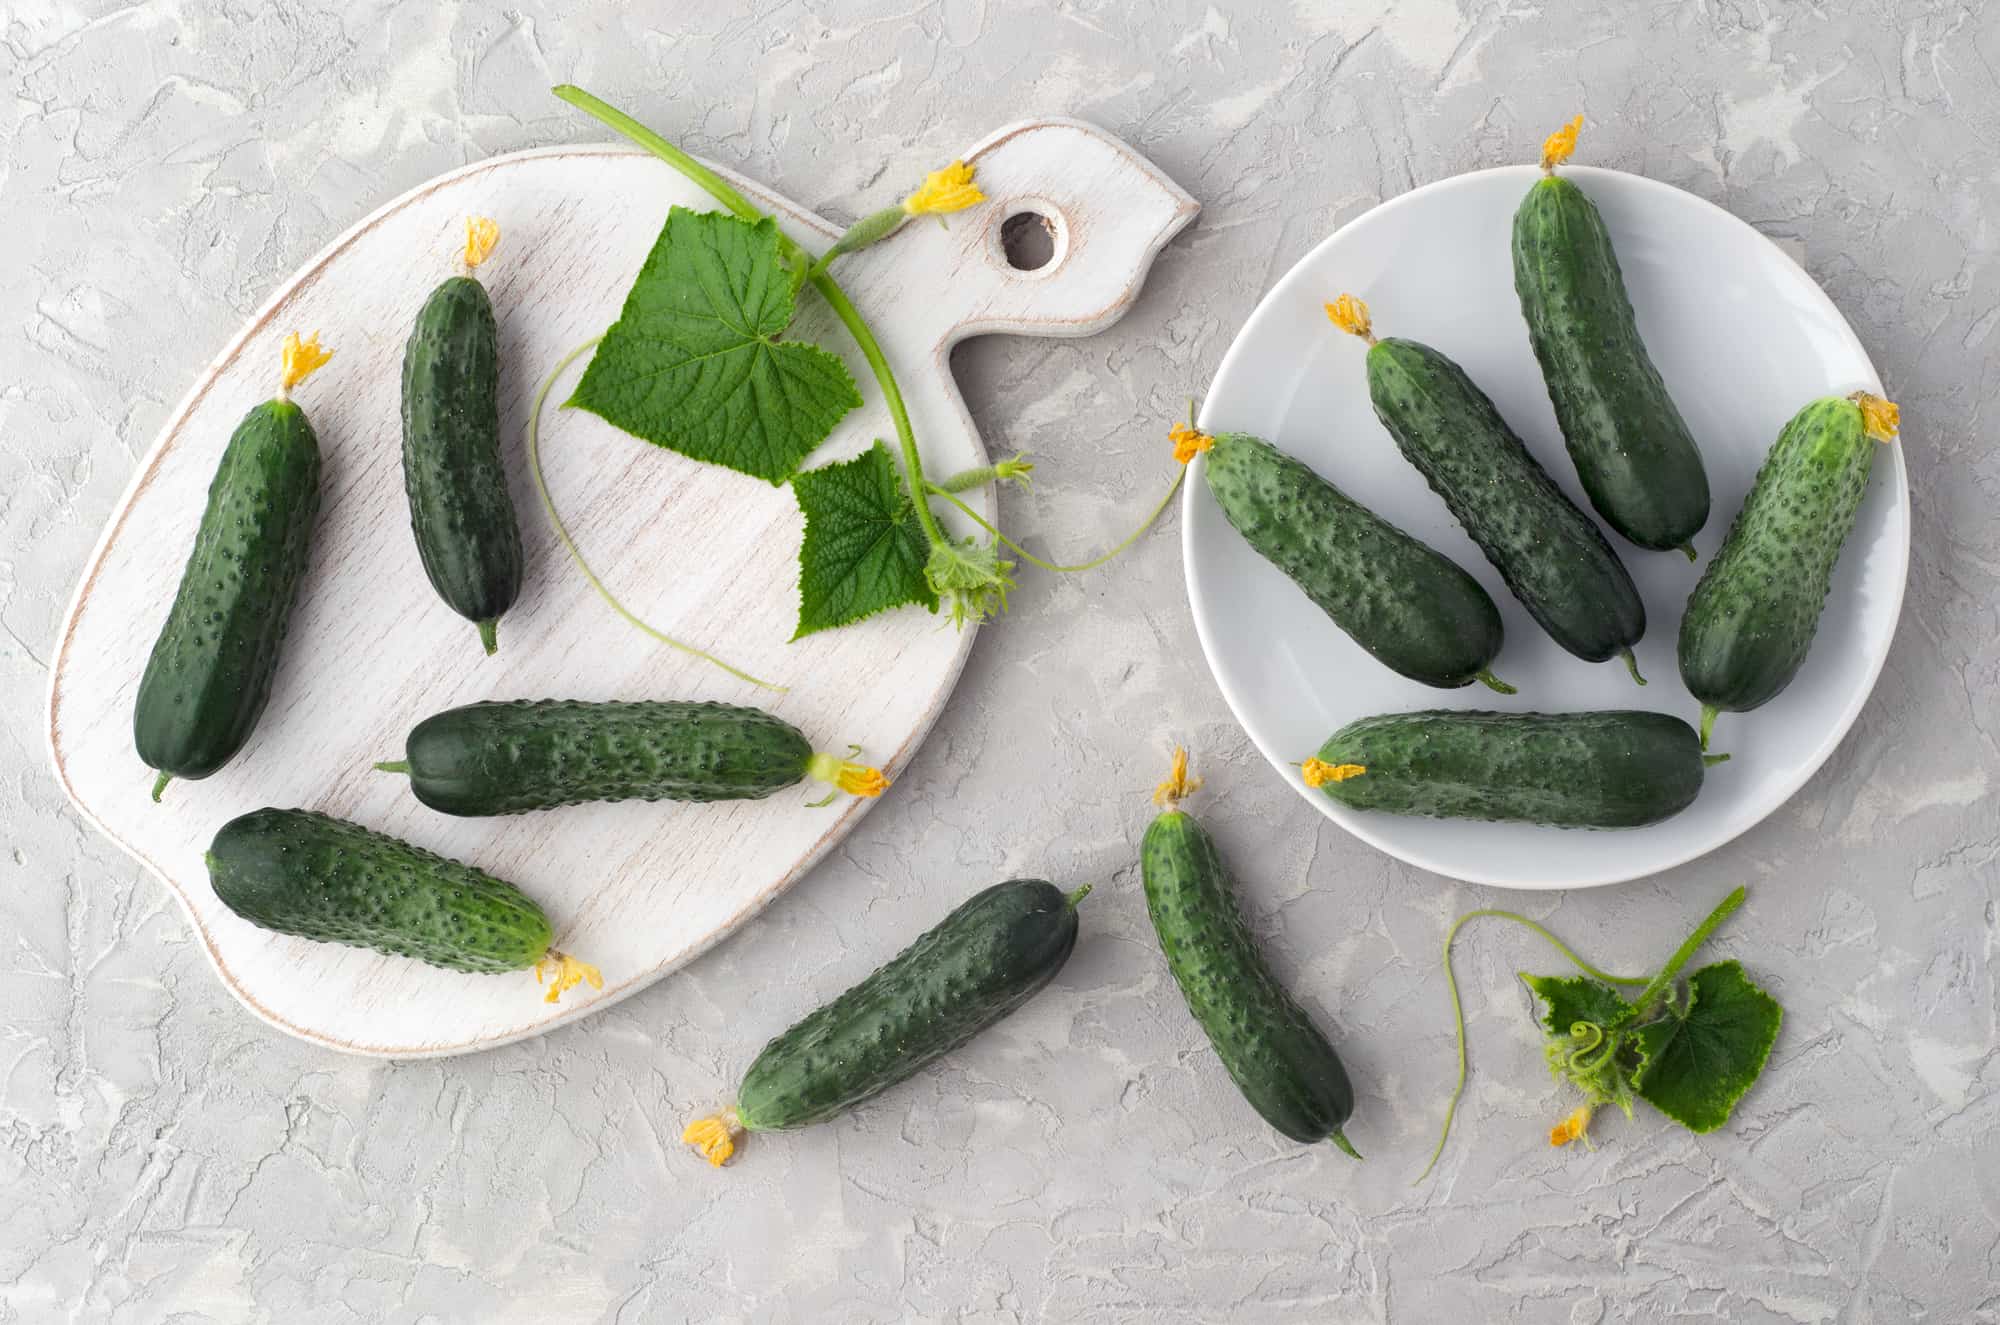
- Cucumbers - Small- to medium-sized cucumbers, like Kirby, work best. You can use store-bought Lebanese cucumbers as well.
- Pickling salt - Kosher salt or pickling salt is best. It must be non-iodized. Pickling salt helps keep pickles crisp.
- Dill - Fresh dill heads add classic dill flavor. The blossoms are the sturdiest and have the most flavor, but are hard to find outside out late summer. Use any fresh dill otherwise, or dill or fennel seeds.
- Garlic - Peeled and separated garlic cloves add flavor. Garlic can be omitted if desired.
- Water - Water dilutes the salt brine that ferments the cucumbers.
- Cabbage leaves - Used to line the bottom of the fermenting crock to keep pickles crisp.
If you're unsure what constitutes kosher salt, then you should check out this guide!
See recipe for step-by-step instructions.
Equipment
To make these homemade fermented dill pickles, you'll need a few essential tools and equipment.
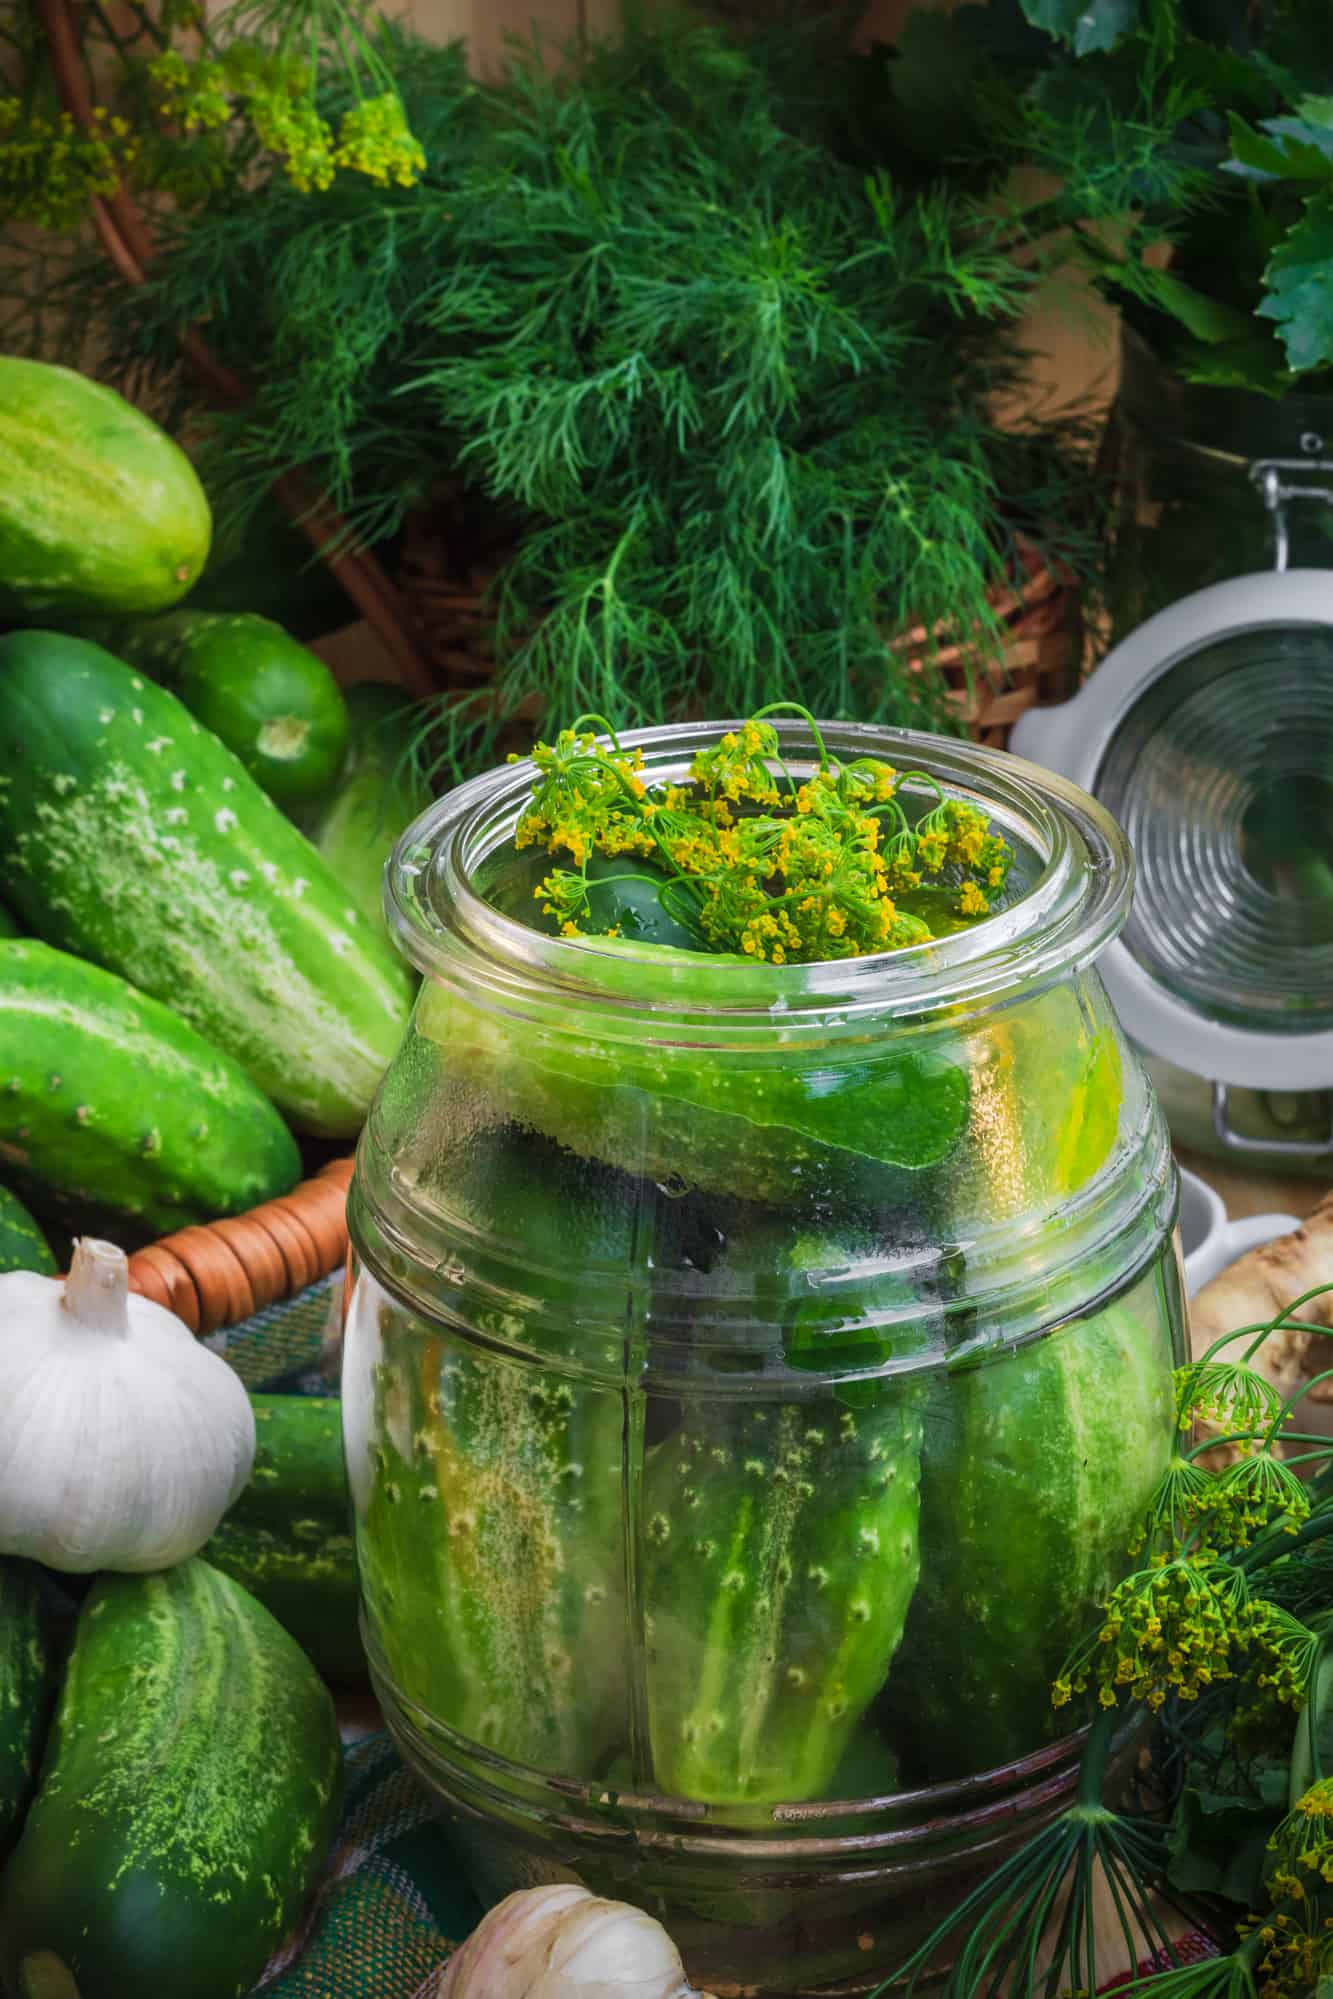
- First, you'll need a fermentation container. This can be a large stoneware crock, a glass jar or a food-grade plastic container.
- Weights to keep the vegetables submerged in the brine. You can use pie weights, a bag of water or a plate with another jar on it.
If you want to get serious about fermentation, I have a guide for the fermentation supplies that I love!
Step-by-Step instructions
Make the brine
Bring the salt and water to a boil in a pot on the stovetop. Stir continuously to dissolve the salt completely. Once dissolved, remove the brine from heat and allow it to fully cool to room temperature.
Trim the cucumbers
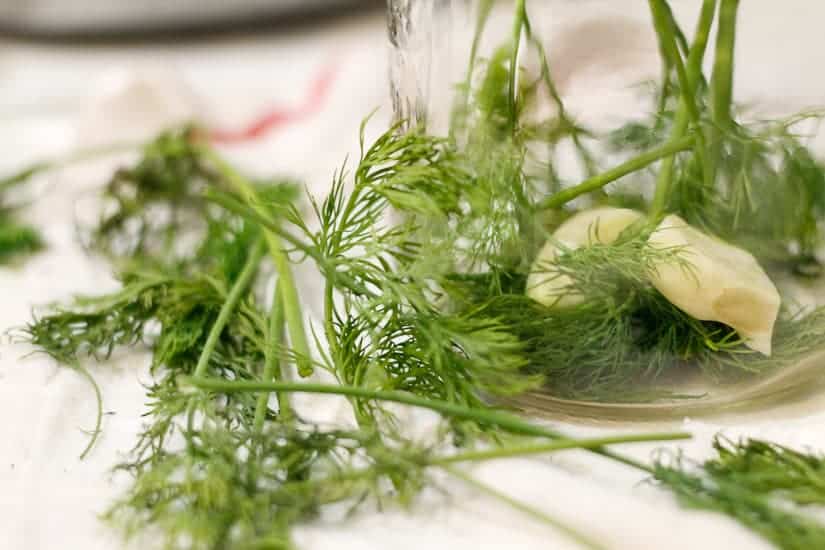
While the brine is cooling, wash the cucumbers thoroughly under running water. Trim off the blossom end from each cucumber - this is the end opposite from the stem.
Line crock with cabbage leaves
Line the bottom of the fermenting crock or jar with cabbage leaves, creating a bed for the pickles. This prevents contact with the bare crock bottom and helps keep the pickles crisp, according to legend (and my grandpa).
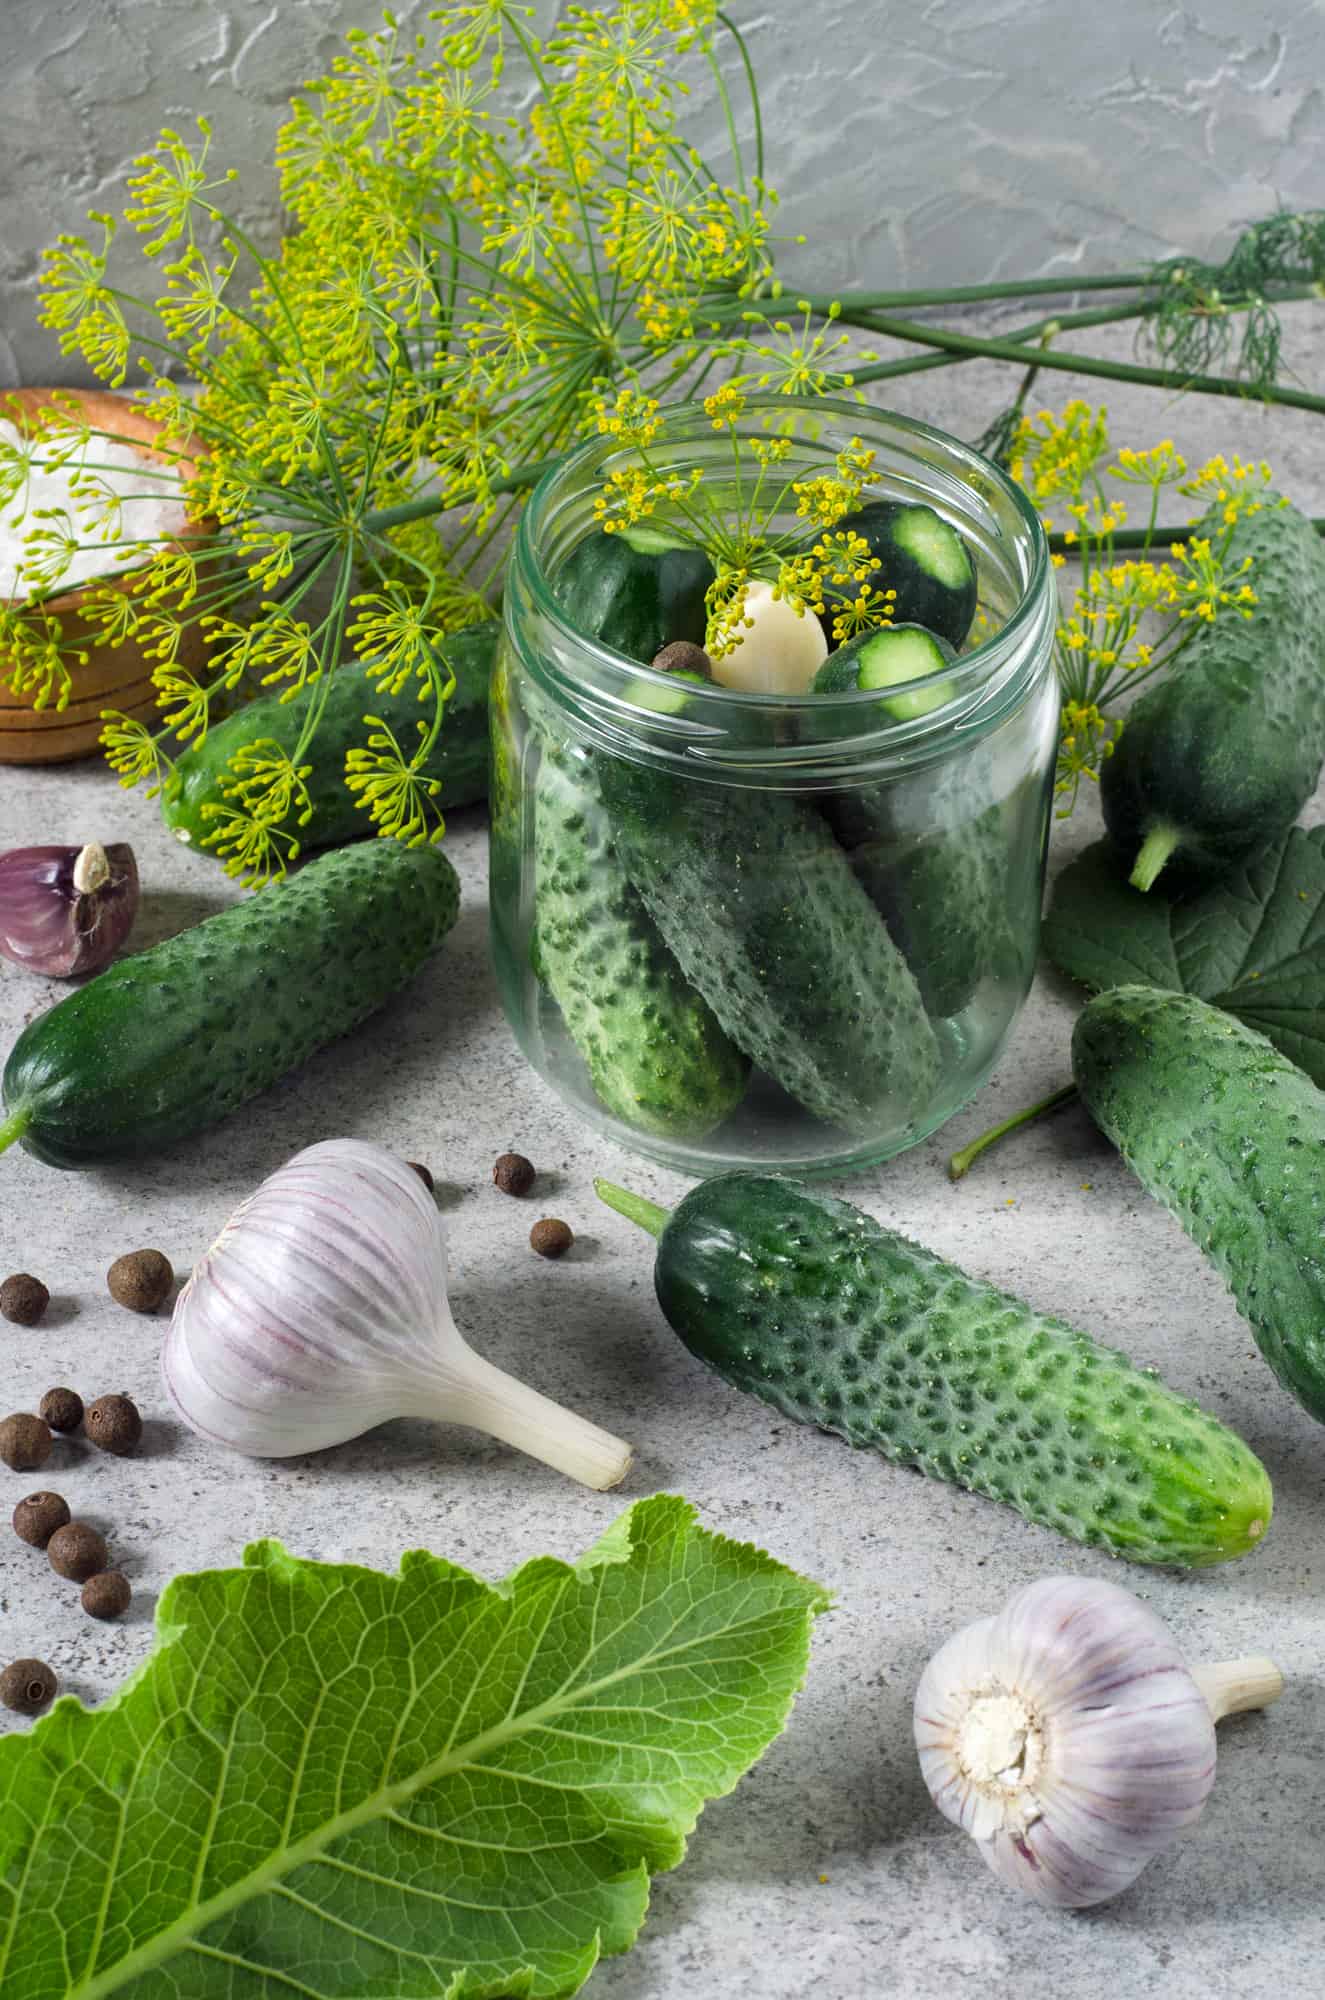
Layer the ingredients
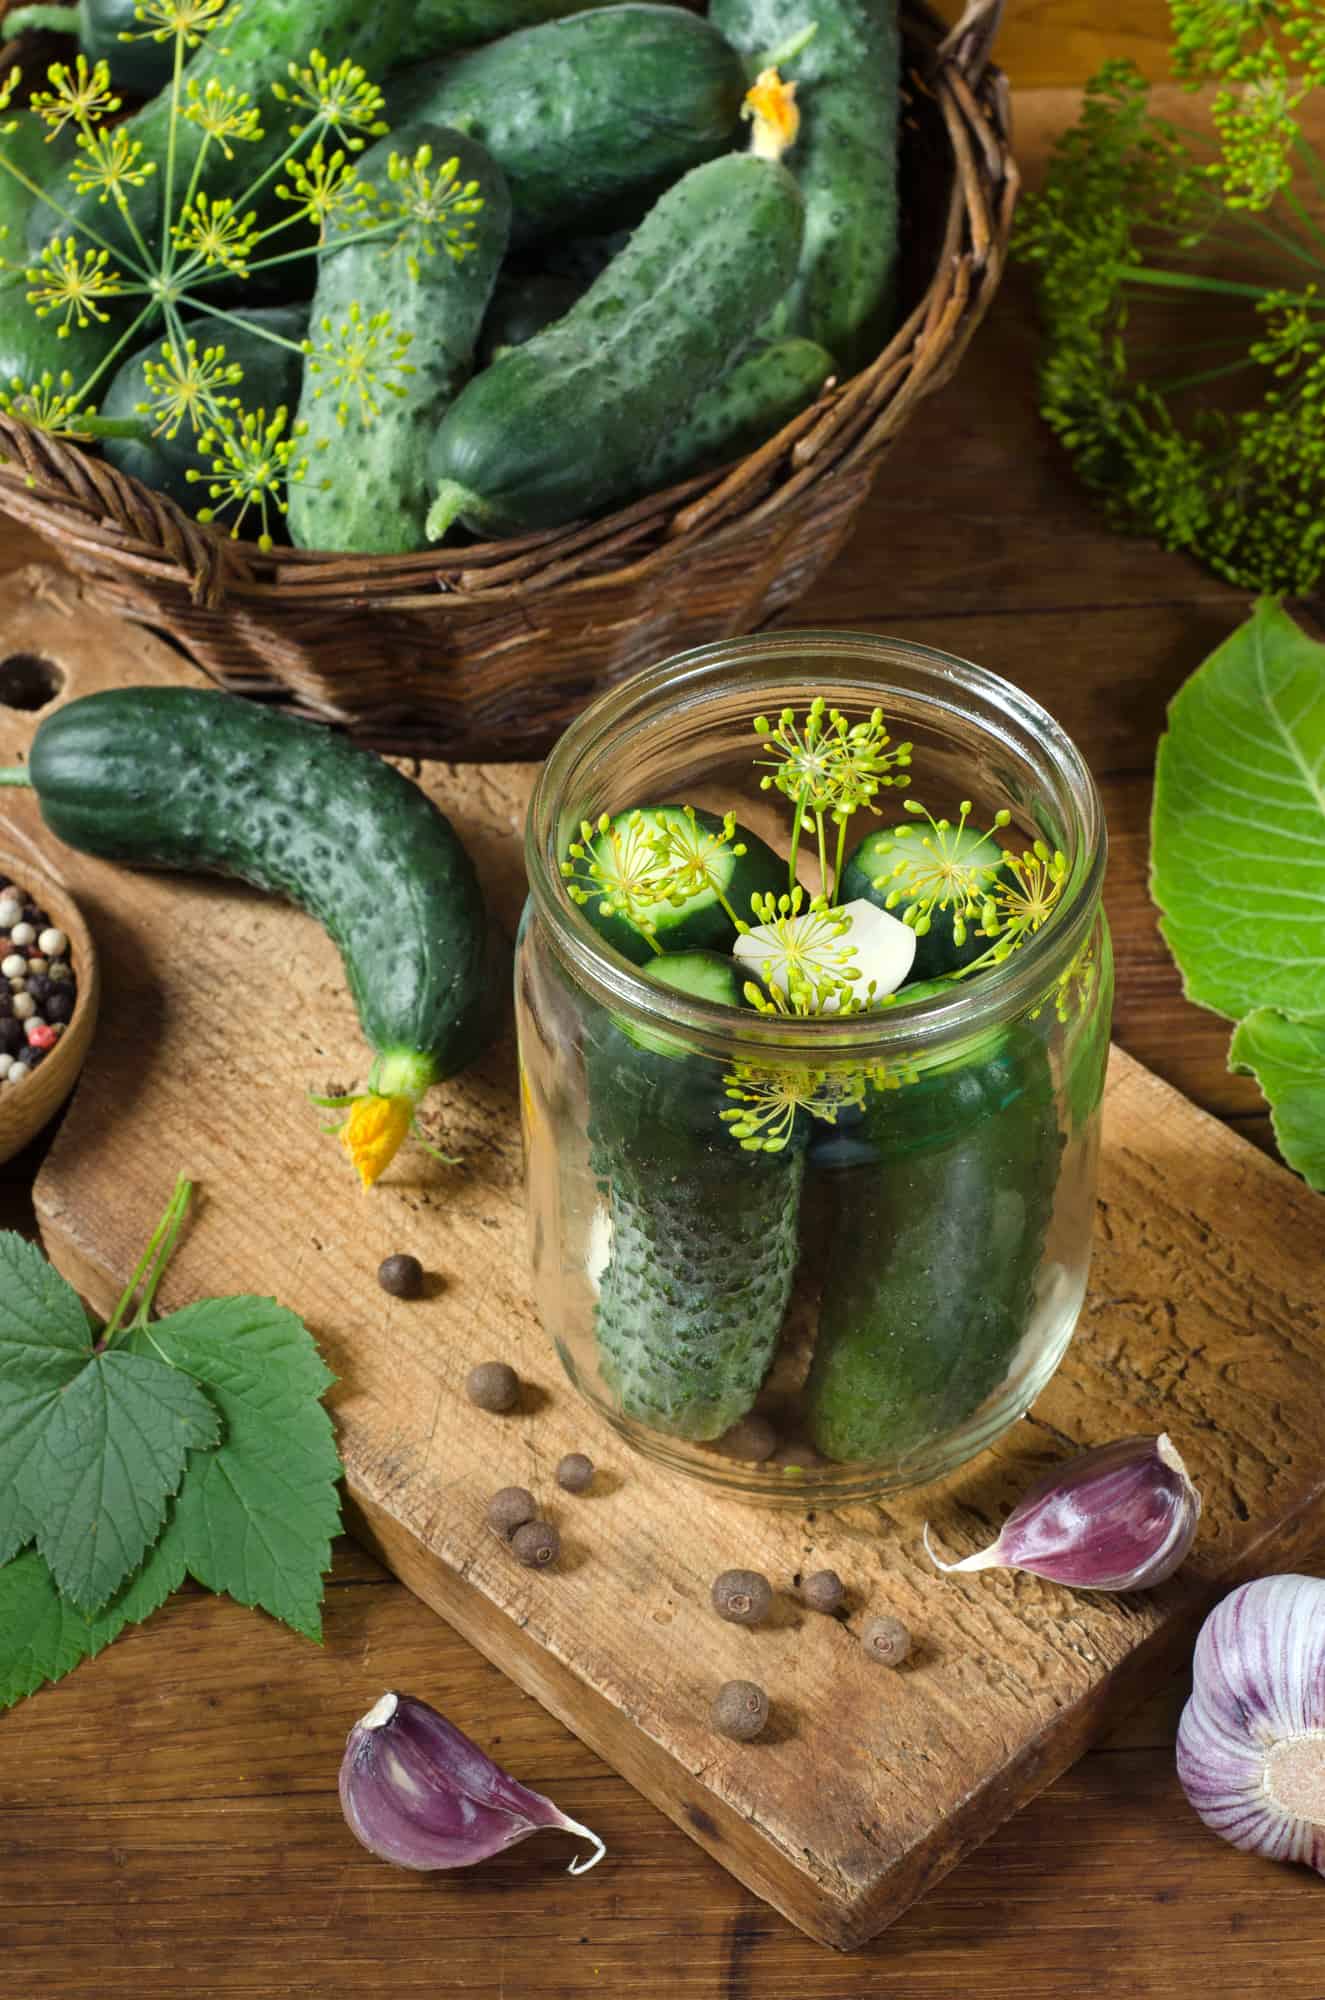
Layer the cucumbers, dill heads, peppercorns, and peeled garlic cloves in the crock, adding ingredients in layers as you go.
Once the salt brine has completely cooled, pour it over the cucumber layers until they are fully submerged. Place a plate directly on top of the cucumbers and weigh it down with a sealed jar or other heavy object. This keeps the cucumbers immersed in the brine, preventing mold growth.
Cover the entire crock with a clean kitchen towel and allow to ferment at room temperature for 2-4 weeks. Periodically check the pickles - they are ready when the cucumbers appear translucent all the way through.
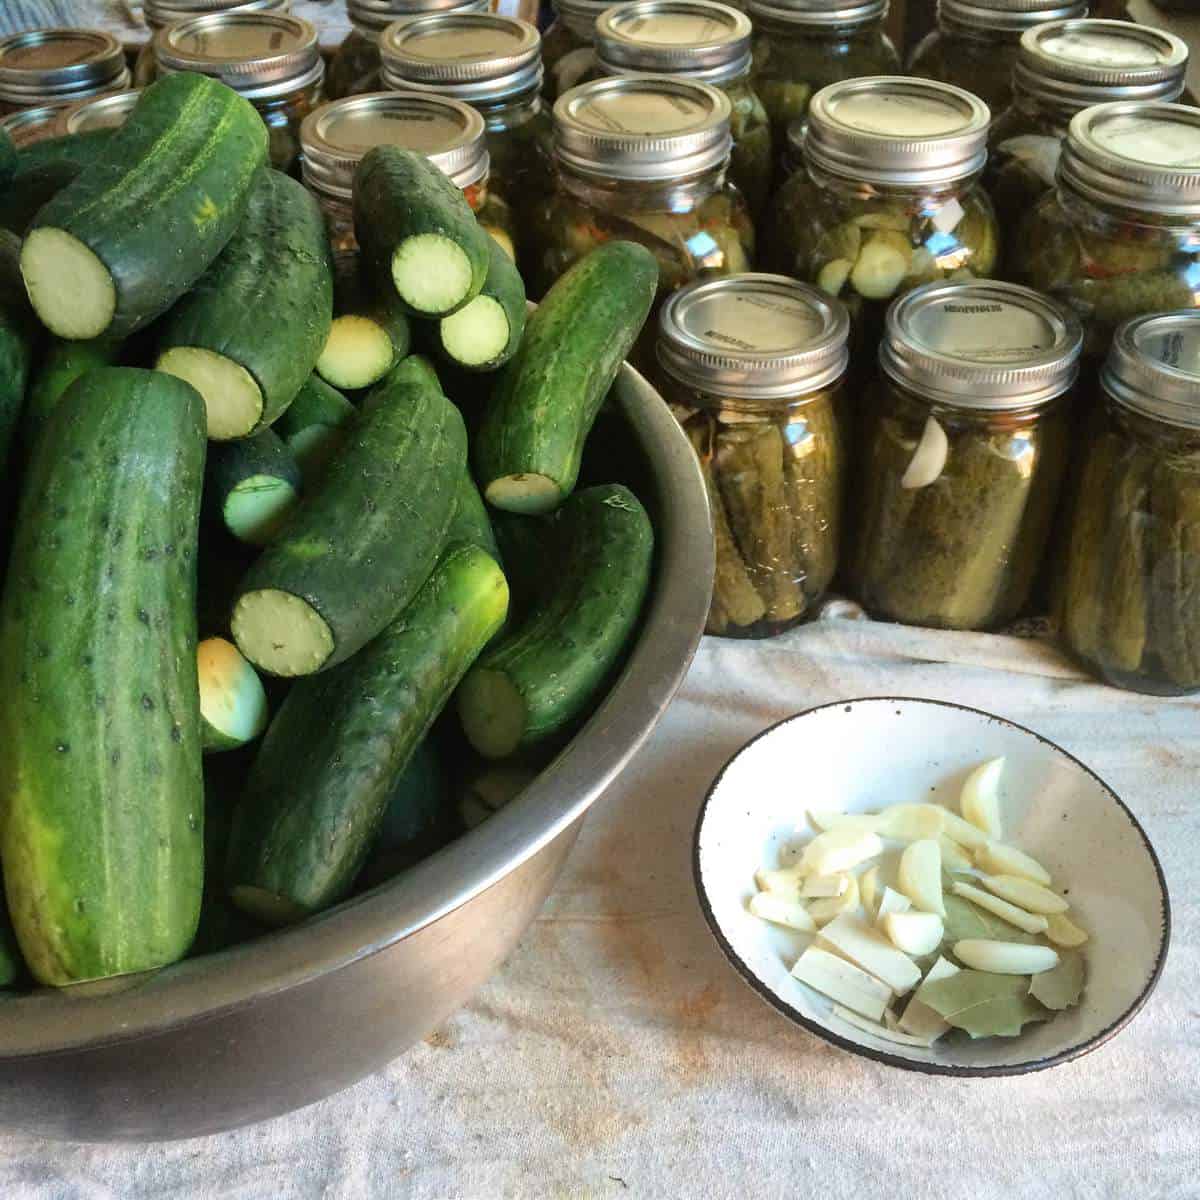
Pack in jars
When fully fermented, use a slotted spoon to carefully transfer the pickles, dill, and garlic into sterilized pint jars. Pack them in tightly. Pour the brine over the pickles, leaving ½ inch of headspace. Seal the jars. Refrigerate the sealed pint jars to store the finished pick
Storing and shelf life
Fermented pickles can last for varying amounts of time, depending on your method and recipe. Transfer them to the fridge once you start consuming them. In general, you should eat the pickles within one to two months.
Using fermented pickles
Adding fermented pickles to your favorite sandwiches and salads can instantly transform their taste. Use kosher these dill pickles instead of regular pickles, as the tang from the fermentation complements the flavors of many sandwiches.
I love adding pickles to my vegan shawarma, or to my turkey kebab pitas.
For salads, try chopping up some fermented kosher-style dill pickles and adding them to a classic potato salad or pasta salad. They are a key ingredient in my family's olivier salad. I use pickles in my pickled mushroom salad as well. Pickled beet is the star of my pickled beet salad. The briny, crunchy pickles add a surprising flavor to these familiar dishes.
Fermented pickles are also an excellent choice for snacking or as a part of a tasty mezze spread. The pickles are great on their own but are even better when served in a charcuterie board alongside crackers, cheese, and cured meats for a delicious charcuterie board. Try adding them to a lox and bagel spread for a pickled twist on this Jewish tradition!
Once you master my basic fermented dill pickles recipe, the road is long! Experimenting with different types of pickles, like those flavored with mustard seeds or peppercorns, can add even more variety to your dishes. Get creative and start incorporating fermented pickles into your cooking routine!
To get started, try my favorite kosher dill pickles recipe. It's a great starting point for adding your own spices and flavors!
Recipe
Tried and loved this recipe? Please leave a 5-star review below! Your reviews mean a lot to me, so if you've got any questions, please let me know in a comment.
Homemade kosher dill pickles
Equipment
- 1 crock
Ingredients
- 8 lbs small cucumbers
- 9 tablespoon sea salt
- 9 dill blossoms or a bunch of fresh dill
- 1 handful cabbage leaves
- 1 pinch black peppercorns
- 16 cups water
- 1 head garlic peeled and separated
Instructions
- Bring salt and water to boil. Stir to dissolve salt. Let cool.
- Wash cucumbers. Cut off blossom end.
- Layer the cabbage leaves at the bottom of the crock or jar, making a bed to avoid contact with the bare bottom.
- Top with cucumbers, dill, peppercorns and garlic. Layer the ingredients as you add them.
- Pour the cooled salt water brine over the cucumbers until they are completely submerged. Place a plate on top of the cucumbers and weigh it down with a sealed jar or other heavy object to submerge them in the brine. This prevents mold from growing.
- Cover the crock with a clean kitchen towel and allow to ferment at room temperature for 2-4 weeks. Check the pickles periodically. They are ready when the cucumbers appear translucent throughout.
- When fully fermented, use a slotted spoon to transfer the pickles, dill, and garlic to sterilized pint jars, packing them in tightly. Pour the brine over the pickles to cover by ½ inch. Seal the jars.
- Refrigerate the sealed pint jars for storage.


Sal says
What kind and how much vinegar??
kseniaprints says
No vinegar in these pickles! Unless you want to can them but that's a whole other process.
Ryan C Malone says
Are the servings per pickle? Because that is, a huge amount of sodium for one pickle.
kseniaprints says
No no, for an entire pint jar!
Mary says
Thanks for such great instructions, I have my jars all made and I can't wait for them to be ready so we can try them.
I love that you made them with your grandfather, food that is passed down through generations is so special.
Sage Scott says
These taste just like the crock pickles my German grandmother used to make. I think the handful of cabbage leaves is the secret ingredient I was missing. Since my grandma used to slice her pickles, I did, too. 🙂
Sherry Ronning says
My mom used to make kosher dill pickles like this and it brings back so many great memories. I had to give your fermented pickles a try and they turned out amazing!! Thank you for a great pickles recipe!!
Dave says
Have you or did your grandfather ever just leave in the crock
kseniaprints says
Not outside for an extended period of time, no. The lactic acids would eat too much of the sugars and it would become too bitter and sour. Or do you mean to transfer it in the crock to the fridge? That's fine, but it wouldn't be super handy as the crocks we use are huge!
Kelly says
Beautiful recipe! When you say "seal the jars," do you mean in a water bath? Ty for your time!
kseniaprints says
No, these aren't safe for water bath sealing, just fridge storing. If you want hot water bath safe pickles, try these ones: https://immigrantstable.com/spicy-garlic-dill-pickles/
MissyK says
I’ve been looking for the perfect non-vinegar pickle recipe that closely matched the flavor of an old family recipe since lost. This recipe is an ideal match. Thank you SO much - my family was astounded. PS I made a very small batch using a glass jar with a clamp down seal & adjusted recipe portions to smaller quantities with less (17 days) fermentation time.
kseniaprints says
That makes me so happy to hear!!!